For months I’ve been brainstorming how I want to handle putting our TWO little ones into the ONE room that we have for them. I think I’ve got most of the logistics figured out, and will keep you updated on my progress with the transition.
One idea I have had floating around since our good news, was hanging up a banner with both of the kiddo’s names. What better way to introduce a new roomate, than to put up his/her name on a huge banner?! Since I’ve got Milo’s darling airplane hanging up there, I thought it would be perfect to have my sign look like a pull banner being towed through the sky. Cute, eh?
Yesterday, after discovering WHICH name I’d be using, I set to work making the first joint-room decoration: an appliqued name banner.
This would be a fun addition to any kids room, even if you don’t have a plane! The step-by-step follows, if you’re interested!
You’ll need:
a printer and paper
scissors
plain fabric for the banner base
several different types of fabric scraps for the name(s) and pieced sides
pellon
coordinating bias tape
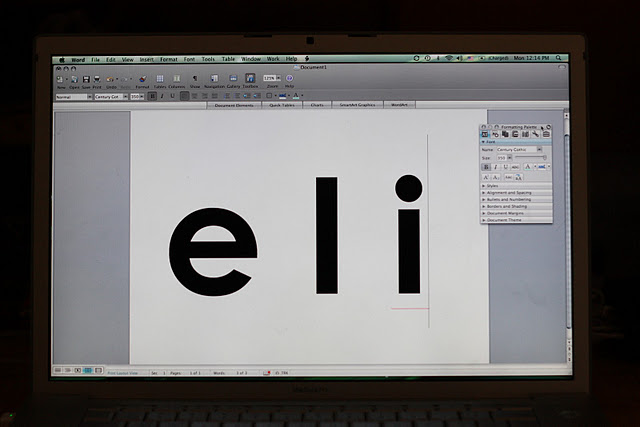
Choose a font that you love and make it the size you need for your banner. I went with Century Gothic, because it is my fave (and super simple to cut out) and this font size is 350! Print the letters out on regular printer paper.
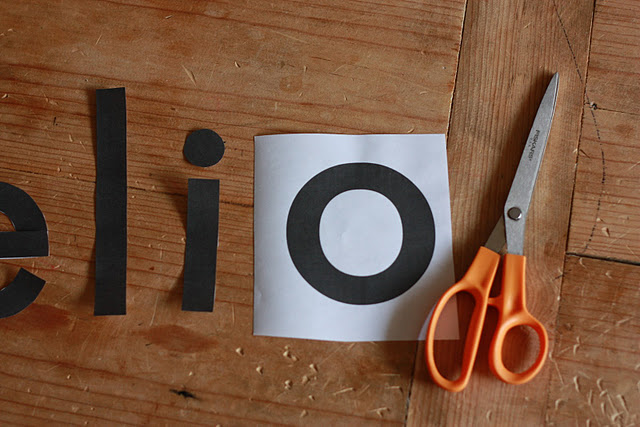
Cut around each letter.
Don’t fret about the centers, just cut right through the letter to get at them. These will only be used to trace onto your fabric.
Okay, first name cut out…
…and lucky me! I get to use three of the same letters for the second name!
Choose your name fabrics.
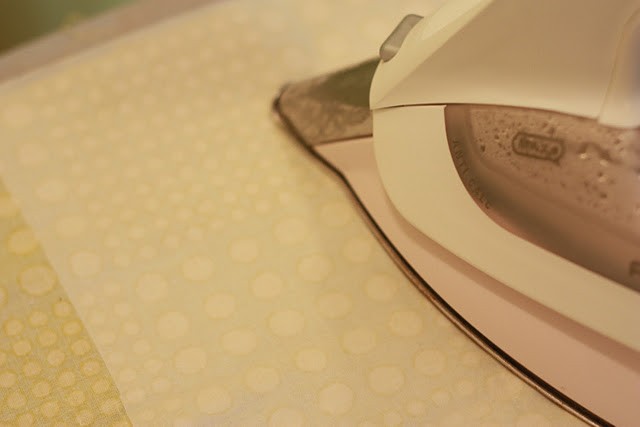
Turn the fabric over and iron pellon (the easiest type is that with wax paper backing) onto the wrong side of the fabric.
It is much easier to iron on the pellon now, before the little letters are cut out! You’ll see what I mean…
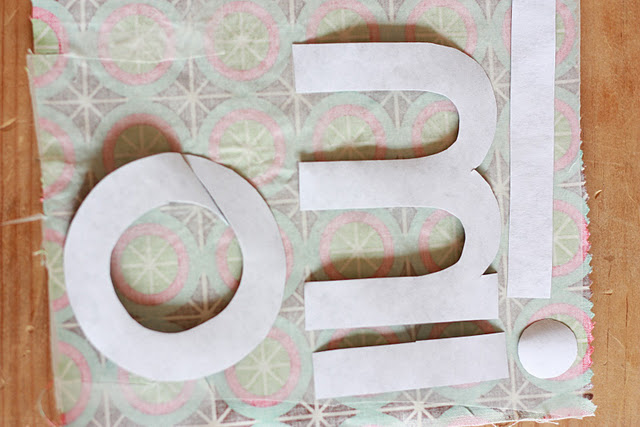
Okay, now turn the letters face DOWN on the WRONG side of the fabric. This way, when you cut them out, they will read correctly on the RIGHT side!
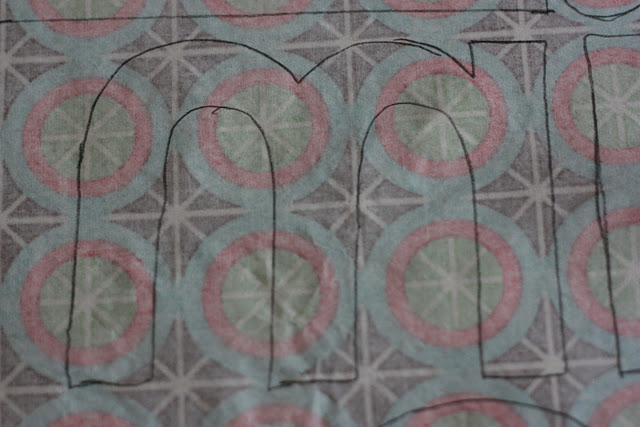
Trace around each letter in pen or pencil onto the ironed on wax paper.
Now you get to cut out around those letters once more! Again, don’t try to cut out those centers all crazy-like with an exacto…just cut right through the letter. When you iron it down it will be seamless!
There we go! Names all cut out.
Next you peel the waxed paper from the back of the letters.
Arrange them however you choose along your banner and simply iron them into place. Pellon is pretty cool, right?
If you want, you can be finished here. Hang’r up!
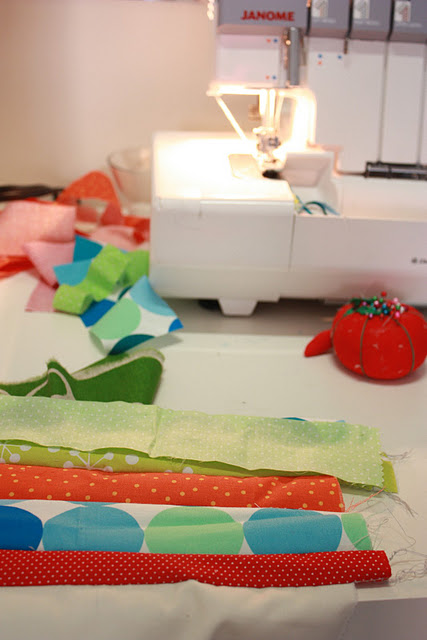
Because mine is trailing behind that airplane, I needed a little more length. So, I grabbed some more fabric scraps and cut them into strips at least as long as the width of the banner.
Put RIGHT sides together along the edge and stitch or serge into place.
Continue with that same step, adding new fabric strips until your banner reaches the desired length.
Cute, eh? I added those little pendants at the end on a whim.
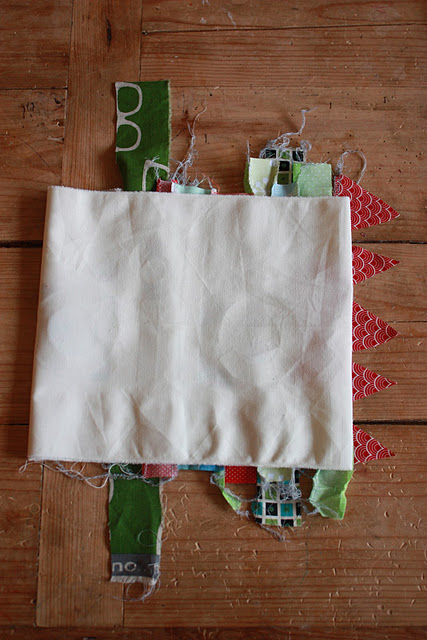
Now, to edge the banner, we’ve got to even out those ends. Fold the banner with the sides lining up exactly.
Then snip off all of the hanging edges.
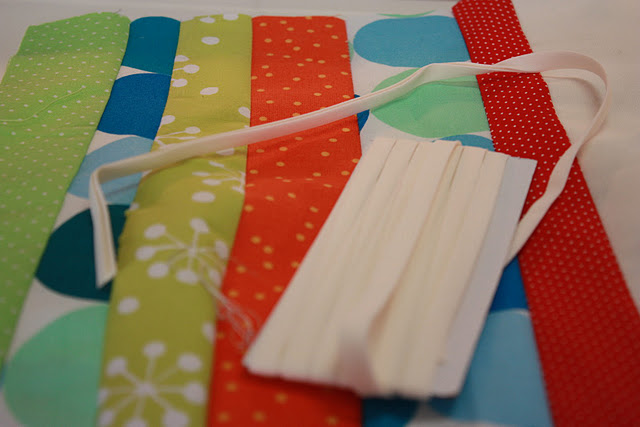
If you want to add an edge to the banner, grab some coordinating bias tape.
Fold it over the edge of the fabric and stitch as close to the edge as possible while still catching the back of the tape (one side is usually a tiny bit longer than the other, put this side on the back!)
Now you’re ready to hang! If you want to hook it to your airplane, just use a bit of the bias tape and stitch it onto each edge of the banner, looping the end through the plane.
And next you get to enjoy the colorful, unique, handmade banner every time you walk into the room! Yay!!


