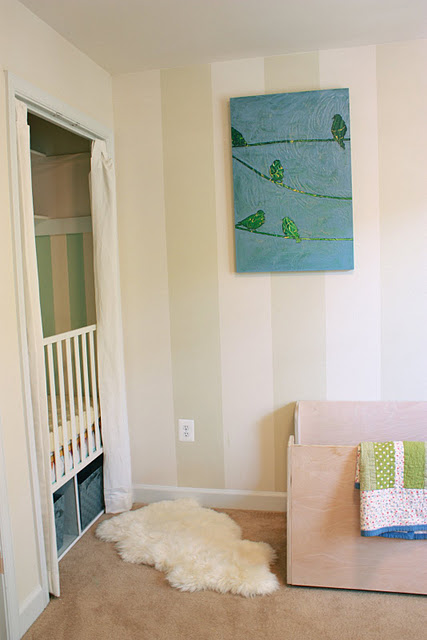
It’s finally finished.
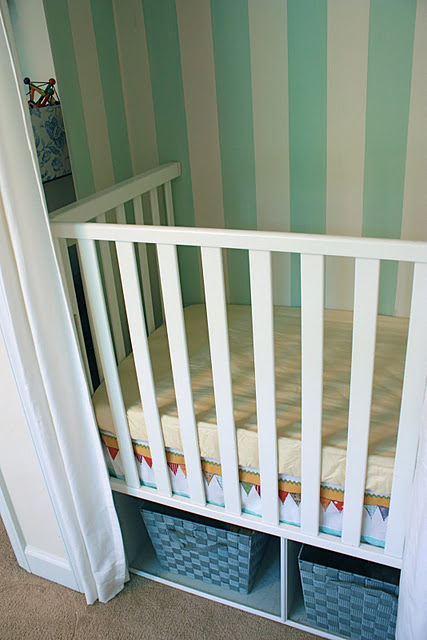
Little Eliot will have a place to lay his head (after spending a few weeks next to my bed). The original plan was to built Milo a toddler bed into the closet and put Eliot in the crib…but after talking with a friend at Milo’s birthday party, I realized it made much more sense for the smaller child to be in the slightly smaller space. Thus, we sold our steal-of-a-deal Pottery Barn crib and changing table (and made money:), built Milo a perfect toddler bed, and built Eliot this Cupboard Crib. It all fits much better in our little space than I could have hoped!
Here’s a look at the process:
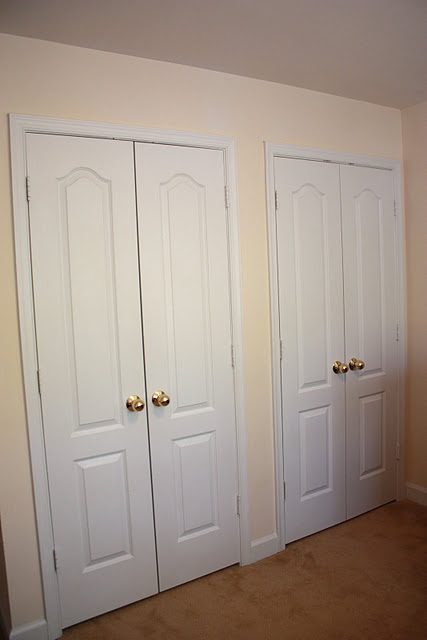
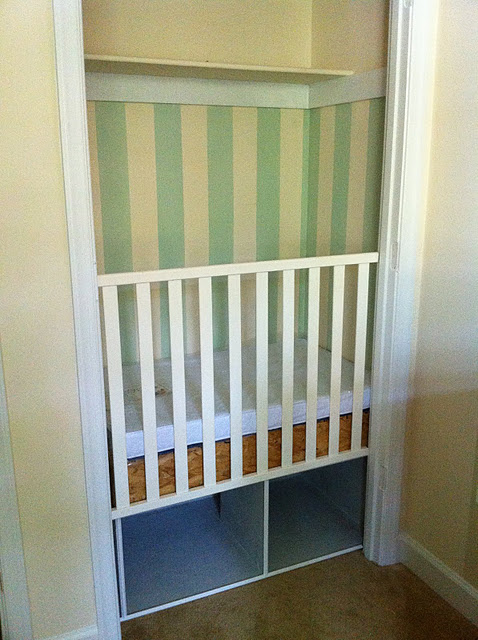
The second bedroom in the apartment has two rather spacious closets.
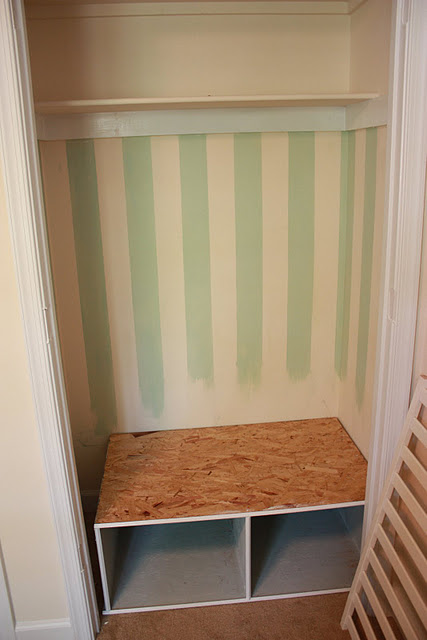
For the last two years, we’ve used the one on the left as a clothes closet for Milo (a few minutes before the photo we moved the metal shelves with baskets out into storage). This one will remain a clothes closet. The closet on the right has always been simply storage space. We’ve been able to store all of our belongings within our 950 square feet, until now. Luckily, the complex rents storage rooms in the basement of the buildings for cheap. Camping, climbing, biking, traveling, and holiday gear has now all been relocated to the basement and Eliot has a bed:)
After removing the doors on both closets (and putting them in storage:), we took all the necessary measurements and drew up some simple plans. My mom suggested we add some built-in storage, since we’re starting from scratch anyway. So, the plans involved one box for the bottom support, and then a second, removable box to allow the mattress height to drop 6″ when Eliot begins to pull up to standing. These chicken scratches were invaluable when we went to buy the “ugly #2” cheap plywood at Home Depot. The guy cut it all up for us according to plan. All we had to do was screw it together…
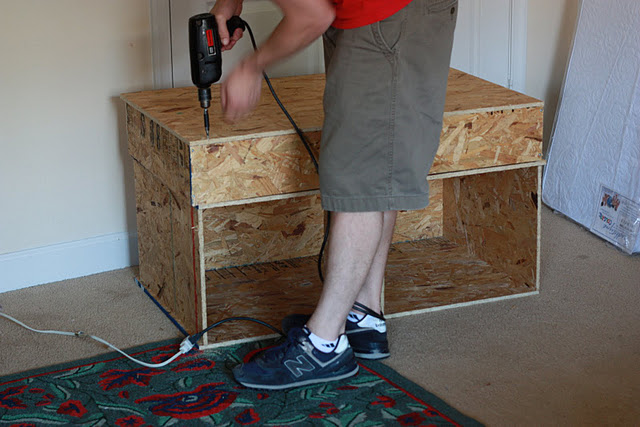
Screwing things together is surprisingly complicated! We didn’t have my dad’s expertise on this one (this part we finished before he arrived). Dave did a great job. The living room became our wood shop, and we managed to get some boxes built.
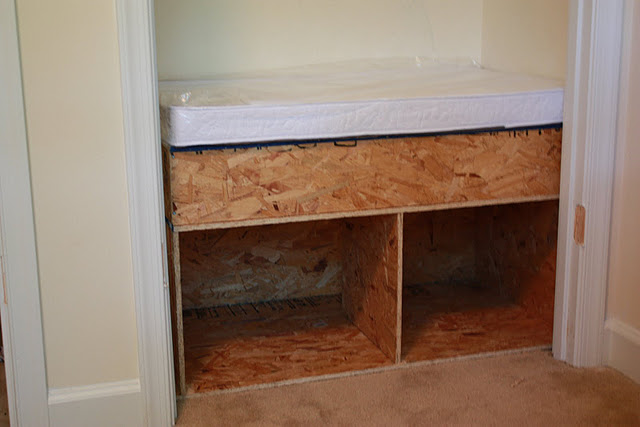
Gotta love a man with power tools! You can see the bottom is open to the front for storage, and the second level is not.
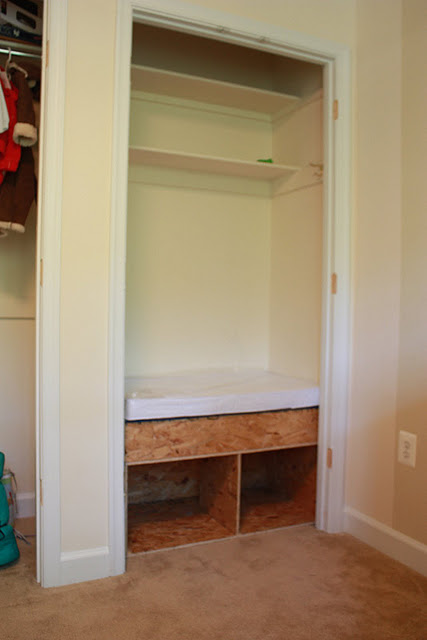
We sort of held our breath as we tilted the boxes into the space, and they fit! Like, exactly. We ended up adding that center support on the bottom box, both for divided storage, and to increase it’s stability.
Eliot’s crib mattress is the standard portable crib size, and from wall to wall is a perfect fit. We lucked out big time. Now, it’s not super pretty at this stage, but I was elated, and knew that we could get it looking spiffy for our little man.
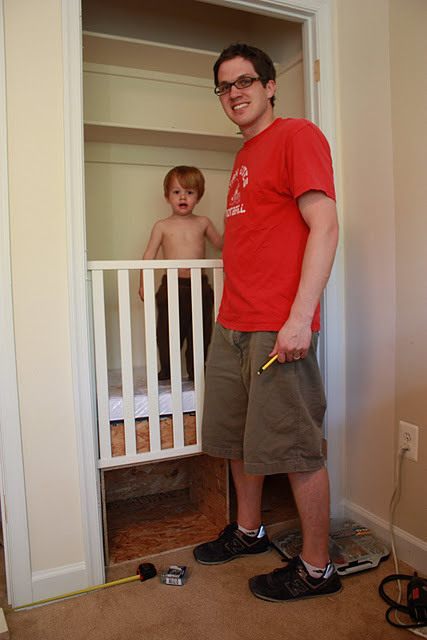
Milo likes it so far:)
The crib rail came from the free section of craigslist (you do know there is a free section? 😉 It was being given away by a grandmother who had it in case of the grandkids staying over, all of whom had now outgrown it. I didn’t see a photo before hand, but was so excited to see it was simple, wooden, and white. It was exactly what we needed for this project. Dave measured and cut the front rail to size. Then we used half of one of the side rails, with one leg, to finish off the foot of the bed where the closet is open through to the other closet (you can see that in the very top photo).
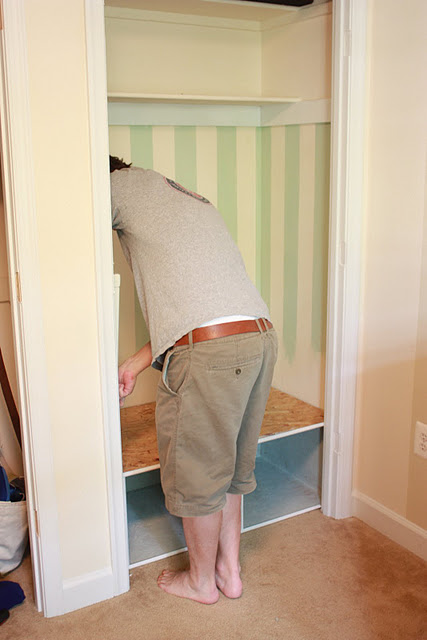
One afternoon, my good friend Brooke volunteered to take Milo for a few hours while Dave and I finished and painted the bones of the bed. We raced. I measured and taped and painted the blue stripes while Dave nailed on some finish molding to the front of the bottom box, and painted it. I won, but maybe because I decided to only go as far as will show since we’ll paint it all back when we move one day anyway…and then I helped Dave finish up the inside of the box.
With the painting finished and the rails all measured, we simply had to install them. We used flat metal brackets to screw into the ends of the top and bottom rails, and then into the door frame.
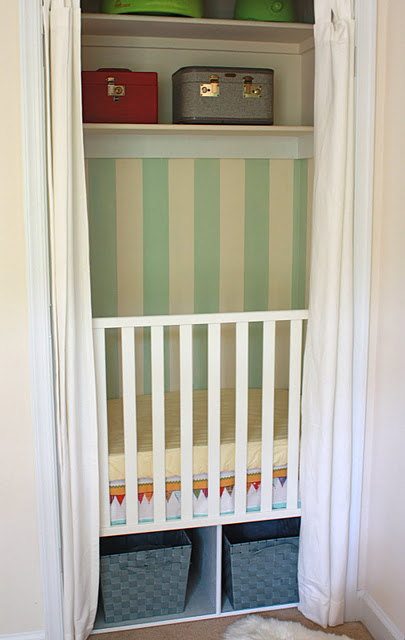
And, there she is…structurally sound and finished. She sat like this while we ventured out of town, then hosted company, and finally this week I was able to get going on the final touches: crib skirt to cover the second box, baskets for storage, and curtains to cosy up the doorframe and make it a real Dutch Cupboard Bed.
I was thrilled to find this awesome pendant fabric at Ikea in the as-is section (you do know there is an as-is section, right? 😉 It made a fun crib skirt that adds a variety of colors to the room. The curtains also came from Ikea (full price of $14.99) and I used one of the two panels for this door, simply cutting it in half and hemming. The other panel will be for the other closet, but I’m not quite finished with that side, yet:) The baskets were found at Michael’s. I wasn’t quite sure about them until I stuck them in there and they match the interior box paint perfectly. Like they were made to store blankets under Eliot’s crib. Perfect.
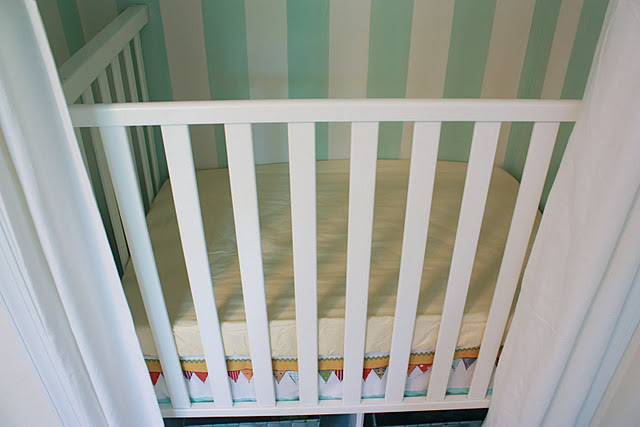
Here again you can see how the foot of the bed is finished off with crib rails as well. Nice and cozy.
For being in a closet, this little setup is pretty spacious. Milo wants to climb in every so often, and he can get quite comfortable. So, we know we’ve got at least about two years with it.
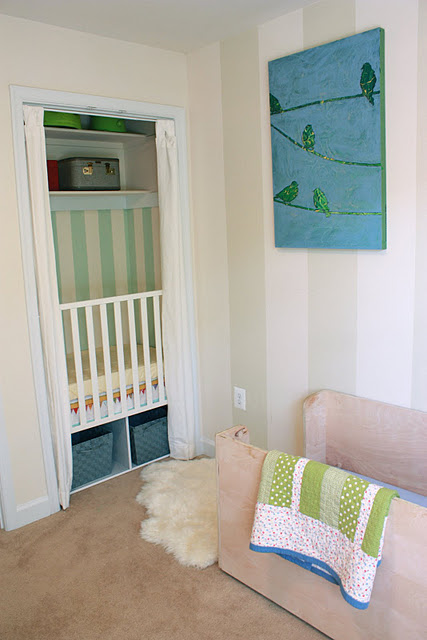
Back up a little bit and you’ll see how Milo’s bed and Eliot’s crib fit well together on this side of the room. And I love how Milo’s big stripes and Eliot’s little stripes echo each other. Who would have known when I painted those, how well they’d grow with us?
I can’t wait to see my two little men bright eyed and bushy tailed in the mornings right here. I’m sure Milo will love climbing out of bed and waking up his little brother.
Pretty perfect little setup, right?
(…and what an irresistible little sheepskin rug. I simply was not strong enough to leave it on the shelf.)

