We’ve started to settle back into a bit of a routine after our vaca and the festivities. I went on a walk this morning, drove Dave to school for BAR review, stopped to browse a furniture store on the way home, played tractors and did laundry, ate “dillas” and watermelon for lunch, and helped Milo get ready for his nap–which he will be taking as soon as the pounding on his bedroom door ceases, he climbs into bed and falls asleep.
High up on my priority list for the next four weeks before Eliot’s expected debut, is completing a bunch of to-do’s in the boys room (so get excited:)
Curtains had been on that list for about two-years, ever since I sloppily hung an old, brown sheet over the window to block the light for his naps. Two weeks ago, I finally figured out what I wanted, bought the materials and about 50 loooonnnnnggg lines of straight stitching later, I finished.
Here’s a quick run-down of how I made it happen:
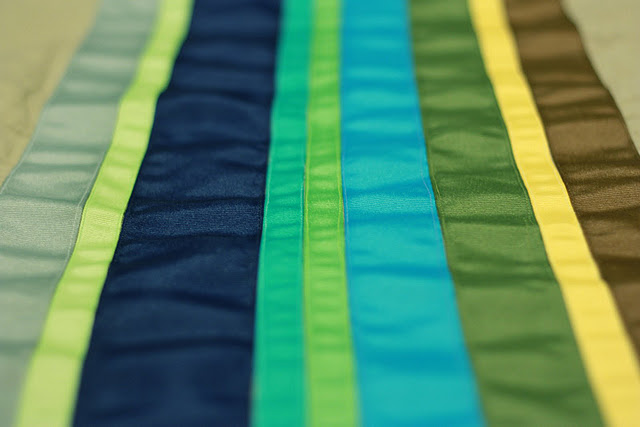
Three yards of perfectly neutral linen and three yards each of several hand-picked colors and widths of grosgrain ribbon. I lined them all up 8″ from the top of the linen, and played around with order until I got it just right.
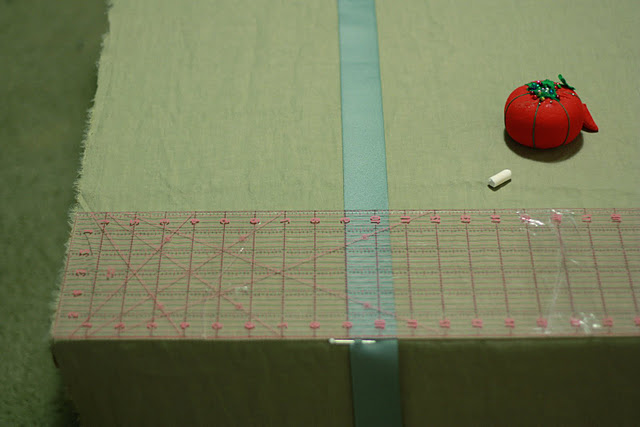
Using a straight edge, the corner of my coffee table, and chalk, I ensured that all three yards of the first row of ribbon were pinned exactly 9″ from the selvage.
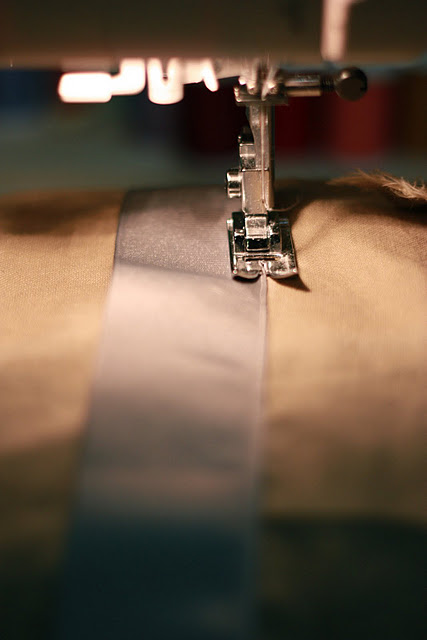
And then began the loooonnnnggg straight stitches. Very different sewing than my usual whip-up-a-shirt stuff. I have much admiration for quilters who do this all the time…
Once the first edge was sewn down, I started over and sewed along the length of the other edge, keeping it straight and flat the whole way.
One stripe down, eight to go.
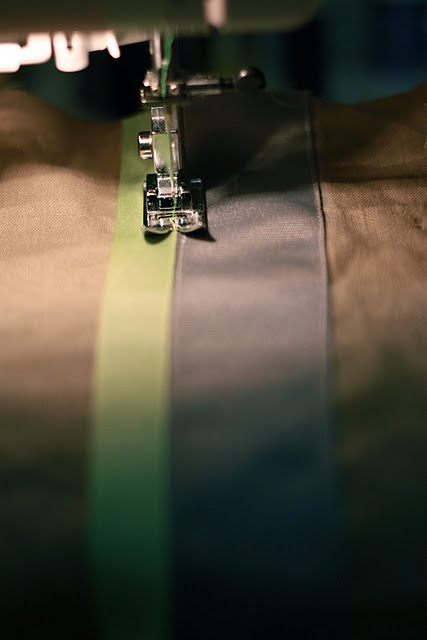
With each stripe, I changed thread colors to match as closely as possible…I don’t even know myself anymore!!
Because of taking such care to get that first row straight, the rest of the ribbon can just line right up against the edge of the row before it and it all turns out straight as well!
And the night darkens, and the stitching continues…
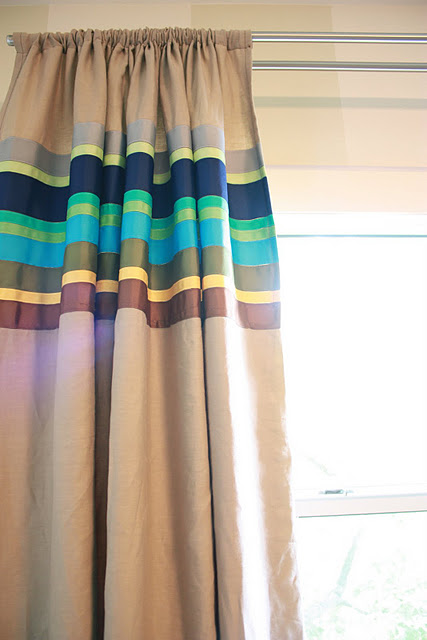
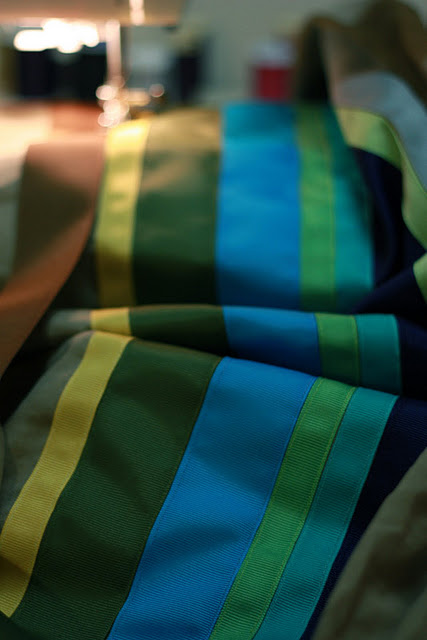
Ahhhh, there we have it! Nine beautiful grosgrain stripes on my linen.
It was at this point that I cut the 3 yard length of fabric into two panels. Because my curtains are only half-length, it was much easier to sew those ribbon on all in one swing, rather than to each of two panels. Of course, if I had wanted to make the curtains floor length, I would have needed to do them separately due to the fabric length.
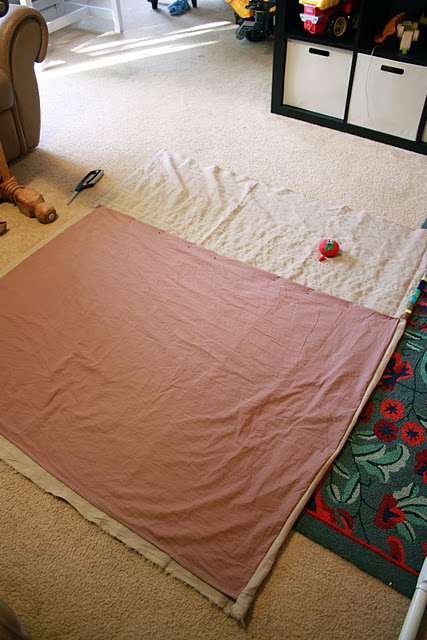
Now, the DIY ends and I say good luck finding a great way to line curtains elsewhere on the interweb. I winged it and am only semi-satisfied with the method I chose. I was using that old brown sheet again, and I was restricted by it’s size, so I chose to only line the curtains from the ribbon down, since the ribbon provides some black-out of it’s own.Fast forward through to the finished product:
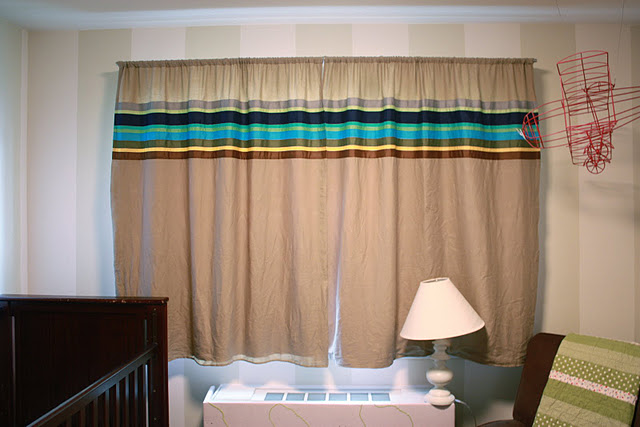
Dave was impressed with how the ribbon matches up as if it were still one panel…
(and oh, how I wish every dang room in my otherwise wonderful apartment didn’t have a vent sticking out underneath the window…I would love floor-length drapes. But, alas, these will have to do).
(and oh, how I wish every dang room in my otherwise wonderful apartment didn’t have a vent sticking out underneath the window…I would love floor-length drapes. But, alas, these will have to do).
Opened up, they let in the brightness of the sun while still helping the room look finished. Much better than that old brown sheet, I’d say.

