We’ve been in major home improvement mode around here. Regardless of the fact that we rent an apartment, and nothing we do can actually be permanent, we love to feel like our house is OUR HOME and has all of the touches we would give to it should we own it.
Among the long list of half-way finished projects, currently in the works are: building Eliot’s “Dutch Cupboard Bed” (my mom introduced me to the name, and it sounds so much more chic than “crib built into the closet”!) and Milo’s toddler bed, curtains for all four windows, organizing a new bookshelf in our room, repainting my computer hutch, and reupholstering our arm chair. Whew. These are all literally half-way finished, which means our house is a total construction zone and our stuff is piled into laundry baskets in several rooms. Luckily, Dave has some time off right now before graduation. He also got some new power tools for his big birthday yesterday, so we’re ready to rock!
One project that is actually all the way finished is the overhead light in our living room.
I understand that lamp light is nice, but I really love having the option of a big, bright, overhead light in the main room, and they sort of don’t exist out here. So, I decided to create a temporary overhead light that I can simply unplug and take with us when we leave.
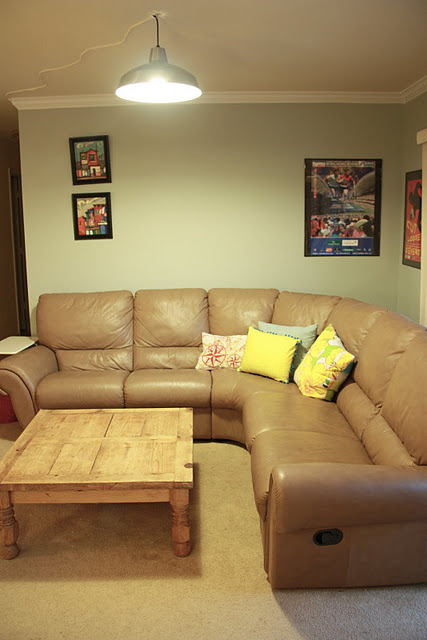
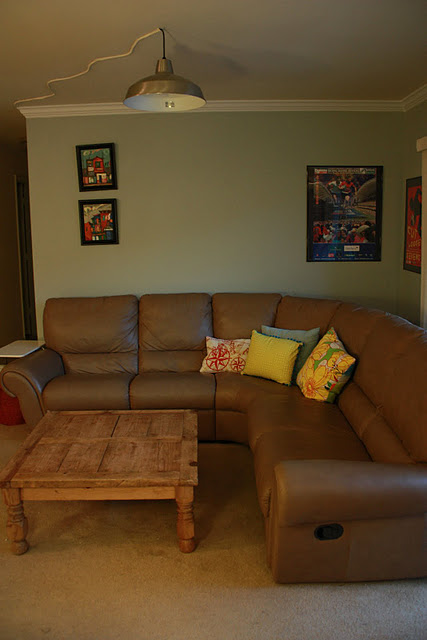
This is our living room in bright daylight before I created the swag. During the day, the light was nice, but as soon as the sun went down it was too dark to function, even with lamp light.
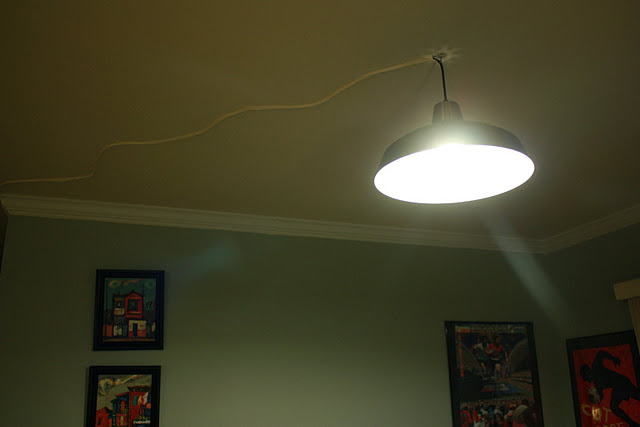
And, in the middle of the night after the swag is “installed” (you’ll learn exactly what that means coming up:) Bright light! Yay!
Now, let me walk you through the relatively simple process (that involves asking a lot of favors from people who actually know what they’re doing), in case you’re a renter with a need for light, like me.
You’ll need:
A pendant lamp, with or without the ceiling fixture
All three copper wires to form an extended cord (ask the Home Depot guy to help you…)
Some screwdrivers
A three-pronged plug end
Electrical tape
*A friend/mechanic with some butt connectors
Duct tape
Paint
I’m no electrician. Being the daughter of a construction company owner, however, I feel inclined to claim more handy prowess than perhaps I should. I feel ever so comfortable in Home Depot… (obviously🙂
So, when I spotted this stainless steel pendant lamp on the shelf, out of the box, with the ceiling fixture missing, I thought “Oh perfect! I’ll get a discount on it and turn it into a swag.” And that’s what I did.
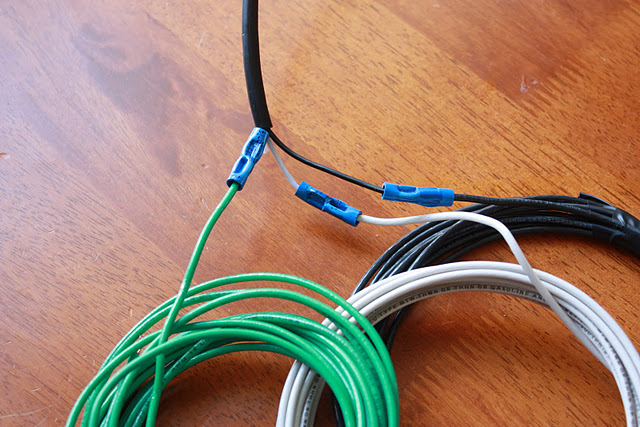
If your pendant has a ceiling fixture, you can simply wire-cut it off. You are then going to connect your extension wires to the three copped wires inside the cord. I called my dad to ask how, and he said I could either simply twist the copper of the wires together and secure with electrical tape, which would be ghetto. Or, I could ask my local mechanic to use a butt connector (yep. butt connector). I did the latter. Dear Tom at K&B auto, who knows us all too well, rigged these babies up free of charge in about five minutes. Perfect.
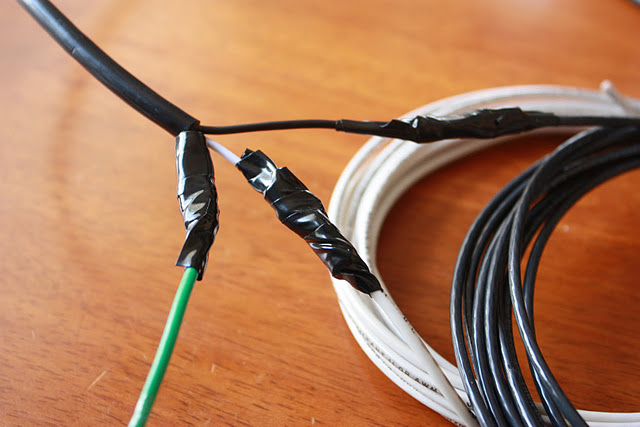
I then wrapped them in electrical tape anyway, just to be safe. Apparently, it’s not a good scenario if the copper inside one wire touches the copper inside another. So, make sure they are fully insulated.
Next, I twisted the three wires all together, to form a cord, and wrapped the whole length in electrical tape. I think I could have bought some sort of tubing to put them in, but this worked fine for my purposes.
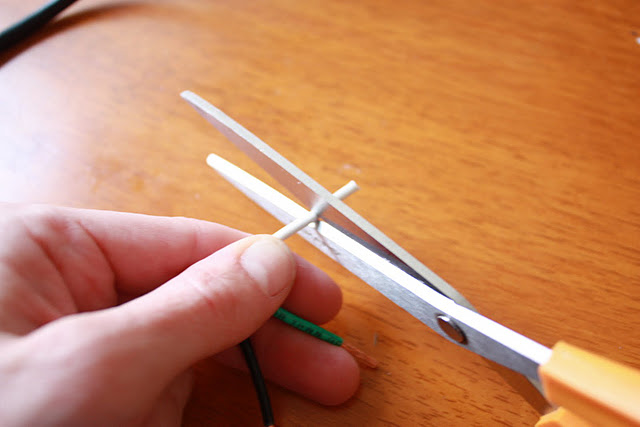
Now the fun part, adding the outlet plug to the end of the cord. First, I cut a bit of the plastic casing off of each wire. I simply used scissors and cut very gently through only the plastic…
…then the end piece slid right off, leaving about 1/2″ of exposed wire.
Each wire has to wrap individually around the corresponding screw in the back of the plug.
To do this, I just loosened each screw a bit, bent the copper to wrap around the screw, just under the head, then tightened up the screw. Easy peasy.
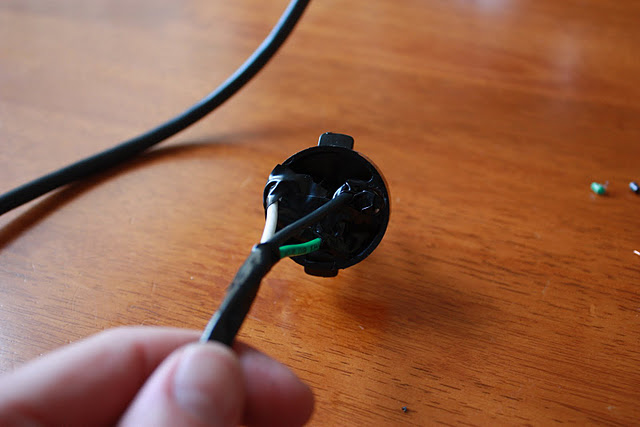
When all three are connected, it should look like this.
Then, for safety, I wrapped each individually with electrical tape again. I don’t want an apartment fire on my hands.
After replacing the back cap of the plug, I had a moment of truth.
I screwed a lightbulb into the lamp and plugged the cord into the wall…
And, there was light! Without sparks! Whoo hoo!
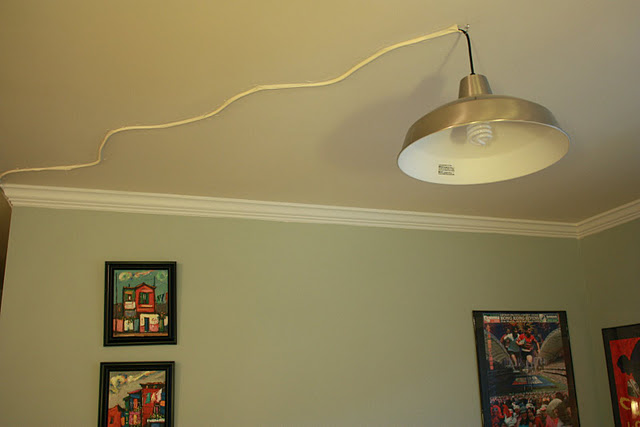
Now, to hang this baby up. I simply put a small metal hook in the ceiling, where I wanted the pendant to hang, and then draped the cord over to the corner of the room and down the wall to the plug.
I had assumed that with a cool little swag chain, I could get away with the hang, but it was bad. Not to mention that the ceiling isn’t quite high enough to loose even 6″ on a hanging cord.
So, I did what any other handy person would do, and duct taped it to the ceiling and wall. Not only does it take the drape away, but it will also make for easy removal. Dave suggested I do a little zig zag with the cord on the ceiling, to create some visual interest, and subtly acknowledge that we are aware that it is there. We’re not trying to make it completely disappear…I think it was great advice. I also decided to wrap the cord around the corner and down the door frame in the hall, so the living room wall remained smooth.
After duct taping it, I used matching touch up paint (from the management) to cover the purple duct tape. After a couple coats, it blends nicely. Along the door frame, down to the outlet, the cord is barely noticeable.
And along the ceiling, it is interesting. I like it!
And man, does having an overhead light brighten up the room.
Here is the room in the evening, with just the two table lamps on…
And with the pendant on, nice and bright.
It has been great to have the option of relax and read lighting, or get-stuff-done lighting, even at night. And the whole project took one day and about $30.00. Not to shabby.
*Disclaimer: I have no electrical training, and very little electrical understanding. I am also probably too impatient and assertive to be totally and completely safe. So, if you want to become a DIY electrician, I claim no responsibility for your house burning down. Thank you:)


