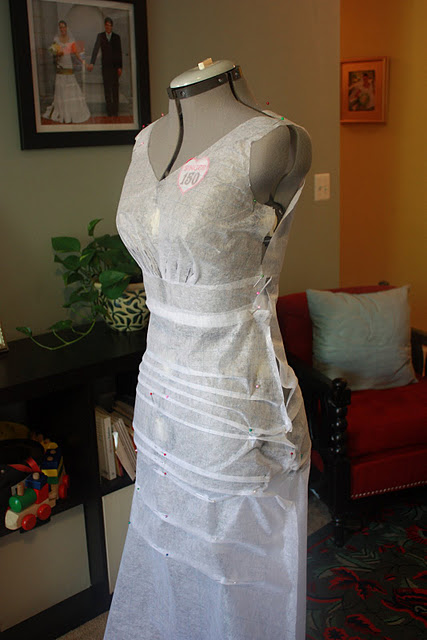
After design and sketch, next up in my series about creating Katie’s wedding dress is making the pattern.
Now, I rarely use commercial patterns (like once in the last 2 years, and I still modified it.) Mainly because part of the fun of sewing for me is the pattern making process. Once in a while someone emails me to find out what pattern I used for this or that, and I’m always sorry to have to tell them I just winged it.
I learned the hard way (making the same thing two or three times from zero) to start actually MAKING PATTERNS rather than simply making the clothes. So now, if I think I will use something again, I make a pattern in muslin to keep, then use it to sew the real project. That also saves on mistakes, since muslin is relatively cheap material. Occasionally, however, I still drape the real material first and just go for it, and most of the time it works out for me.
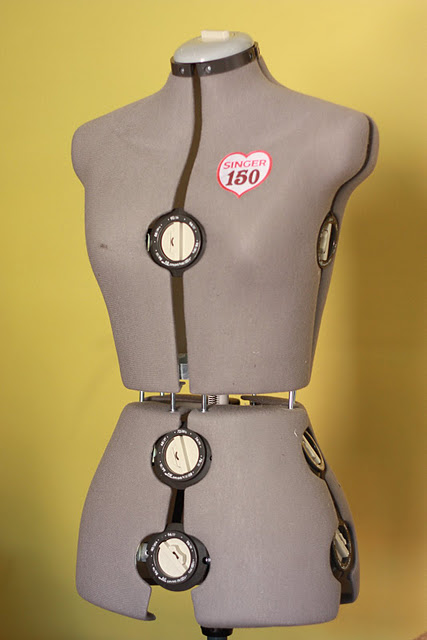
An important tool in pattern-making this dress was my trusty adjustable dress form. I emailed Katie a list of the measurements I needed, and also the link to this great tutorial about the correct way to take some of them. This way, even from a couple thousand miles away (Katie lives in Idaho,) I was able to be confident the dress would fit. The measurements I asked for were:
Waist
Bust
High Bust
Low Bust (same as high, just under the bust around the ribs)
Hip
Back Waist
Waist to Knee
Shoulder (from the end of one shoulder, across the back to the end of the other)
Upper Arm Length (from the shoulder to the elbow)
Upper Arm Circumference
Clavicle/Sternum to under garment line (for the v neck)
Neck to under garment line in back (for v neck)
I wanted to be thorough:)
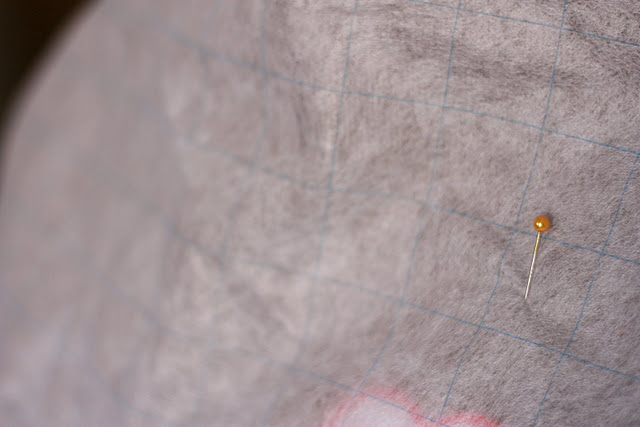
Once the dress form (she doesn’t yet have a name, if you can believe that. Any ideas?) was set to Katie’s measurements, I began draping. The lady at the fabric store had sold me on the idea of this pattern fabric that had a 1″ grid printed on it. It was comparable in price to muslin, so I went for it. I did like being able to line up the grid, and use the inches for quick measurement counting, but the material is a bit stretchy-and silk is not-so I think it’s purpose may be better suited for a fabric with a more similar give. Although it was fine.
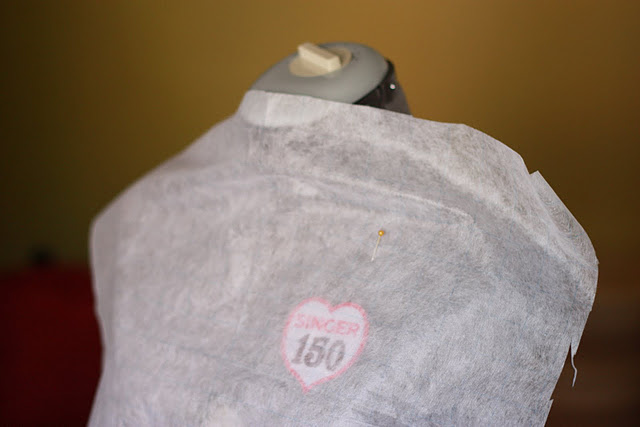
The quick and dirty? Line the grid up, pin the sheet to the front of the form in a couple places, and start “draping” the material into the shape of the desired dress. It takes some guts to start shaping and cutting and pinning, but you’ve got to just go for it. A basic understanding of garment construction helps a lot here, too. Knowing where to place seams and so forth. I am a totally self-taught pattern maker, and all I can really say is that many mistakes have helped me build some solid skills in which I have confidence!
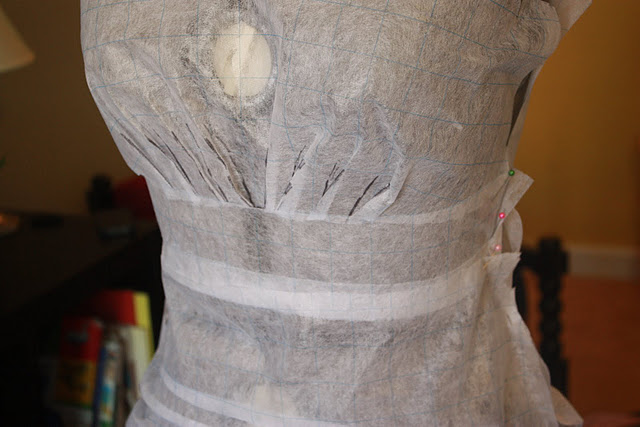
After some tucking and measuring and cutting, I got it pretty much figured out. I made sure to include all of the little diagonal darts, so that when the piece was used as a pattern, I had enough material in the right places to create that detail. I also placed the waist band and skirt as separate pieces, as they would be on the real dress. Basically, in the step of pattern making, you create the whole dress in muslin and pins.
You can see on the right shoulder (your left) where I had cut the v-neck a little wide, and when measuring it against Katie’s measurements, realized I wanted a wider shoulder, so I simply cut another piece of the grid and pinned it on in place. Then, when I cut into the silk de chine, I had an accurate pattern, even if it was pieced together.
I tried to drape a few of the pin tucks, even though it was difficult once I couldn’t push the pin into the form below the hips. I knew I needed to account for the 0.5″ each of those pin tucks takes, and along the curve of the hip, where there are several, it could change the pattern quite dramatically! I always try to error on the large size in pattern making, because it is usually easy to take a dress in, but sometimes impossible to let it out.
When I was satisfied with the draped pattern, I was ready to begin the next stage of the process: Piecing.

