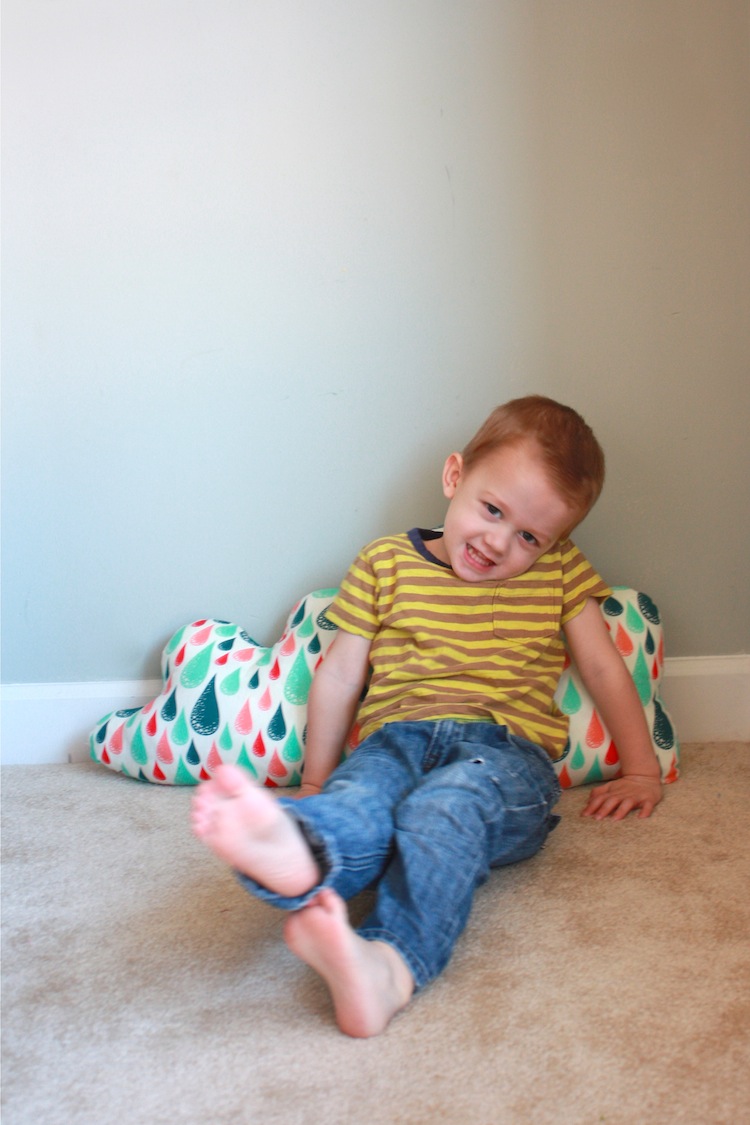
A couple days ago I saw and re-pinned this adorable cloud pillow. I considered buying it, but $100 (+$30 shipping from AU) is out of the budget. Then I considered hand screen printing the raindrops onto natural linen to create a similar print, but the time commitment was too high. So, I sought out the perfect raindrop fabric (thanks for the tip, Katie!) , whipped up a pattern from kraft paper, placed right sides together,and stitched away.
And then I cut open my bedroom pillow for batting, since I didn’t have any on hand (at 11 pm last night)…I needed a new one anyway 🙂
This morning Milo was thrilled to see a giant rain cloud sitting on his chair. I think they’re going to be good buddies.
(Hmm. That cute pucker looks rather familiar!)
We’ve already found the rain cloud is great for hoisting onto shoulders and tossing,
hugging and snuggling,
and just regular old lounging around.
Two tips if you decide to make on for yourself:
1. Make sure you cut the front and back so the rain is falling down on both sides. I usually fold and cut when I need two of the same piece, and was happy I remembered to align the pattern correctly.
2. Remember the stuffing will reduce height from your pattern, so add additional inches on the top and bottom to the end shape you hope for. Mine ended up about 2″ narrower than I had planned because I forgot this.
Overall, I love the way it turned out! It’s a little different feel than the original pinspiration, but perfect for us. The color combination and whimsical shape make it such a fun addition to our little kid-centered home.


