Hi all! It was quite a week! After a nail-biting day of voting, I finished the third round of sew-vivor in second place. And then the host announced that the guest judge would be assigning additional points to her three favorites as well as granting one person immunity. It was very frustrating surprising, but despite not receiving additional points or immunity, my public votes were sufficient to move me into the final round!! So, thank you thank you, because this one won with the support of friends and family (and their friends and family who they bothered to bother for votes:) It was a great rally effort, and I appreciate it. Let’s do it all again next week, okay?
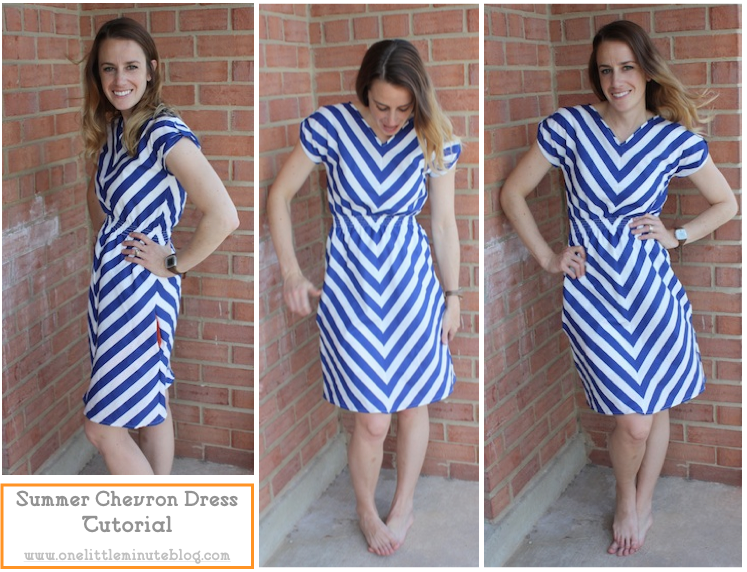
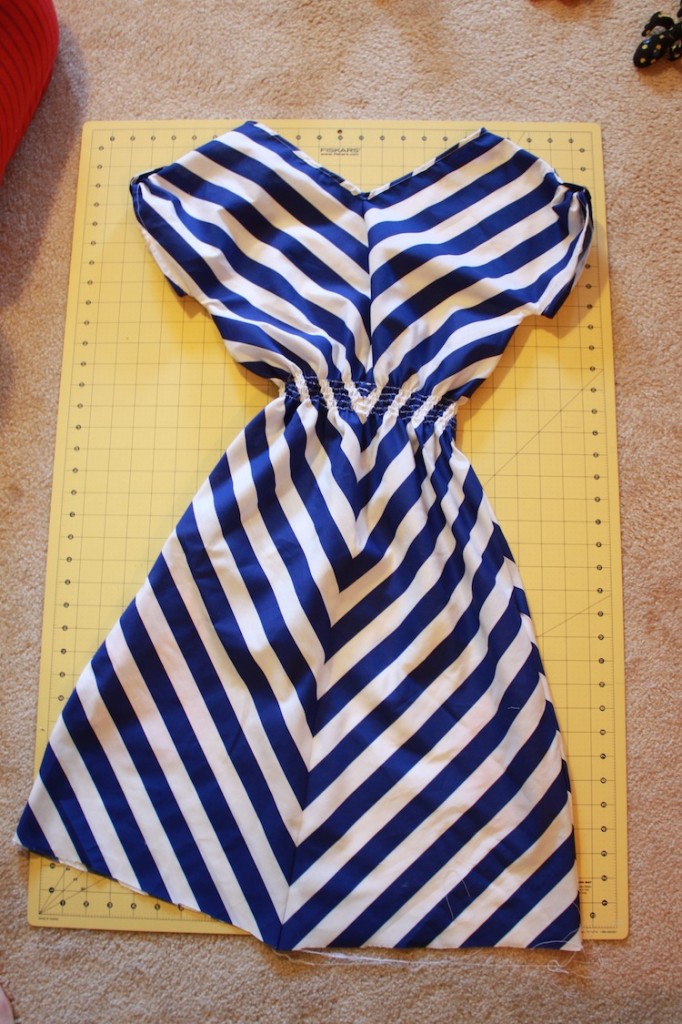
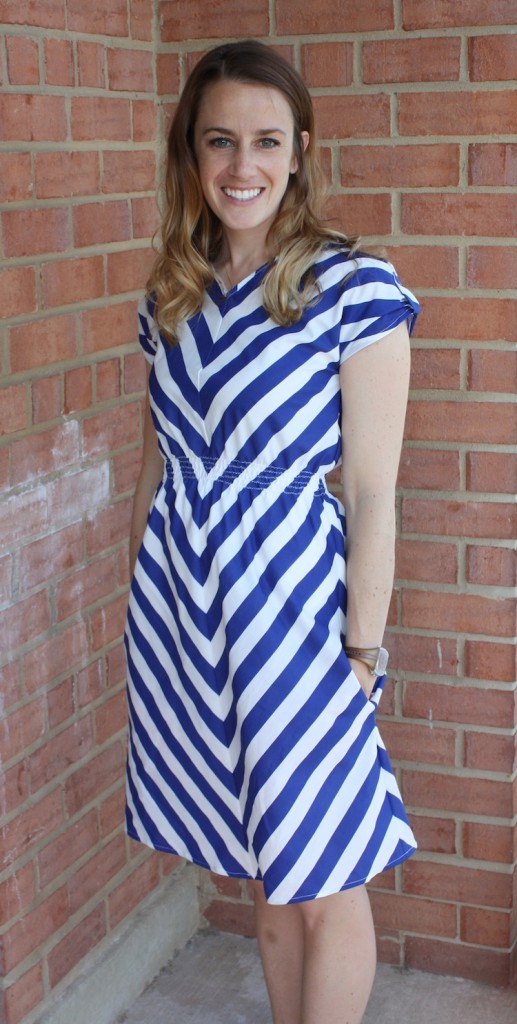
Now, I’m finally here with the full tutorial for my round one project, the Summer Chevron Dress. This one was really popular, and I’m excited to help you make one of your own! I didn’t photograph the making of the original dress, because I made it in the middle of the night (typical) and the lighting is horrible. I made another one, just for you:) This one is made from woven cotton instead of stretchy knit. Now I know you can make it from either with great results (though the knit is definitely more comfy.) You’ll need about 2 yards of your choice of striped fabric. My favorites are the little wider stripes, around 1-2″. Okay, let’s get started:
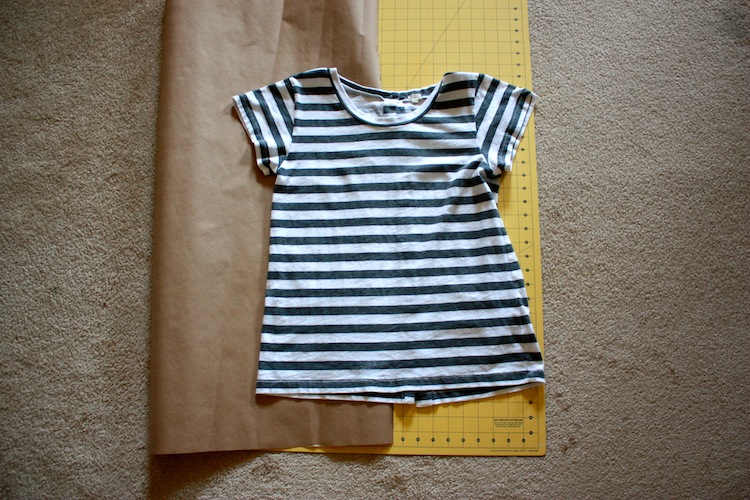
We’ll make the pattern using a roll of paper, and a favorite, easy fitting tee shirt. Lay the shirt with the center on the straight end of the paper and trace the pattern, around the sleeve, with a marker.
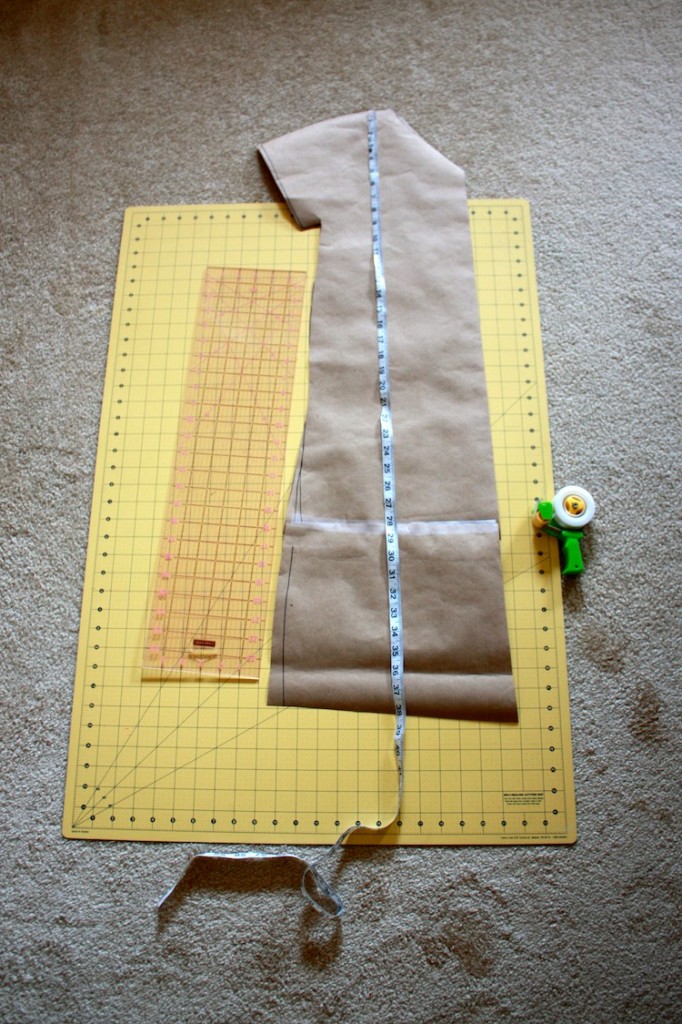
Cut along your line, and you should have 1/2 of a shirt pattern. Cut the v-neck by drawing a straight line from the shoulder to where the front of the tee collar ended. Alternatively, measure the depth you’d like your v-neck (from collar bone to point) and use that length of a line to cut the v.
Now, to make the shirt pattern into a dress pattern, you’ll need to know what length you want your finished dress. Add 1″ for seam allowance, and add paper to the bottom of your pattern, continuing the gentle a-line of the tee shirt pattern to the bottom of the dress.
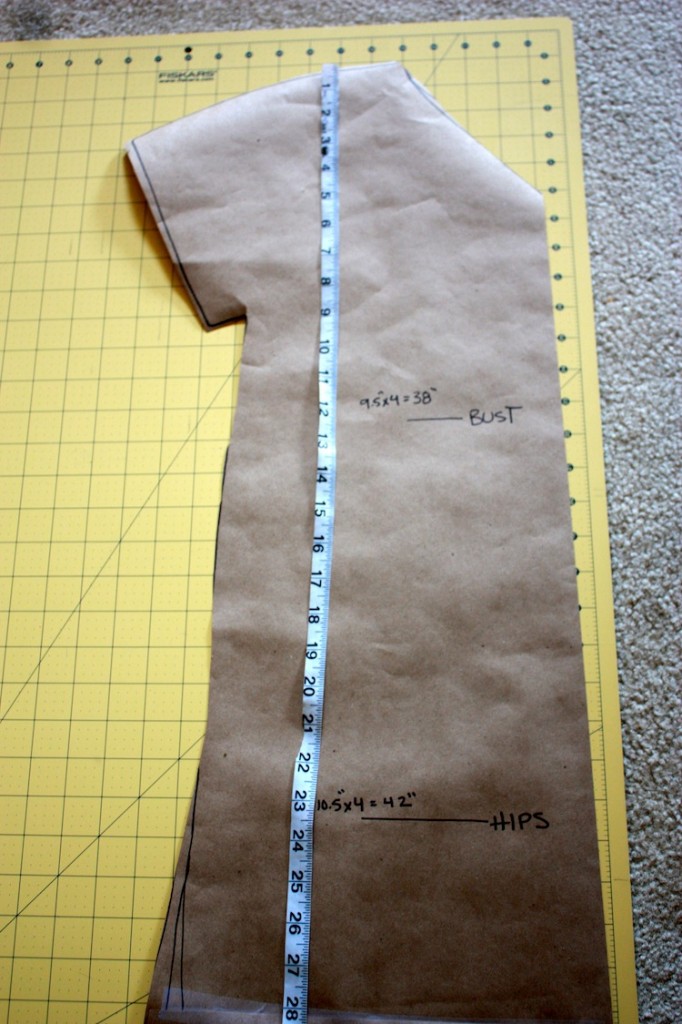
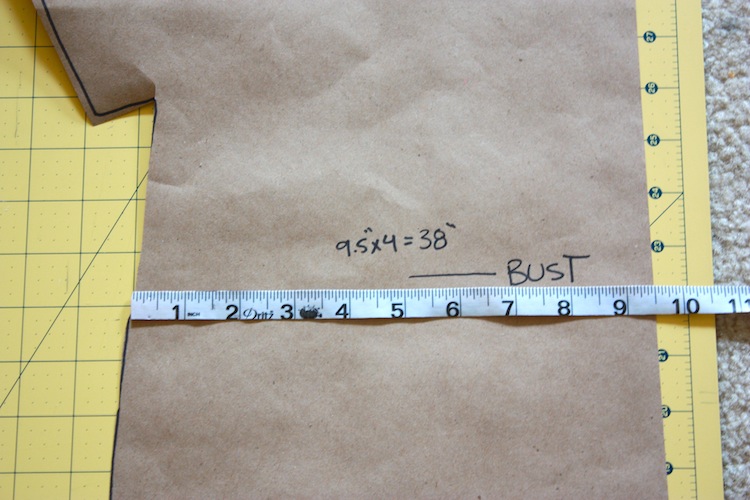
To ensure a great fit, double check your pattern. Measure the length from your shoulder seam to your chest, and hips and mark them with lines on your pattern. Then measure your chest circumference and hip circumference.
Then check your pattern against your measurements. For example, at 12″ from the shoulder seam, my pattern measured 9.5″ across. Multiply by 4 because this pattern is only 1/4 of the dress. I ended up with 38″. Subtract 1″ for seam allowance, and I still end up at 37″ for my pattern. My bust measurement is 36″ (for a couple more months, thanks to Eliot and so I will have 1″ of ease for a great fit.
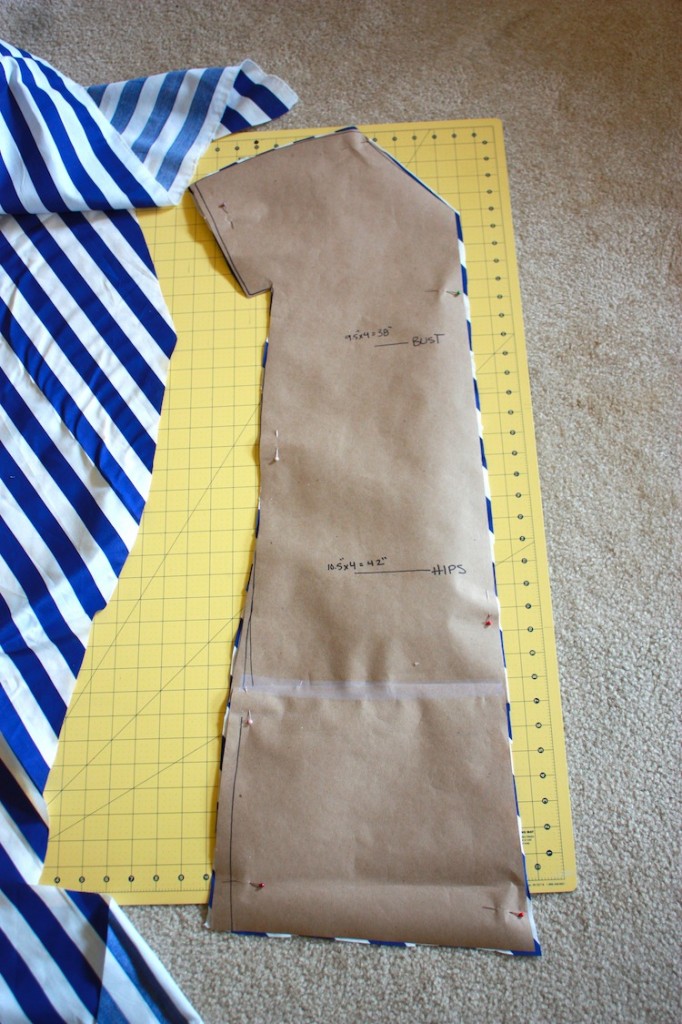
At 23.5″ from the shoulder seam, my pattern measures 10.5″. Doing the same step as above, I have a 41″ circumference on my pattern at the hips. My hip measurement is 37.5″ so I will have plenty of room in the bum on this dress. Perfect. If your pattern is too small, add paper to the outer edge, on the same gentle a-line as the original.
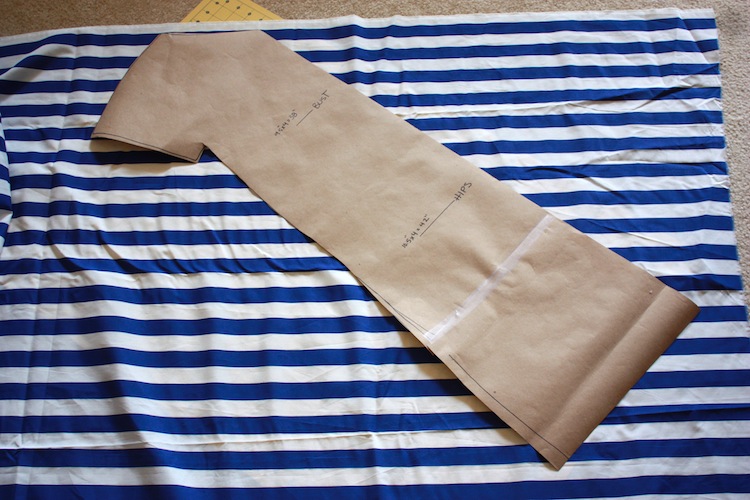
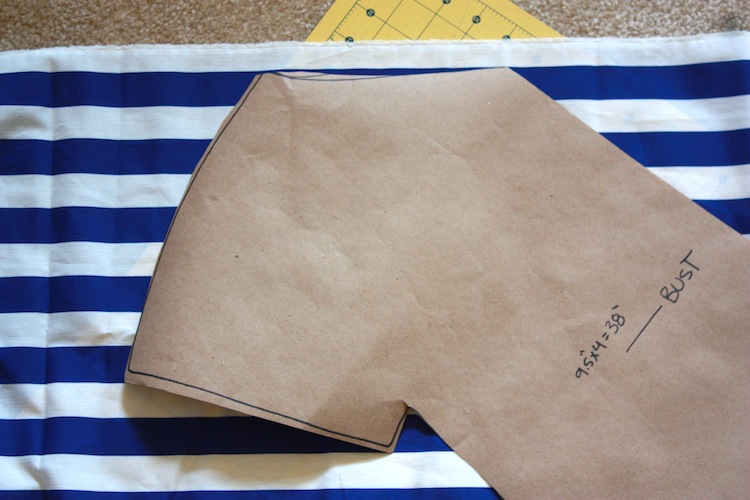
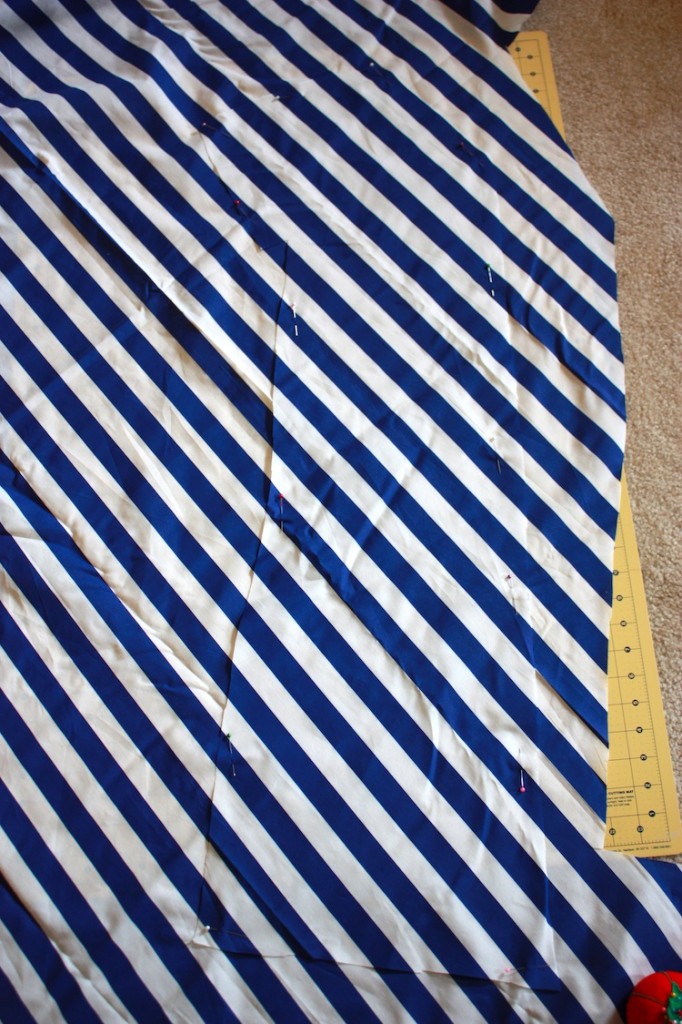
Now you’re ready to cut. Lay your pattern onto your fabric, as close to the top and edge as possible, to preserve material. I wanted my chevron stripes to point DOWN, so that is how I oriented the pattern.
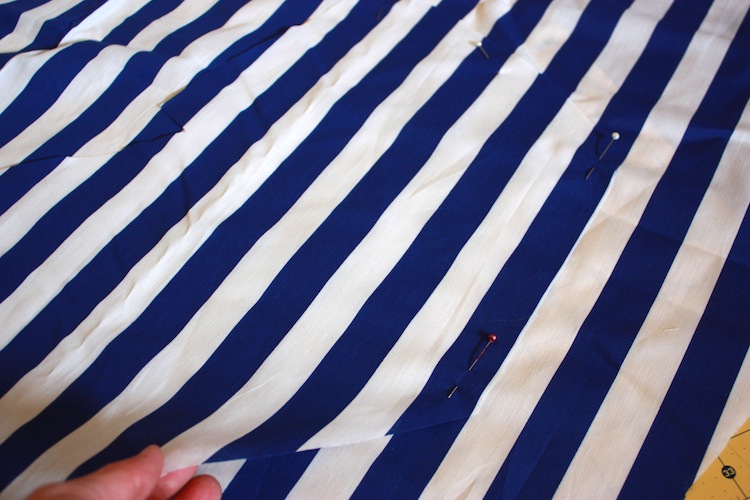
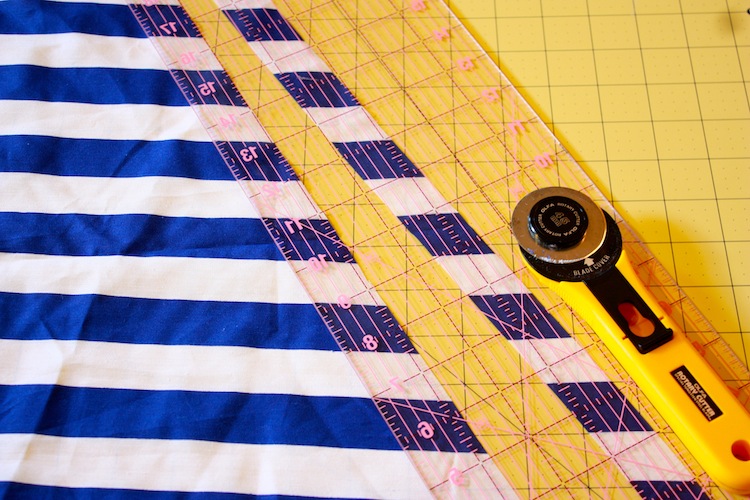
Use your v-neck as a guide to determine the angle of your stripes by lining the pattern edge right up against the edge of a stripe.
Pin and cut.
Now you will use the piece you just cut to line up and cut the next pieve. Lay the piece directly onto the fabric, lining up all stripes exactly.
If you’ve done a good job lining up the stripes, the pattern piece should almost disappear.
Pin and cut.
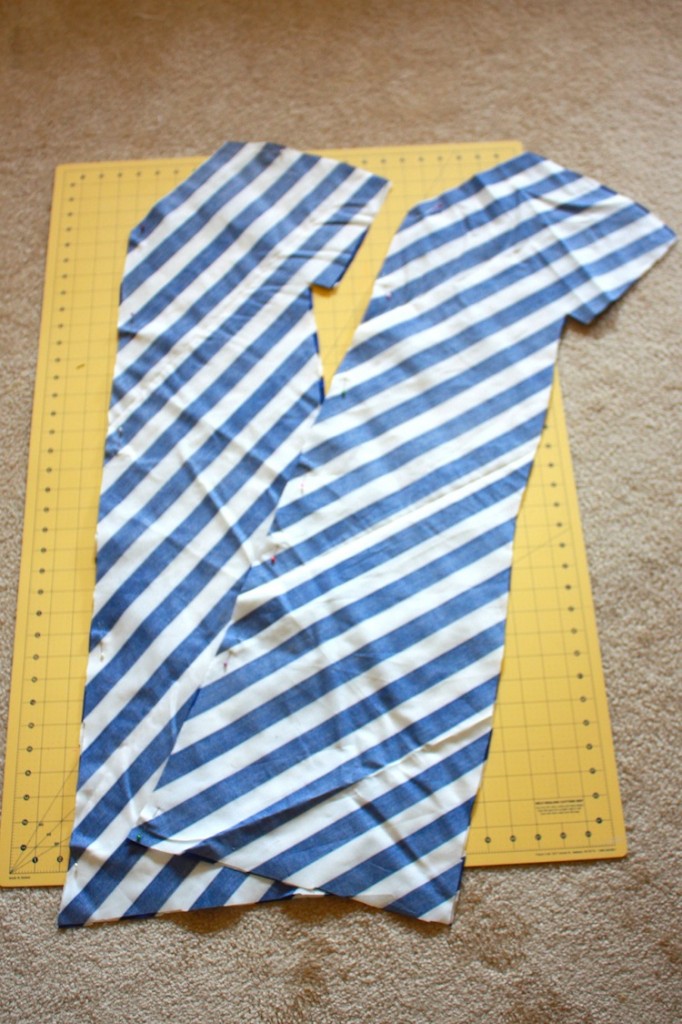
Now you should have two of the exact same pattern piece. This will be the front Right and back Left of the dress.
Next, turn one of the pattern pieces right side down onto the fabric. Follow the above steps to line up the stripes again.
Pin and cut. Then do the same one more time, with right sides of the fabric together, pin and cut.
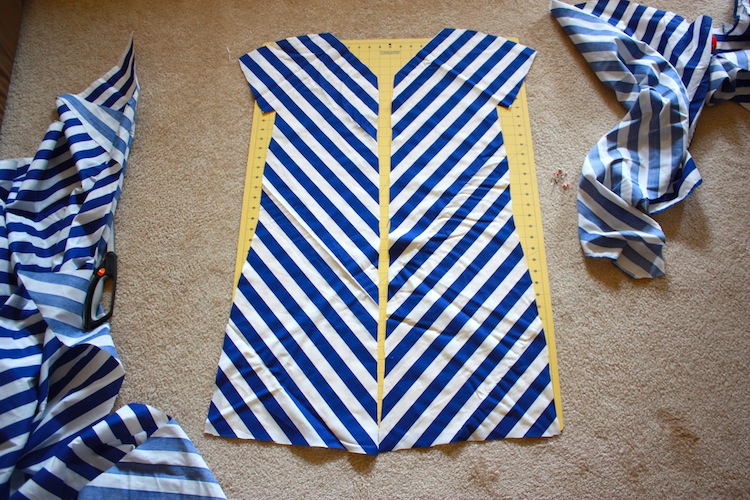
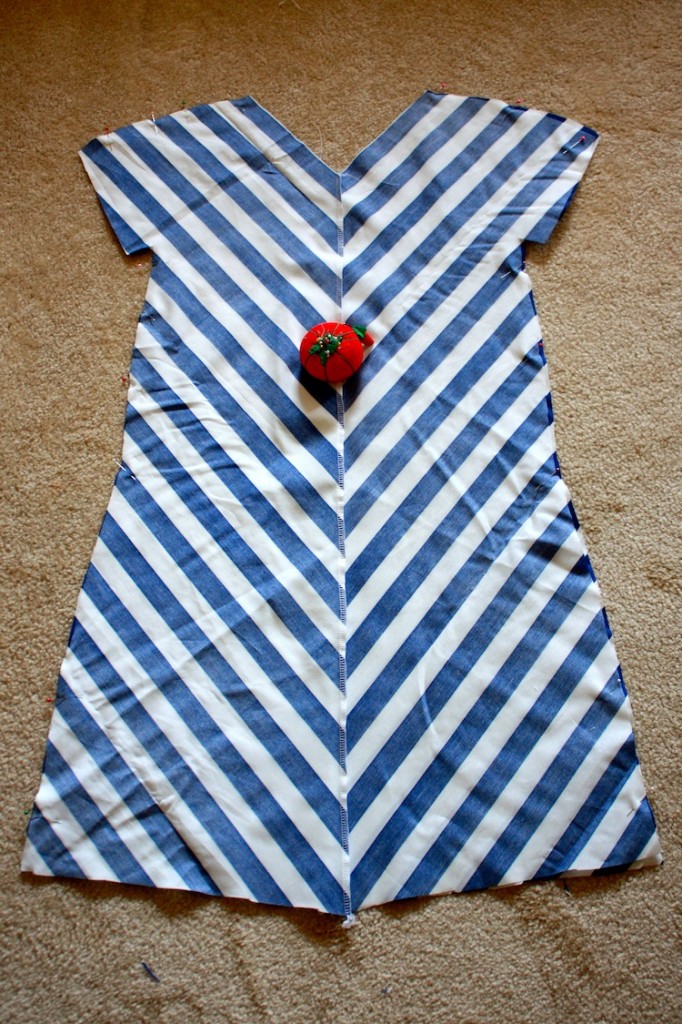
You should now have four pieces, two of one diagonal and two of the other. These four pieces make up your dress!!
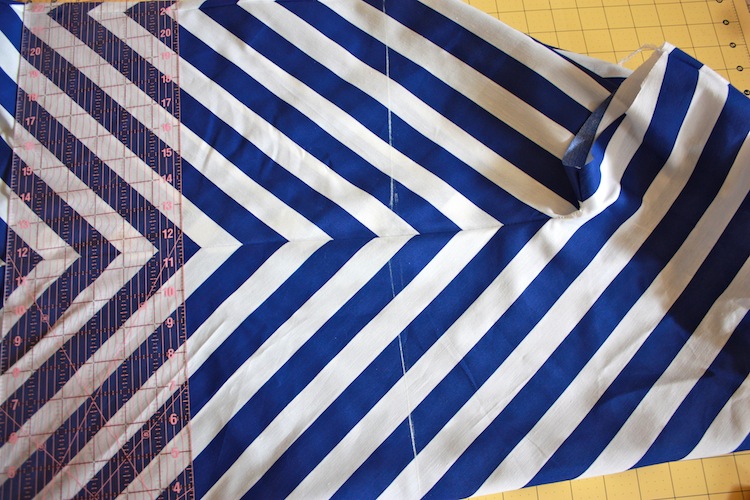
Turn the pieces right sides together and line up the stripes along the center. The exactness with which you line these up will determine the continuity of your chevron, so do a good job!!
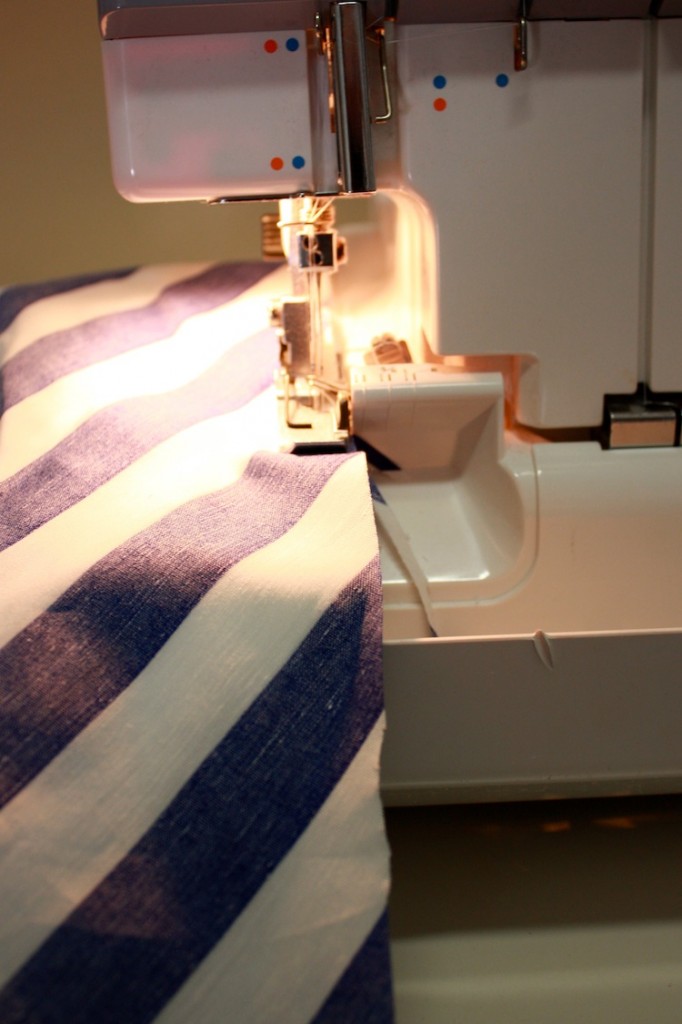
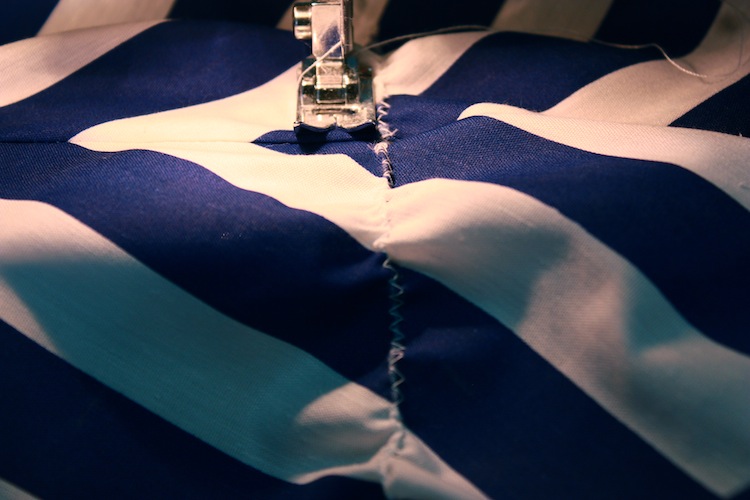
Using a 1/4″ seam allowance, serge or stitch down the center seams. If you are using a knit fabric, sew with a zig-zag stitch to maintain stretch.
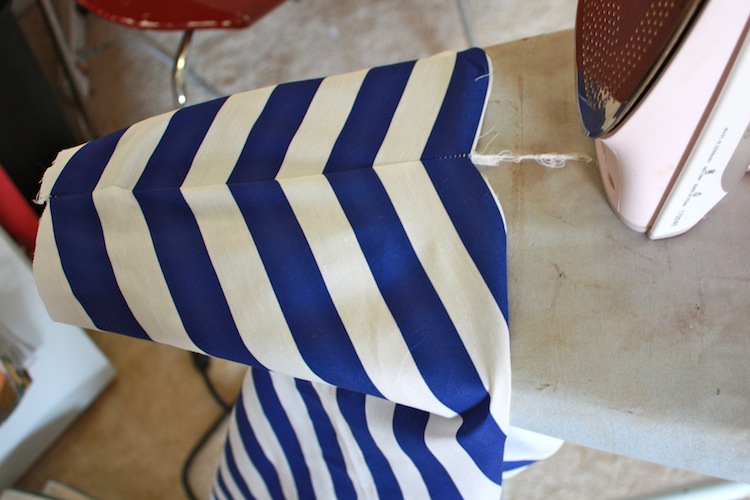
Press your seams.
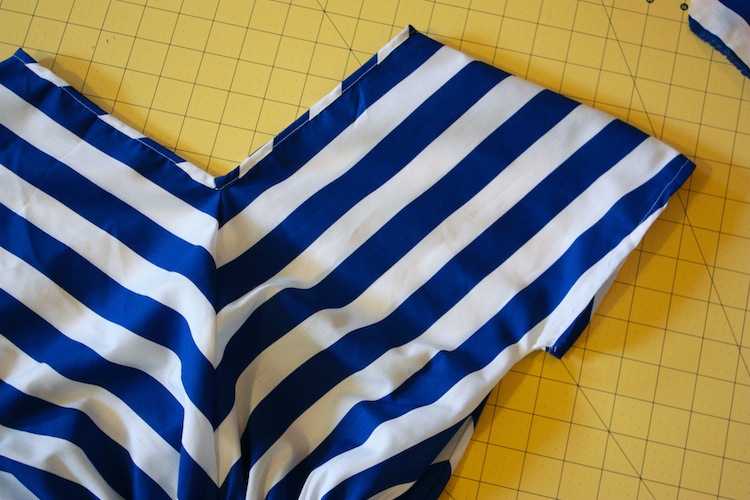
Now you should have two chevron pieces, front and back.
** This is when you should add your pockets. Of course, I forgot, and add them later. But at this point would be easier.
Lay these two pieces, right sides together, and line up the stripes along the shoulder and side seams. Again, take your time to do a good job.
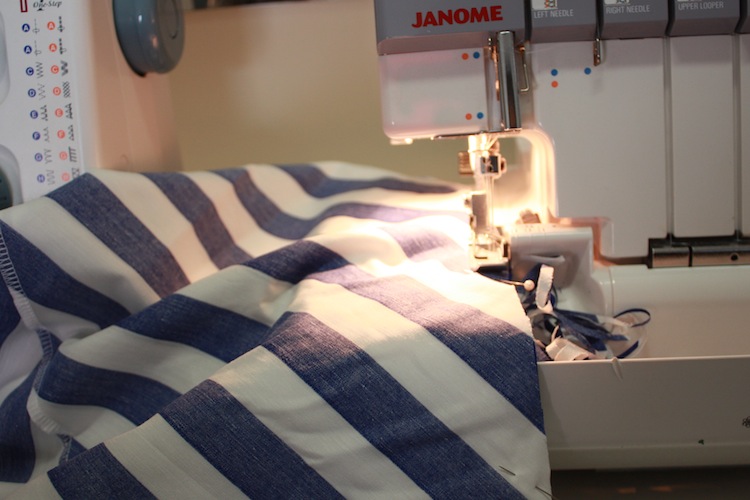
Using a 1/4″ seam allowance, serge or stitch the shoulder and side seams.
Press your seams.
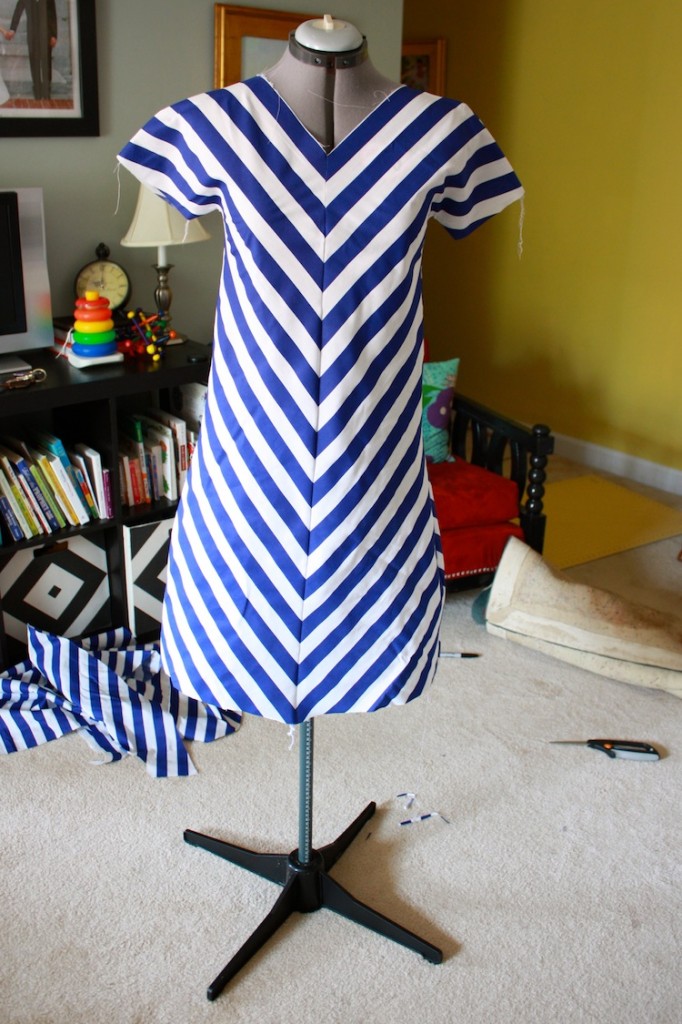
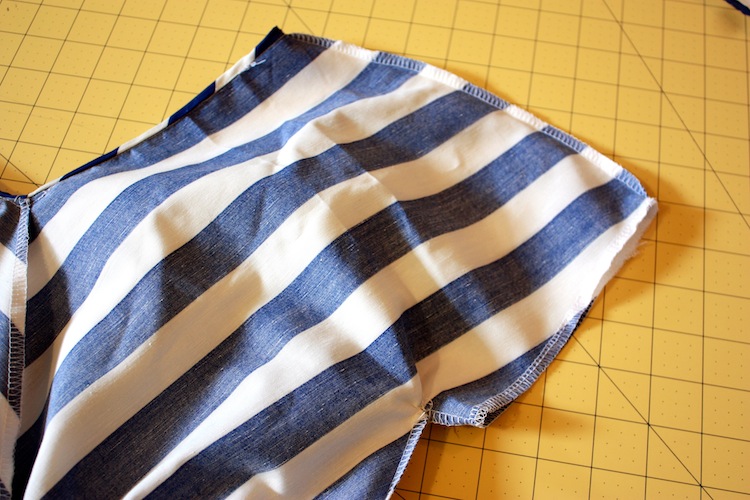
You should have a basic dress at this point, with a continuous chevron pattern around the bodice. Good job!
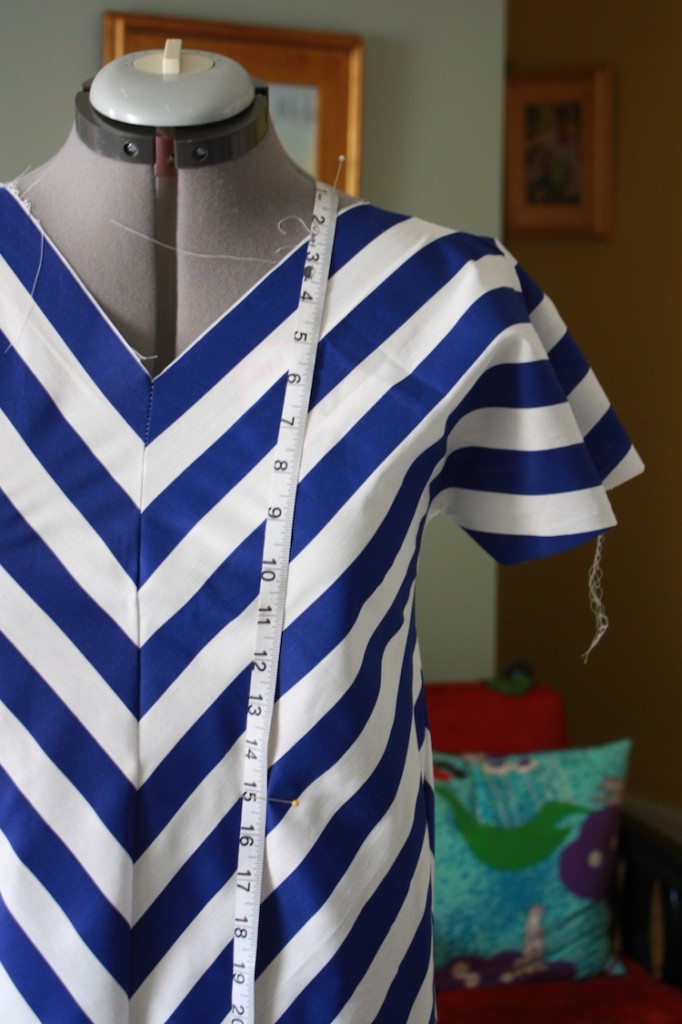
Next, determine the height at which you want the ruched waist. I like mine at or just above my natural waist.
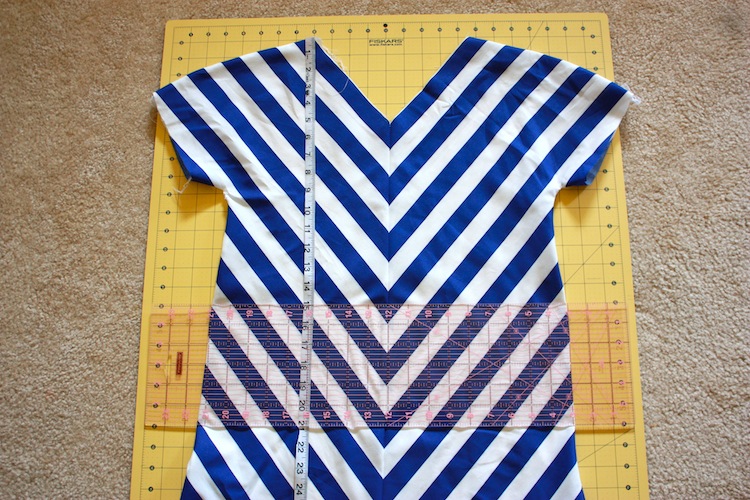
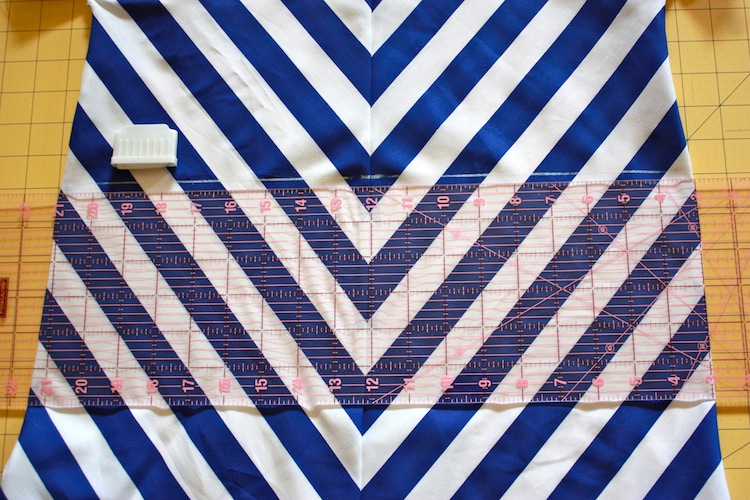
Mark this height with pins, or a ruler.
Using tailor’s chalk and a straight edge, draw a line across the front of the fabric where you would like the ruching to begin. You will follow this guide when sewing, so make it as straight as possible.
Do the same on the back, then lay the dress on it’s side to match up the line.
Wind a bobbin with elastic thread.
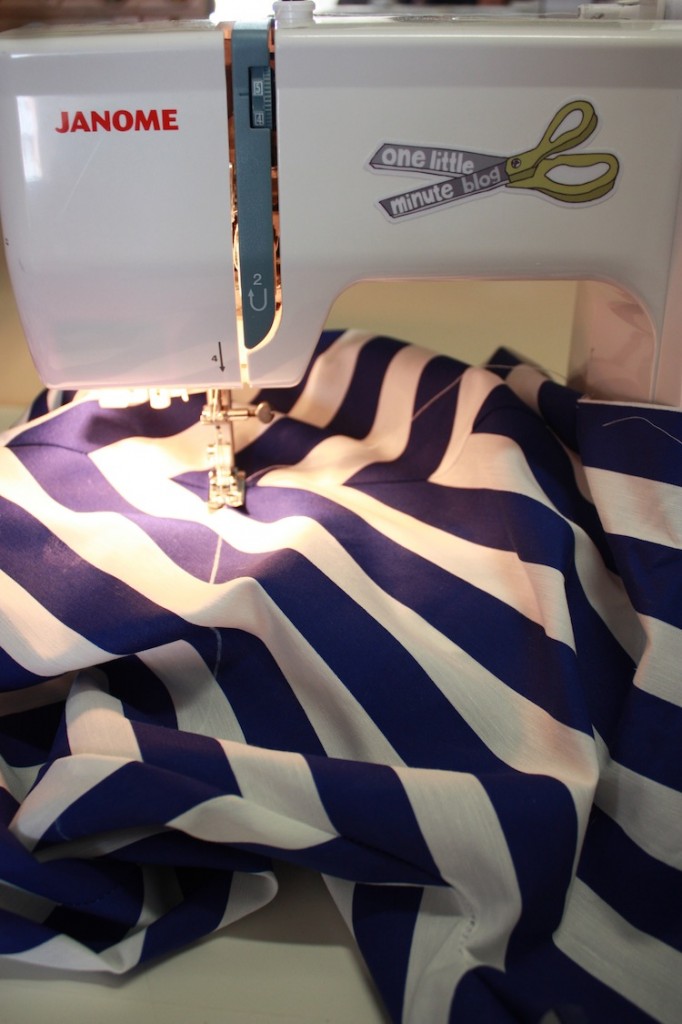
Place the elastic thread bobbin in the machine (use normal thread on the top) and increase your thread tension. Stitch a zig zag along the line around the circumference of the dress.
You should have something like this.
Now, using the previous line of stitching as a guide, add another row of ruching, about 1/2″ away.
Continue until you have 5 lines of ruching.
Press your ruching to increase elasticity. (You can spritz water on there, too. I just use the steam setting.)
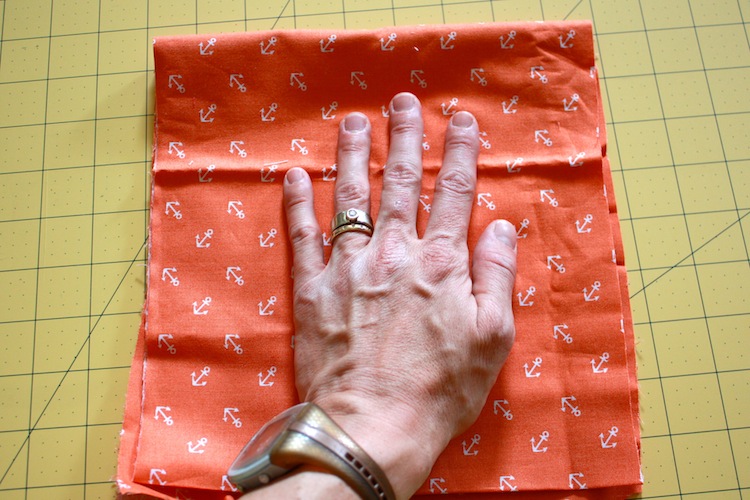
Oops, I forgot about the pockets!! Typical for me:) If you want to add them, choose a fabric and trace a basic round shape around your hand.
You should have four identical pieces.
Determine where you want the pockets to sit along the side seams, and seam rip the opening to the length of the pocket edge.
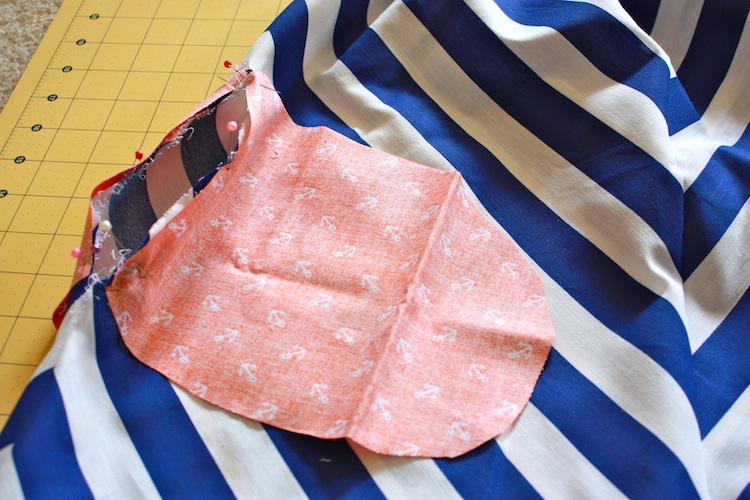
Pin the pockets with right sides together onto the side seam.
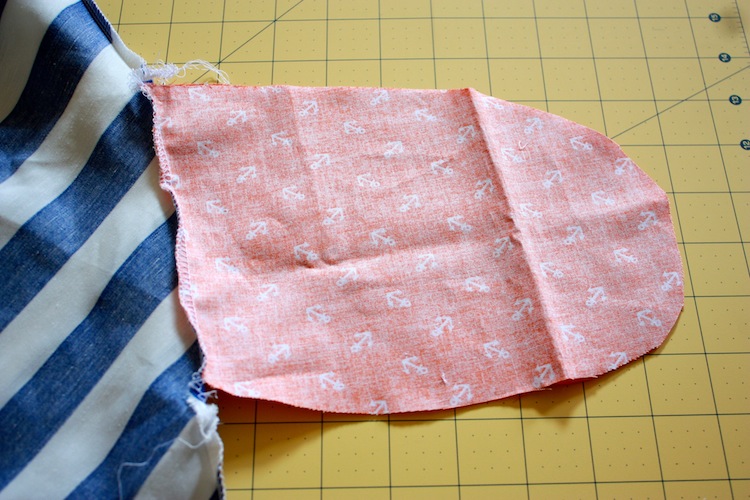
Stitch along the seam and the pocket edge.
You should have something like this.
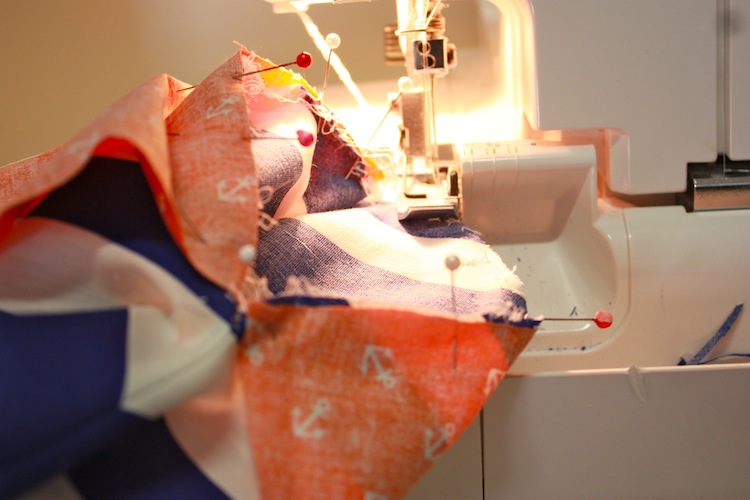
Now, place the pockets, right sides together, and pin around the edges.
Start stitching above the pocket, on the side seam, then continue around the pocket, and down onto the side seam again.
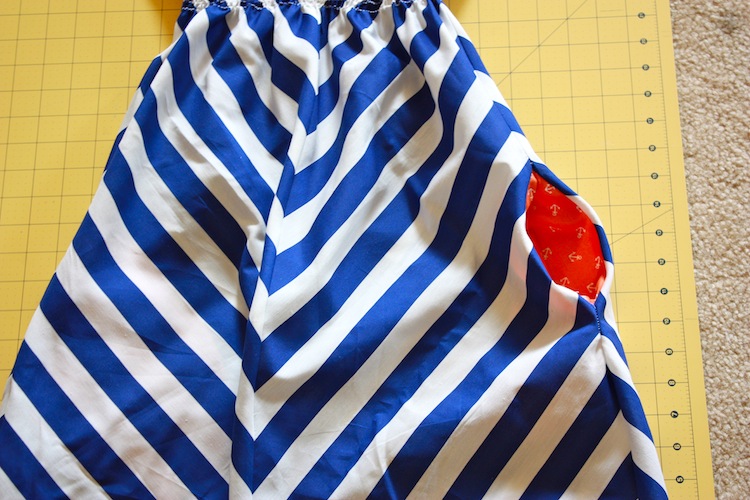
There, pockets are in!
When you turn the dress around, and tuck them in, you get that fun on-seam pocket (with a pop of color, if you choose!)
Now we are going to bind the v-neck with bias tape. Measure around your neckline and cut a 1″ length of fabric on the bias.
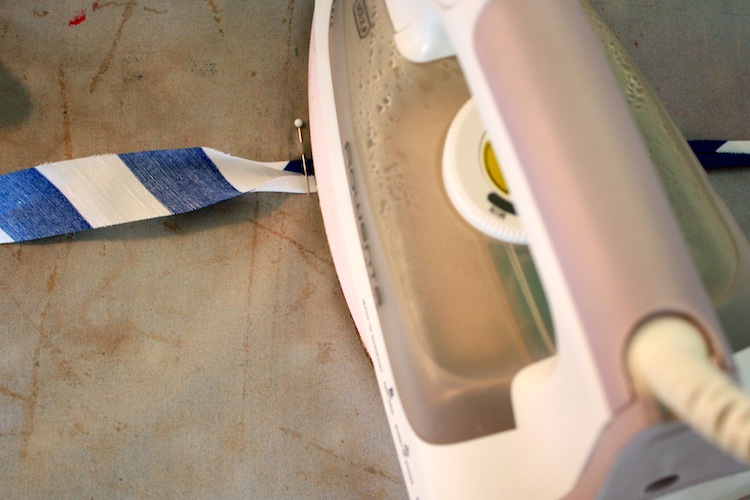
Make it into bias tape by using a bias tape maker, or pulling it through a pin (stuck into my completely hashed and ready-to-be-replaced ironing board cover.)
Open up one end of the bias tape and pin it’s edge to the wrong side of the fabric along the neckline.
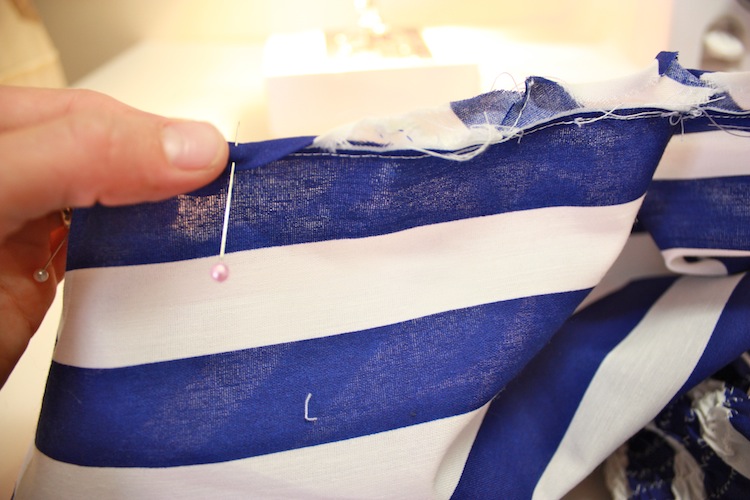
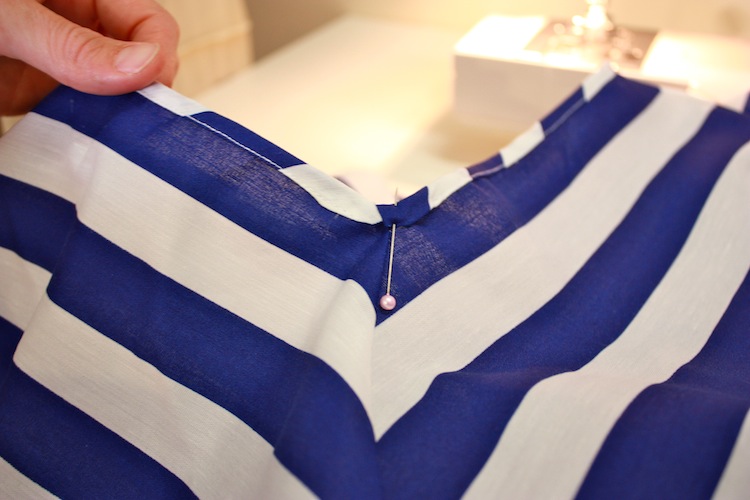
When you come to the V of the v-neck, leave sufficient fabric to make a little point. Look at the photo to get an idea of what I’m talking about.
Your pinned bias neckline should look something like this.
Stitch as close to the edge as you can around the neckline.
Now, turn the dress right side out, and fold the bias tape over the right side of the neckline. Let the ironed fold hide the raw edge.
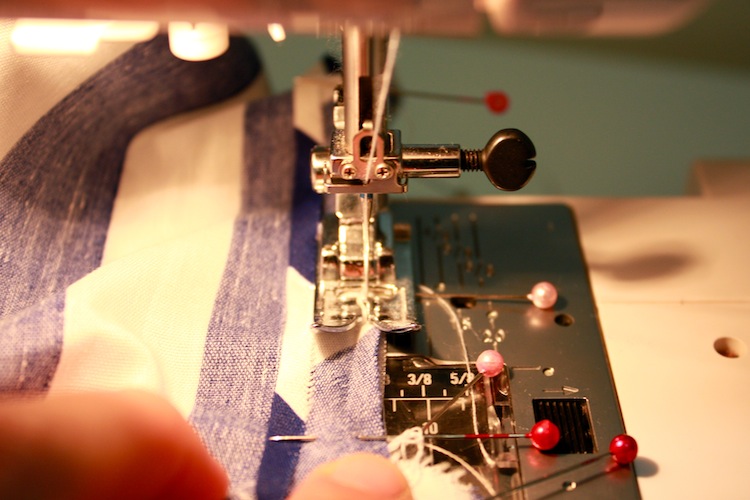
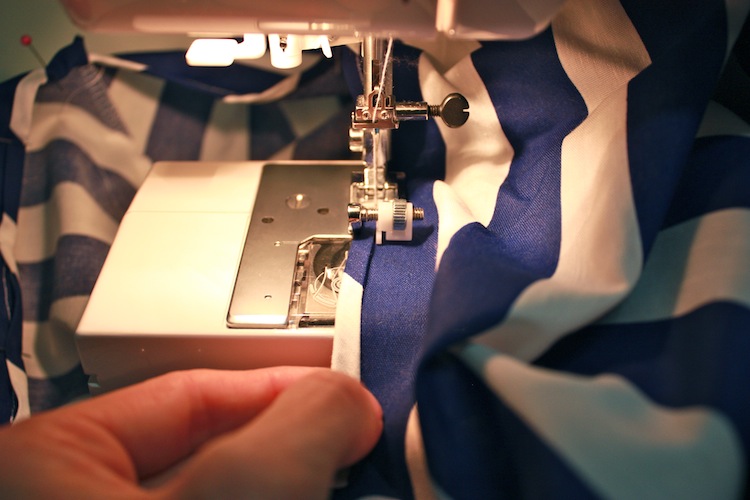
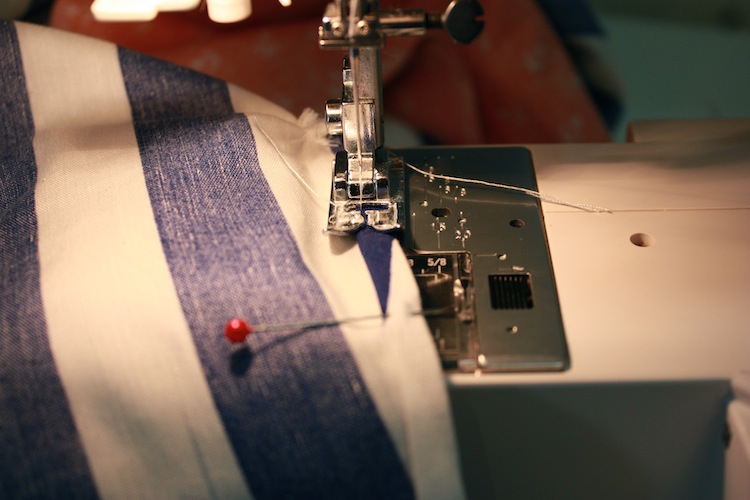
Stitch as close as you can to the edge of the bias tape. I used this topstitching foot to get right on the money. Leave about 1.5″ from each point unstitched.
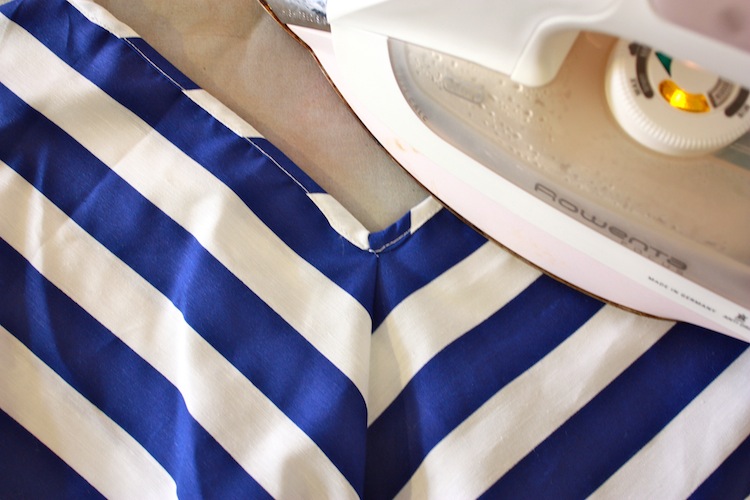
Take a second to fold the bias tape at the v into a pretty nice looking mitered corner. It may or may not be perfect. Mine were not:)
Finish stitching the bias tape to the v-neck and press.
Now, we hem the sleeves. I first finish the raw edge with the serger, but that step is unnecessary.
Fold the edge under 1/4″, and 1/4″ again, and press.
Stitch as close to the fold as possible, creating a 1/4″ hemline.
Almost finished!!
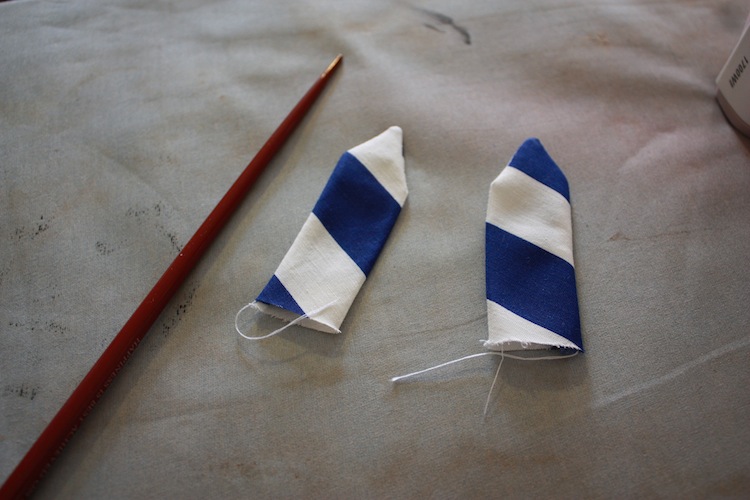
Now we make the tabs for the sleeves. Start by cutting 2 pieces of fabric, about 2.5″ by 3.5″
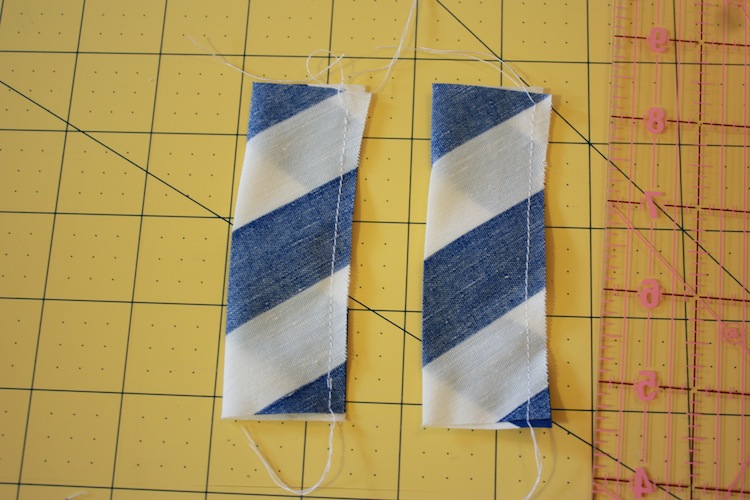
Fold and press lengthwise (hotdog).
Stitch a straight stitch about 1/4″ from the raw edge.
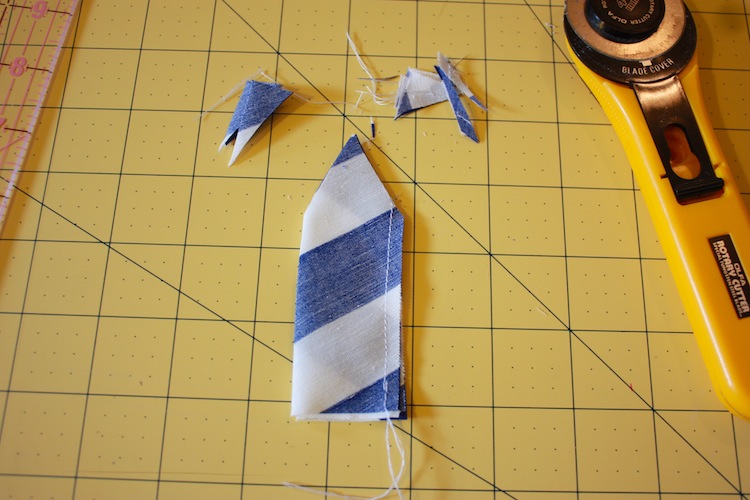
Cut one end of the tab into a triangle. I just wing it.
Stitch along the edges of the triangle and then clip the top corner.
Turn the tabs right side out, using a chopstick (or pen, or something else) to turn the point.
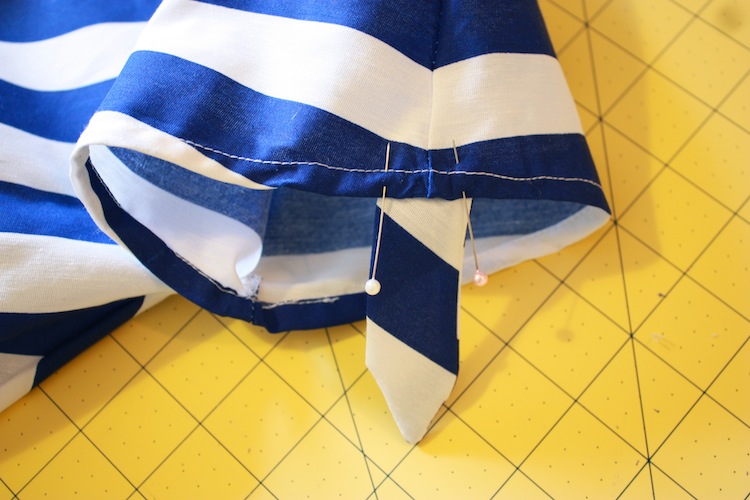
Pin the tab to the center of the sleeve, securing the raw edge inside the sleeve.
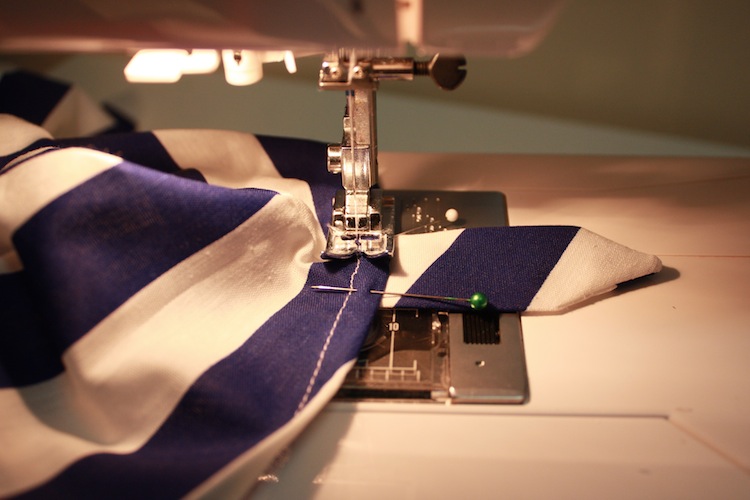
Stitch in place along the hemline.
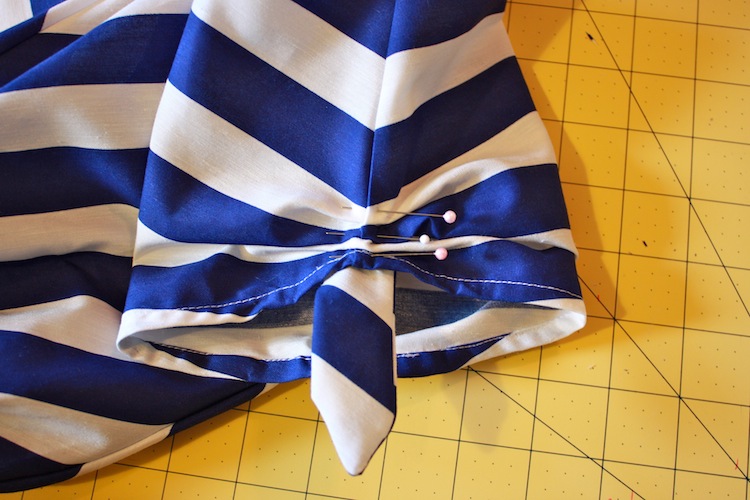
Gather the sleeve by creating three small horizontal pleats. Pin in place.
Tack the pleats down to secure.
Fold the tab up onto the top of the sleeve and pin in place.
Top-stitch in the shape of a triangle. Oooh, so cute.
Now you’re really almost done!
Try on the dress to double check your desired hem-length, and then hem using the same method as the sleeve. 1/4″ under, then 1/4″ under again.
Finally, put it on and go frolic in the warm weather of the summer!!
Whew!
This tutorial is for personal use only. Any use for commercial sale is unauthorized.

