Happy Friday! Do you have some fun plans? I’m excited for pizza night (which at our house is every Friday!) I usually make homemade, but tonight we’re taking advantage of the new, close Little Caesars. Can’t really argue with a $5 Hot-N-Ready, right? Over the weekend we’ve got plans to participate in a grounds maintenance service project at a local elementary school. I can’t wait to see Milo set loose with a shovel in a patch of weeds. He’ll be thrilled when I tell him to please dig them all up! We’re also going to celebrate the birthday of one of our good friend’s sweet mom, walk the hallways at church with our busy toddler, and feed the ducks down on the National Mall.
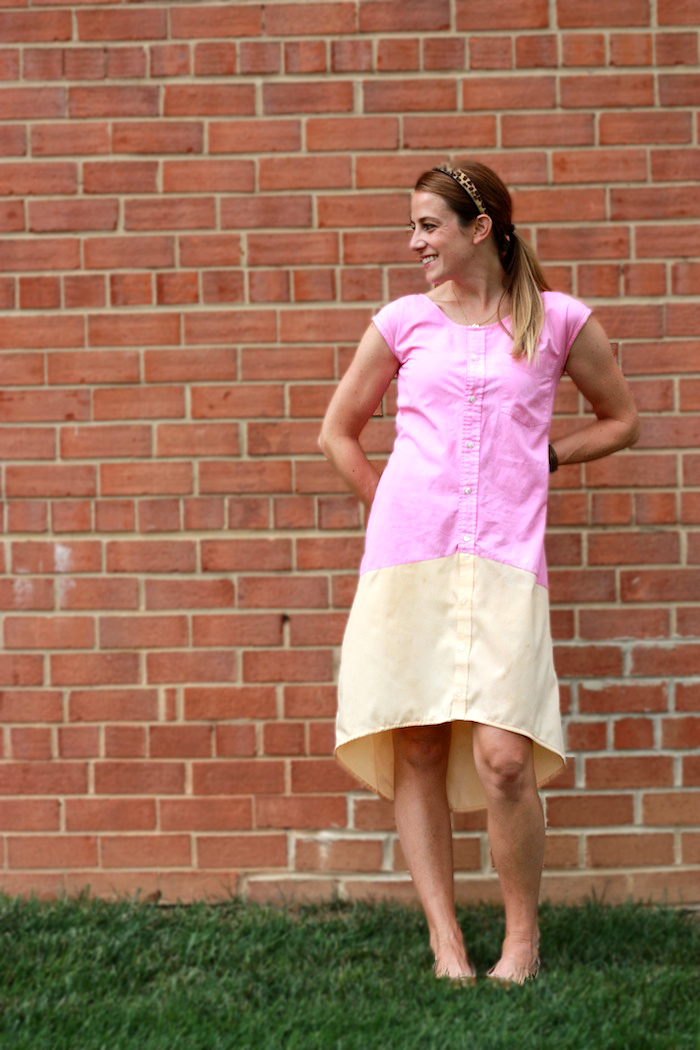
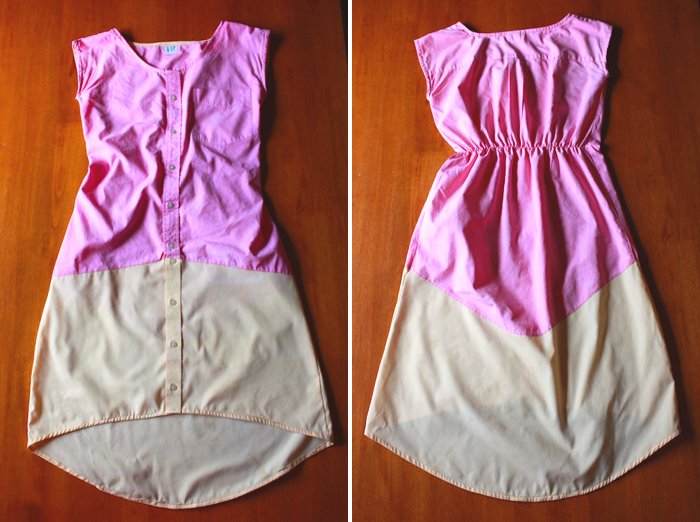
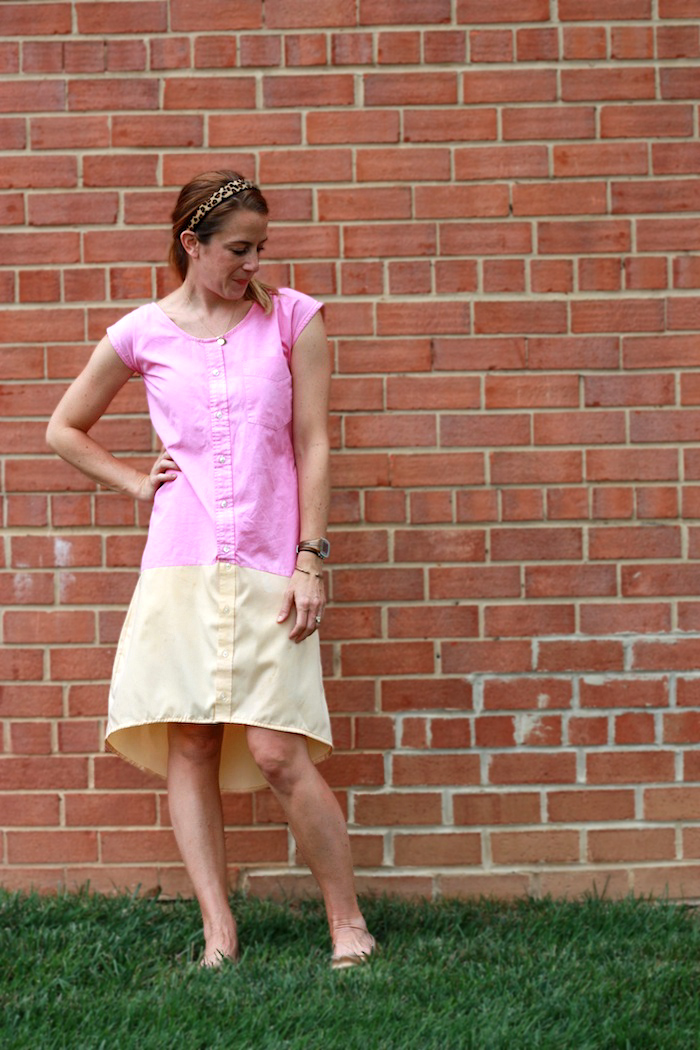
I seem to be racking up favorite clothes items lately, (thank you for all the kind words about my Kelly Skirt!). This iDyed Color Blocked Dress from Men’s Shirts Refashion (whew!) is another chart-topper.
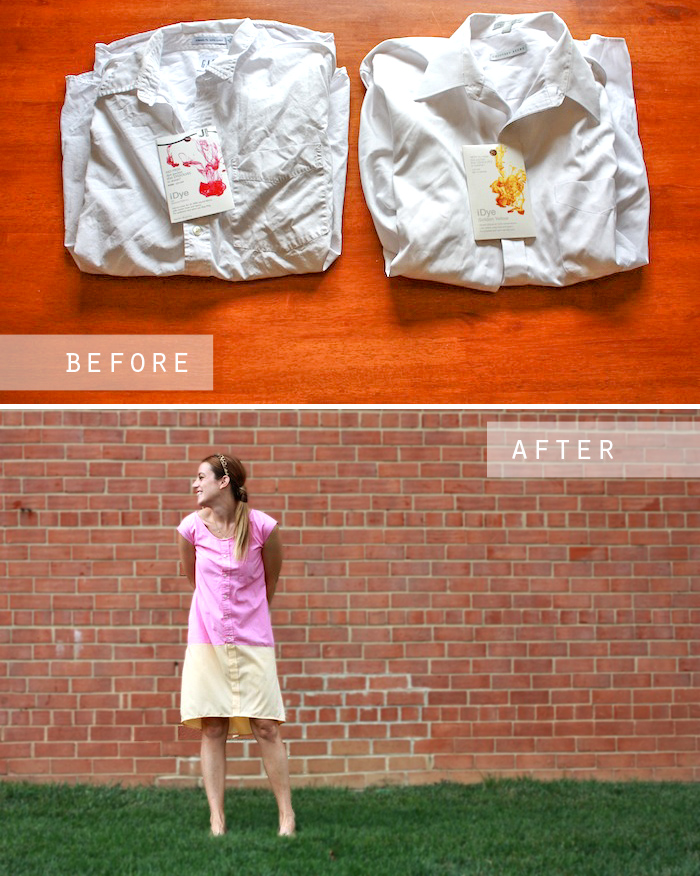
I have been the lucky benefactor of many great quality men’s dress shirts, thanks to Dave and his office job. He sorts through his mostly-white collection every so often, and I stand with open arms to receive his cast-offs for refashion. This white blouse refashion from a couple years ago is still one of my very favorites. I also fell in love with the color-blocked dress I made for Kate during the Button-Up Refashion Swap. Inspired by that dress, and with the help of some fun Jacquard iDye, a couple weeks ago I set off to make myself a bright, comfortable summer dress.
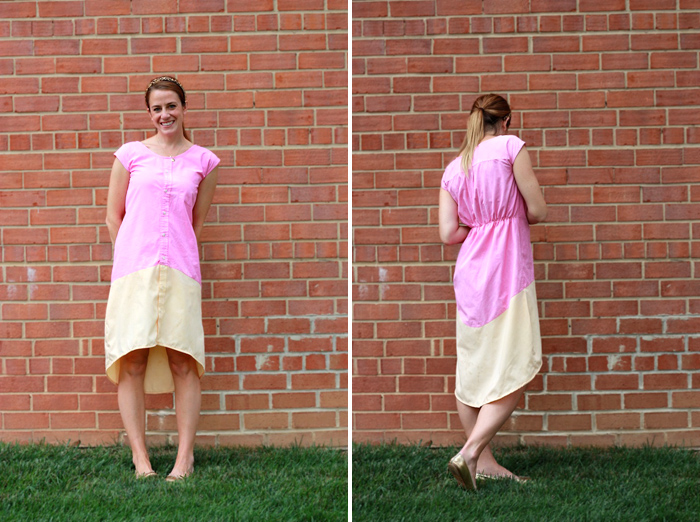
I spent one nap time dying the two white shirts, and a second sewing up the dress. The iDye comes in self-contained little packages, so there is no measuring and no mess. The process was simple, and the finished dress is better than I had planned! I love the high-low hems lately (um, yeah, and pink/orange I guess!) but this dress could easily be made with a traditional hemline, too. It is easy to wear, fun, and stylish without being fussy. I love the bright colors that the iDye produced, and it’s stayed nice even through a few washings.
Schools may be starting, but summer is a little ways from winding down here, so I’m looking to get some use out of this little number before the sweater weather kicks in (in which case, I’ll wear it with a sweater.)
Even if you don’t have a husband passing along his hand-me-downs, white button-ups are a dime a dozen (or close to that…) at any thrift store. Grab a couple, then follow along to make your own iDyed dress! Read on for the full DIY.
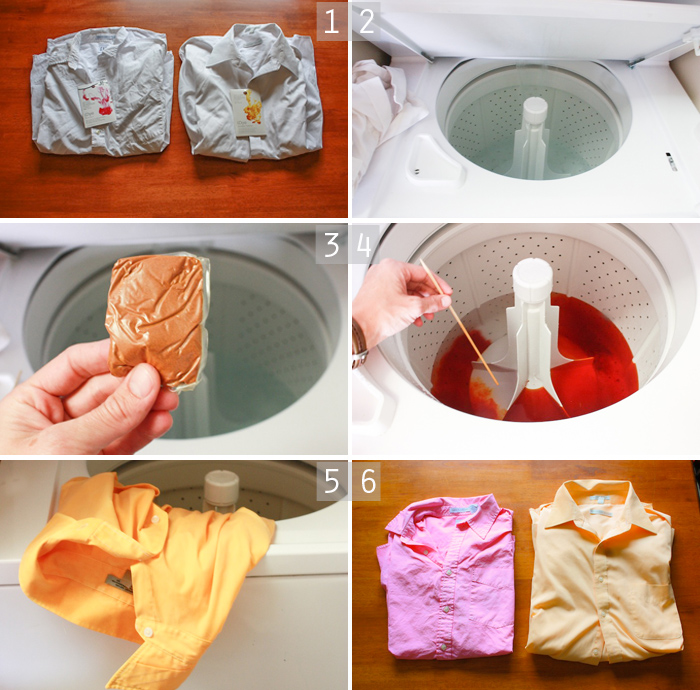
1. Choose two iDye colors for your shirts (I used pink and golden yellow)
2. Fill the washing machine with HOT water and add 1 cup of salt
3. Toss in your iDye packet–it will dissolve in the water so no mess for you!
4. Stir/agitate the water until the dye is fully disolved, then add your damp shirt
5. Let the water agitate for at least 30 minutes, then wash normally with a little bit of laundry soap
6. Dry in the dryer, and repeat steps 1-6 with the second shirt
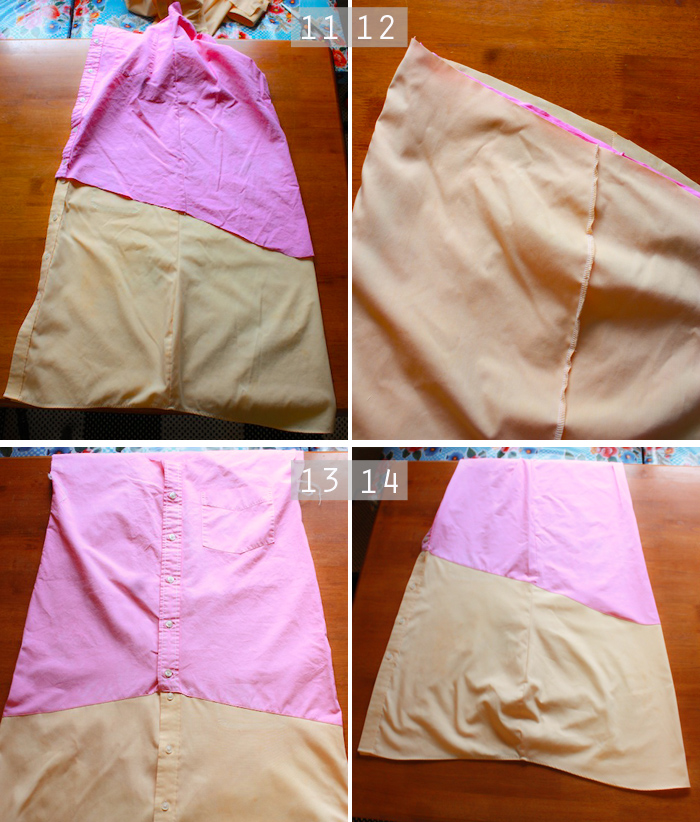
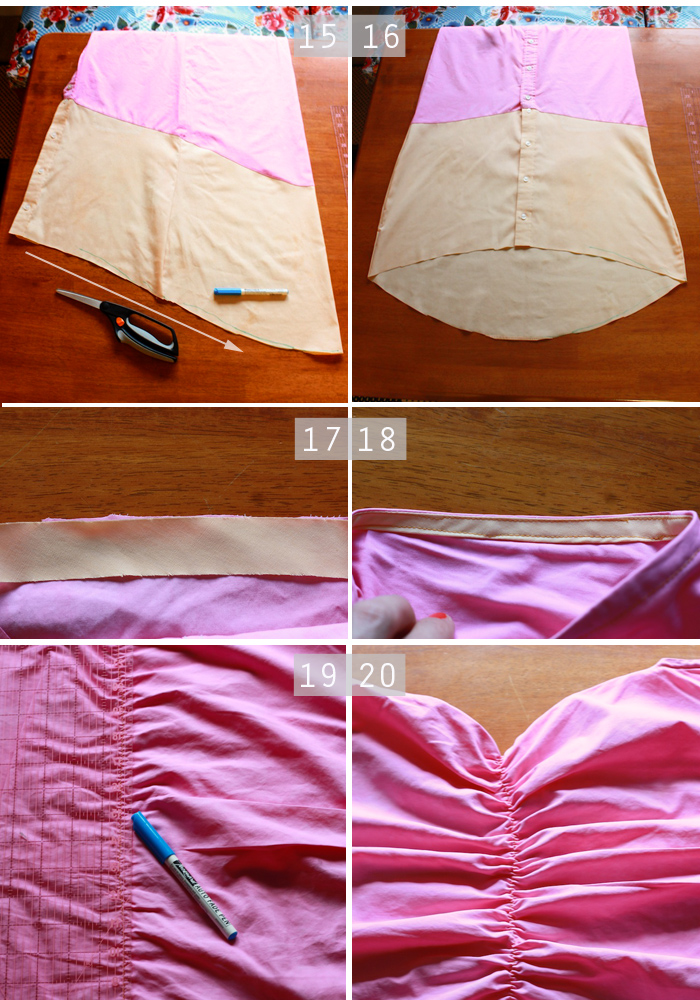
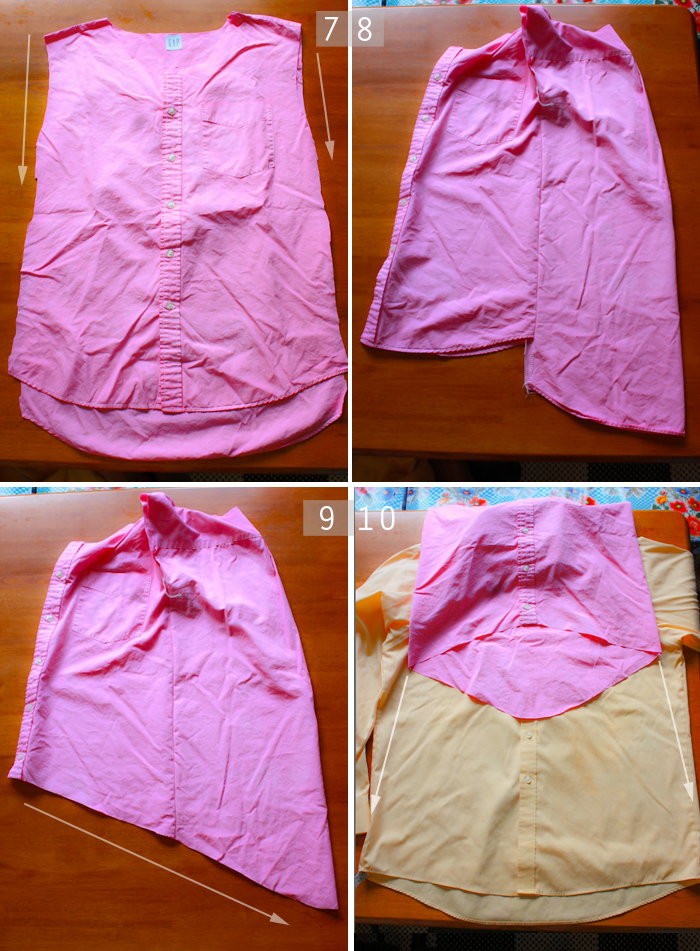
11. Match the side seams of both shirts, and lay them on their side. Cut the bottom shirt along the hemline of the top shirt.
