• ABOUT
  • PODCAST
  • HOME DESIGN AND RENOVATION
  • BLOG
    • MINIMALISM
    • DIY
    • SEW
    • EAT
    • TRAVEL
  • BUY MY BOOK
  • CONTACT
  • <iframe frameborder="0" src="https://playlist.megaphone.fm?p=CTL9280674595&light=true" width="100%" height="482"></iframe>
  • ABOUT
  • PODCAST
  • HOME DESIGN AND RENOVATION
  • BLOG
    • MINIMALISM
    • DIY
    • SEW
    • EAT
    • TRAVEL
  • BUY MY BOOK
  • CONTACT
DIY Tape Stenciled Tee
October 10, 2012

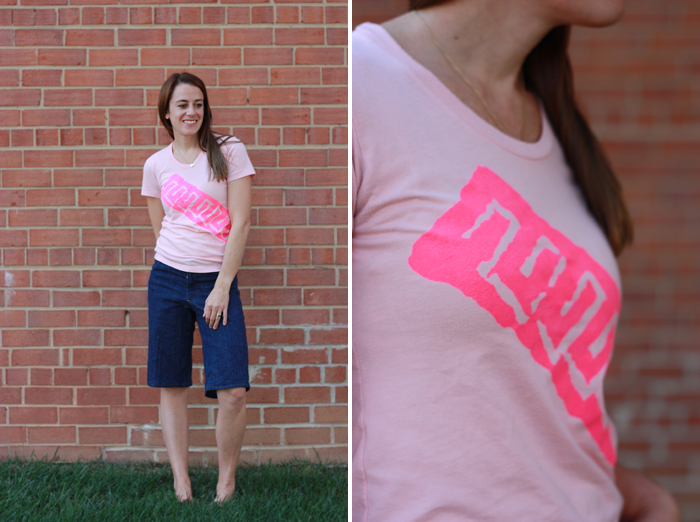
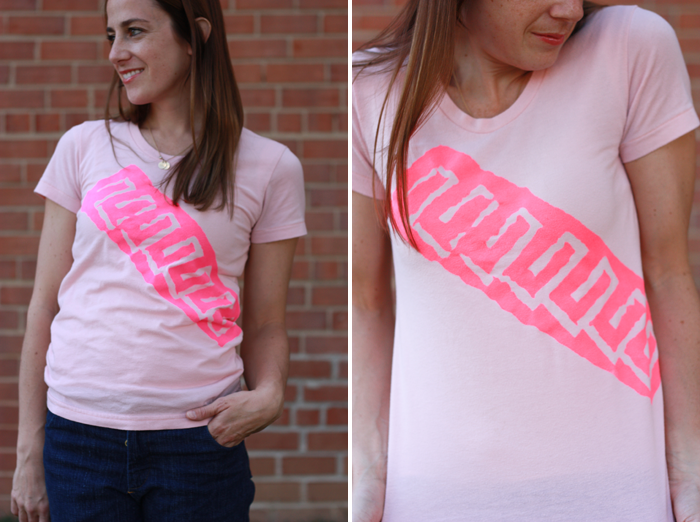
Ready for another easy as pie tee shirt tutorial? I’d been wanting to try out the Fashion Art Projects Stencil Spray for a few months, and finally, after a visit to the National Museum of the American Indian, was inspired to try out a simple, tribal design on one of my favorite comfy tees. I love how it turned out! The hot pink is a great accent color, and I think having a little design will add some visual interest when I layer it under cardigans and scarfs for the fall (soon, soon!) Using tape as a stencil made the process super simple. Here’s how I did it:

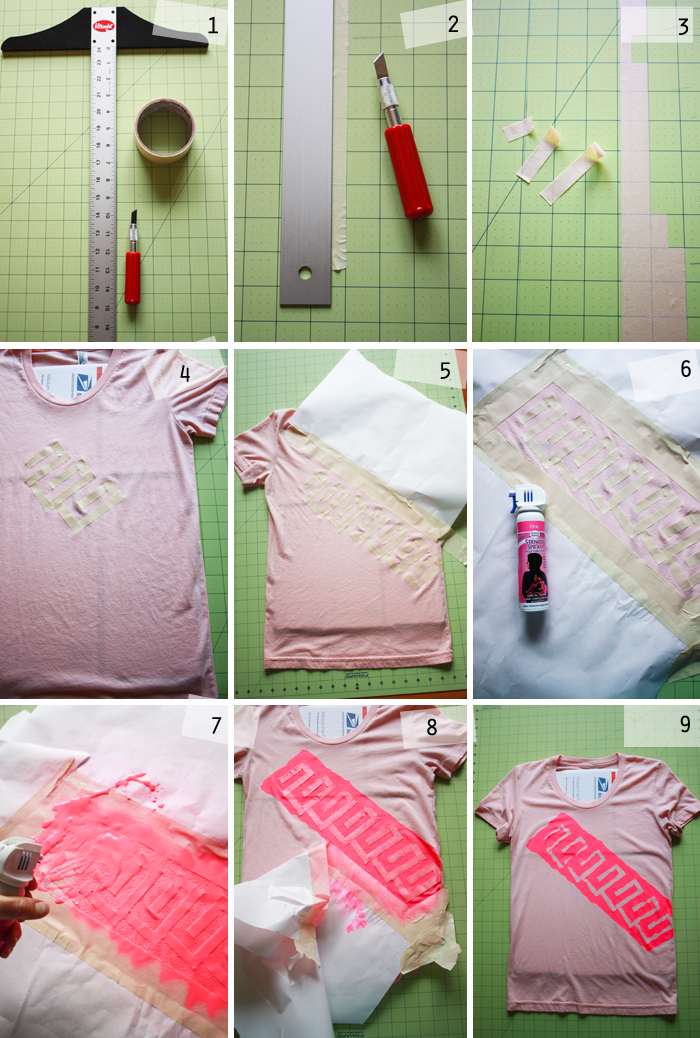
1. Gather a tee shirt, some cardboard, the stencil spray, a cutting board, masking tape, a straight edge, an exacto knife, and some freezer paper or plastic

2.Stick a length of masking tape to a cutting board and use the straight edge and exacto knife to cut to the desired lengths

3. Cut across the tape to make pieces of the desired widths. I chose 1/2″ strips cut to 1″, 2″ and 3″ for my design.

4. Insert some cardboard between the tee shirt layers. Peel the tape pieces off of the cutting board, and arrange them on your tee as you’d like.

5. Use a length of masking tape to cover the rest of the tee with freezer paper or plastic.

6. Pull the plastic clip on the stencil spray

7. Starting on the plastic, spray the paint over the stencil design. A  medium pull creates a single tream of paint, a firm pull produces a nice, even spray.

8. Let the paint dry for a few minutes, then begin to carefully remove the stencil.

9. Allow the paint to dry for an hour, then wash and dry normally.

I accidentally sprayed way too much paint on my design (that’s what I get for trying to take a photo while I painted!) Once I soaked up the extra with a paper towel, it was just fine. I think a combination of the excess paint, and not sticking my tape down super well contributed to the design edges not being perfect, but I actually really like the effect. I can’t wait to try out some more masking tape designs to spray stencil!
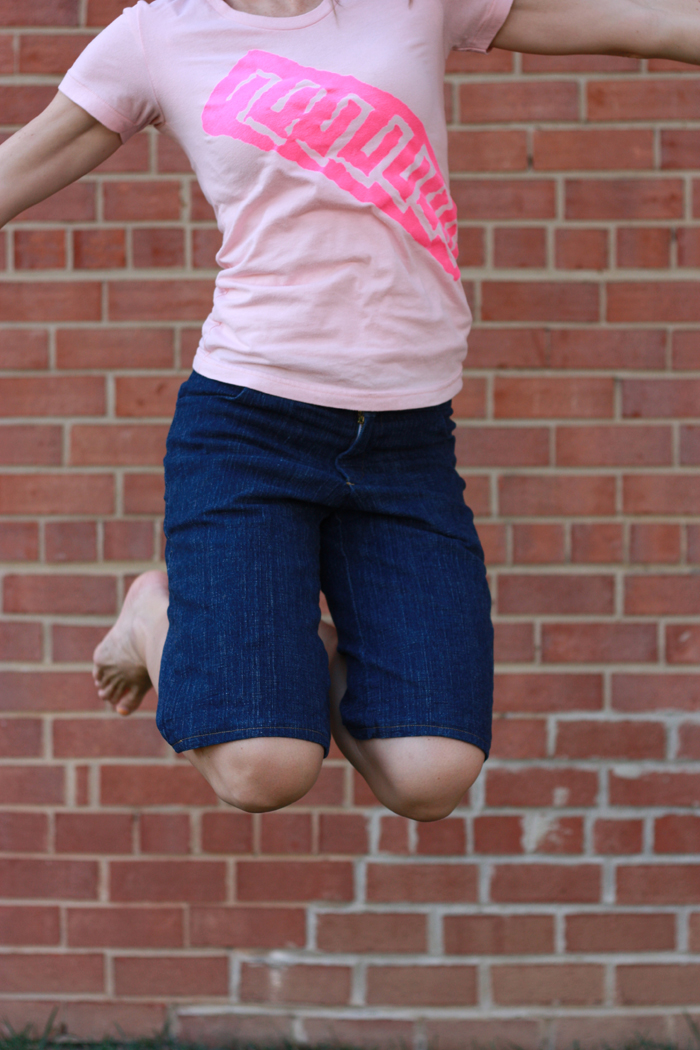
ps Did you recognize my Maritime Shorts? I love them.
Share

Craft DIY

  • ABOUT

    Welcome! I’m Miranda, the maker mama behind Live Free Creative Company.

  • More Than Enough Book


    Have you ever felt like you were running a race you couldn’t win in life? Like there was always something more to buy or to achieve in order for you to feel like you had “made it”?In this book, I share how my heart changed and I began to find real, lasting peace, abundance, and joy through focusing on what matters most and disregarding the rest.

    Find out more here.

  • Recent on Instagram

  • FAVORITE CATEGORIES

    • DIY
    • SEW
    • DECORATE
    • EAT
    • LIFE
    • TRAVEL


© Copyright 2021 Live Free Creative Co | View our Privacy Policy