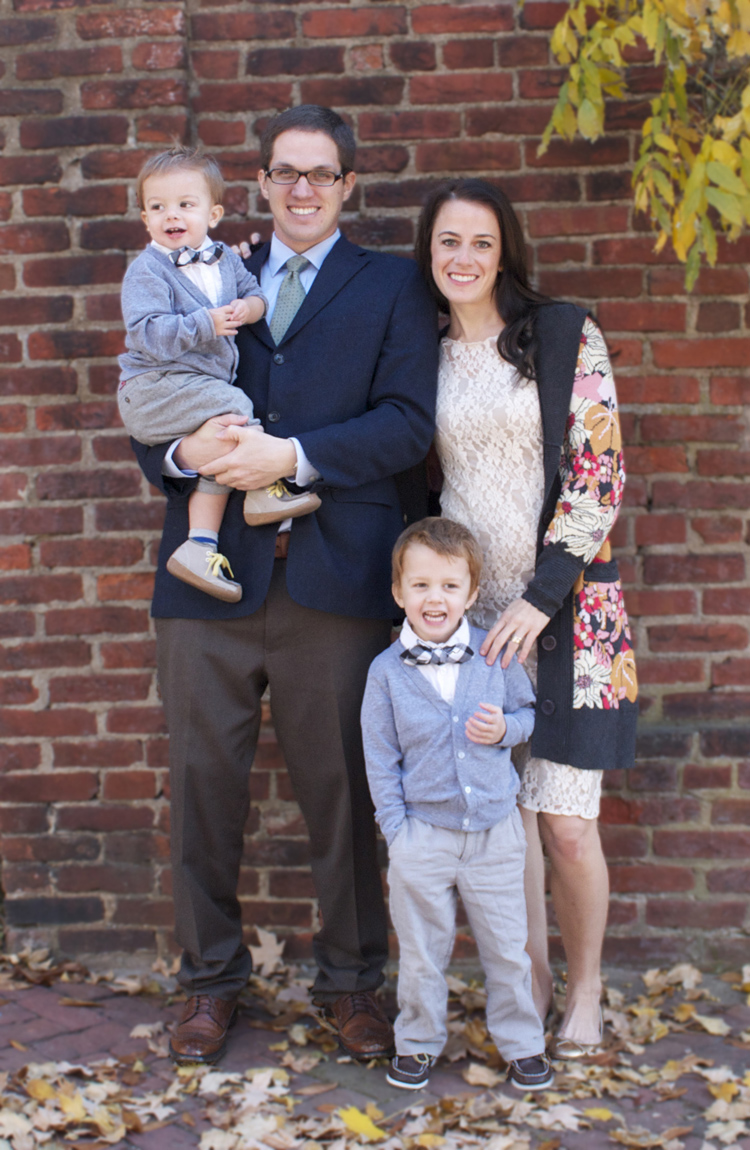
Happy Thanksgiving!! I hope everyone had a fantastic weekend filled with delicious food and warm, cuddly family moments. Ours was really wonderful. We didn’t travel this year and are far from family, so we decided to make reservations at one of our favorite restaurants, 1789. We’ve eaten there a couple times before for anniversaries. The ambience can’t be beat, the food is always spot on, and the “business formal” dress code makes it feel really special! Also, George Washington issued his Thanksgiving Proclamation in 1789, making it an official Holiday. So on top of being fancy and fun, our dining choice was appropriate!
I actually love to cook, but Turkey, et al. is not my very favorite meal, so I didn’t have any real sentimental strings to cut when it came to eating out for Thanksgiving dinner. We were able to enjoy a traditional homemade breakfast of Aebleskivers, snuggle in our pjs and watch Christmas movies, then gussy up for the afternoon meal. The boys made it all the way through two courses, only spilling one glass of juice on the floor and one glass of water on the table. The meal was truly spectacular. We took dessert to go and enjoyed it while Eliot napped. Not a bad Thanksgiving meal!
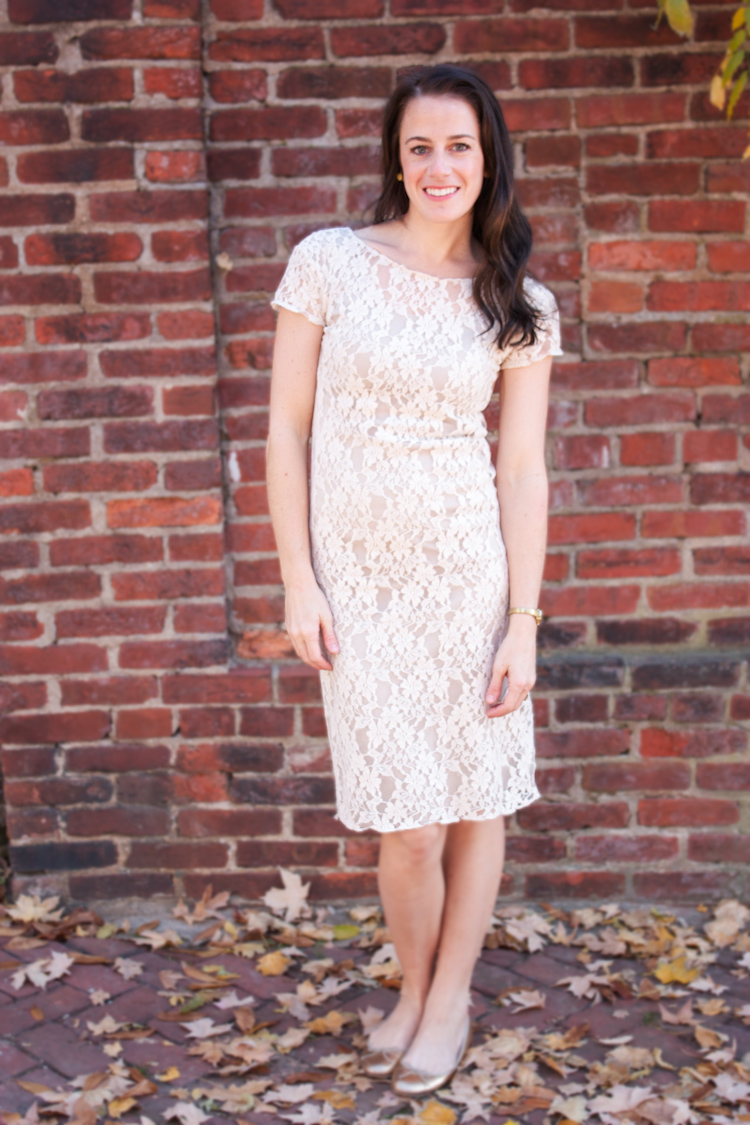
I loved the excuse of a fancy dinner to sew up this lace dress that has been sitting in my sketchbook for a few months. It was a really simple project (if you followed along on Instagram, you probably noticed it took about two hours start-to-finish.) We stopped in Georgetown to take some family photos before dinner, so I had Dave shoot a few of the dress to share with you.
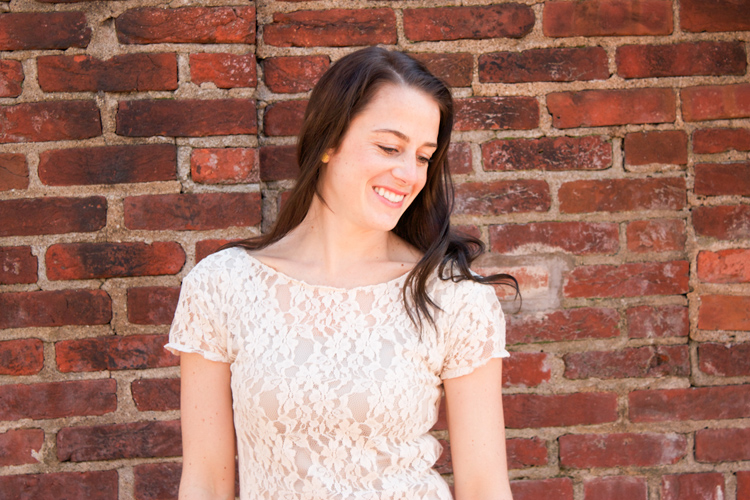
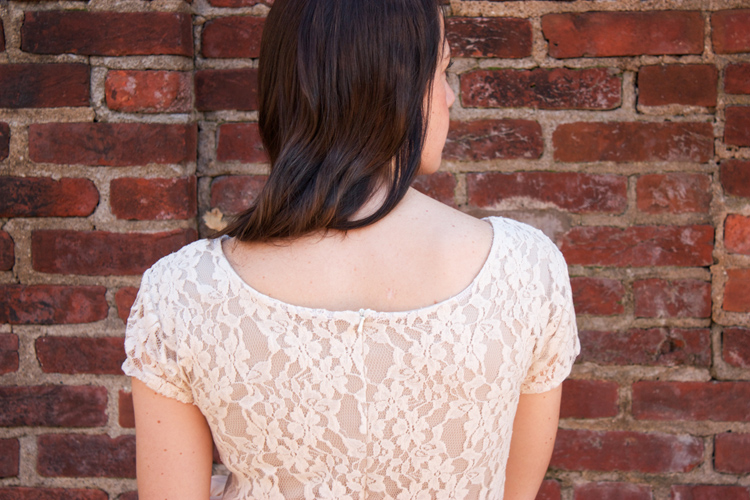
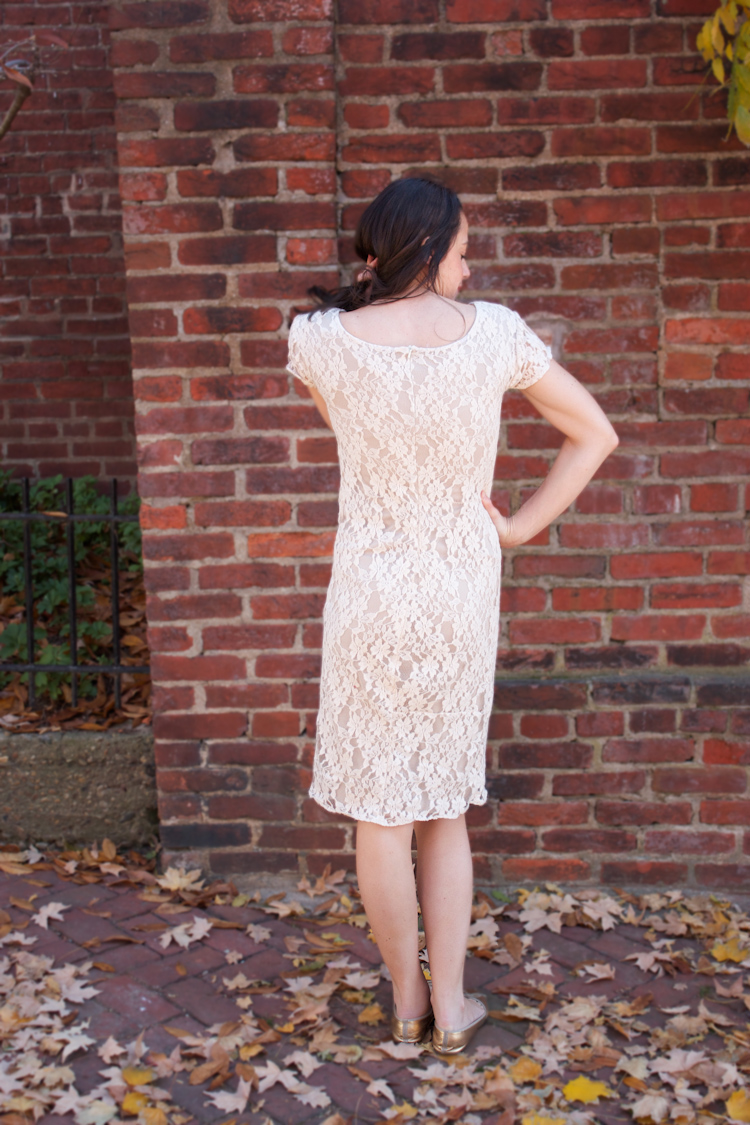
You can see it’s a very basic design. Pretty much a tee shirt wiggle dress. I used a nude lining knit for the base layer. I didn’t use a pattern, but instead just laid out one of my favorite layering tees and a longer stretch skirt and cut around them. Knits are so forgiving! For the lace layer, I used my nude knit as the pattern, then raised the neckline and added sleeves. Sweet Miriam gifted me this awesome ivory stretch lace remnant, and I was determined to make a dress, even though the measurements didn’t quite fit the limited yardage. I ended up cutting the front as a single panel, then thinking I would divide the back in half and add a zipper (that I haven’t yet used, as the dress stretches overhead easily.) I was only able to get one full panel out of the back, and the other side is pieced together of three chunks of lace. You know me, making it work, even if I create a frankendress! My original plan was elbow length sleeves, but I could just barely eek these short sleeves out of the random scraps I had left, and I actually love them.
Can you see the seam on the right back panel? There is another up near my waist that is just a bit more hidden (or maybe I ironed it better!) As far as construction. The two layers are only joined at the back neckline and along the zipper. In the front, the lace is hemmed separately from the lining, which I actually left unfinished to reduce bulk. Hemming lace is pretty tricky, and I sure don’t have it down to a science yet. For this dress I folded the edges under 1/2″ and fused a 1/4″ wide strip of hem tape along the just-folded under edge ironing over a piece of parchment, since the lace isn’t solid and I didn’t want to gum up my iron. I zig-zag stitched the hem in place in matching thread, just barely stretching it as I went. It’s totally not perfect, but I think it looks professional enough that I feel comfortable in it.
I love the simplicity of this dress. It’s going to be a very versatile piece of my ever-growing handmade wardrobe. It will dress up to formal easily with heels and jewelry, and dress down to casual with a levi jacket and boots. I am planning on wearing it to Dave’s firm’s Holiday party next week with bright lips and cheetah pumps. Fun, right?!
Okay, want to see some cute boys?
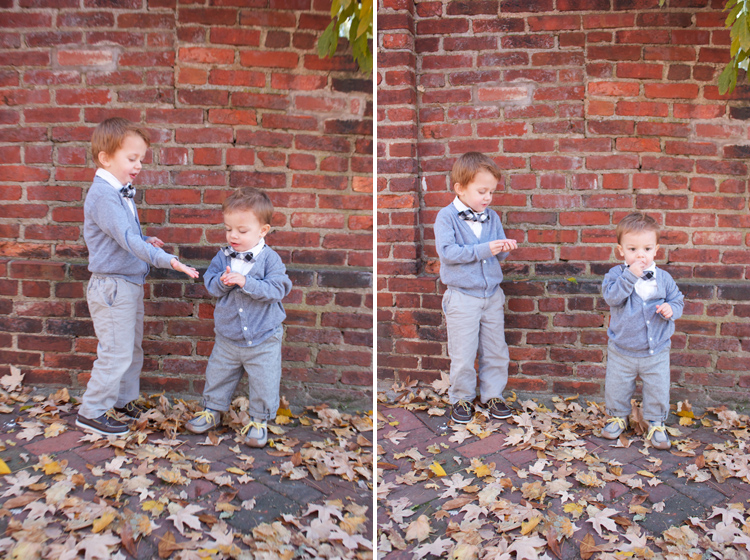
There they are! My matching Thanksgiving buddies. Only, looking at the camera isn’t a strong suit for either of them at these ages. I thought fruit snacks would help…but they proved to be a great distraction!
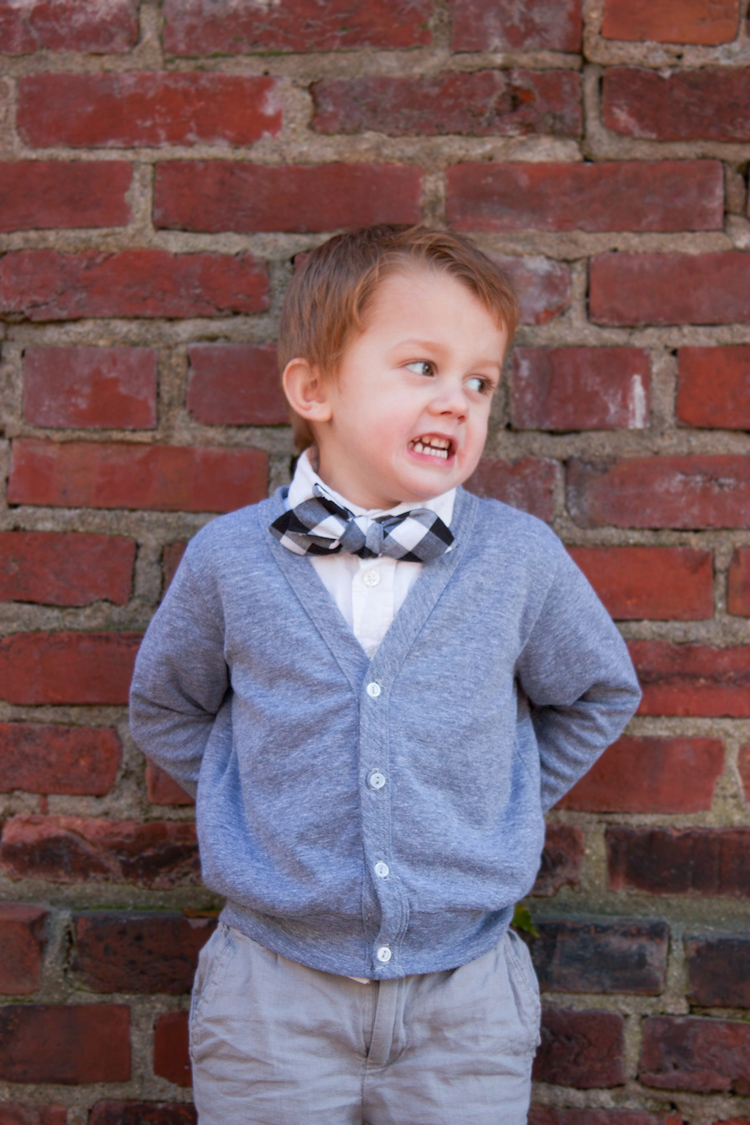
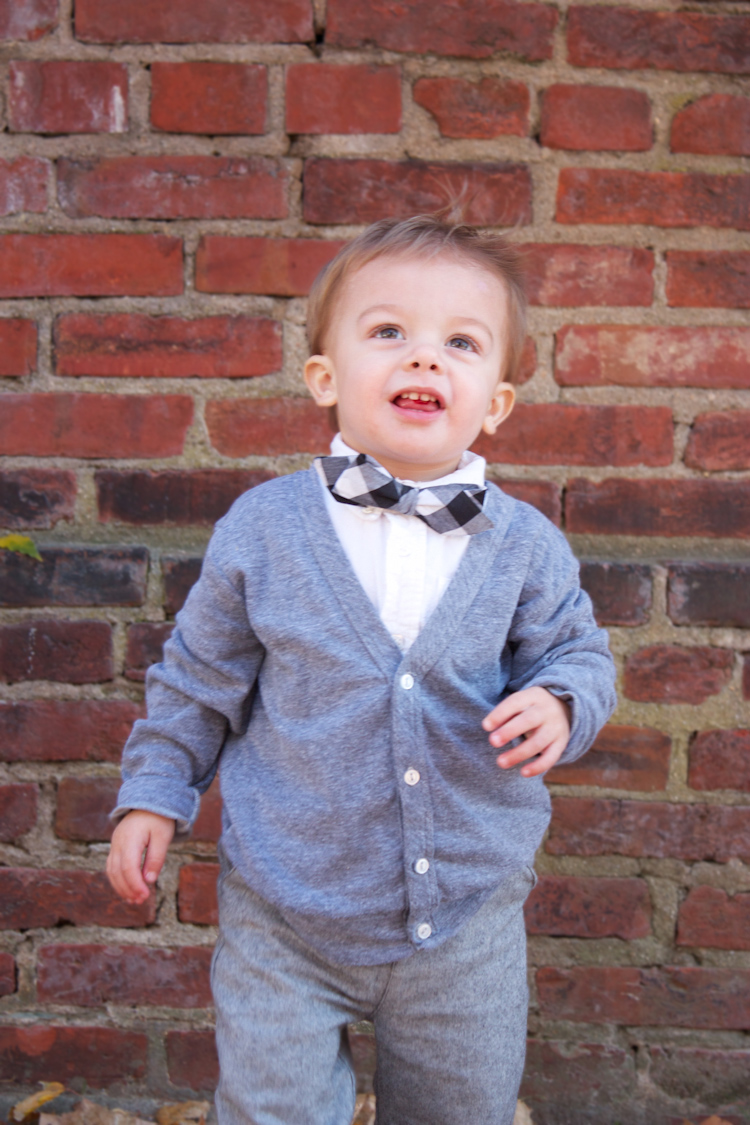
Ah, okay, there they’re almost looking in the relative direction of the camera. I mean, at least we can see their adorable faces! I wonder at what ages they’ll begin refusing to wear the matching bow ties I make for them? I’m working on the digital pattern for my Big Guy Bow Ties (hoping to have it available before Christmas!) I made these with the fun triangle tip variation, which is my new favorite!
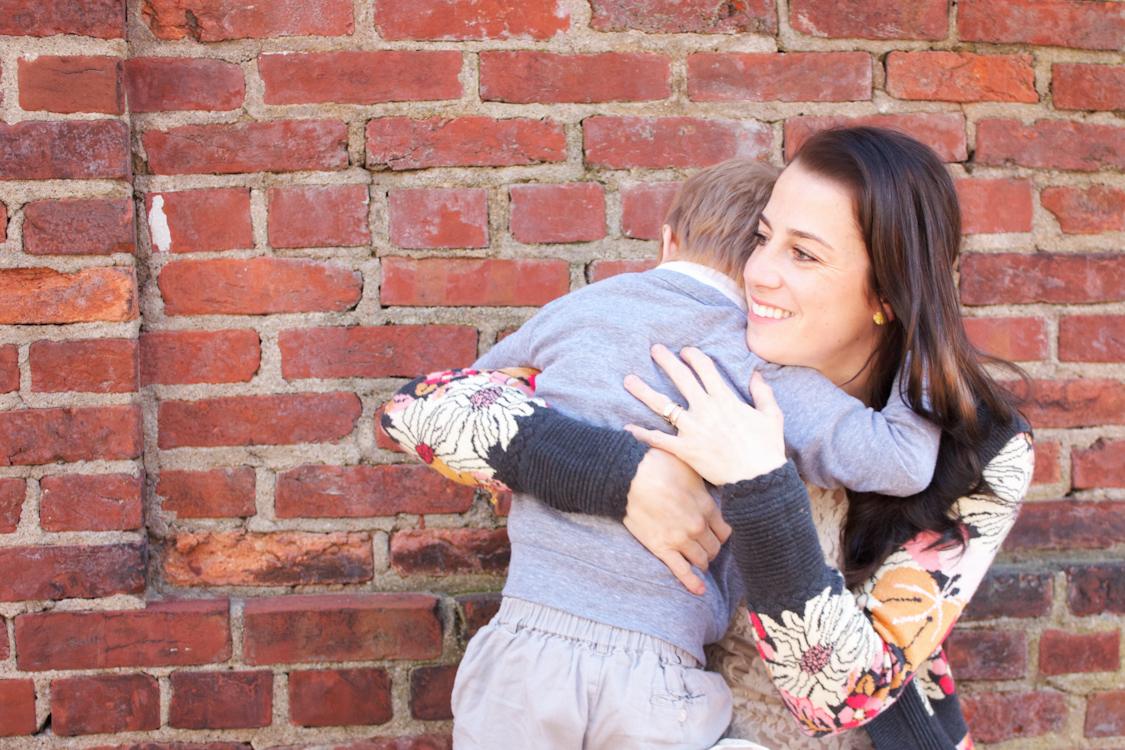
Milo decided it was more fun to snuggle and bury his head than smile. Fine with me. I’ll take his big hugs anytime.
We only lasted for about 15 or so remote+tripod photos of the whole family, but we got a good one! Okay, it’s actually two. I switched Milo’s cute grinning face from a different shot since the rest of us (aka Eliot) looked happy in this one. Pretty mad photoshop skills, right? I’ve come a long way since this (in all fairness, that was from 2009.) This photo is going in the Christmas cards.
Can you believe it’s already time to get ready for Christmas? I’m so excited! I’ve got a couple simple holiday ideas to share this week, then get really excited for next week because it will be REINDEER WEEK here on my blog! I have come up with a new DIY deer project for each day of the week. It’s going to be awesome. If you have a cool deer craft you’d like me to share, email me!

