I don’t come from a hunting family. Once a year my dad would take us shooting in the mountains of California, but the only thing we ever aimed for were aluminum cans. Maybe my lack of experience with real taxidermy explains why it sort of weirds me out (although it’s growing on my…slowly.) I do really like the trend towards faux taxidermy though, and a couple weeks ago when Milo was collecting a huge pile of sticks at the park (as per usual), I realized they would make some really fun antlers!
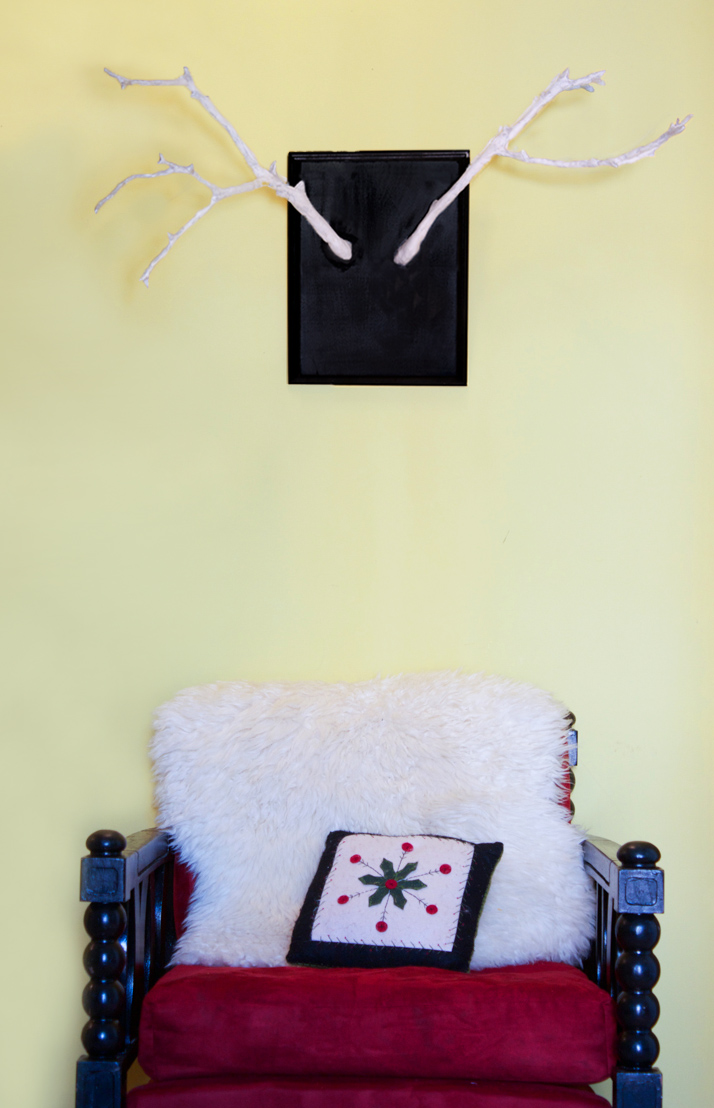
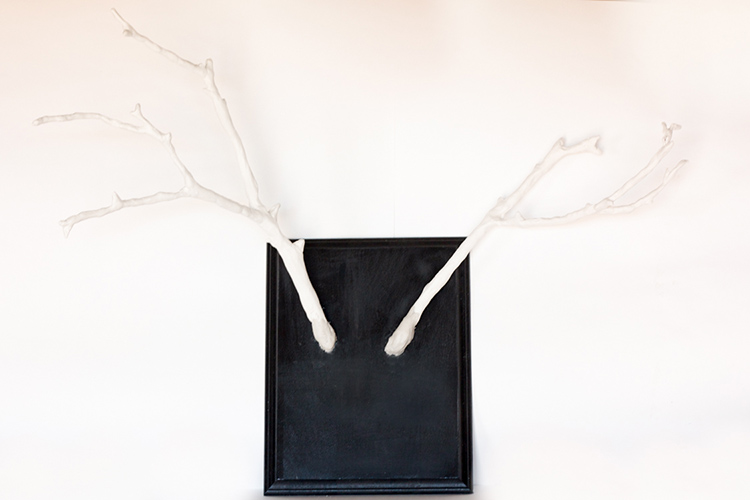
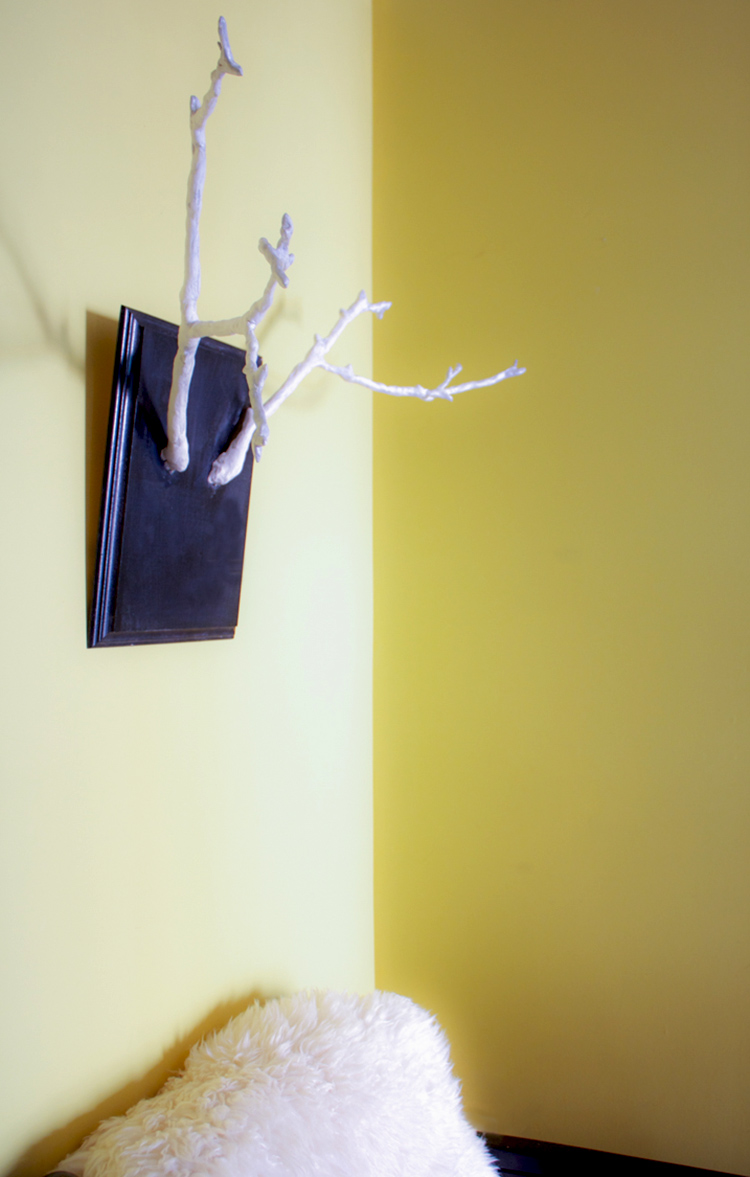
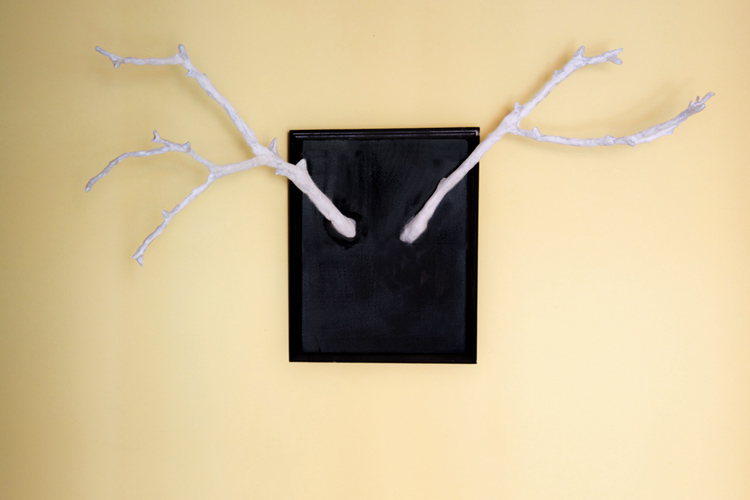
Covered in air-dry clay, lightly brushed with metallic ink, and mounted on a wooden base, these antlers bring a whimsical element to the room. I love the way the finished antlers maintain the natural-looking shape of the sticks rather than looking so…faux. Plus, Milo is thrilled that I finally allowed some of his stick collection to breech the threshold, and even hang on the wall! The stick and clay antlers are simple to make, and would be a really cool gift for your hip friend… or your hip self.
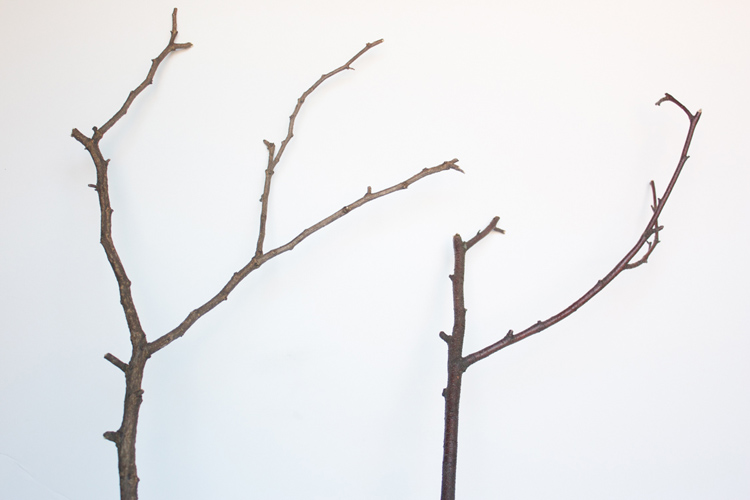
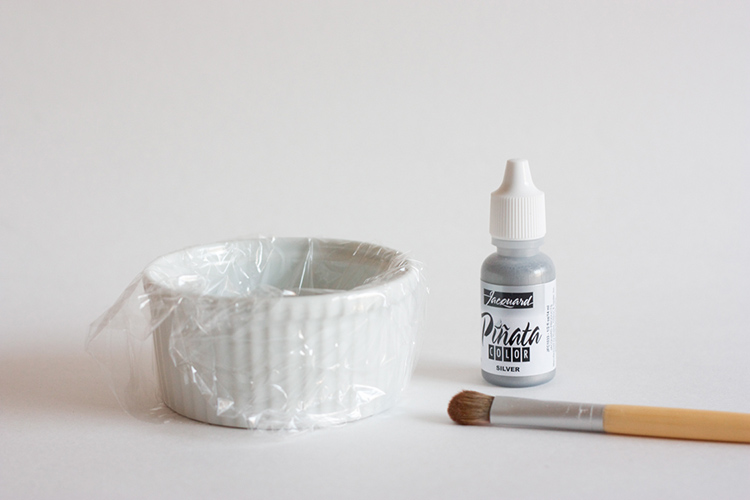
To make the antlers you’ll need: two branches, relatively similar in size and shape (although some quirks give the antlers charm), garden shears, a drill with a tiny drill bit and a phillips bit, two toothpicks, two screws, air dry clay, a wooden base (I bought mine in the wood section at Michaels), black spray paint, wood glue, Piñata alcohol ink in silver, and hardware for hanging.
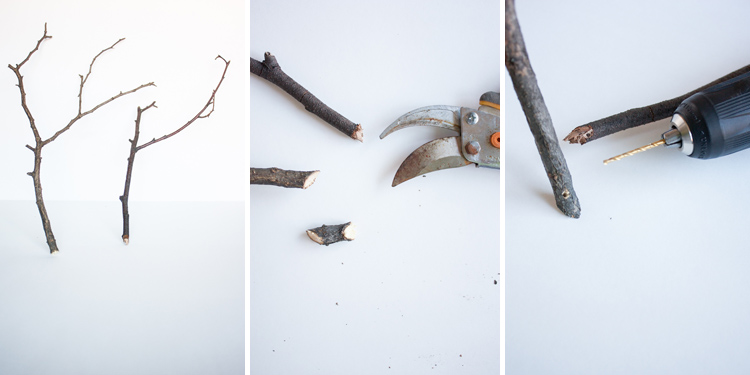
Set up your sticks next to each other and trim the bottoms at a 45 degree angle, making the tips about the same length. This angle allows the “antlers” to sit flush on the base, so orient them the way you want them to stick out. Using the smallest drill bit, set each stick up on a flat surface and drill a hole through each stick near the bottom. This will be where the stick screws into the board.
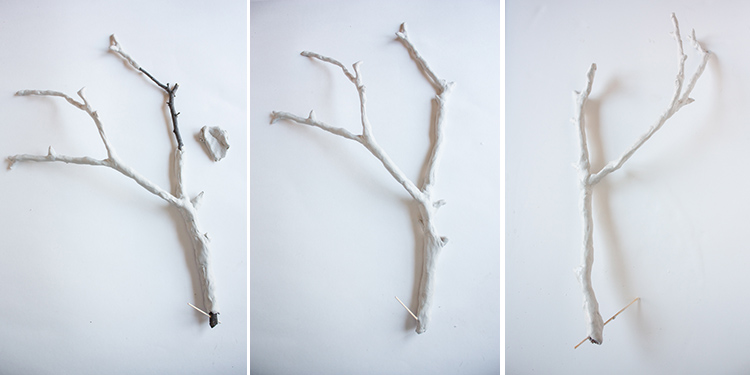
Place a toothpick through each of your drilled holes to keep them open while you cover the sticks in clay. The air dry clay is easiest to work with when you wet it a bit with water. I would take a little piece in my hand, run it under the sink for a second, then squish it around until it was really pliable and stuck onto the stick easily.
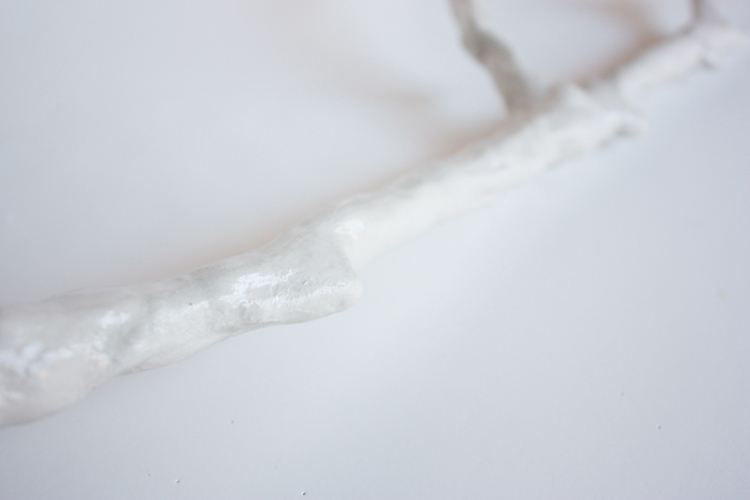
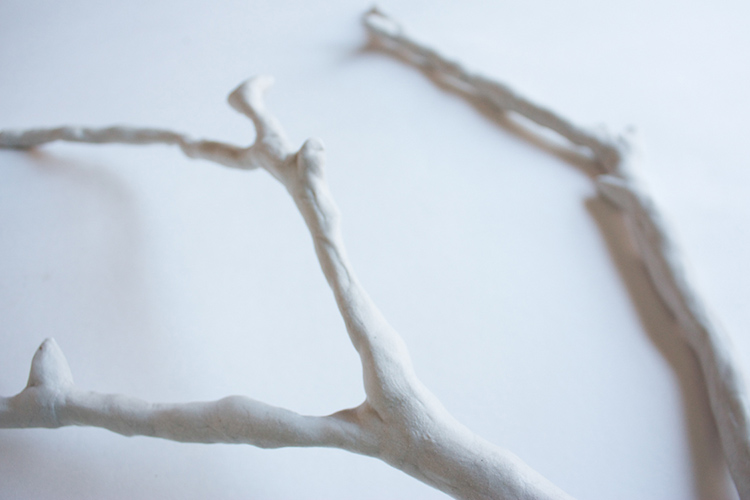
Start at the base of the stick and mold the clay around it, maintaining the shape of the little bends and bumps. Continue covering the stick all the way to the tips. Repeat on the other stick.
By the time you are finished, your hands will be covered with some clay sludge. Rinse them off, then use your wet hand to smooth the clay down over the sticks, leaving a pretty smooth surface. Some of the wrinkles and bumps add to the character of the antlers, but they should have a nice looking finish. Remove the toothpicks, set in a safe place, and allow to dry for 24 hours, or until hardened.
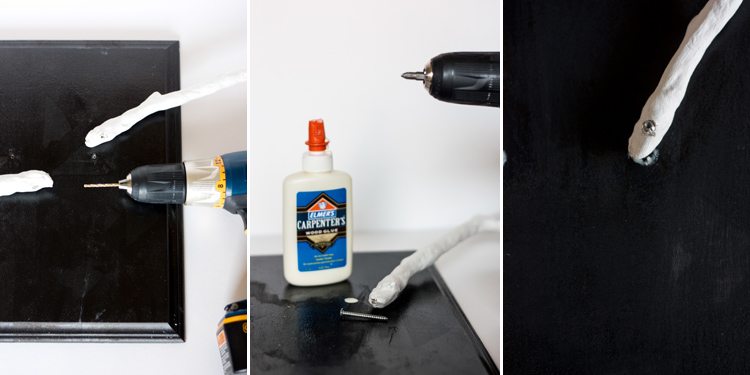
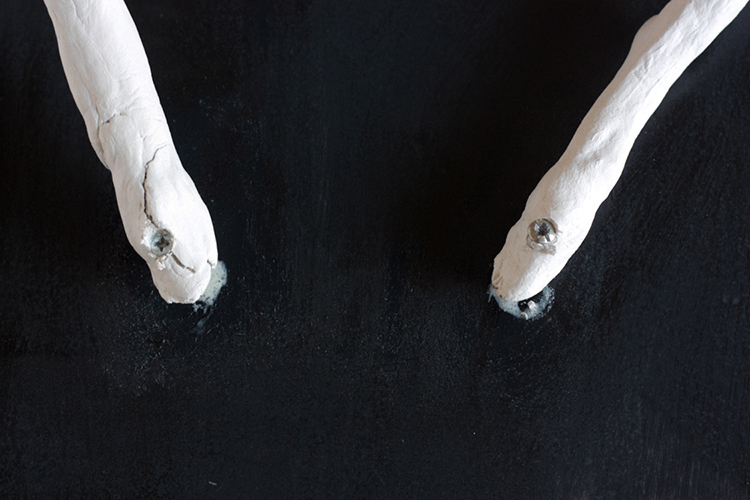
While the antlers are drying, you can spray paint your wooden base black (or any other color) if you’d like. Let it dry. When both antlers and base are dry, orient the antlers as you’d like on the base. Place the tiny drill bit through the hole in the antler, then drill into the wooden base, continuing the hole. Repeat with the other side. Place a dime-sized drop of wood glue over the hole, in the base, then stand the antler back up over the hole, and use the screwdriver bit to secure each antler in place with a long, skinny screw.
Try to be gentle, but if your clay cracks a little bit at the base, it’s okay! You cover that up in the next step.
Add some more air dry clay at the bottom of each antler, covering the screw and finishing the ends. Leave to dry for another 24 hours.
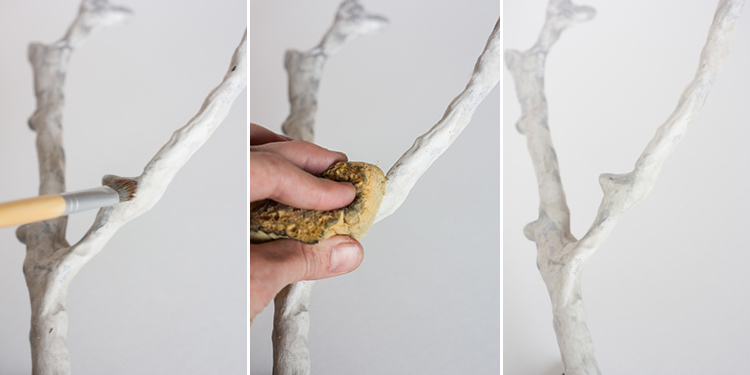
To add some fun texture and a hint of sparkle to the antlers,use metallic Piñata Ink in silver. Brush it onto a small section, then quickly sponge over the section with a wet sponge, leaving the metallic ink stuck into the nooks and crannies of the antler. If you want metallic antlers, skip the sponging off step, and they will become completely silver!
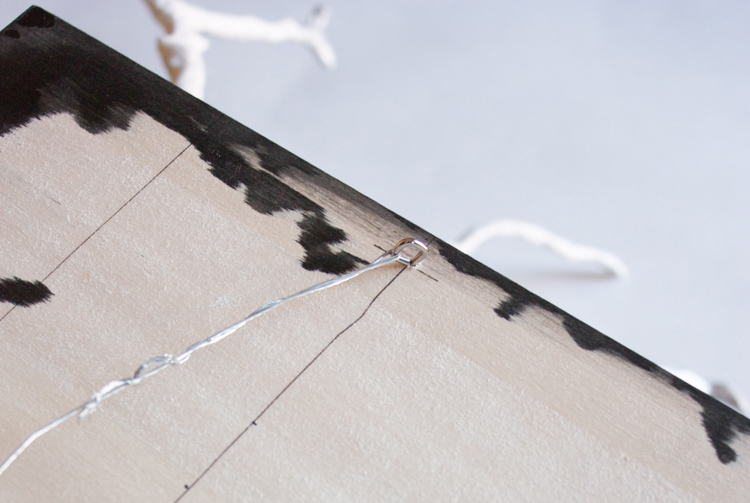
Measure where you’d like the antlers to hang, and screw some picture-hanging hardware into the base. You’re finished!
Hang your new faux antlers on the wall, out of reach from any stick-collecting children you may have!
I love having my first set of antlers up, and it’s so cool that making them was a family effort! This project has so many possible variations with the different shapes and sizes of sticks that you find, the different colors or patterns you paint the base, and the amount of bling you add to the antlers! I’m going to hang some bells on mine for the Holidays, then continue to admire them all year round!
Only one more Reindeer Week project to go, and I am so excited about it. Come back tomorrow for a great tutorial involving needles and wool!

