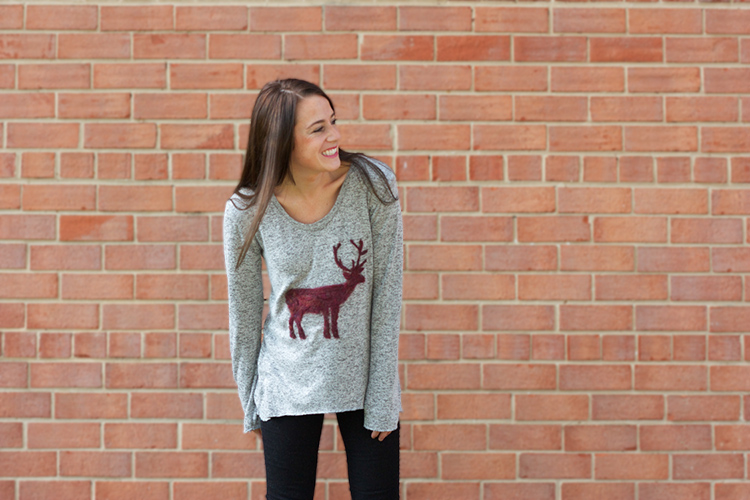
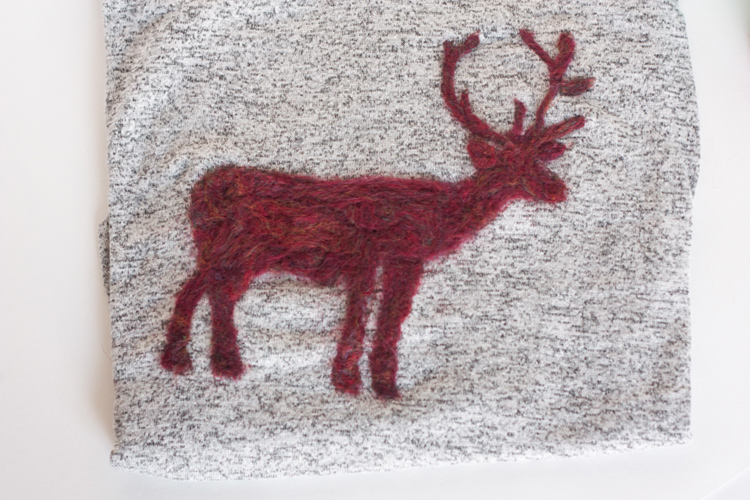
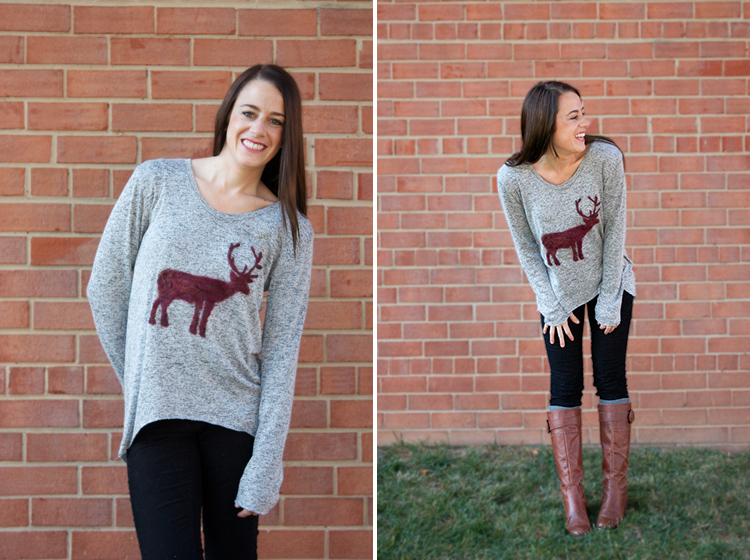
What would Reindeer Week be without a gorgeous, hand felted sweater? I’ve been thinking about needle felting designs onto to sweaters ever since last year when I saw this fabulous elbow-patch tutorial. An animal like this is much too large to use a cookie cutter as the outline, so I tried another method and it worked out great!
Animal motifs are so on trend right now. It seems like everywhere you look there is a fox, shark, zebra, or jackalope adorning a pullover. Adding your very own reindeer to a sweater is a perfect way to join the fun! I don’t know about where you live, but where I live it’s Reindeer-Sweater Weather!
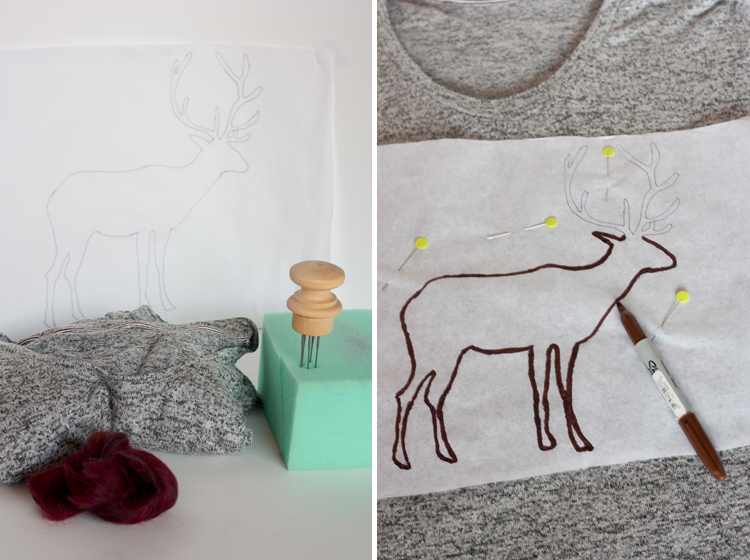
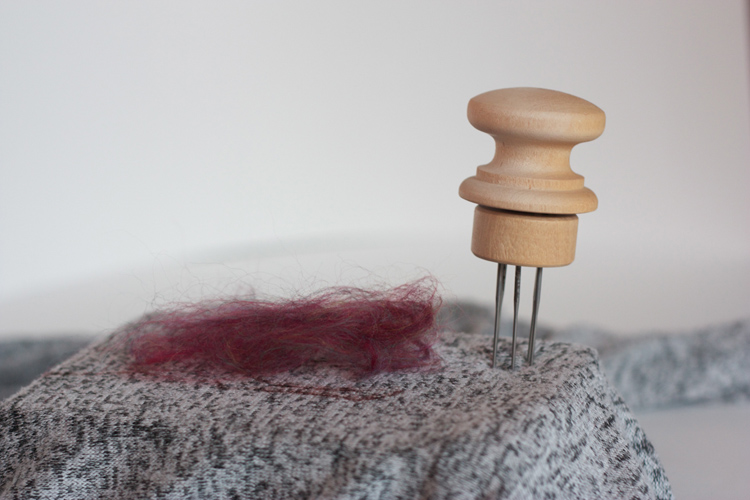
To make one, you’ll need a basic crew-neck sweater with a plain front (I made my own using the new Megan Nielsen Briar pattern–it’s the best!), wool roving, a piece of foam, a needle felting tool, and a piece of thin tracing paper.
Find a reindeer silhouette that you like and trace it onto your tracing paper. I found a small one online, zoomed in, and used the computer as a light table to make the tracing easier. Orient the image on the front of the sweater, pin in place, and trace around it with a sharpie.
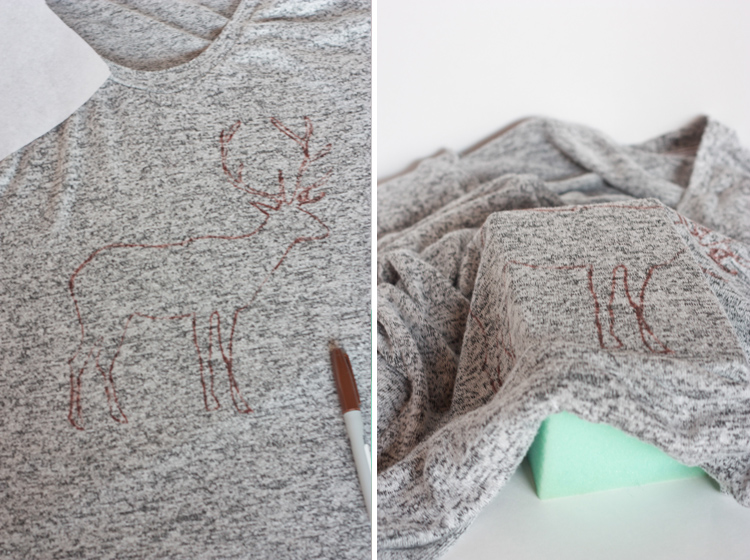
The marker will bleed through the thin paper and leave the pattern outline on the sweater. Make sure it’s not bleeding all the way through to the back. If you notice it does, slip some paper in between.
Lay the sweater with the pattern over the foam. Mine foam is small, so I work in sections.
Peel off a tuft of fibers from the roving and lay them on top of the design.
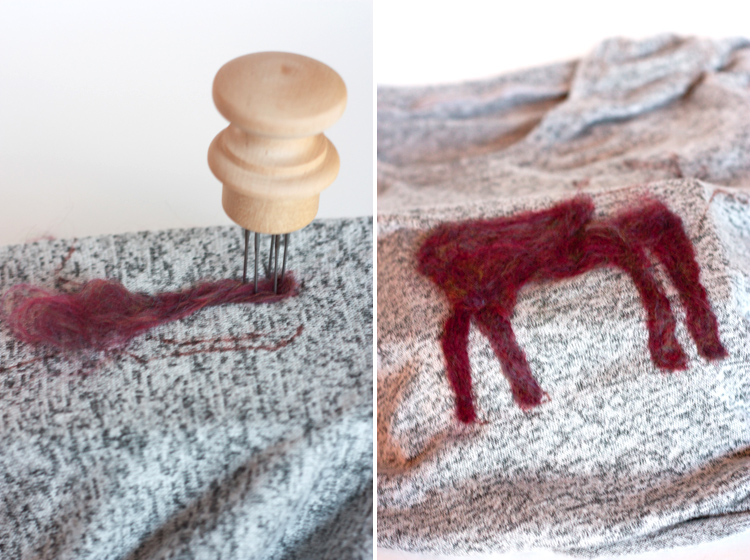
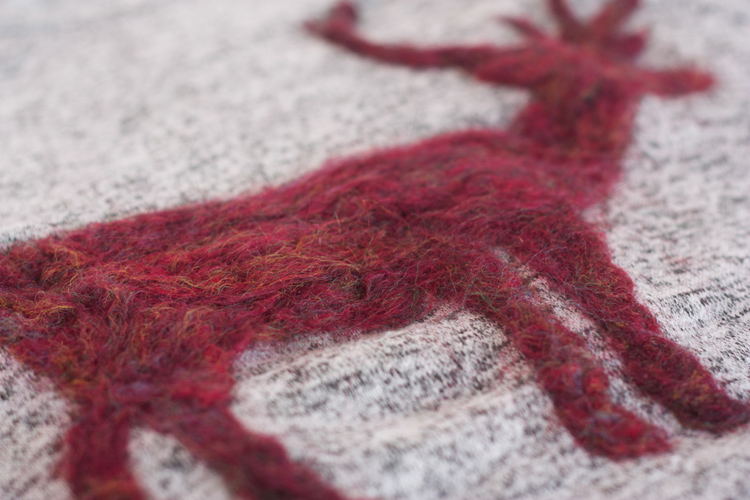
Use the needle tool to punch the roving into the sweater. The tiny barbs on the roving needles will begin to weave the roving into the front of the sweater, interlocking the fibers. As you punch the needles through the roving, it will get smaller and tighter. Use the needles to carefully guide the roving within the lines of the reindeer pattern.
Once a small section looks pretty tight and formed, add another tuft of roving and continue the design. Work up all four legs and onto the deer body.
If parts of the felting look patchy, add a little bit of roving and punch repeatedly with the needles. It will continue to tighten into a smoother design.
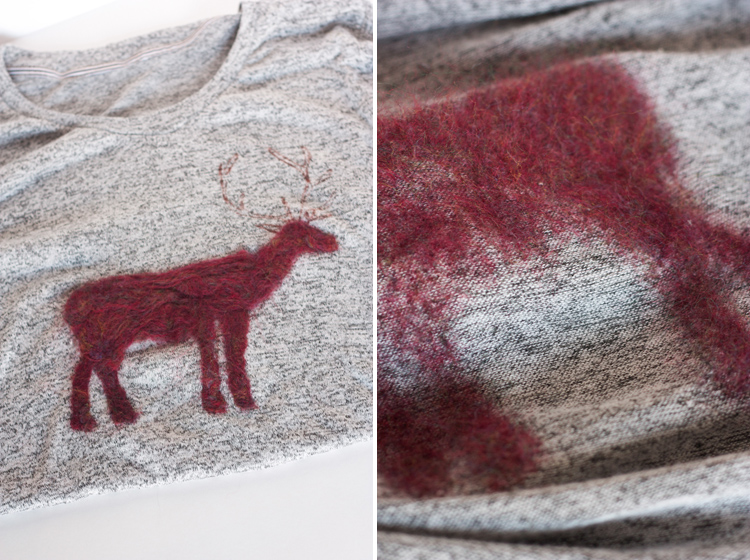
Turn the sweater inside out to see how the roving is being felted right into the material. It’s awesome.
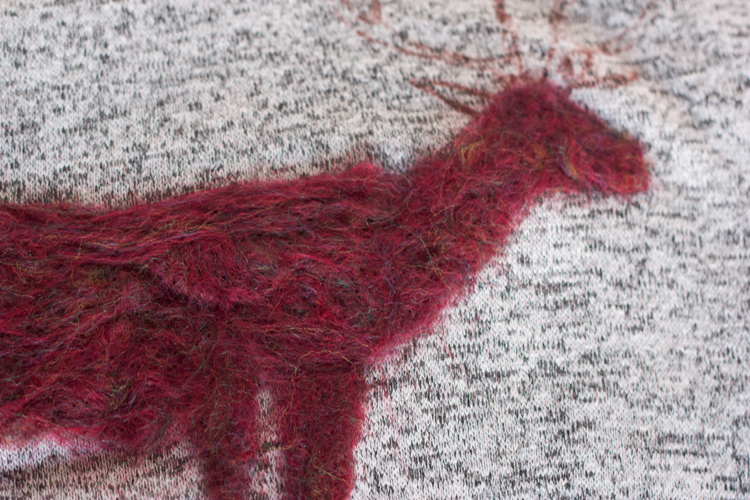
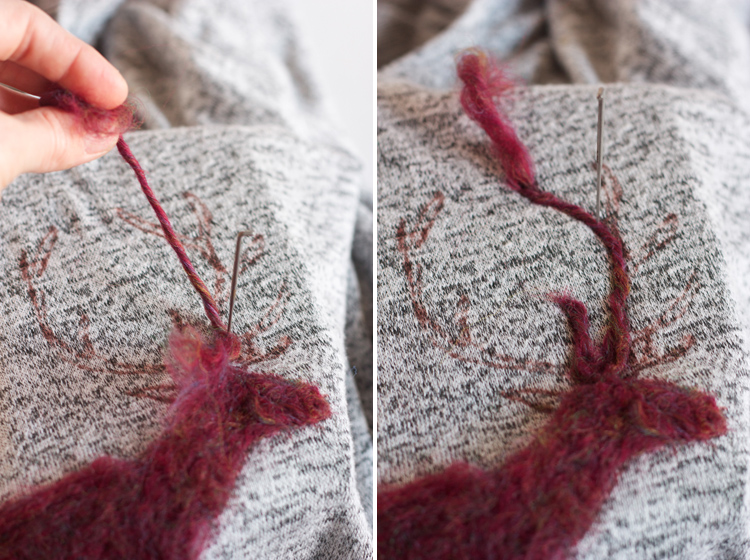
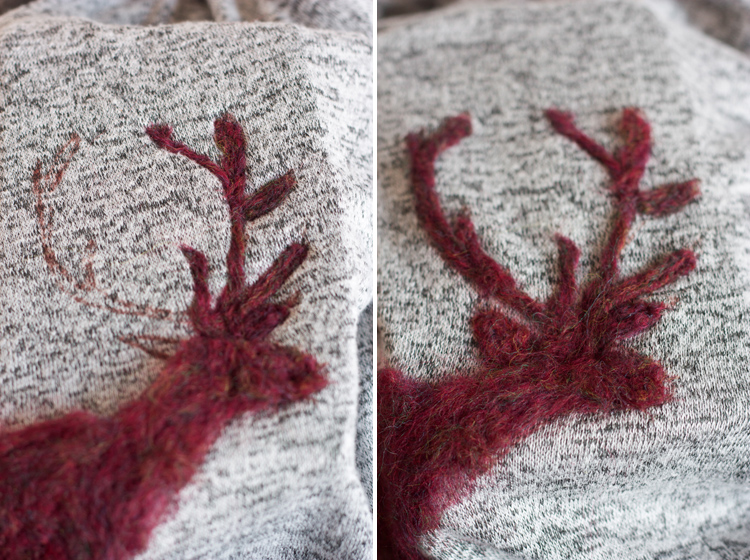
The antlers are thin, so you’ll use a slightly different technique. Remove one needle from the tool, and twist a small length of roving into a fine rope. Lay it down along one of the traced antlers. Use the single needle to punch it into place. If your end is a little long, cut it off and felt the raw ends into the sweater.
Continue using the fine rope technique until all of the details of the antlers are felted into the design.
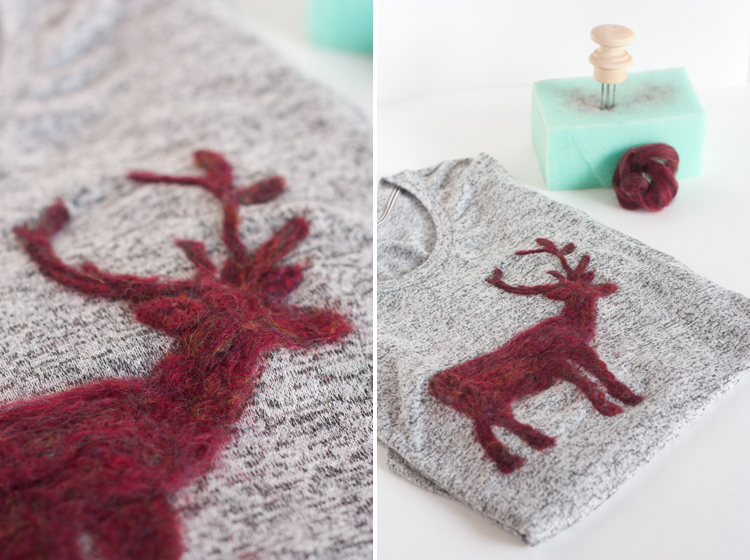
Replace the needle in the tool, and go over the entire design a few times, securing down loose roving and tightening the design. You’re finished! Needle felting this whole reindeer took me about two hours, even with stopping to take all of the photos. It’s a perfect project for nap-time, a craft night, or the new episode of your favorite series!
*note: wash cold and lay flat to dry to avoid shrinking and distortion of the wool.
Now don your creation and wait as the compliments roll in! The first day I wore this sweater, I was stopped in the lobby of a building by a girl who declared “That is the cutest sweater I have ever seen!” I am so happy with how this one came together, and hope you give it a go! This would make a really awesome handmade gift, of course you’ll have to make one for yourself, too. My mind is racing with all of the possibilities for needle felted sweater designs!
This tutorial wraps up the DIY portion of Reindeer Week. Tomorrow I’ll be sharing a round-up of some of my favorite reindeer projects from around the web. If you have seen a really great one, or made one yourself, email me today so I can include it!

