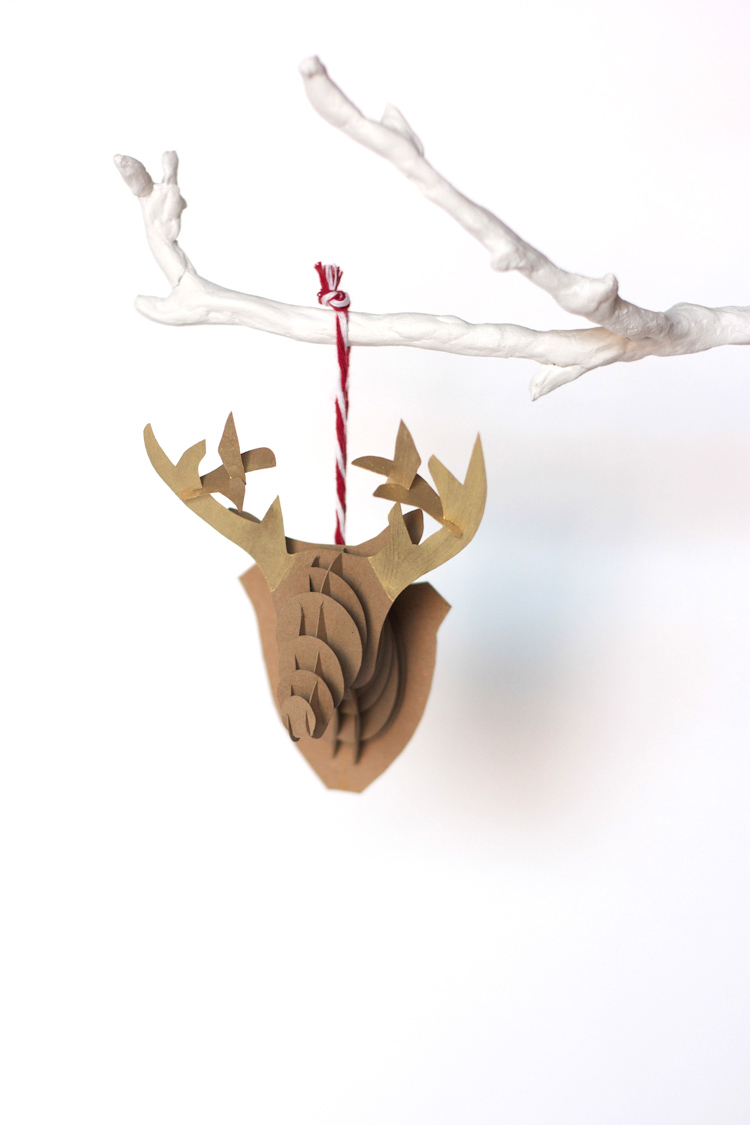
Just as I was getting geared up for the Holiday season a month or so ago, I was invited by sweet Kelli to participate in a handmade ornament exchange. The timing couldn’t have been better. I had wrapped up Halloween costume madness, was looking forward to the Christmas, and loved the idea of making something to send to fellow bloggers around the country (and all the way to Australia!) Also, I didn’t grow up collecting ornaments like some people do, so my supply is very small. I can’t wait to add a slew of handmade ornaments to my tree!
I was familiar with most of the ladies participating (listed below), and those that I wasn’t have become instant favorite reads. Today, along with all of the full tutorials for handmade ornaments, I hope you get the chance to find another fun source of inspiration!
Sonja of Ginger Makes
Mika of Savory Stitches
Suzanne of My Beau Baby
Megan of Megan Nielsen
Jen of Grainline Studio
Dixie of Dixie DIY
Madalynne of Madalynne
Kelli of True Bias
Kelli’s invitation explained that the ornaments could be made from any materials. After brainstorming ideas (including mini sweaters hanging on wire hangers, and stuffed felt snails) I remembered these awesome cardboard busts of a rhino, elephant, and deer I had seen in my friend’s living room, and thought it would be really amazing to miniaturize one into a little paper ornament. Of course I chose the deer…ahem…reindeer, because it’s Christmas, after all!
This DIY reindeer ornament, complete with printable pattern, will kick off Reindeer Week here on the blog. Turns out I was already making two other deer-inspired projects as Christmas gifts, so I thought it would be motivating to come up with another couple, round out the week of DIY’s and call it a party! It’s been a little crazy (what was I thinking?!) but I am thrilled with the way everything has turned out, and hope you are inspired to make and use something that I share this week. So, without further blabbing, welcome to:
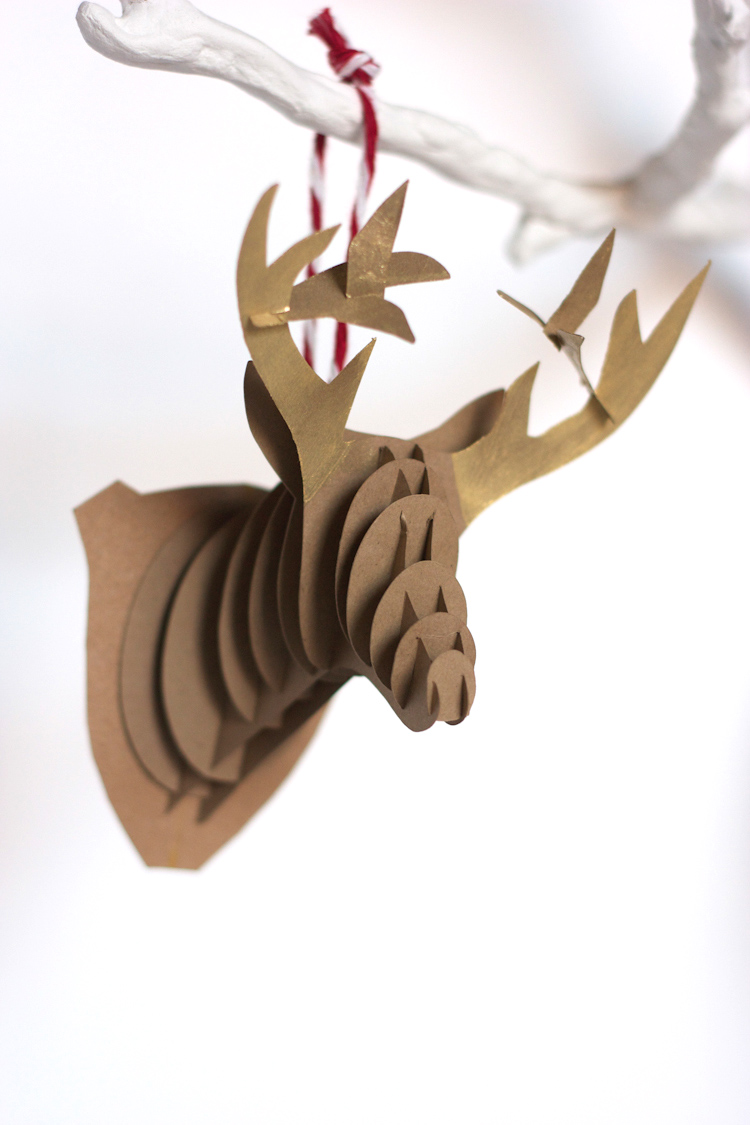
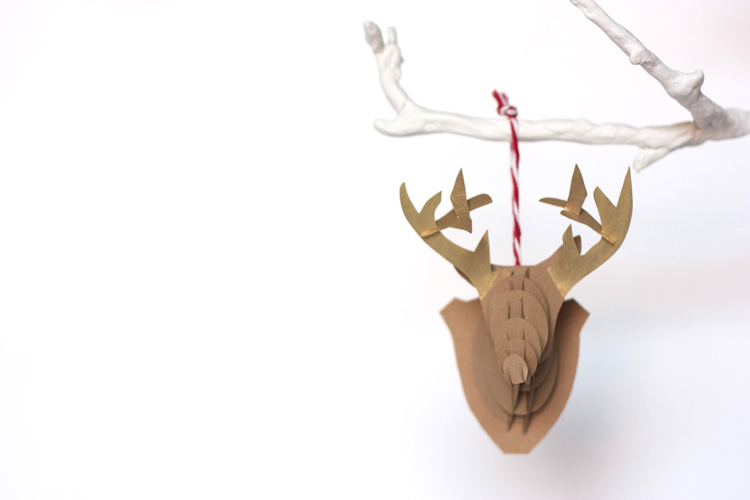
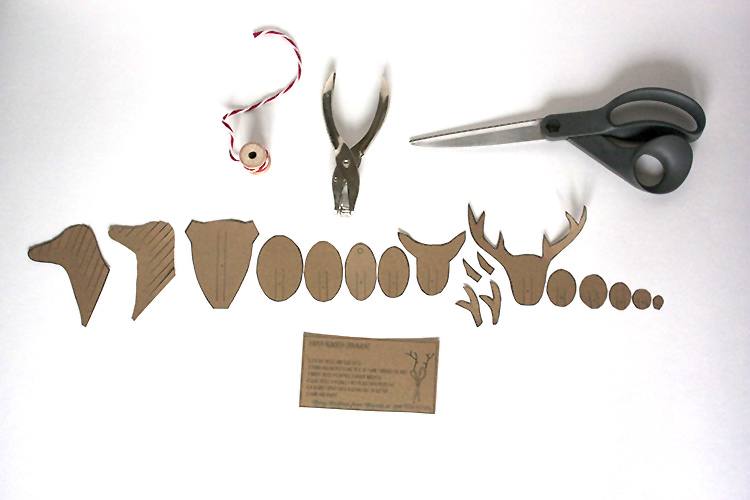
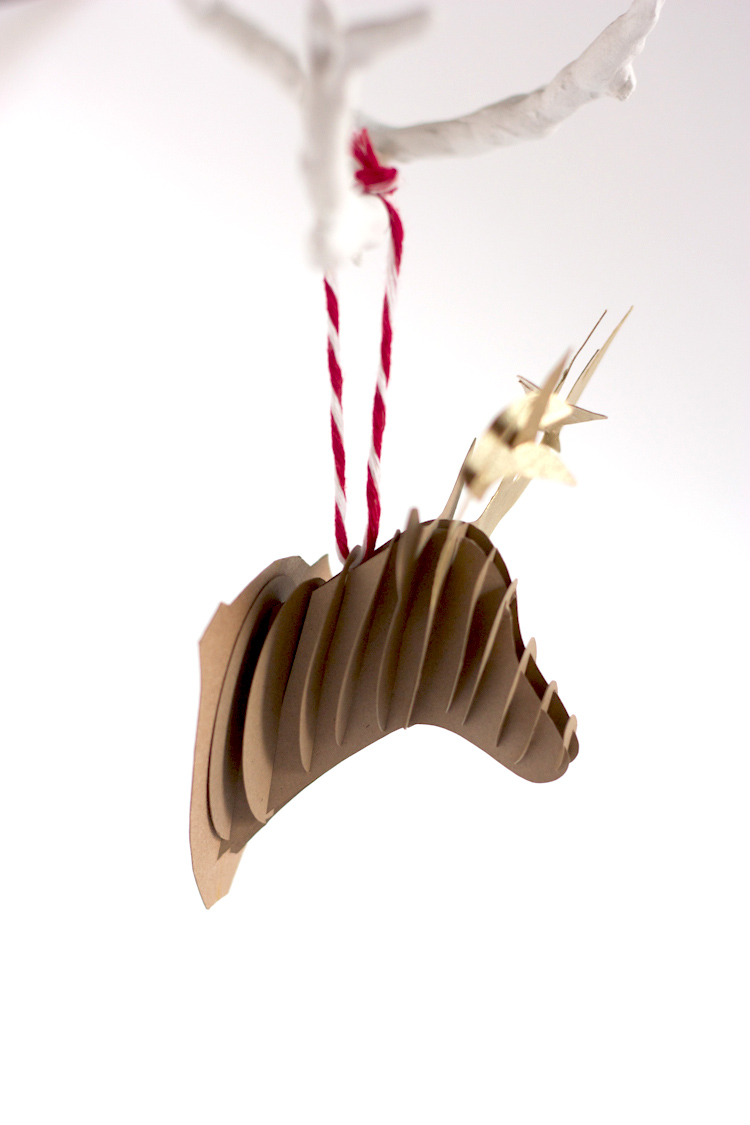
The paper reindeer ornament is really fun to make. All of the pieces are designed to fit together like a puzzle, so there is no gluing involved. Just some cutting, hole punching, and one little knot. I know you can handle that!
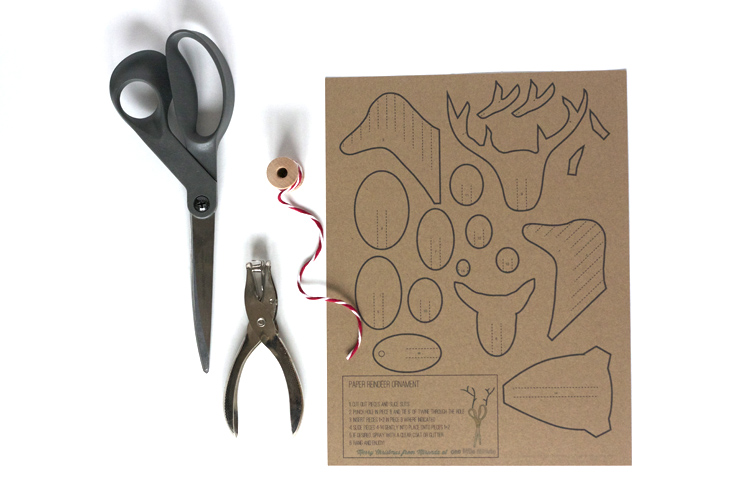
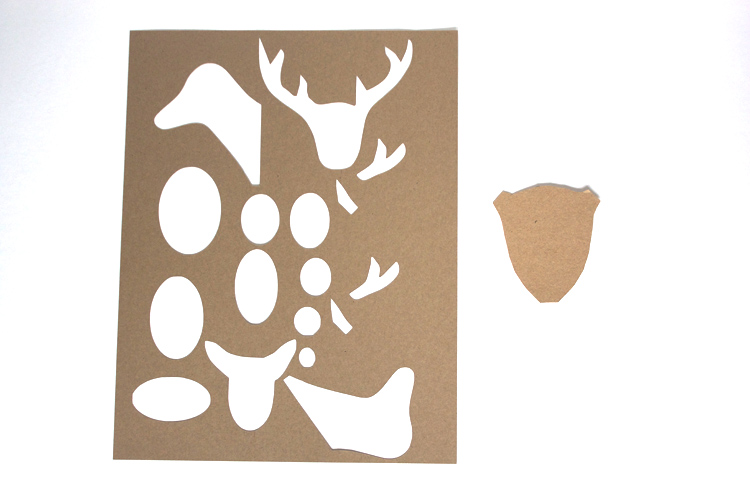
First things first, you’ll need to download and print the pattern. I’ve provided it below in two formats. The PDF will be for most everyone to simply print and cut the pieces like I show in this tutorial. I’ve also included a PNG download for those of you who may have a Silhouette Cameo and want to do a live trace of the file for machine cutting. I did this for the 10 ornaments that I made to exchange, which cut down my cutting time by a lot (pun intended.)
Whichever pattern you choose, you’ll also need one sheet of Kraft paper in cardstock weight for each ornament, scissors, twine, a hole punch, and a 2″x 3″ piece of chipboard, (and gold paint for the optional gilded antlers).
If you print and cut yourself, just cut around each piece on the bold outer edge, then cut up each dotted line. Trace the number 3 piece (the base) onto your chipboard and cut it out, then slice the two slits with one blade of your scissors (or an exacto knife). The chipboard base helps to balance the bust, so that it hangs pretty centered. If you’d rather not use chipboard, you may just have to double the Kraft paper base, or tape a penny to the back.
If you use your Silhouette, import the png file then use live trace to outline the edges. Delete the text instruction box and all the numbers, then cut. I think my blade was at a 3 for my 65 lb paper. You will also need to trace the number 3 piece onto chipboard, or use the penny method (that I haven’t even tested and am throwing out there just as an idea!)
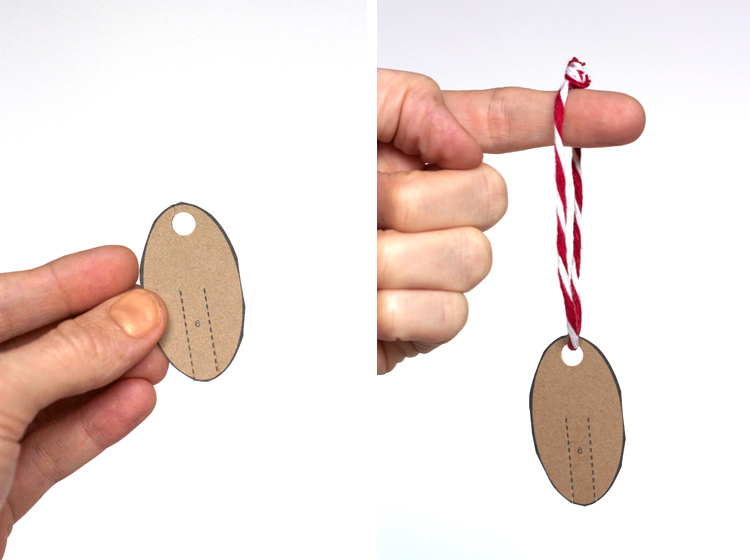
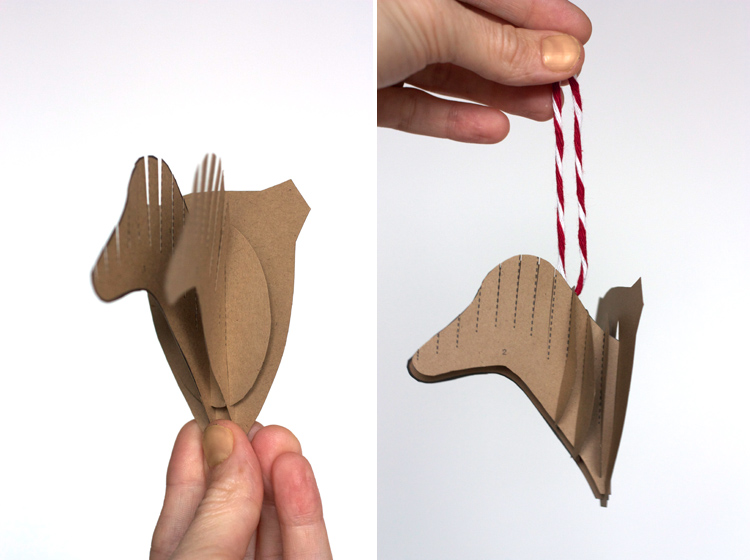
After all of your pieces are cut out, punch a hole in piece number 6, where indicated. Cut about 8″ of twine and thread it through the hole. Tie a knot, and admire your handiwork! This is the beginning of a beautiful ornament. I found it was much easier to attach the twine now, than after that piece is in place.
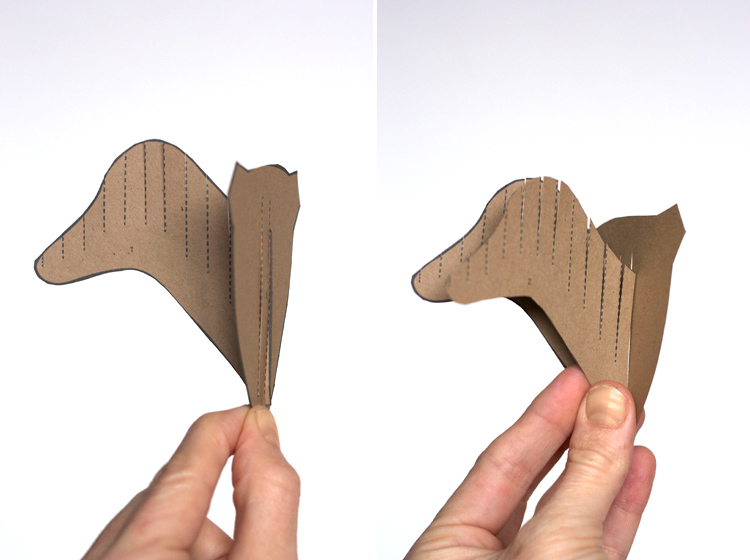
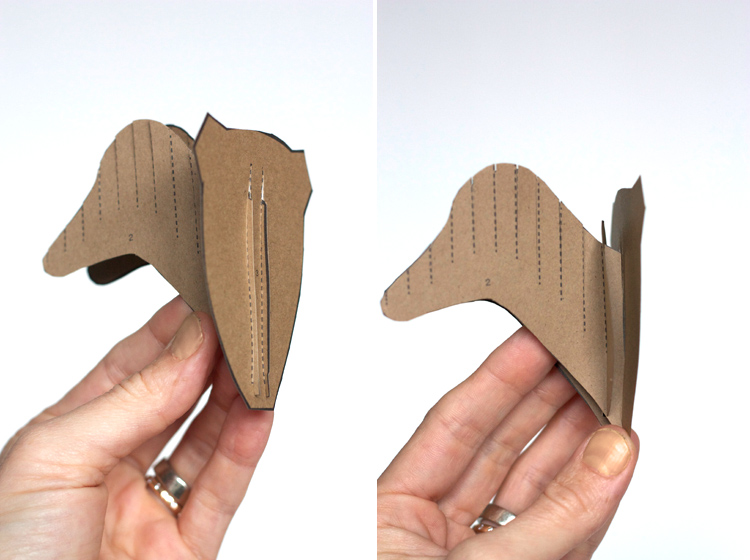
Pieces 1 and 2 (the two sides of the head) slide right into the slits on piece 3. You’ll want to do this first to keep the two sides even as you fit each of the other little pieces on.
The head pieces will only stick out the back about 1/8″ of an inch, leaving room for you to slide the next piece on easily. Cardstock is pretty tough, but if I pushed too hard from the top the pieces would bend. I found the best method was to align the slits properly, then pull the pieces down from the bottom.
From here on forward, the pieces slide on in numerical order. They also go from largest so smallest, so if you cut with the Silhouette and don’t have the numbers, you shouldn’t be too confused.
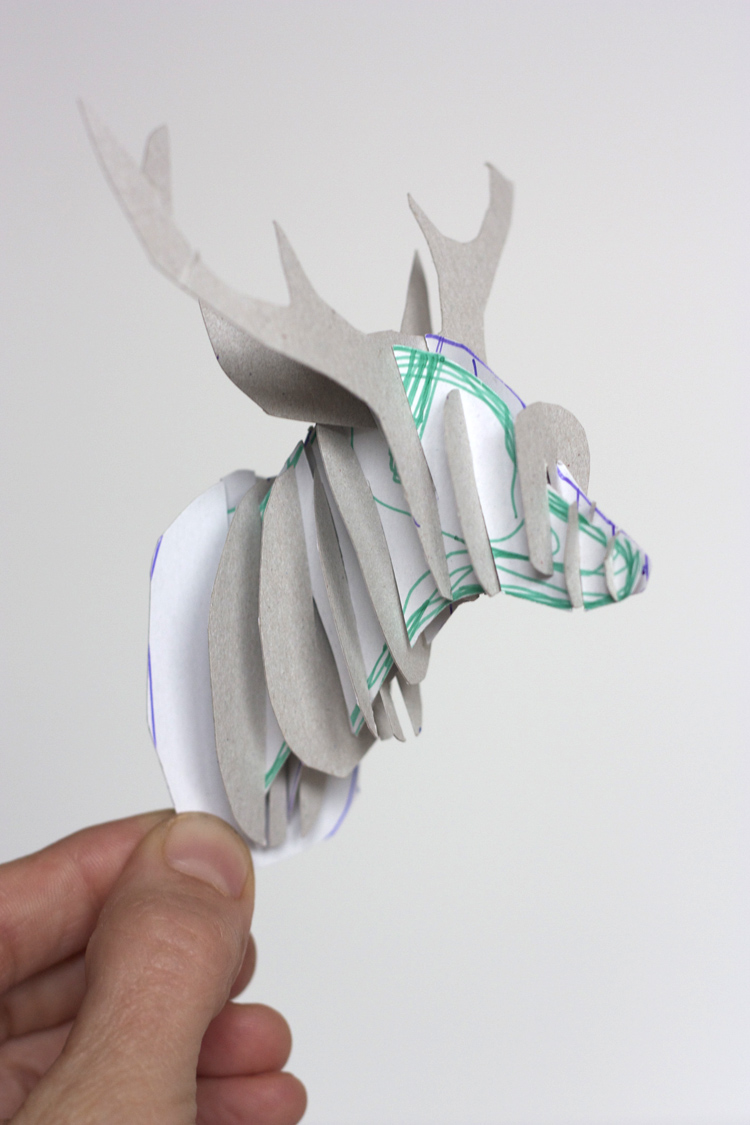
It takes a tiny bit of patience to interlock the pieces properly, but I had not trouble making a few while I watched Netflicks with Dave. Take it slow and steady, keeping the head pieces aligned. (ps on the final version or the pattern, the heads are reflected so the printing will not show on the outside like in this photo!)
Just keep building, just keep building, just keep building, building, building… (can you tell I have a pre-schooler and toddler at home?) The extra prongs for the antlers aren’t numbered, but obviously slide into the indicated slits to finish off his set.
If you love them as is, this is your exit! If you like a little extra bling on your buck, read on:
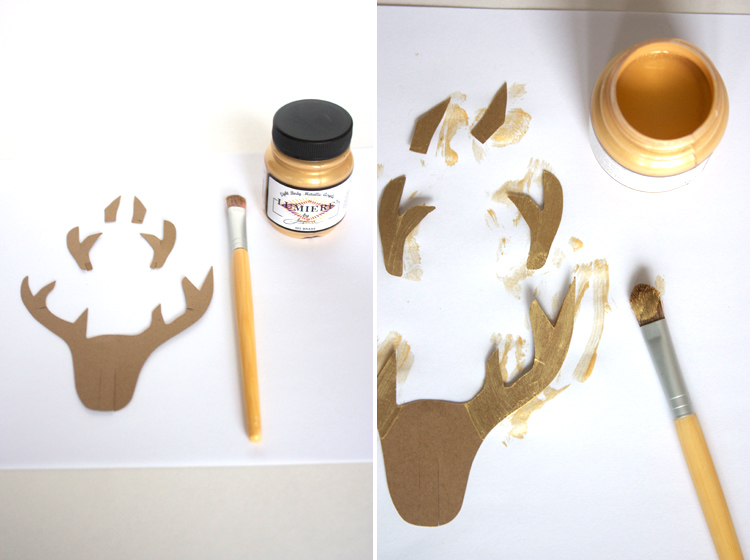
Remove the antler pieces from the ornament and lay them flat on a piece of wax paper.
I used Jacquard Lumiere in Sunset Gold paint, and the result is something really similar to gold leafing, which is just what I was going for.
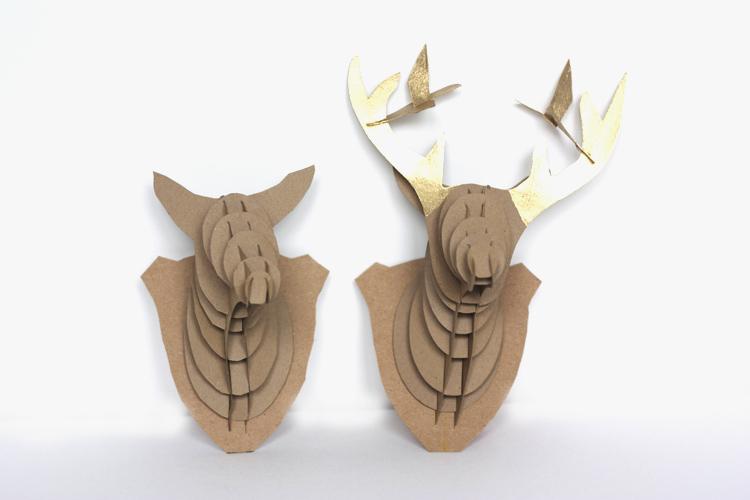
If you want a little paper reindeer love story, simply leave the antlers off of one, and you’ve got a doe! (cue singing “…a deer, a female deer…”)
I love the idea of mailing all of the pieces and instructions to a crafty friend or family member (even though I’m mailing these for the exchange all put together.) It would make a fun surprise to include with a holiday or birthday card. With faux taxidermy so hot right now, your chances are good that it will be well received!
I love the way these little paper busts turn out. Simple, but still with a little “uh, how’d you do that?” factor that is fun in handmade projects. After Christmas, I think these will transition great into tiny art for a wall or a little dresser knob decor (where I had mine hanging until the tree went up over the weekend). Three cheers for paper reindeer!
I loved participating in the Holiday Ornament Exchange, and can’t wait to check out what everyone made! I hope you’ll hop around and see, too!
Bonus section: If you’re interested, I also included a little behind the scenes of the making of this deer. It was a fun process, but didn’t begin very pretty.
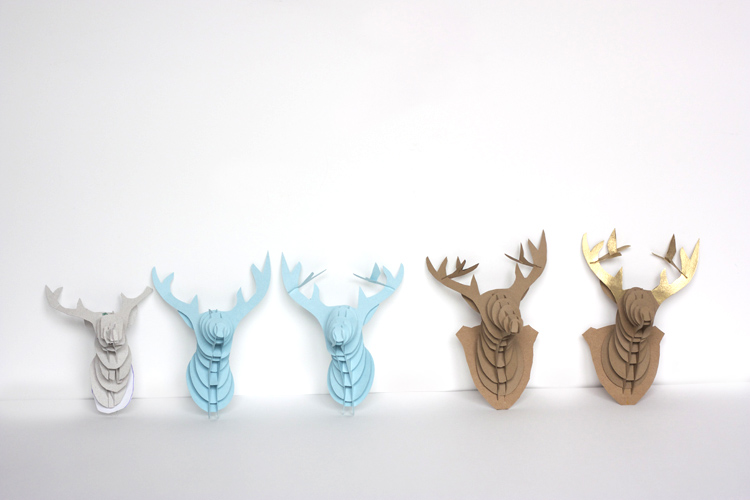
I drew my first draft onto a cardboard mailer with purple and green sharpie. It was not scientific at all, just a rough visualization of what the pieces might look like. Who wants to hang this one on their tree? Anyone, anyone…?
From there, I traced the pattern over again onto some cardstock, and began tweaking the dimensions of the circles and the height of the slits to keep from having so much overhang. Then I added the extra prongs to the antlers. When I was satisfied with the general shapes, I scanned the paper pieces into Illustrator, and traced them with the pen tool and ellipse tool. I’m still a total beginner with Illustrator, so it was slow going, and is still not completely perfect, though I am really happy with my final version. The final tweaks were choosing where to put the hole for hanging, and how to mount the ends.
It was a long process, but really engaging. I love having opportunities to improve my pattern making and Illustrator skills, and this was a fun way to do both in a different medium than sewing!
Tomorrow’s Reindeer Week DIY does include sewing, but also hot pink dye and lots of sun, so come check it out!

