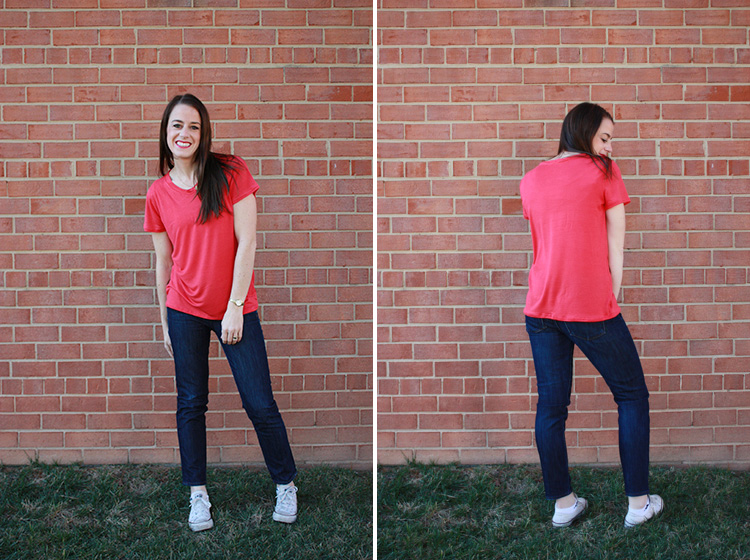
This series is sponsored by Baby Lock. For over 40 years, Baby Lock has been dedicated to the love of sewing by creating machines for sewing, embroidery, quilting and serging – all with ease-of-use, high quality and a touch of elegance.
Constructing a basic tee shirt is one of the foundational skills of sewing with knits. Once you figure out the steps, and feel comfortable with the process, you will open a door to endless possibilities! All different types of blouses, jackets, sweaters, sweatshirts, and dresses are made pretty much this same way. Prepare yourself to create some awesomeness!
I’ll walk you through the basic construction, then head over to learn all about Finishing Techniques for Knit Fabric from Mim!
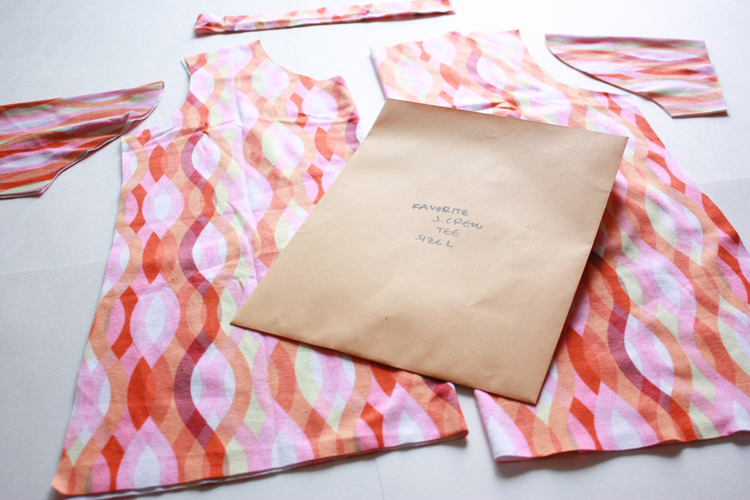
Today we’re going to focus on creating the tee shirt using the pattern that you either rubbed-off of your favorite tee, or drafted using your own measurements. Miriam already taught you all about cutting knit fabrics, and I showed you how to choose the best fabric for your project. If you are re-making a favorite tee, you’ll want to choose a fabric that stretches as close to your original as possible, so the fit is similar. Use your pattern to cut out your pieces, and let’s begin!
You can sew knits effectively using either a sewing machine or a serger. If using a sewing machine you’ll want to invest in some ball point needles. The tips are gently rounded so they stretch between the fibers of the fabric rather than piercing it.
Whether using a sewing machine or serger, it is very important to remember to not stretch the fabric out at all while you sew. If you’ve been sewing with wovens, there’s a chance that you’ve developed a habit of “helping” the fabric through the machine (I know I have from time to time). When sewing with stretchy fabrics, you’ll need to line up the edges, and let the machine feed the fabric through. If you have trouble, try using a walking foot on your sewing machine, or adjusting the differential feed on your serger.
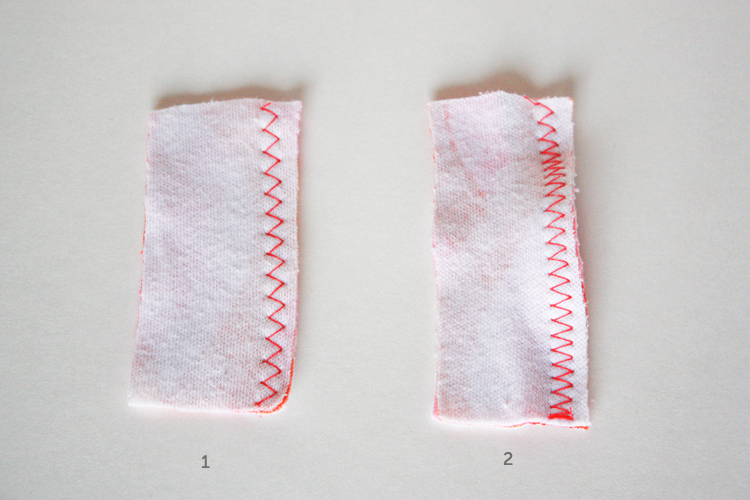
Almost every sewing machine, however simple, will have a zig zag stitch. This is the basic stitch used to sew knits. Because the threads run partially perpendicular to the stretch, rather than parallel to it, they won’t break when pulled. On sample number 1 I let the machine feed the fabric through. It stayed nice and flat. On sample number 2 I stretched the fabric slightly as it fed through the machine. You can see how the stitches hold the fabric stretched out, and create a wavey seam. This isn’t pretty.
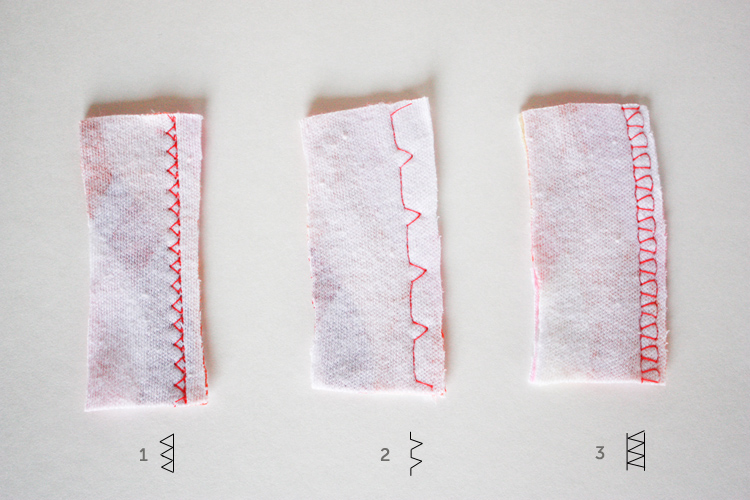
Your sewing machine may offer some additional stretch stitches. The above stitches are a couple my machine offers. To be honest, I only ever use my zig zag stitch when sewing with knits on my machine, but it’s nice to know there are other options. Sample 1 creates a zig zag stitch with an added straight stitch along side. While the zig zag allows the seam to stretch, the straight stitches add strength to the seam. Sample 2 does a similar stitch, but more spread out. The seam sewn with this stitch will stretch, but may look more like a straight stitched seam on the right side of the fabric. Sample number 3 adds a straight stitch to both sides of the zig zag stitch. This seam will have added strength of sample number 1, but the seam will appear even nicer from the right side, because it will appear more like a straight stitch.
Any of these options are great for sewing with knits.
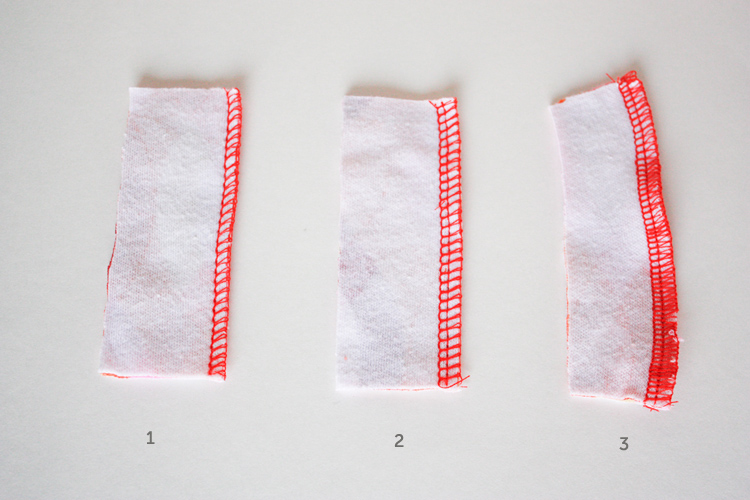
Sewing knits with a serger is incredibly fast and easy. The machine trims the edge of the fabric, then casts threads over the raw edge, finishing it completely. Sample number 1 shows a three-thread overlock (or serger) stitch. This stitch eliminates one spool of thread, which is quick, and for lighter weight fabrics it will work just fine. I prefer to use the four-thread overlock stitch shown in sample number 2. In addition to the overcast threads and stitched seam, the fourth thread adds a second seam of stitches. The seam will be much stronger than the three-thread stitch, and I think the right sides of this seam look neater. Sample number three shows what happened when I stretched the fabric slightly while I was serging it. The same wonky seam as above.
Whichever stitch you choose, remember: don’t stretch your fabric while sewing!!
Okay, let’s get started:
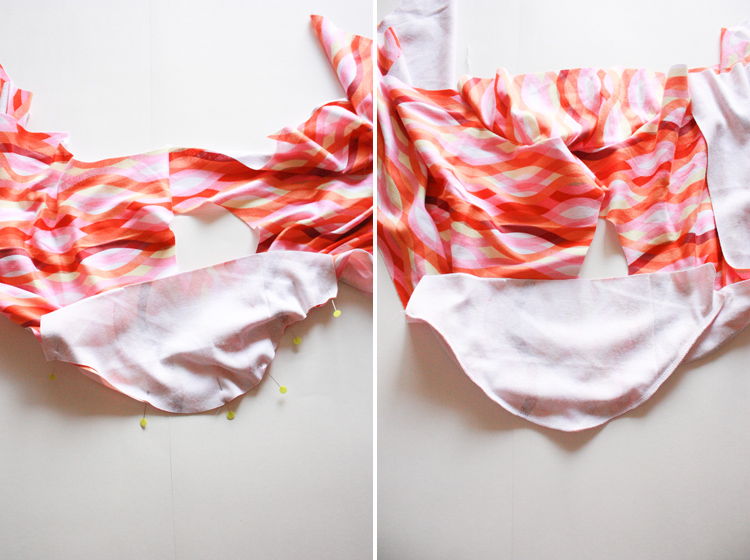
Lay the front and back pattern pieces right sides together and line up the shoulder seams. Shoulder seams are the first thing we’ll stitch.
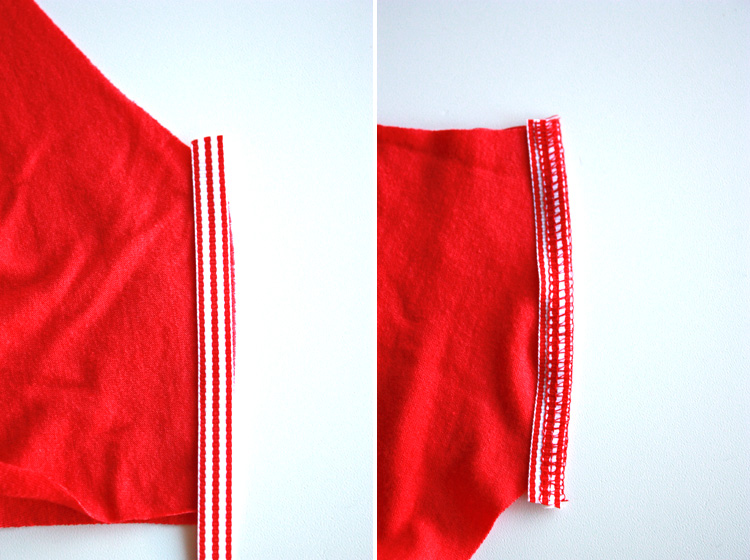
If you want to stabilize the seam, so the shoulders don’t stretch out due to the weight of the sleeves, you can add a strip of knit stabilizer, twill tape, or grosgrain ribbon into the seam by simply laying it on top of your sandwiched fabric and sewing right over it.
Open up the shoulder seam and press flat. Line the center of your sleeve up with the shoulder seam with right sides together. Line up one edge of the sleeve with the edge of the tee, and pin in place, then add a third pin in the middle of the sleeve cap.
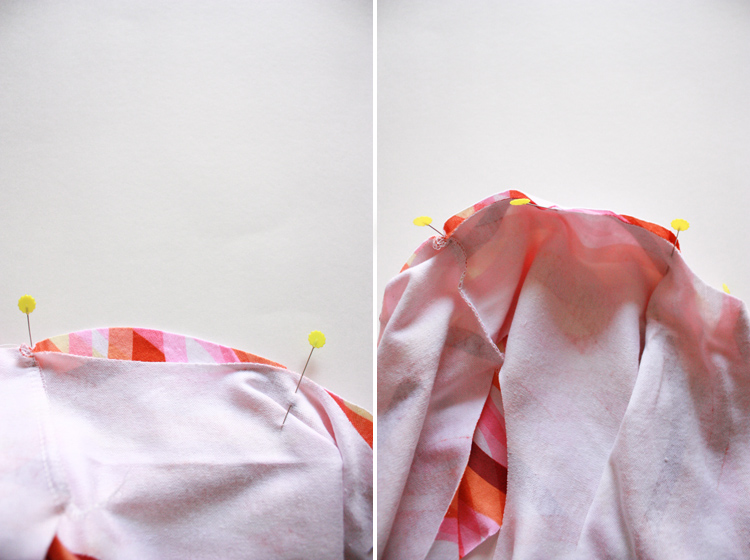
When the sleeve is lying flat, the edges will not match, because the sleeve cap is round, and the arm scythe is too! You’ll need to lift up the fabric and line the seam up along a curved plane. The seam you sew will still be flat, but you will feed the fabric through in this arched shape to keep the edges aligned.
Repeat the pinning on the other half of the sleeve cap, then slowly stitch the sleeve in place.
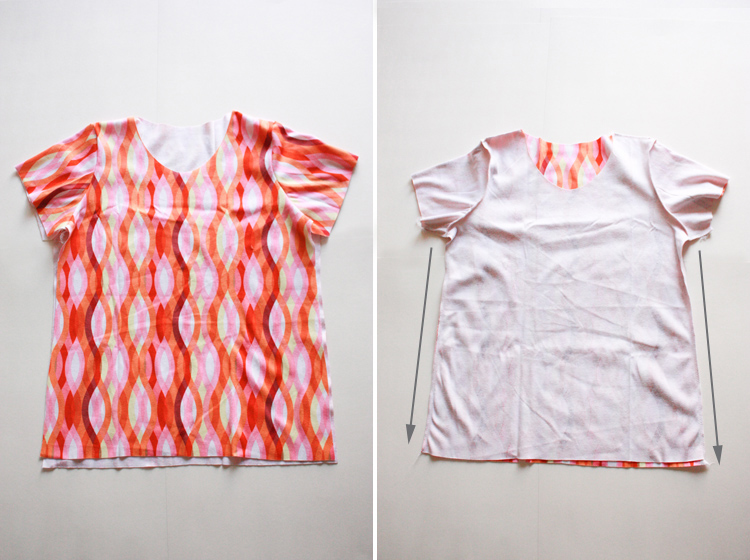
When your tee is right-sides-out, it will begin to look like a real shirt! With right sides together, line up the side seams, from the end of the sleeve, to the underarm, then down along the side. Pin at the underarm, to keep the sleeve seam aligned, then stitch, beginning at the end of the sleeve and ending with the hem of the tee.
It doesn’t matter when you insert the neck band. Once the shoulder seams are sewn, you can put it in at any point. This time, I inserted it after my side seams were finished, though it may be slightly easier before the side seams are done so that the shirt can still lay flat.
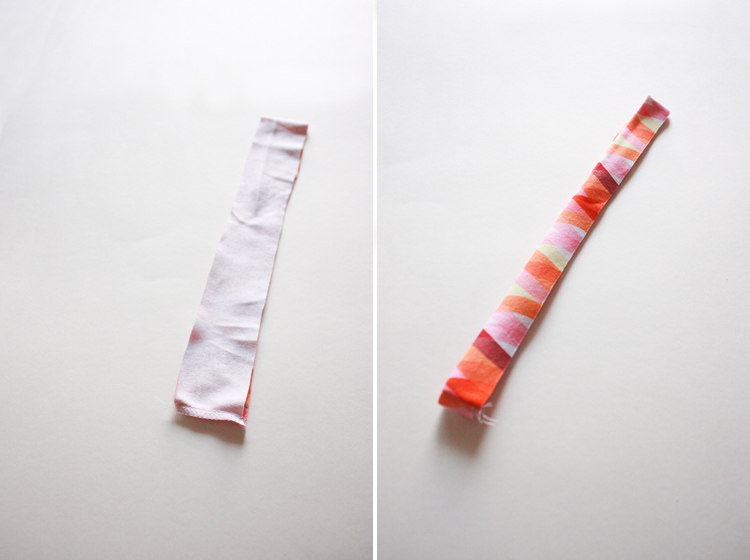
Fold the neckband in half lengthwise with right sides together, and stitch the raw ends. Fold the loop you’ve made in half width wise and press to hold the center fold.
Line the neckband seam up with the center back of the tee and pin in place. Stretch the band in half to find the center front and pin to the center front of the tee. Find the center sides of the band and pin to the shoulder seams. Stitch the band onto the neck opening, stretching just the band (not the neckline of the tee) slightly between the pins so it fits.
Turn the sleeves and hem under the amount you determined on your pattern, and stitch in place, either with a zig zag stitch on the sewing machine, a double needle on the sewing machine, or with a cover stitch machine. On this tee I used a double needle to finish the hems. Miriam is covering all of these finishing details, plus more today on her blog, so be sure not to miss it!
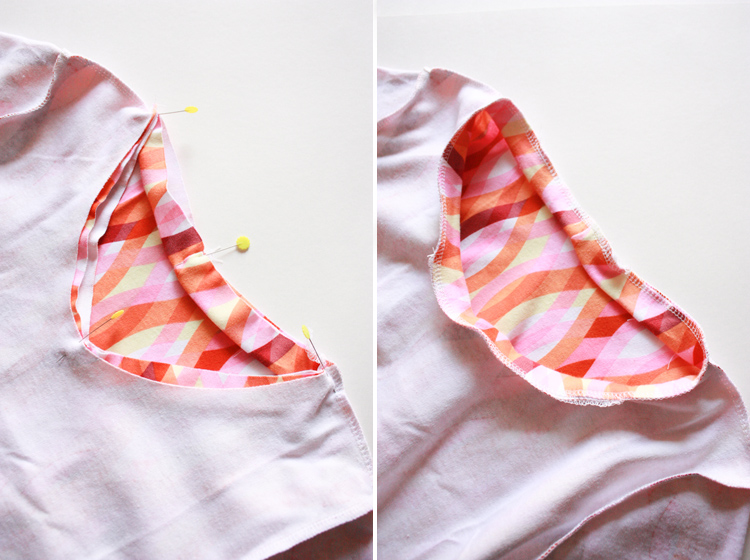
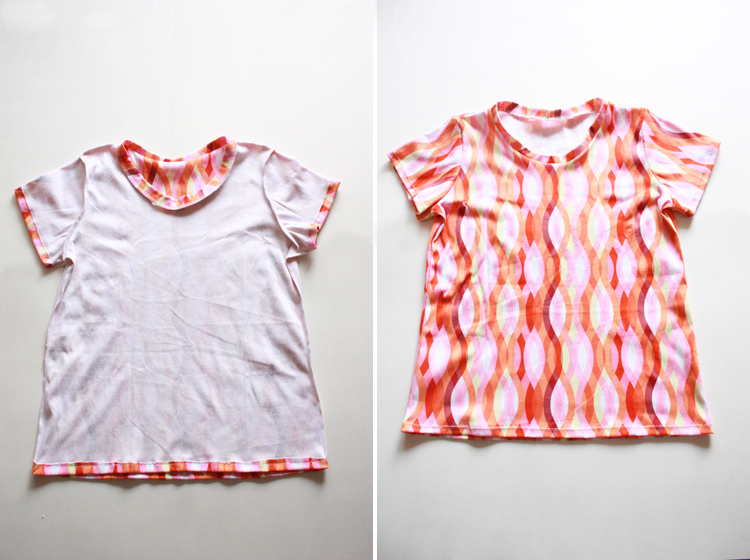
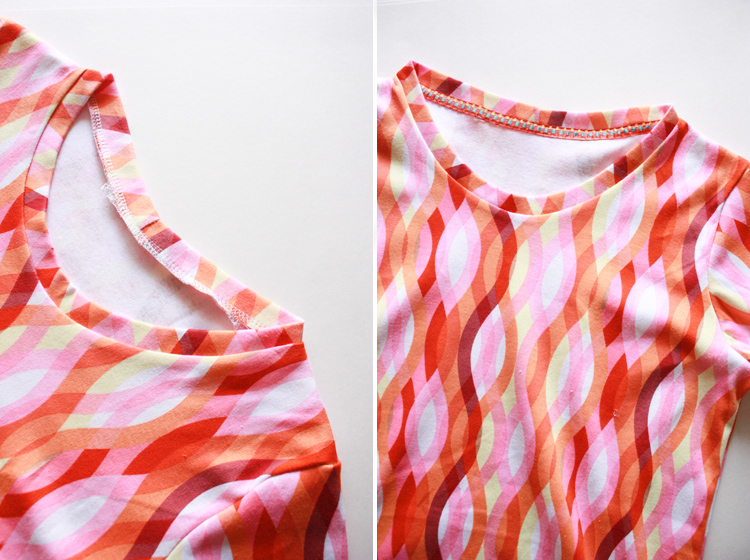
One final thing that I like to do to my projects, though I don’t always, is add a ribbon or strip of bias tape to the back inside neck seam to cover the sewn edge. Take a look at your factory tees. Every single one has this detail added. It is a very simple way to make a homemade garment look professional.
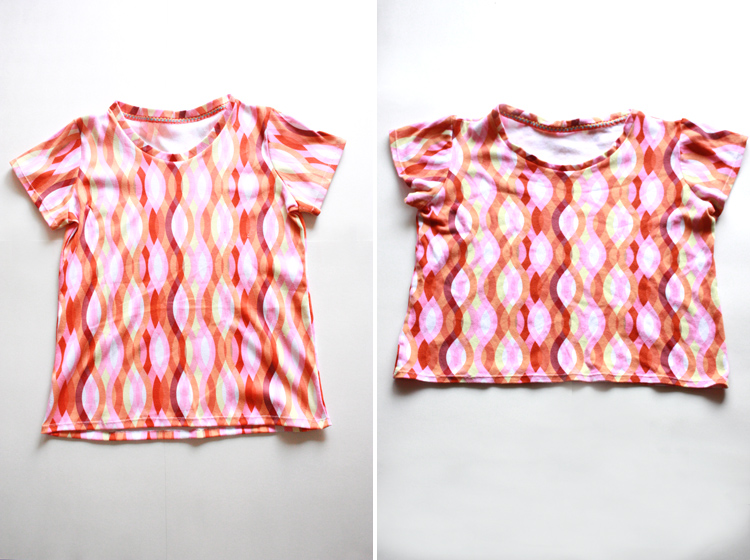
Now, here is an important lesson illustrated by my tee shirt, ALWAYS PRE-WASH YOUR KNITS BEFORE SEWING!!
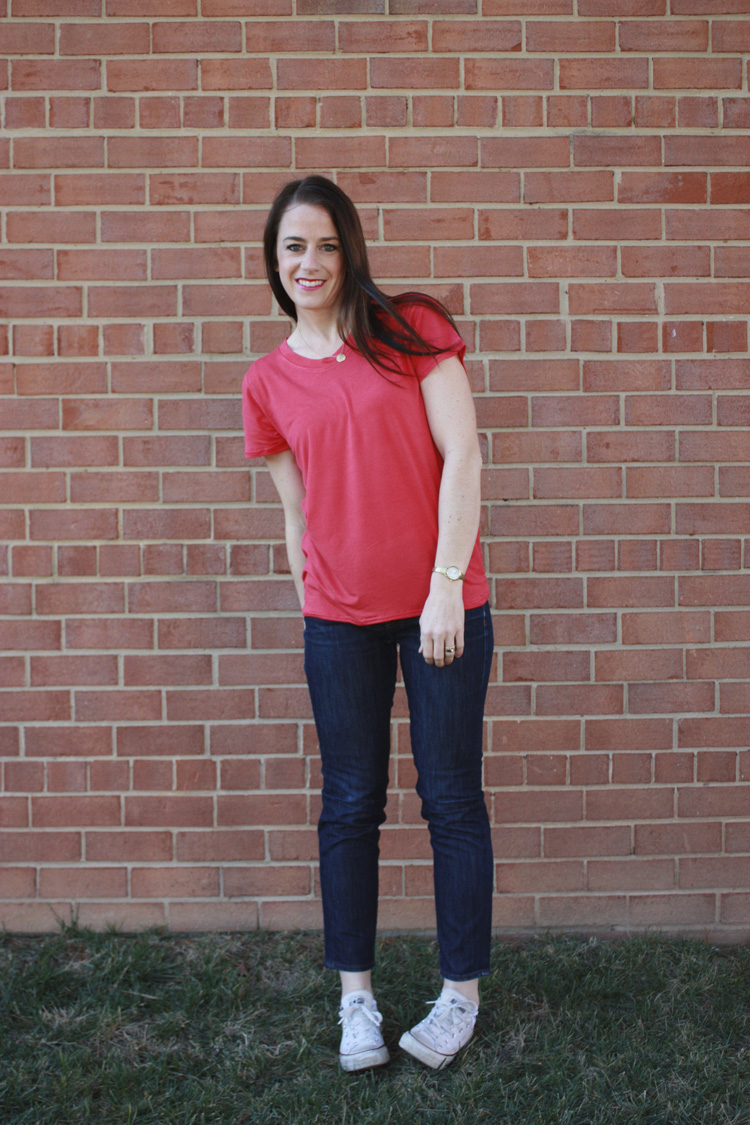
In the past I sort of pre-washed or not, depending on the urgency of the project. This one I obviously didn’t pre-wash and with the first washing it shrunk about 3″ vertically (and 0″ horizontally) effectively transforming it from a “favorite tee” into an “80’s workout tee!” I didn’t have a chance to take photos before, and will spare you the afters. So, I went back and constructed another tee using the pattern I rubbed off of my favorite tee so you can see the fit of both.
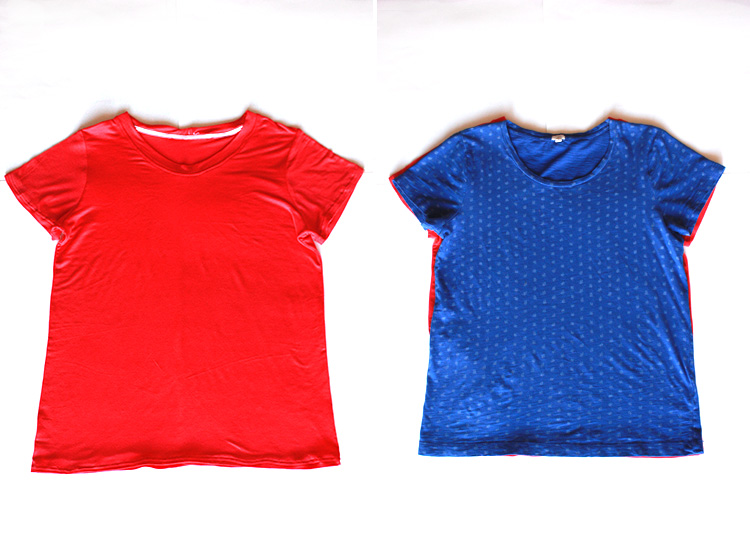
Check it out! Seeing double! The new tee fits just like the old one. I see many more to come. If you made your own pattern from measurements like Mim taught yesterday, your tee will fit exactly as you hope!
Make sure that you catch Miriam’s post on Finishing Techniques for Knits today!
Now that you know how to create a pattern, construct, and finish a basic knit tee shirt, we’re going to teach you a couple fun variations on the tee shirt pattern! Come back tomorrow to learn how to turn your tee shirt pattern into a dress on my blog, or a peplum tee over at Mad Mim!


