This series is sponsored by Baby Lock. For over 40 years, Baby Lock has been dedicated to the love of sewing by creating machines for sewing, embroidery, quilting and serging – all with ease-of-use, high quality and a touch of elegance.
![]()
One of my favorite parts of sewing is being able to re-make clothing that I love. Every so often I find the perfect tee shirt. You know, that one that fits just right? It takes a few months for me to realize that I wear it every other day, and by that time the ever-changing clothing market has moved on to manufacturing and selling something else!
Today I will show you how to use your favorite tee shirt to create a pattern so that you can re-make it as often as you would like! If you don’t have a favorite tee, Miriam is teaching you how to Draft a Tee from Measurements today, so you can make one that fits you perfectly! Since tee shirts are made from knit fabric, these tutorials will get you ready for tomorrow when I’ll show you how to to construct this tee shirt from comfy, stretchy knit fabric and Miriam will teach you some different finishing techniques for knit clothing.
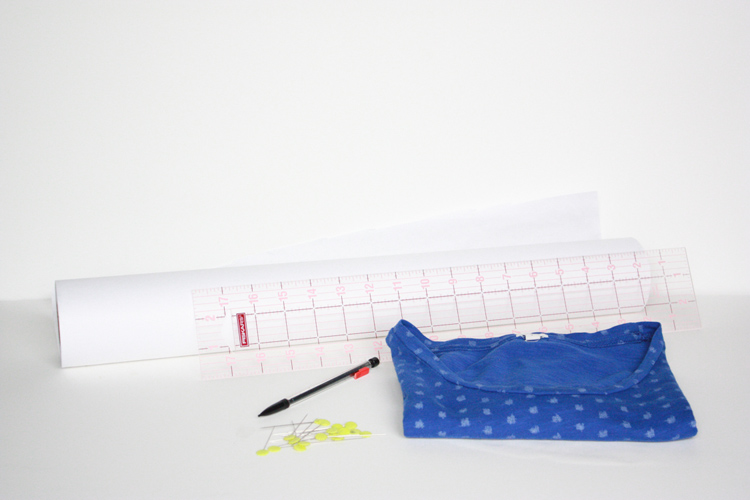
To get started you’ll want to gather a few supplies: your favorite tee shirt, a pencil, some pins, tracing paper (or printer paper taped into a large sheet), a foam core board (or cardboard) and an acrylic ruler. For tracing paper I use medical exam paper. I called my pediatrician to see if I could buy a roll from the office, and they gave one to me! You can buy it from a medical supply store, if you’ve got one locally.
First, I’m going to briefly show you the original way to take a pattern from an existing garment, or “rub-off” a pattern. You’ll see why it’s called that below. Next, I’ll show the method I use most often in detail. Either way works, but I think the second may be slightly more accurate.
To make a real “rub off” you will need a crayon, too. In this method you will fold your tee shirt in half, lay the tee on the foam, and stick your pins through the board along all of the seam borders of the tee. You’ll want the pin heads as close to the foam as possible, so stick them all the way down. Make sure the tee is laying really flat as you pin to get an accurate pattern.
Focus on one piece at a time, so pin along the seam line of the sleeve, rather than all the way around the sleeve. When all your pins are in place, lay your tracing paper on top of the tee shirt and begin lightly rubbing your crayon along the pinned line.
You’ll see that where the pin heads stick up, the crayon leaves a darker mark. Those will become the edges of your pattern! When you’ve made your way around the tee, remove the tracing paper and connect the dots. You’ve got a real rub-off pattern! The center line will be a fold line, and this piece still needs seam and hem allowance added (I’ll show you that below!) Pretty cool, eh?
Okay, let’s begin on the rub-off method I use often. It’s pretty similar, but instead of rubbing off over the tee shirt, we’ll make holes in the tracing paper with the pins, then connect the dots using our ruler.
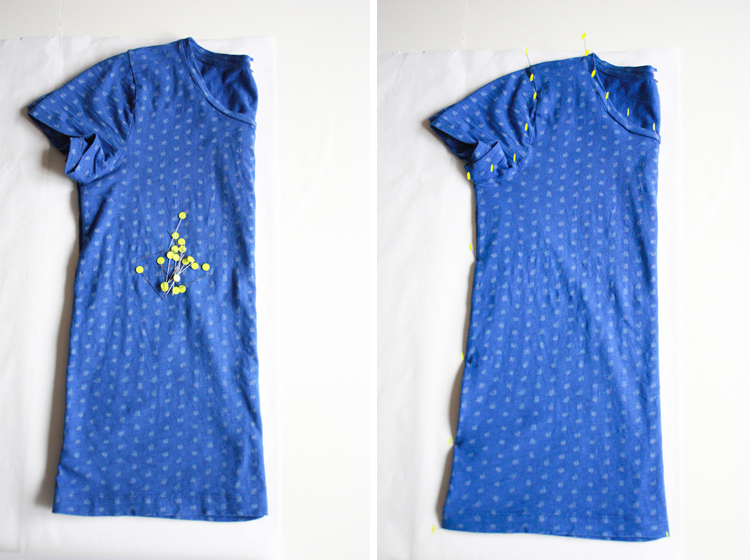
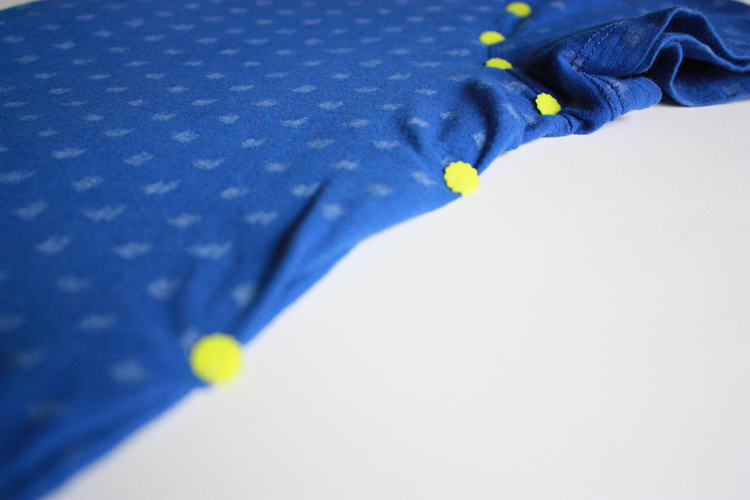
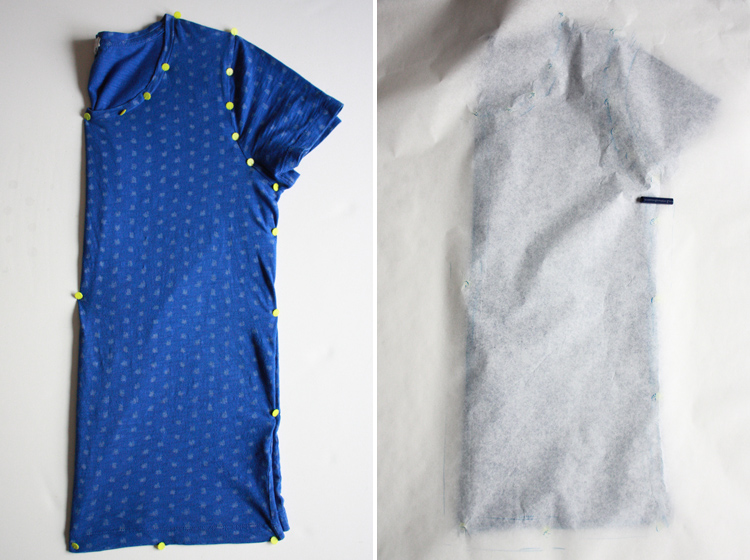
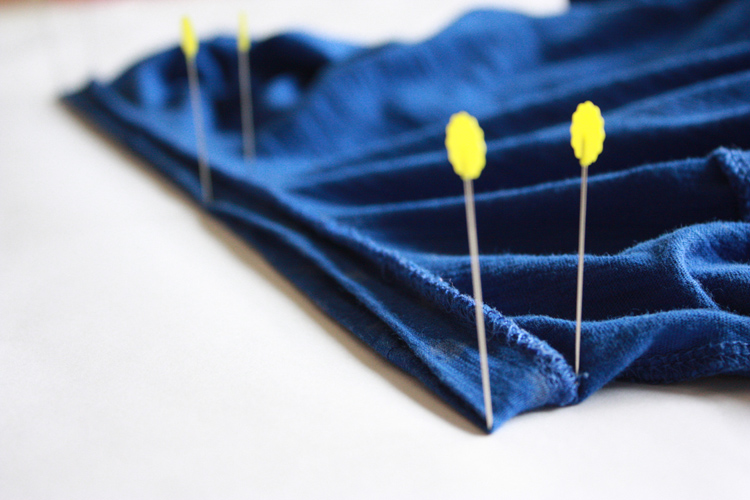
Cut a piece of tracing paper just longer than your tee shirt. Lay it on top of the foam core board. Fold the tee shirt in half, with the front of the tee on the outside. Lay it smoothly on top of the tracing paper (which is on top of the foam core board). Begin pinning all along the seam lines of the tee, sticking the pins just into the foam so they stick upright.
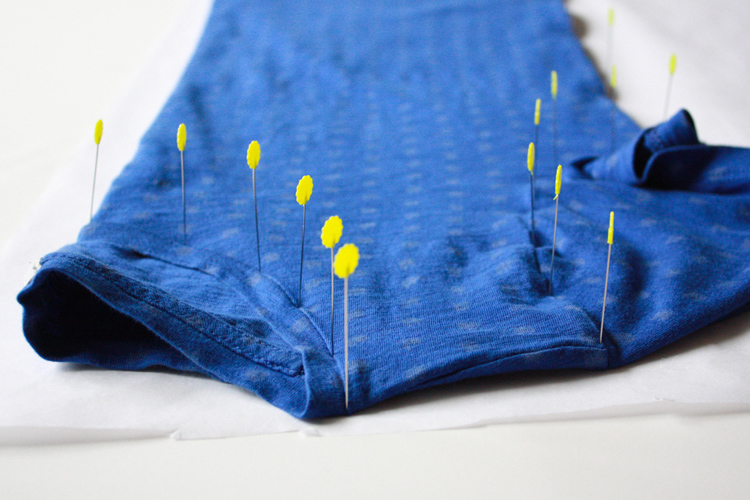
Where there are more curves in the pattern, use more pins. Along the straight edges, you will only use only a couple.
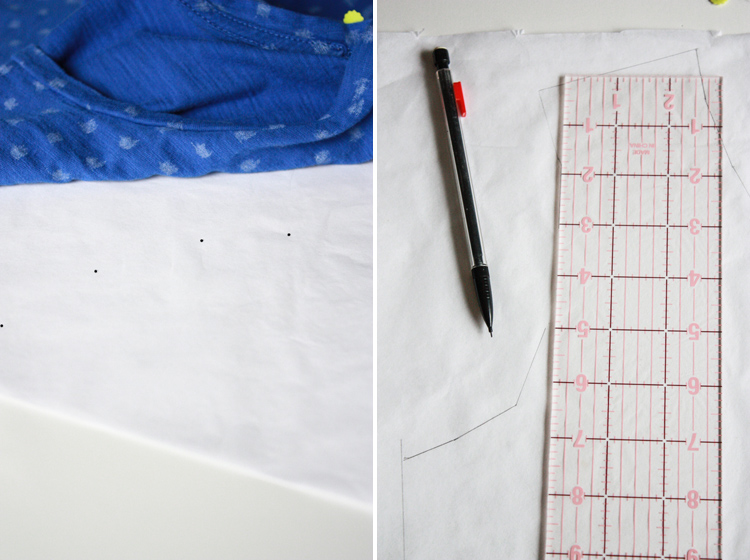
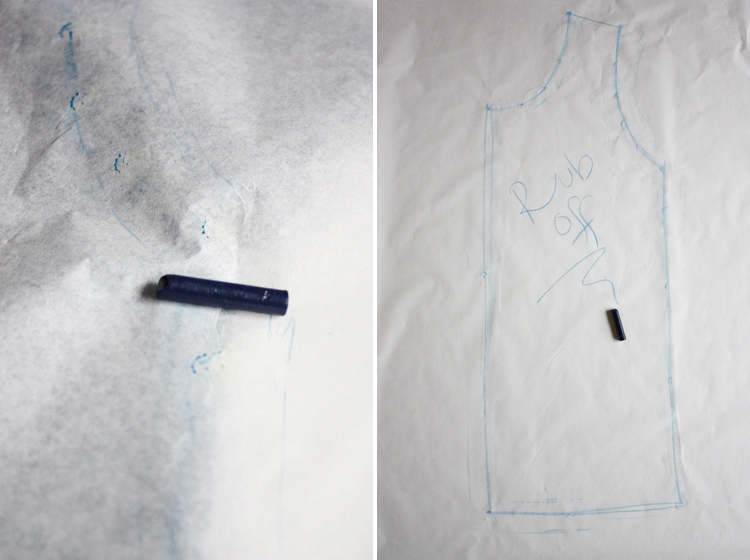
When you have pinned all the way around the shirt half, take out all of the pins and lift off the tee shirt. You will be able to see all of the little holes your pins created. Mark them with your pencil so they are a little darker and easier to see. Begin connecting the dots using your ruler. Make your way around the entire tee shirt half.
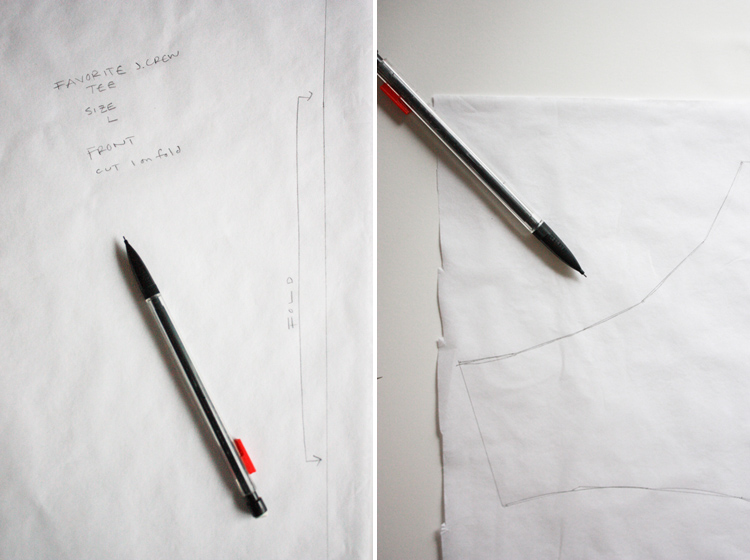
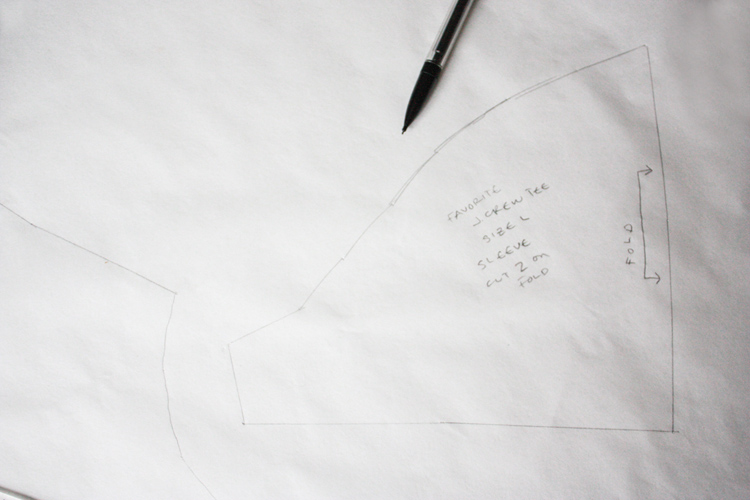
Mark the fold line of your pattern with a double arrow line. Label your pattern piece with the appropriate information. I use: original clothing item (in this case my favorite j.crew tee), the size (in this case L), the pattern piece (this was the front), and cutting instructions (you will need one front piece, cut on the fold). Go back around the pattern edge, gently rounding out the corners on the neckline and arm scythe.
Next, repeat all of the above steps for the back of the tee. The neckline, arm scythe, and hemline may be slightly different on the back, so try to keep your pinning as accurate as possible!

For the sleeves, you’ll repeat the same steps, but fold the sleeve flat along the shoulder and underarm seam. Make sure you keep the sleeve really flat to get an accurate pattern.
As with the other pieces, label the sleeve. This time you will want to mention cutting TWO on the fold, rather than one.
To get the neck band pattern, turn the tee shirt inside out and match up the shoulder seams, folding the front and back centers. Lay the neckline flat and pin at all four corners as well as in the center. This is half of the neckband pattern, since the band is folded in half, so for you piece you will want to double the width.
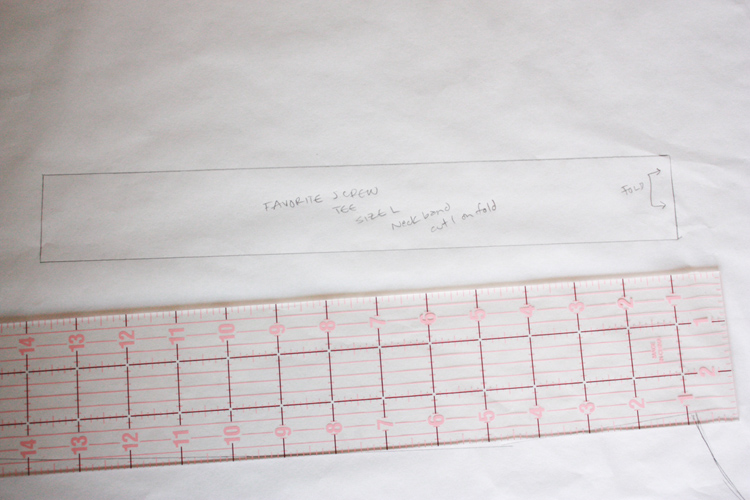
Using your ruler, make the neckline a geometric rectangle. After it is drafted, you’ll want to subtract about an inch from the length to account for how the neckband is stretched onto the tee. If your tee is really stretchy, you may want to subtract a little more, if it is not very stretchy, maybe slightly less. Label your neck band pattern piece.

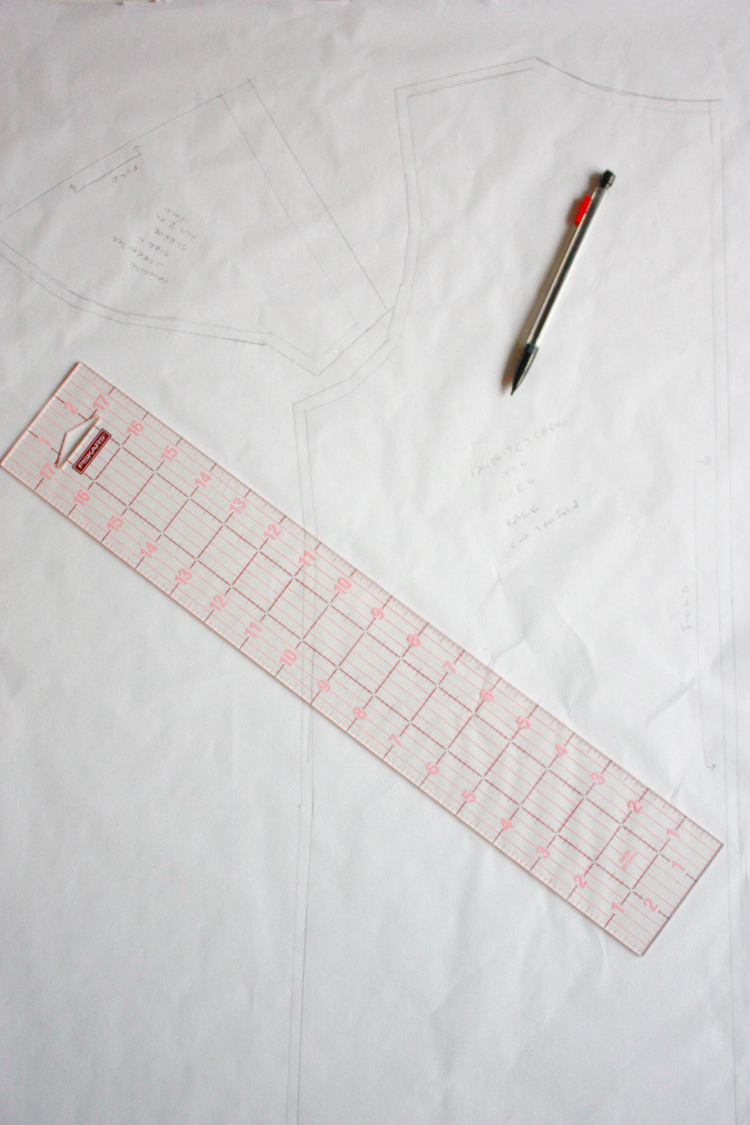
Next we will add seam allowance. There are all kinds of tools and techniques for adding seam allowance, but this is what I do. Decide your seam allowance. I will be serging my tee together, so I will use a 1/4″ seam allowance (which is really small). If you are going to be using a sewing machine for construction, you may want to add a 1/2″. Lay your ruler along the pattern outlines, with the edge of the ruler overhanging the pattern tracing by your decided upon seam allowance. You can see in the photo above, my pattern line is lying 1/4″ inside of the ruler line, so when I trace along the ruler, I will be adding 1/4″ to the original tracing.
Continue around all of the pattern pieces adding your desired seam allowance.
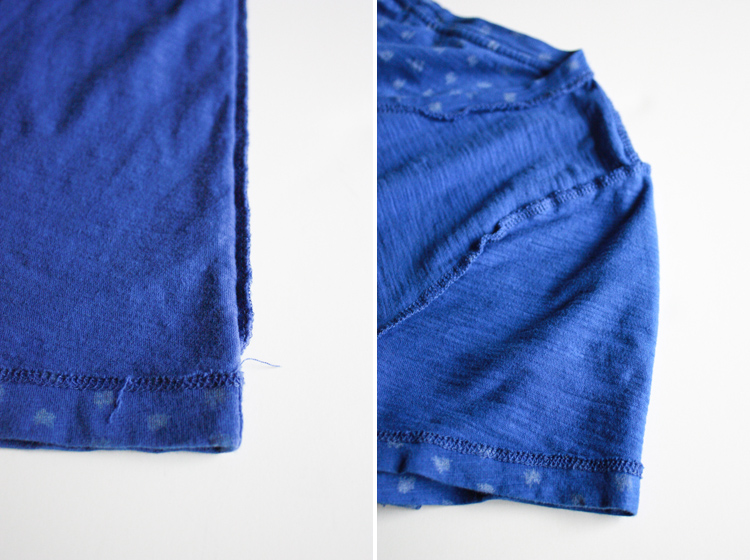
Finally, measure the hems at the hems on your sleeve and shirt bottom and add that amount to the appropriate patter pieces, so your sleeve length and hem length end up just like the original.
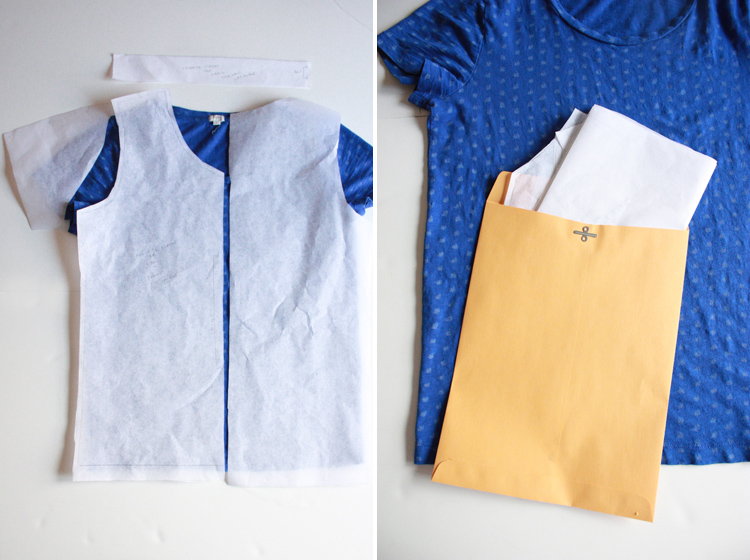
Cut around the outer edge of your pattern pieces. You should have four: the front, back, sleeve, and neckband. Double check that you’ve labeled the pieces properly, then find a place to keep them safely stored for future use! I use letter sized manila envelopes for all of my patterns, then I can store them easily in a file for easy access.

Label the front of your envelope with the pattern information. You’re now ready to turn your rubbed-off pattern into another favorite tee shirt! Come back tomorrow to learn how to cut the pieces and put your tee shirt back together!
Make sure to head over to Mad Mim today to learn how to draft a tee shirt from your own body measurements! Talk about creating a perfect tee!