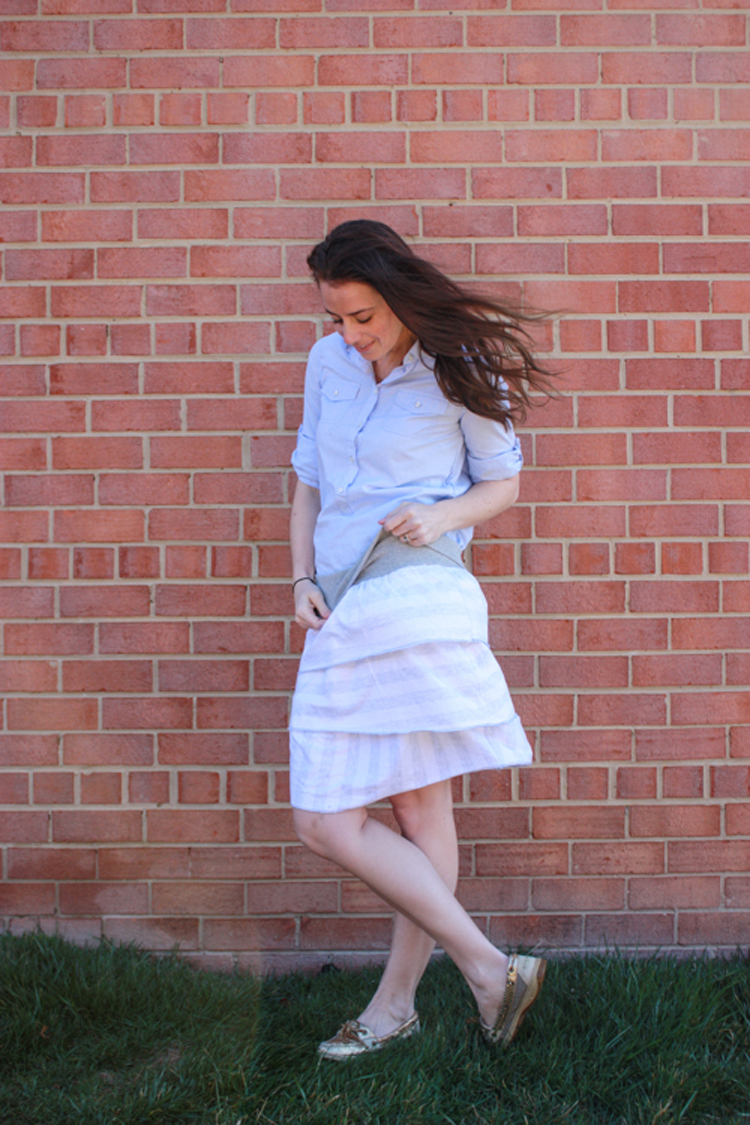
Happy April! Not only is it finally starting to warm up and bloom around these parts, but April 2013 is the very first National Serger Month! Baby Lock (the company behind the very first sergers for home sewists) thought it was time to celebrate this wonderful machine and all of the projects and techniques that can be made with it. All month long, check in at the National Serger Month website to learn about sergers, enter for a chance to win a serger, and check out simple serger projects!
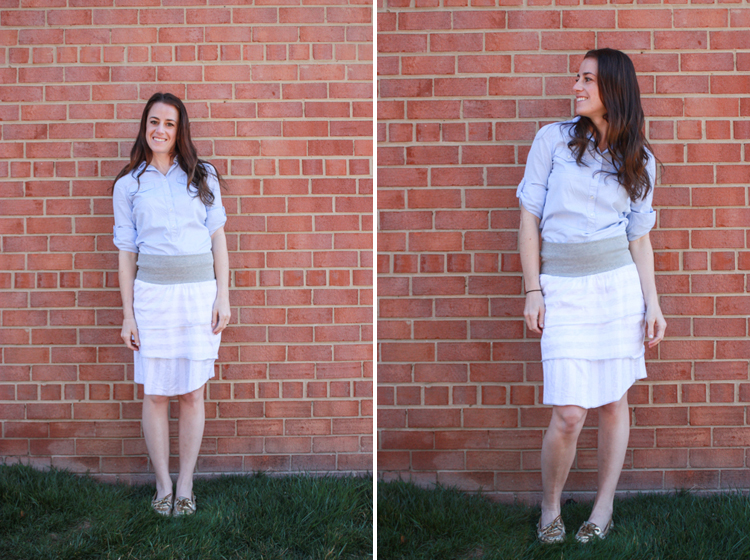
My love of sergers is no secret. Because I sew with knits for clothing so often, I actually use my serger far more than my sewing machine, and my Baby Lock Diana has changed my life. I love the ease of using a serger, and the way it allows me to sew stretchy fabric with ease. I also adore the perfectly finished edge it gives, as well as all the variation in stitching techniques that I can use to create visual interest on my projects. I was thrilled when I was asked to participate in National Serger Month by sharing a simple serger DIY. To celebrate spring along with National Serger Month I decided to whip up a simple layered skirt!
SUPPLIES: • Baby Lock Serger • Serger thread • 1-2 yards of lightweight knit fabric (like cotton jersey) • ½ yard of medium weight stretch knit (like double knit or interlock) • 1 yard clear elastic To begin, measure your Waist and Hip (around the widest part of your bum) and write those numbers down.
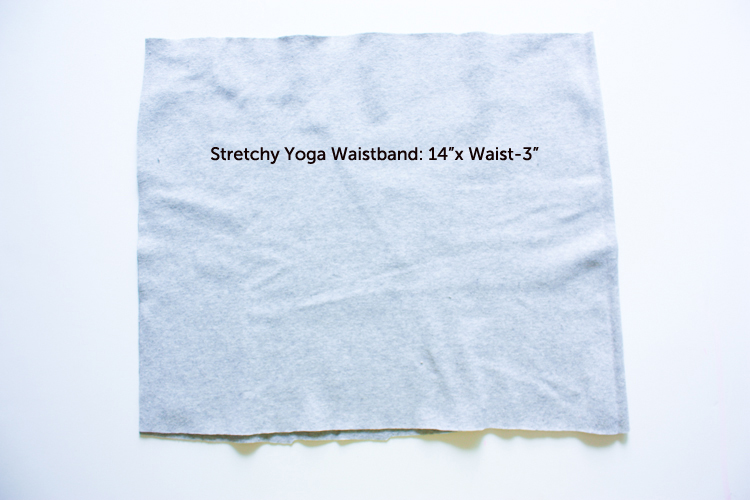
Cut your meduim weight knit to a 14”x Your Waist-3”. We are subtracting inches because the knit is stretchy and we want the waistband to keep your skirt up!
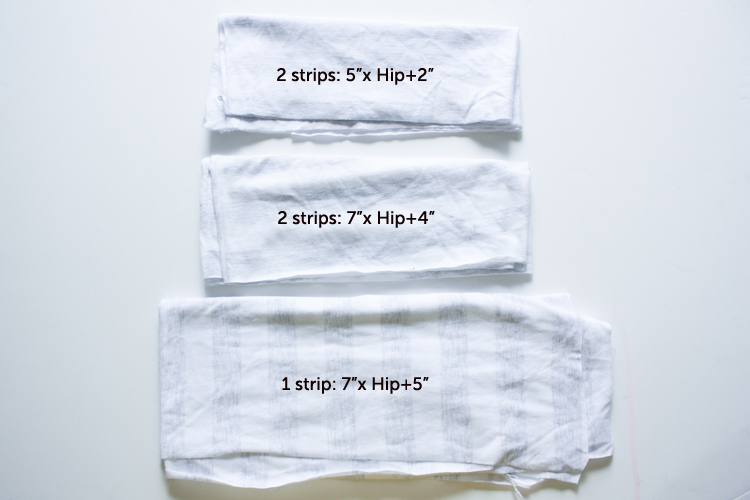
Cut 2 strips of lightweight knit fabric to 5”x Hip+2”. We are adding 2” here to make sure the skirt fits comfortably over your bum!
Cut 2 strips of lightweight knit fabric to 7”x Hip+4”. The extra inches on these strips will add a little gather to the layers
Cut 1 strip of lightweight knit to 7”xHip+5”. The bottom layer has just one additional inch for gathering.
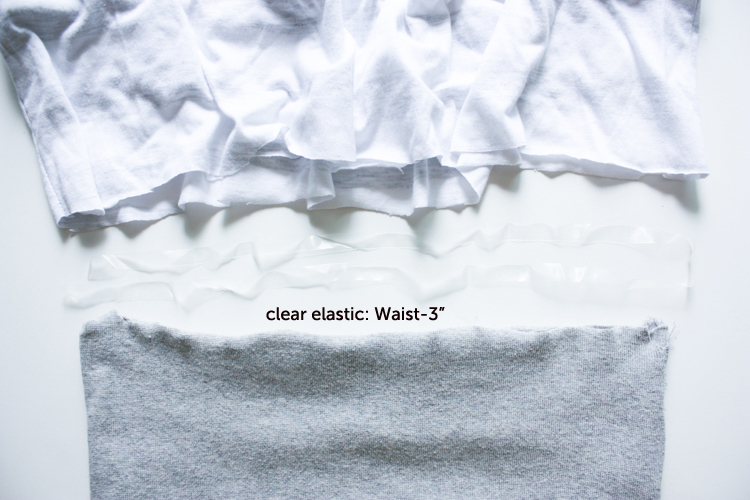
Cut one strip of clear elastic to your Waist-3” measurement.
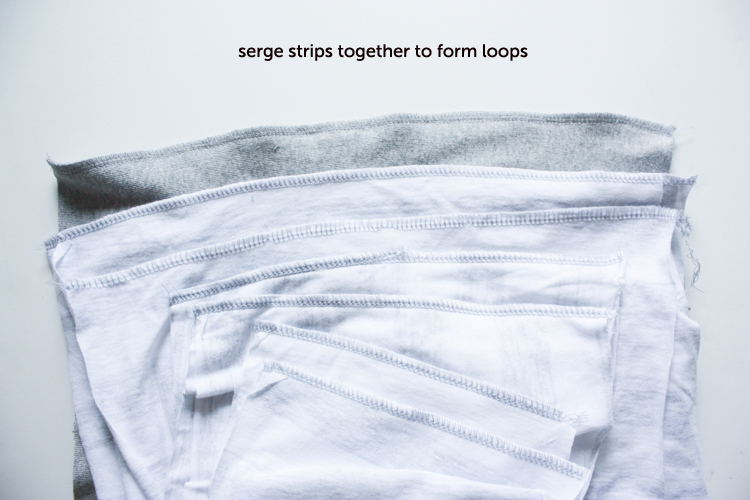
Serge the waistband and each of the strips into loops, with the right sides together.
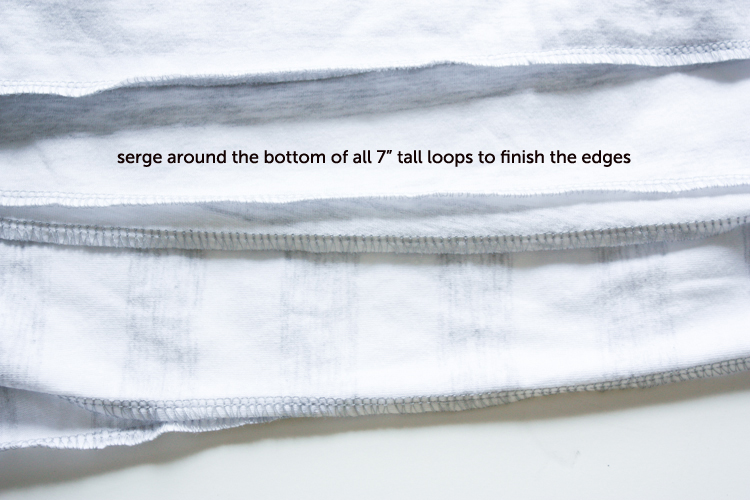
Serger along one edge of the three 7” loops to finish the edge.
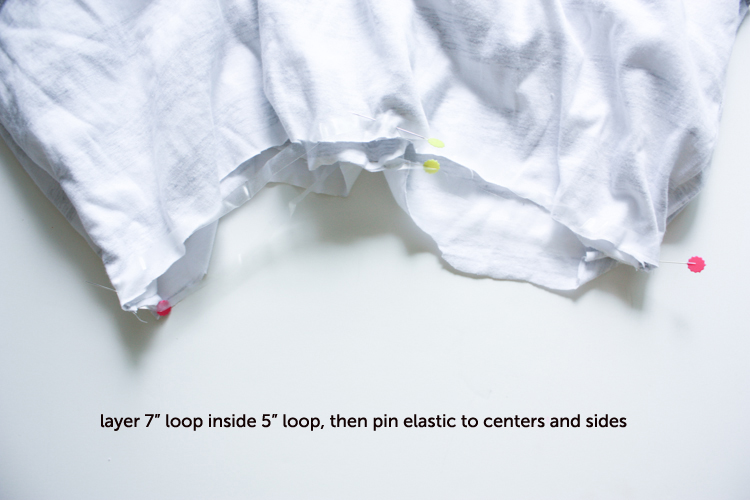
Fold the Waistband in half with the serged seam on the inside. Layer one 5” loop on the outside of one 7” loop, with right sides towards the inside.
Layer one 5” loop on the outside of one 7” loop, with right sides towards the inside. Pin the elastic to the centers and sides of the loops. The elastic will be much smaller than the loops.
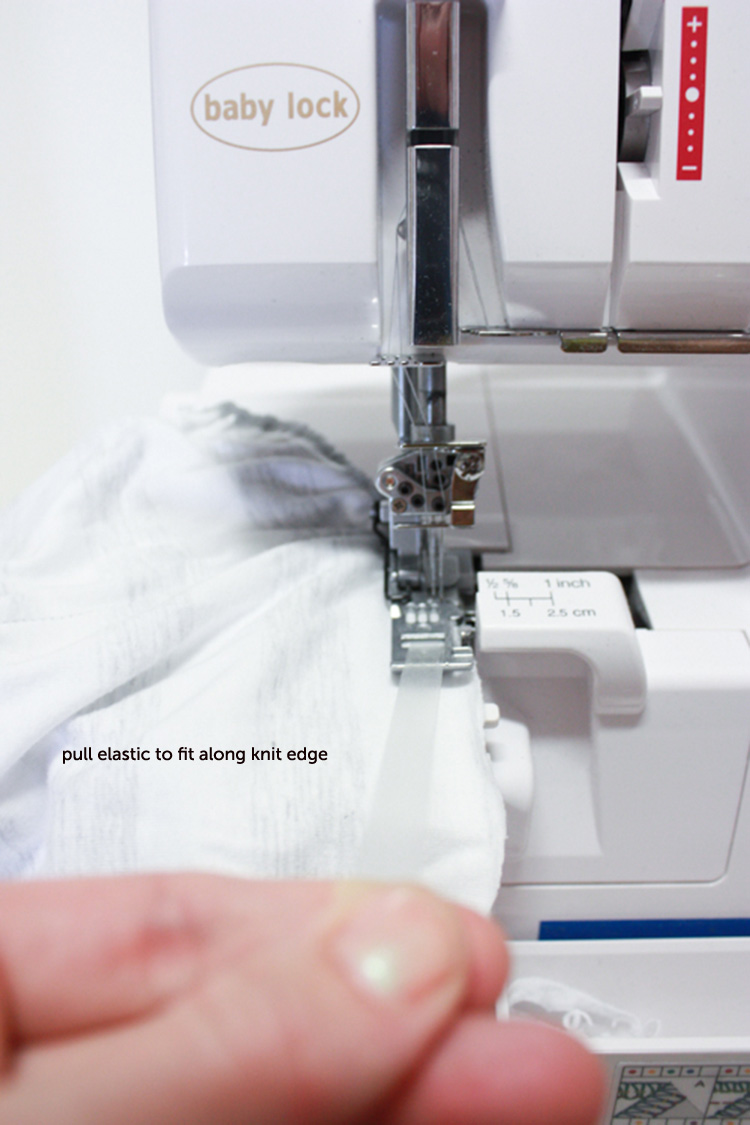
Pin the elastic to the centers and sides of the loops. The elastic will be much smaller than the loops.Thread the elastic through the top of the serger foot, and begin serging the elastic to the raw edge of the layered loops, pulling the elastic to fit the length of the loops as you go. This way, the elastic will gather the fabric to the proper size to fit onto the waistband!
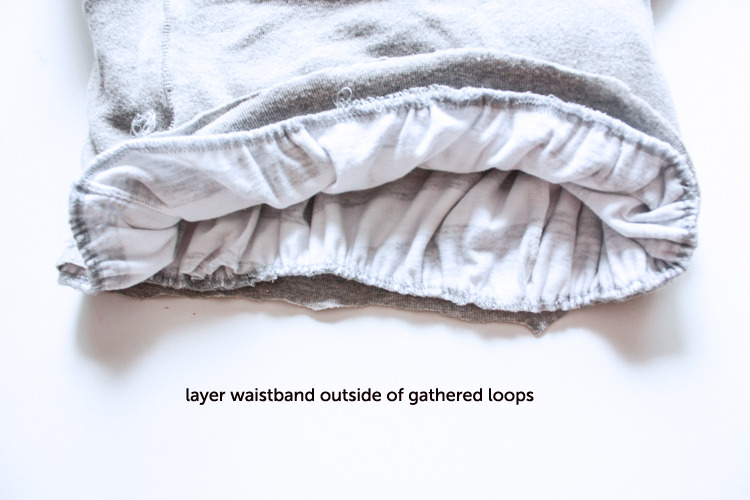
Layer the folded waistband onto the outside of the gathered loops, then serger together. When you finish this step, you will have the first gathered layer of the three-layer skirt attached to the waistband.
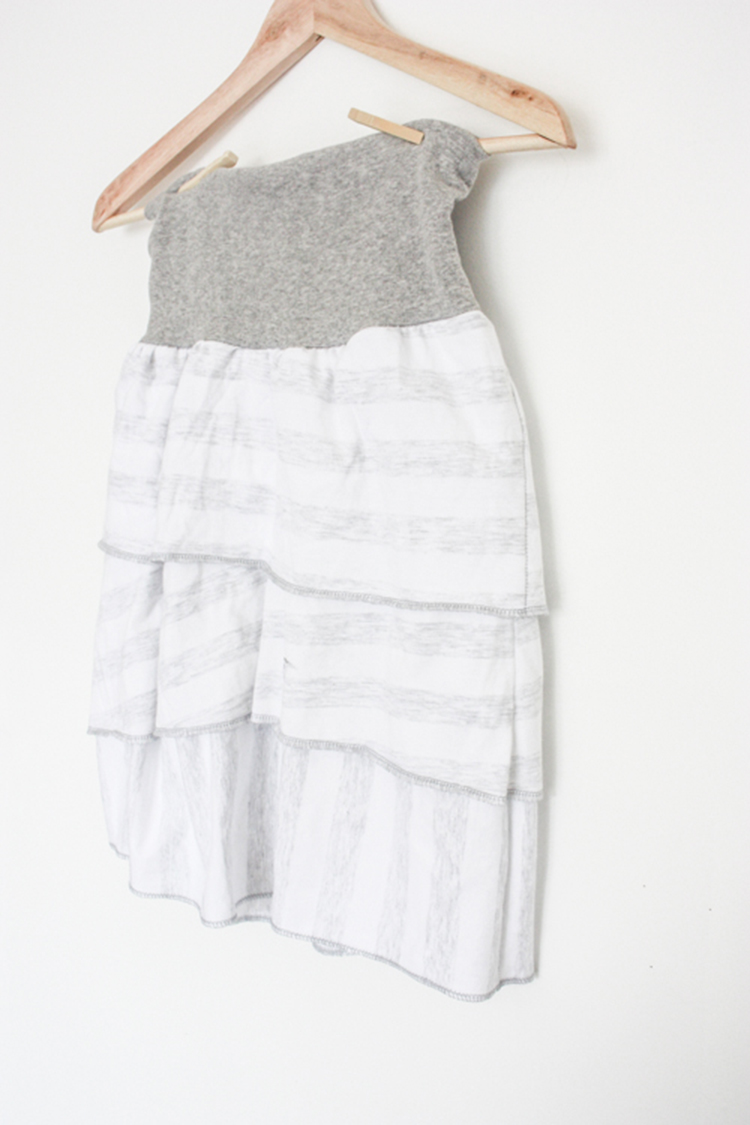
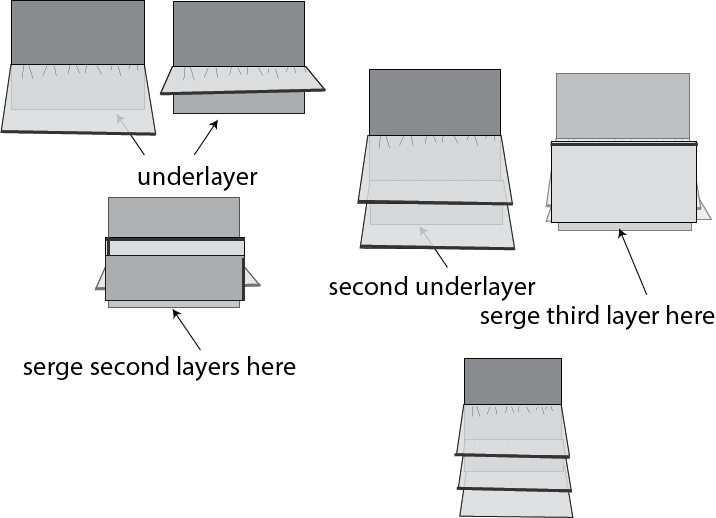
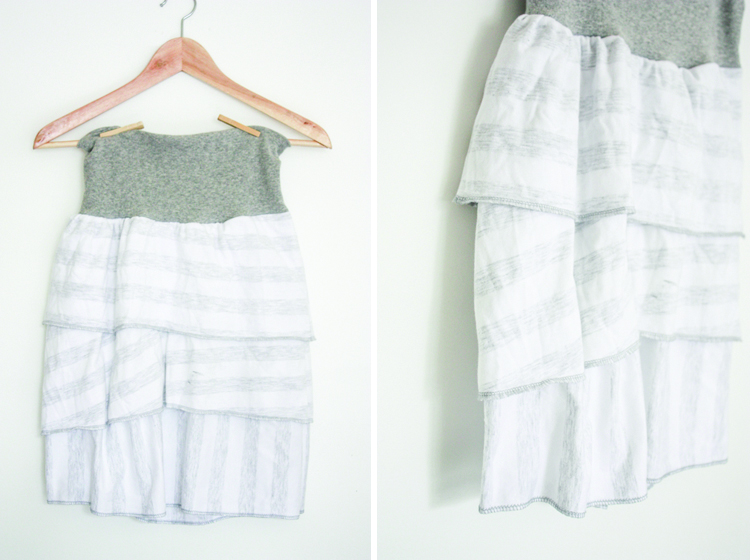
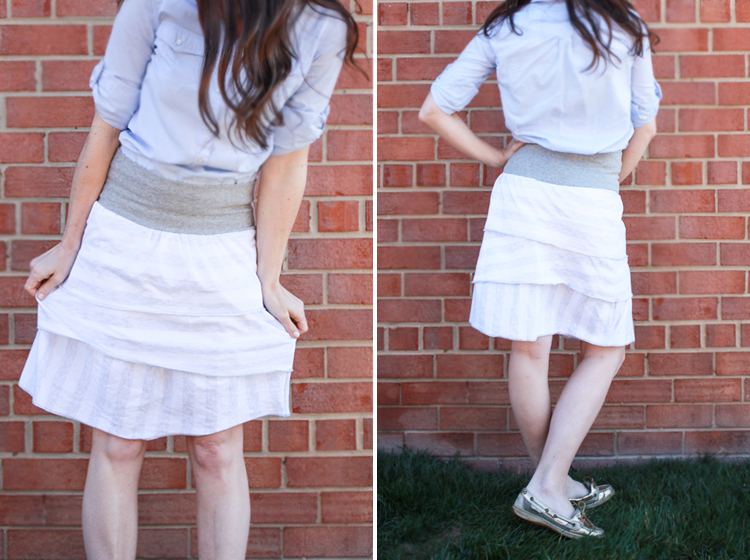
Layer the second 7” loop with the final 5” loop on top of it, with the unfinished edges together and the right sides towards the center. Line this stack up with the raw edge of the the first underlayer, which is underneath the finished outer layer on the skirt. Serge the raw edges together, adding the second layer to the skirt! Line the unfinished edge of the final 7” loop up with the unfinished edge of the second underlayer on the skirt. Serge in place with right sides together to finish the third layer of the skirt. You’re finished!!
The stretchy waistband can be worn high, or folded down. I love the casual, beachy vibe of this simple skirt. What better way to celebrate the upcoming warm weather than to serge some new summer duds?!!


