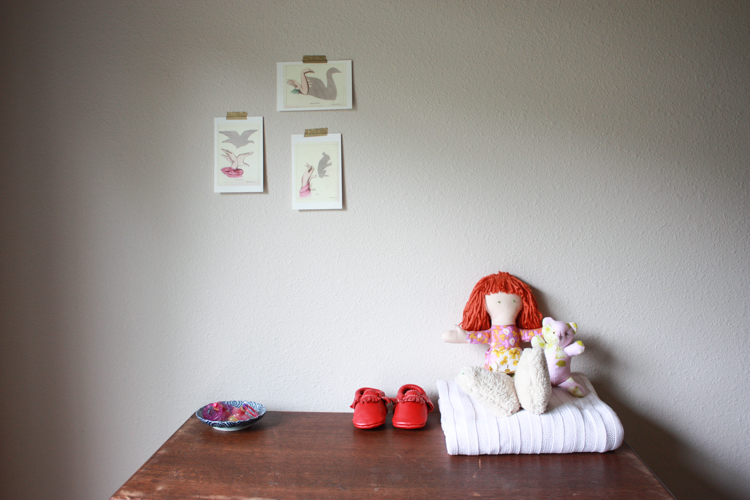
Once upon a time, a baby girl was to be born.
Her name would be Plum.
Just one month before her expected arrival, Plum’s excited mother thought long and hard about the first friend her new baby daughter would need. She then set about creating a handmade doll with lots of love.
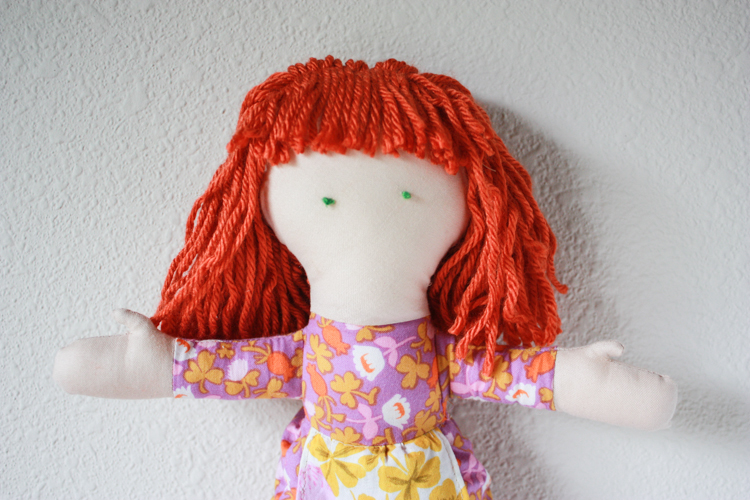
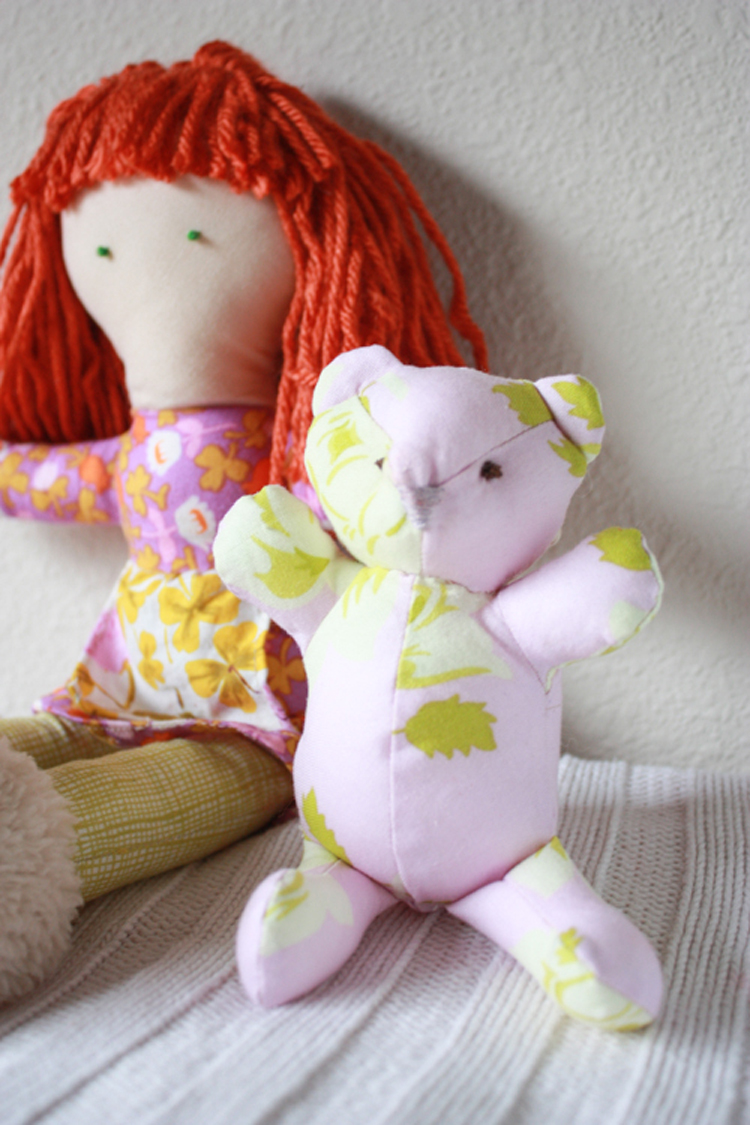
The doll would need clear green eyes, bursting with enthusiasm for each new experience ahead. She would need a smooth and honest face, free from smile or frown to enable her to relate to the baby’s emotions. She would also need bold red hair, allowing her to be an example of standing out and being different, in good ways, from other friends that might come along.
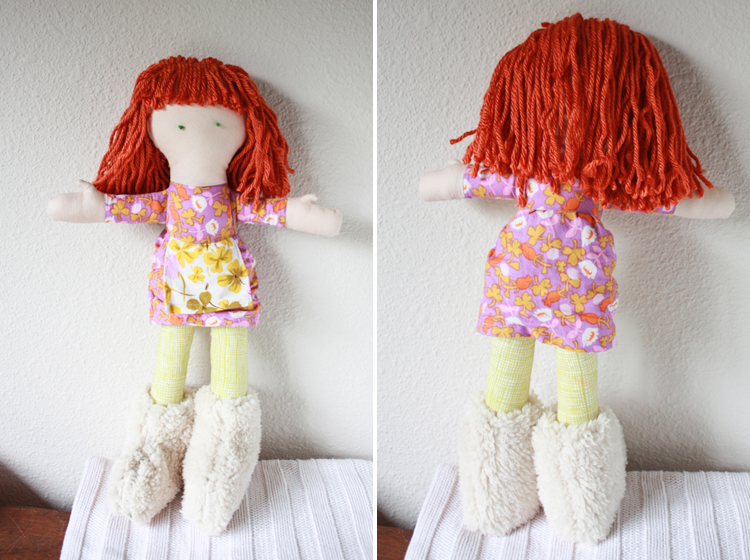
The mother worked carefully, dressing the doll in a fun, girlish dress, and adding an apron of four leaf clovers for luck.
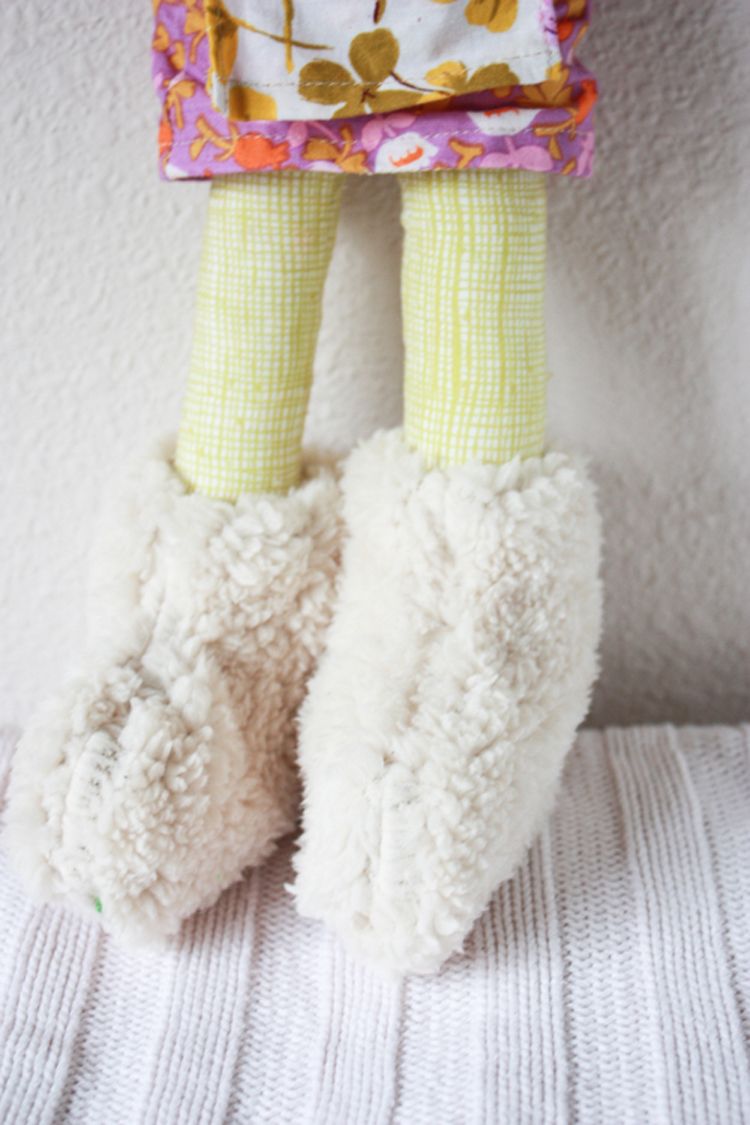
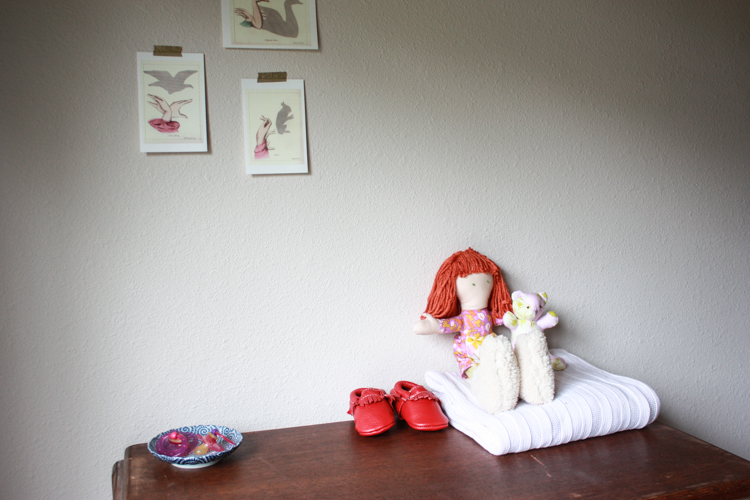
She added softness with shearling boots over the doll’s otherwise darling bare feet, knowing that someday Plum would love to change her friend’s shoes, and even share!
Finally, when all else was ready, Plum’s mother decided to give the doll a little friend. A loyal chintz bear to keep her company until the baby’s big welcome, when both the doll and bear would become Plum’s faithful companions.
And everyone lived Happily Ever After.
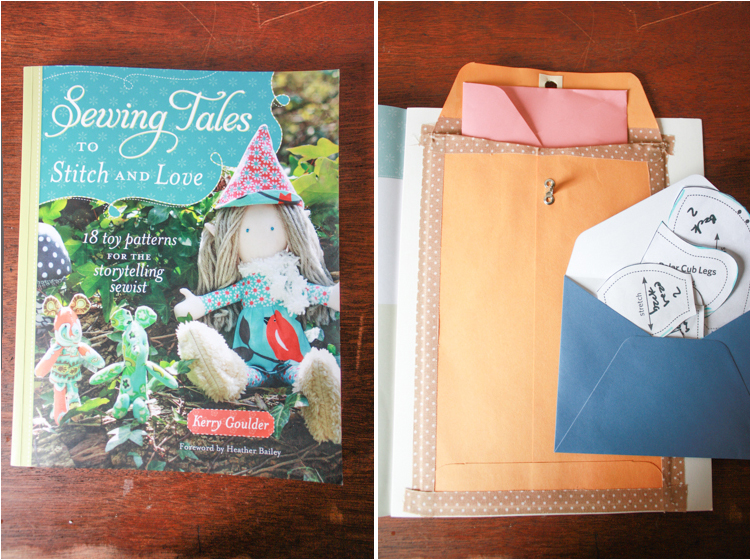
I’m thrilled today to be a stop on the Sewing Tales to Stitch and Love Book blog hop. This new book by Kerry Goulder of the blog Kid Giddy is so charming and fun. As I browsed through the 18 different plush toy patterns, I could think of a child or circumstance in which each one would be the perfect gift, decoration, or plaything. For my first project to share in the hop, though, I kept coming back to the little girl gnomes, thinking how perfect one would be for my baby girl, Plum (due in just four weeks!!) I wanted to make her a first doll, and this pattern was perfect. I made two small changes to the pattern to keep the doll more traditional. First, I omitted the darling pointy ears, to keep it more doll and less gnome. Second, I used the “apron” pattern piece on both the front and back, forming a full skirt, then added a smaller apron on top, since I wanted her to be wearing a little dress. The rest of the pattern I followed to a tee, which is saying something for me. I was super impressed with the way it all came together so easily, even with all the many teeny tiny pieces!
The book is gorgeous, with beautiful photography, easy step-by-step instructions and photographs, and a little tale to accompany each toy. The pattern pieces are all included in the back at 50%, which means a little extra work before beginning, but it wasn’t any trouble. In fact, for the doll I didn’t realize I could enlarge on our home printer/copier, so I enlarged each pattern piece by hand, measuring with a ruler! When I got ready to sew the bear, my sweet husband showed me how with a couple button clicks I could just enlarge on the machine, which was a lot more quick and easy.
I’ve now made THREE teddy bears. The one pictured above is for Plum, but I also made one in the sweetest Lottie Da butterfly print as a baby gift…for a baby I later discovered is actually a BOY– which led to my whipping up the third bear in dapper greys and blues for the little man. It’s a really fun, quick sew taking me less than an hour from cutting to finished, which makes it an absolutely sweet and perfect baby gift. I love the bear’s size, and plan on making a little stock of them to have on hand for gifting.
In fact, with the upcoming holidays, I see lots of inspiration for sewing these plushies. How cute would a little mischief of mice be for the Night Before Christmas? Or a hot air balloon pendant for celebrating the New Year? Of course, with a new baby in arms, my sewing will probably be minimal this season, but I look forward to working through all of the projects in this book, because each and every one is special.
I loved jumping back into the blog for this hop, and recommend this book to anyone with littles. The hours of fun imagining stories with these characters are going to be endless.
And just a little tip for keeping patterns straight: I taped a half-size manila envelope into the back cover of my copy and have placed in it each of the patterns that I’ve enlarged and cut out so far. This way when I grab the book, I have both the patterns and instructions on hand to make efficient use of my sewing minutes.
The blog hop started Monday and continues through Friday, so take a look around at some of the other great projects from the book!

