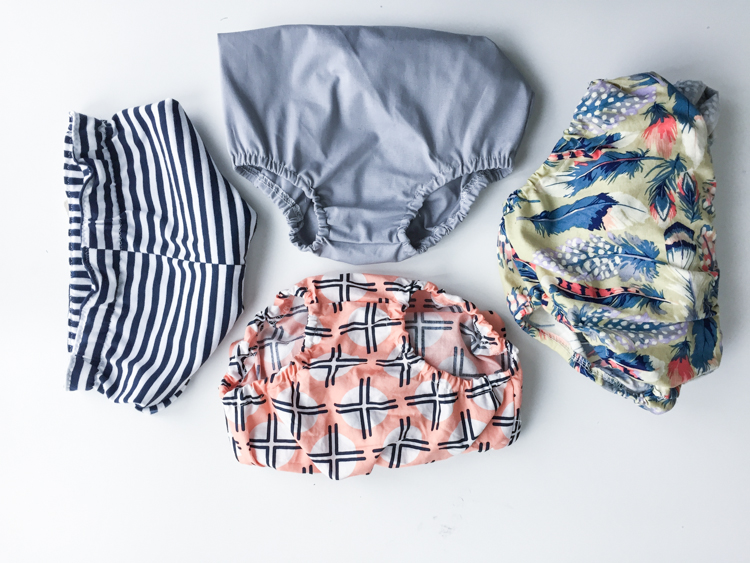
Since having a baby girl, I have been sewing a lot more for my kids. Ahem, kid. Her. Rarely do I use a pattern start-to-finish as it is written. Rather, I use my favorites as starting places to think outside the lines, and come up with a few different variations. Today I’m collaborating with HP to show you how I used one simple, free diaper cover pattern to make four different looks for my baby girl!
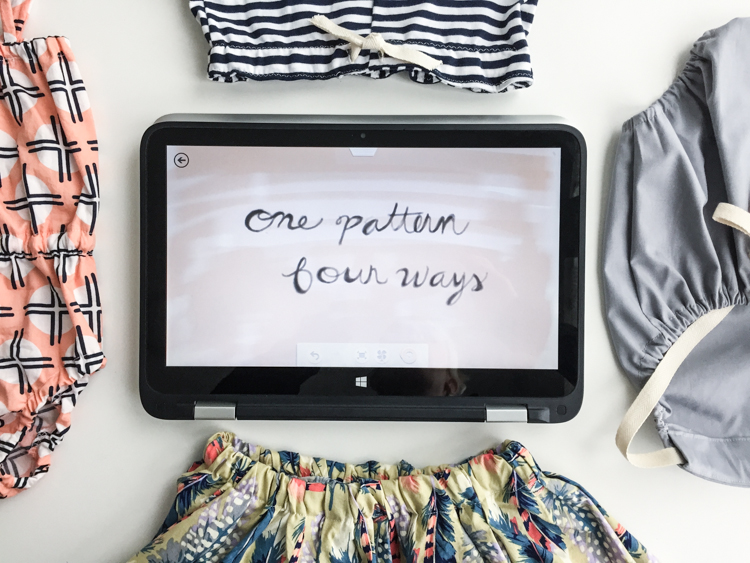
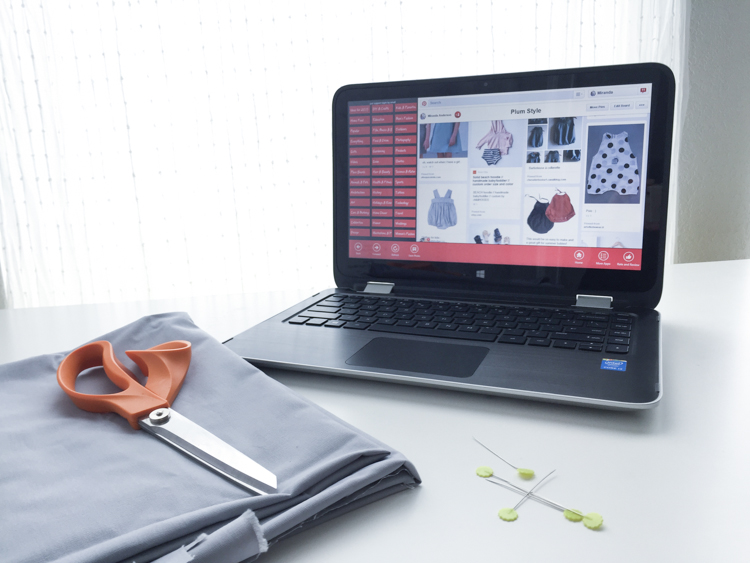
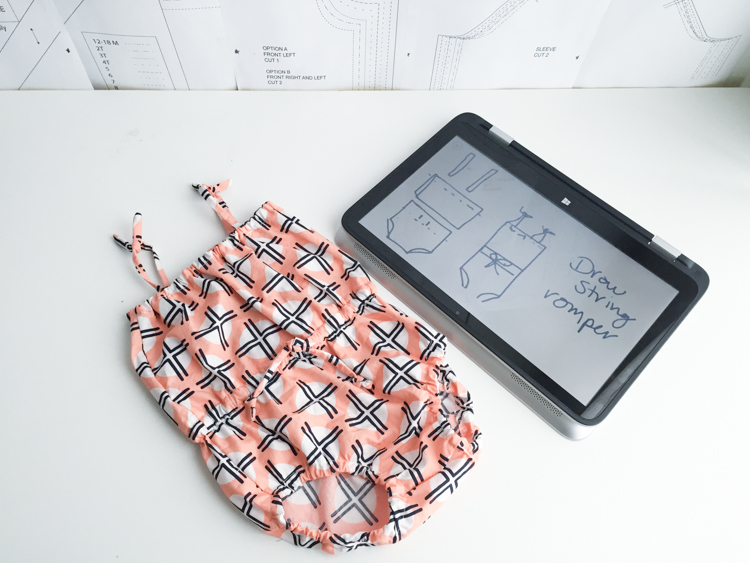
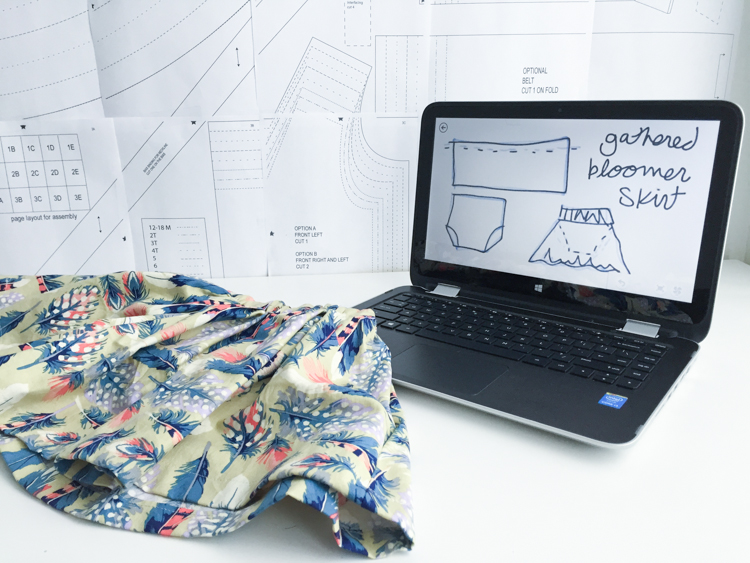
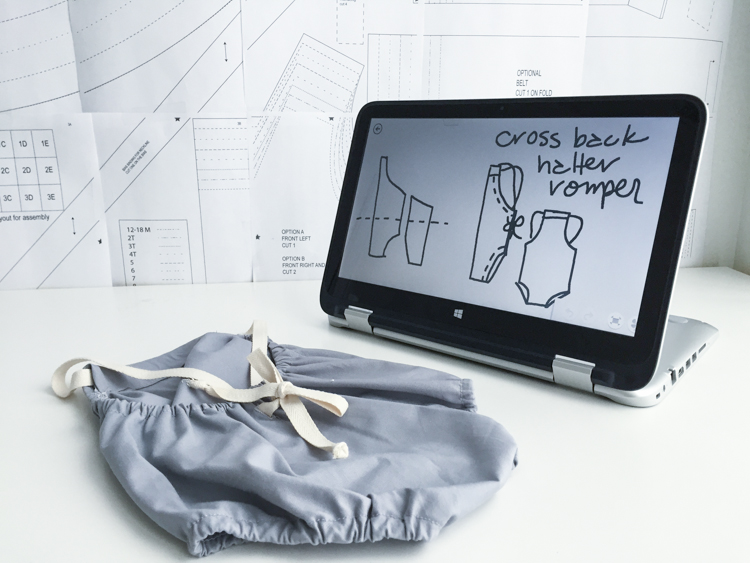
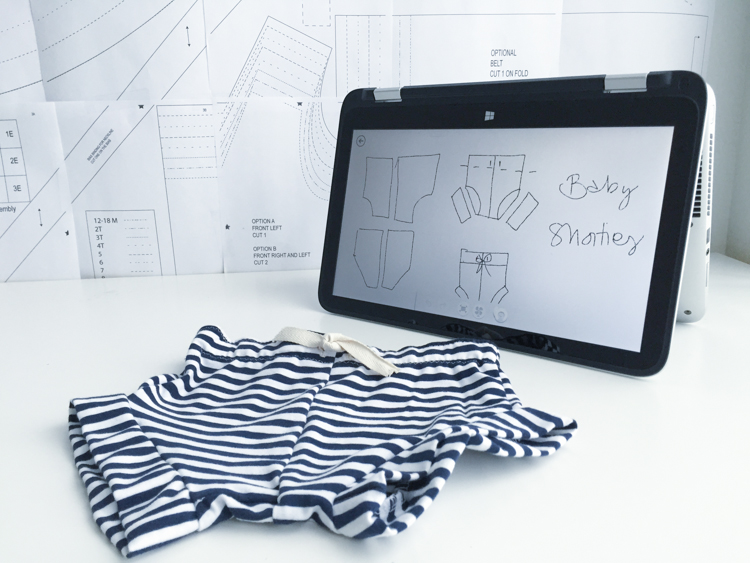
The touch screen of the new HP x360 flips all the way around allowing four different modes for use: notebook, stand, tent, and tablet. I love how HP has thought outside the lines on this one, and how they have teamed up with Meghan Trainor for her “That Bass” tour to document it with both fans and influencers. (Have you seen her new “Lips are Movin” video? I love it. And it’s in my head on repeat.) HP sent me an x360 a couple weeks ago and I’m so impressed. I have used it in all the modes, and find myself mostly relying on the stand mode where I can use the touch screen to navigate the web, or to sketch ideas in the paint program. I’m such a fan of this idea of taking something simple and making it more.
The pattern that I used as a base for all four of these looks is this perfect diaper cover pattern. I downloaded it years ago from Dana’s blog and have made thirty or more of them over the last few years as bloomers for beneath baby gift dresses, or for to go with custom orders of the Big Bow Dress or the Little League Dress costume for diaper-aged kiddos. When Plum was born, and I had my own little girl, I realized that the basic sizes and shapes offered in the perfect diaper cover would also be easily converted into some fun outfits.
Last summer I lengthened the pattern to turn it into a few simple rompers for Plum, but inspired by the four modes of the x360 I took some time last week to browse Pinterest, push myself a bit more, and come up with three more looks using the pattern as a base. One pattern, four ways! Read on to see the four looks I made, and to see the different modes of the HP x360 in action.
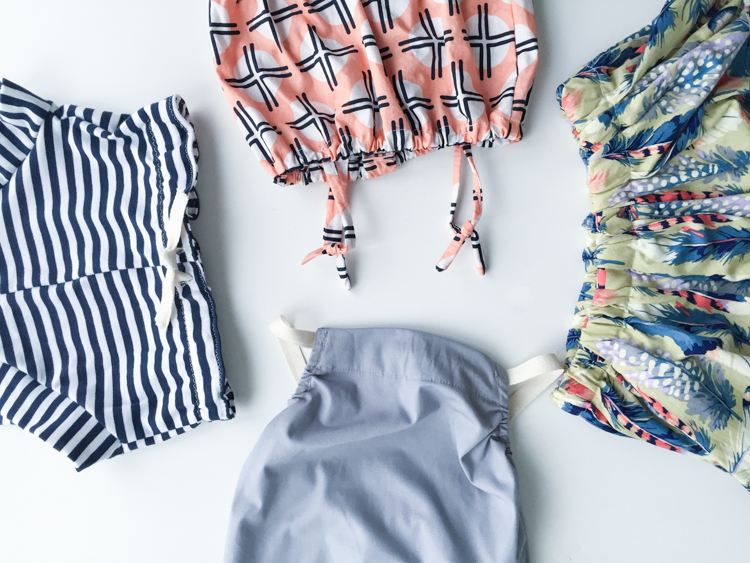
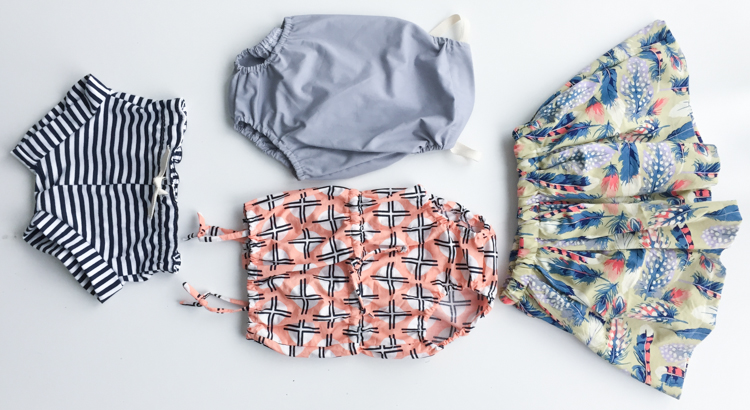
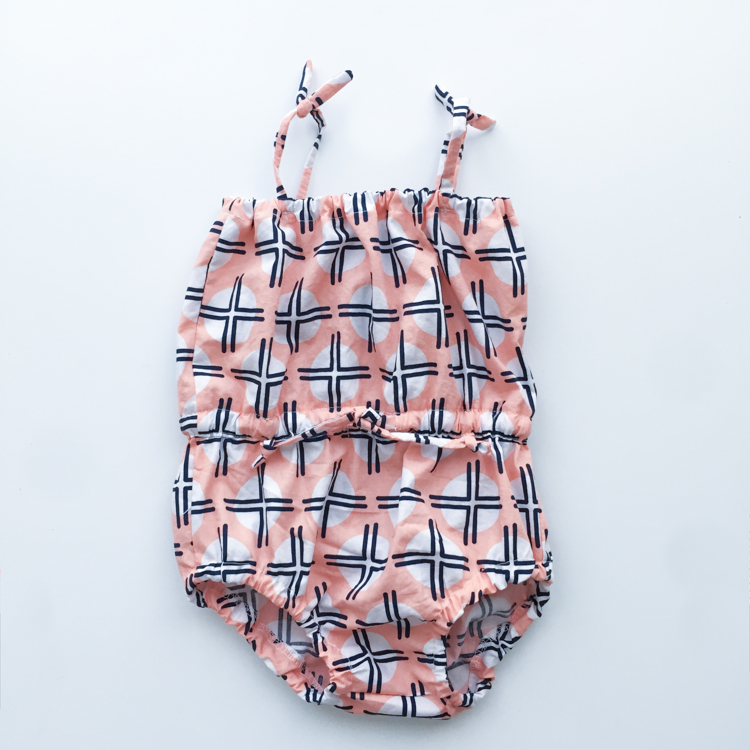
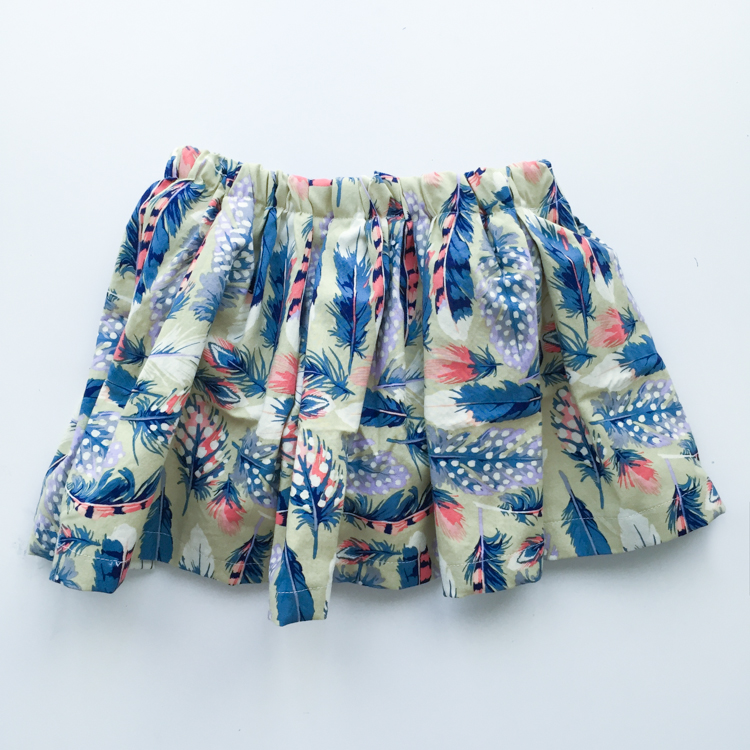
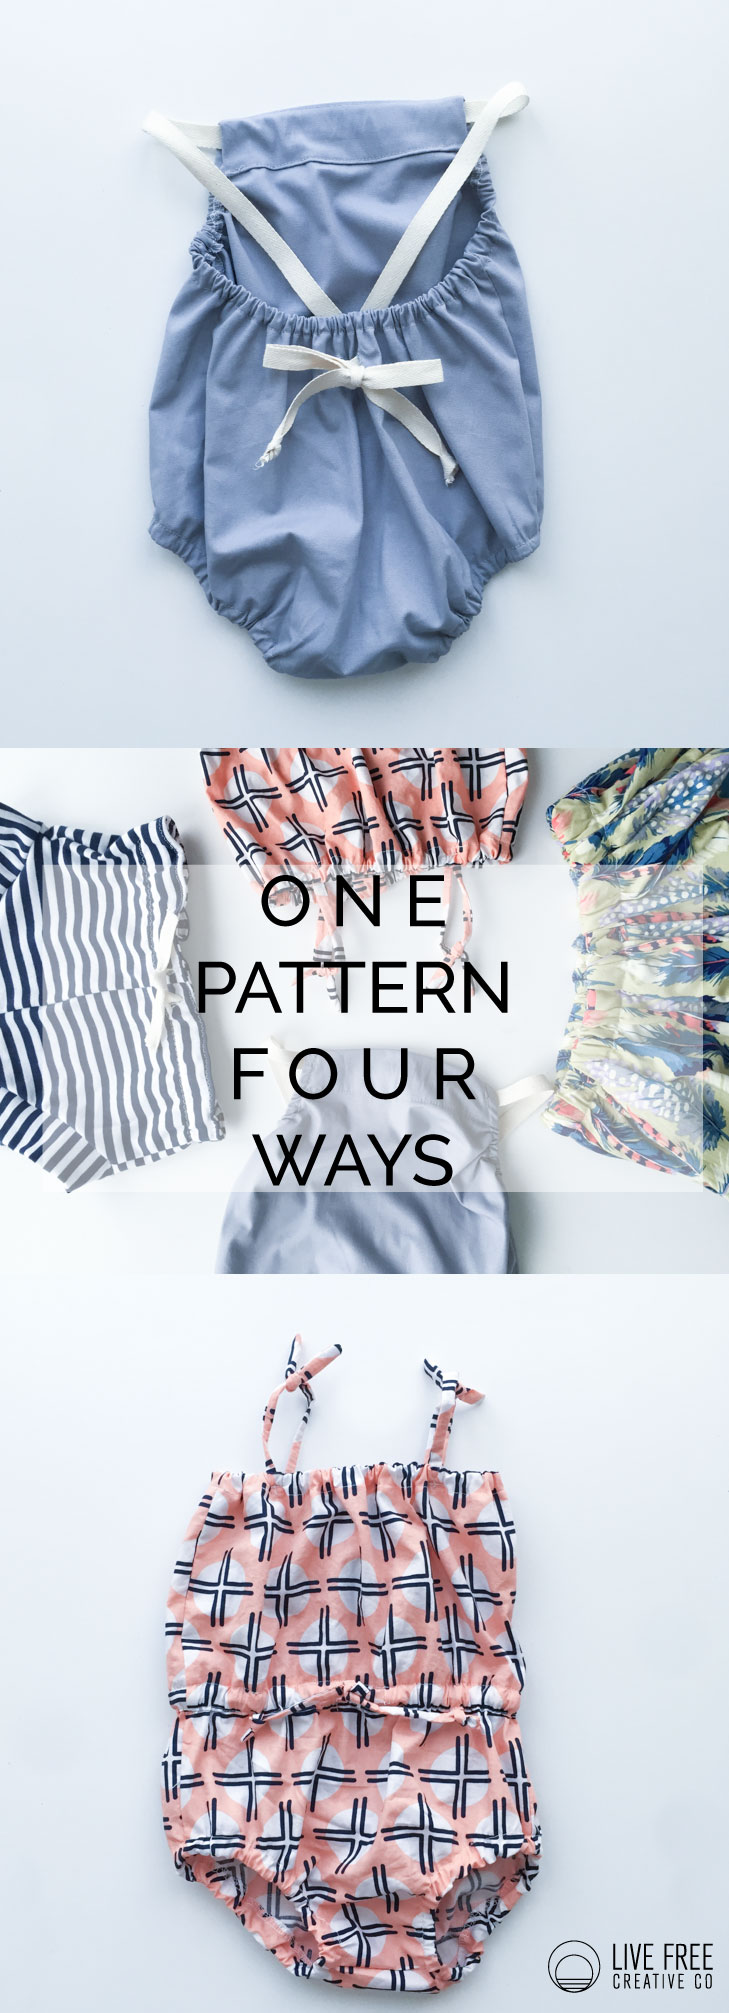
One simple diaper cover pattern became a drawstring romper, gathered skirt with attached bloomer, cross back halter romper, and drawstring baby shorties. These four looks are super simple projects, each taking no more than an hour and a half-yard of fabric. I’ll give you a closer look at each one today and then post full tutorials later this week so you can create them on your own!
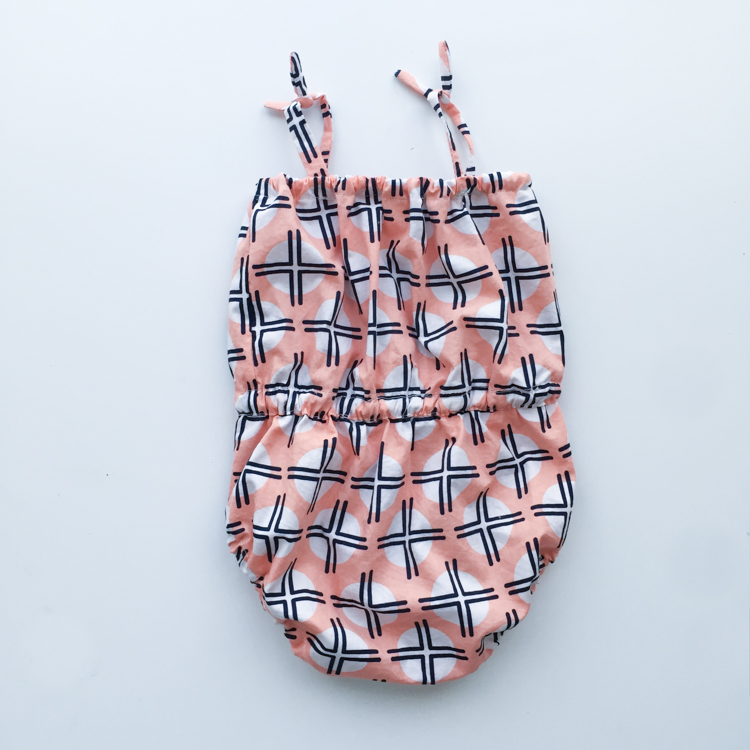
1) Draw String Romper: (update: full tutorial HERE.) This is the first pattern adjustment I made. The shape of the original diaper cover pattern is intact, I just lengthened it to create a bodice! Adding a drawstring in a casing at the waist eliminated the baggy body, and the little knot straps at the top make the fit adjustable to quickly-growing baby height.
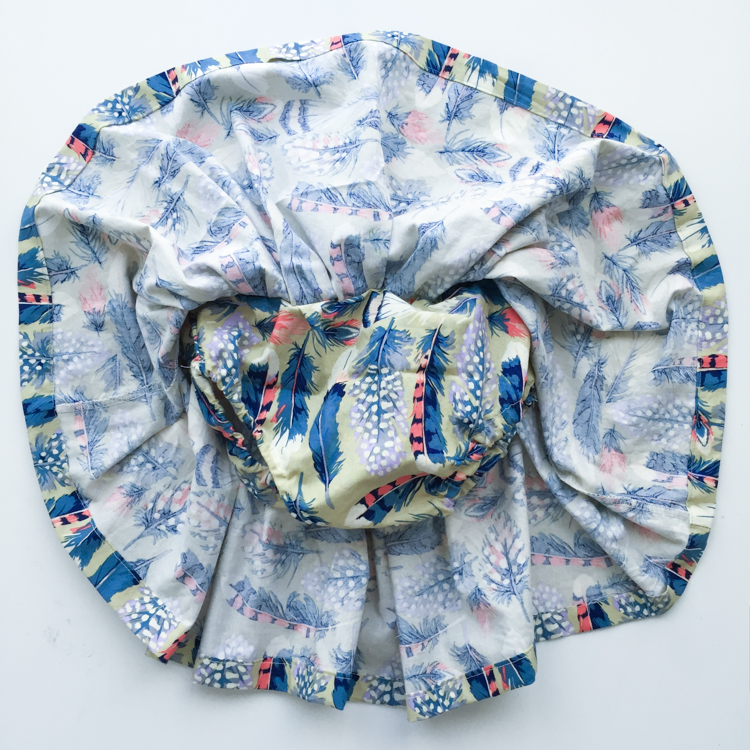
2) Gathered Bloomer Skirt (Update:full tutorial HERE): This look adds a full, gathered skirt over the top of the original diaper cover and attaches them together at the waist. Plum has a couple skirts like this where the diaper cover is attached, and it’s both darling–because the fabrics match–and also streamlined. One less item of clothing to worry about finding, putting on, and keeping track of later. Skirts on toddlers make me swoon, and I’m hoping by the time it’s warm enough to wear, my baby will have found her legs!
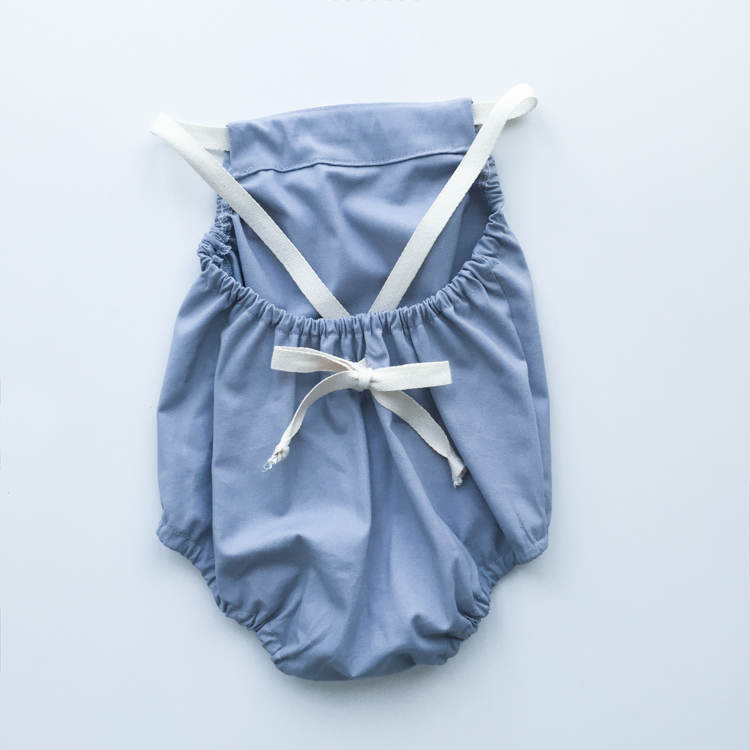
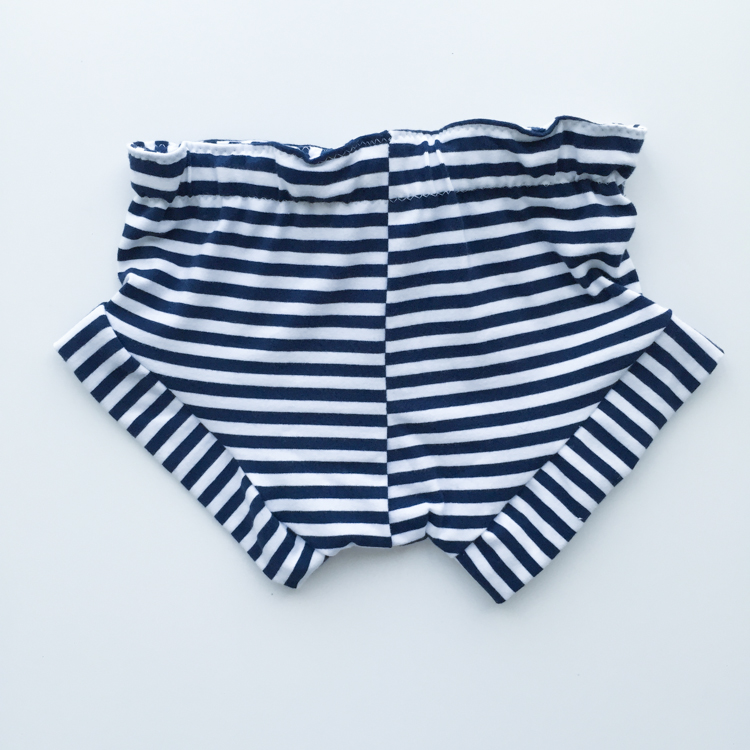
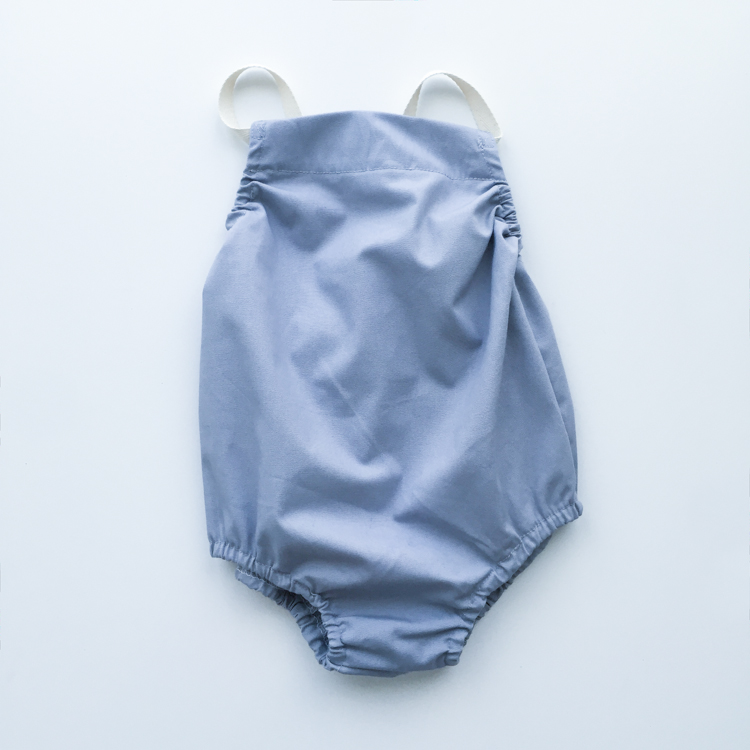
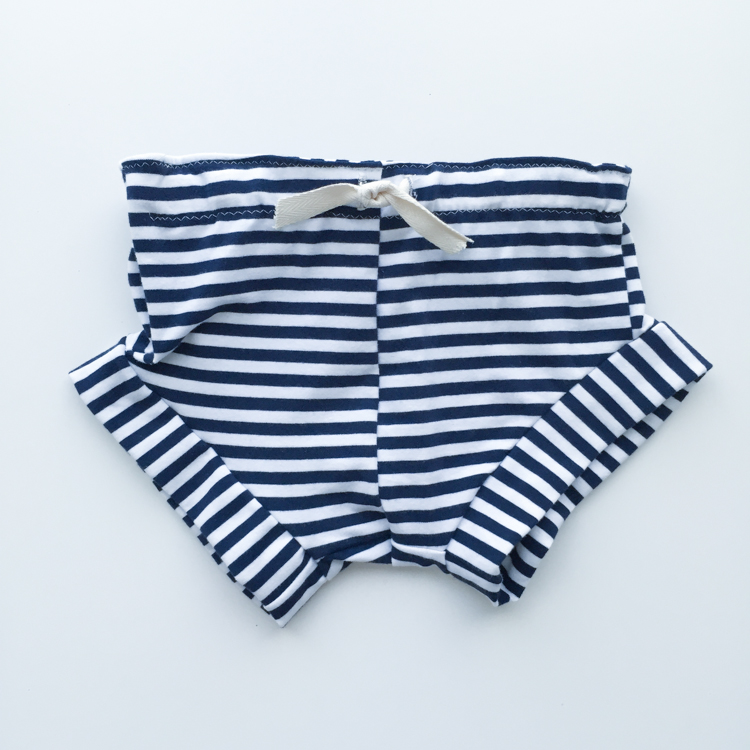
3) Cross Back Halter Romper (update: full tutorial HERE): Oh, how I love this romper. It’s a fun variation on the more classic high-back version, and is so adorable on! I drafted up the front bodice, but left the back lower, and only laced the elastic through the back. The front forms a little halter-like bib with a casing for the strap to slide through, cross in the back, and tie a cute little bow. In mid-summer the lightweight, breezy look of this halter will be adorable, and I love the adjustable strap, again, because Plum will get as much wear out of it as possible.4) Drawstring Baby Shorties (update: full tutorial HERE): I love that these little shorties would work just as easily for a little toddling baby boy as for a girl. This variation takes a little of the width out of the center of the original diaper cover pattern, straightens off the leg openings and adds a folded leg band on each side to make mini-shorts. The waistband is folded over and includes a drawstring mostly because it’s a fun detail. There they are! I loved working with HP on this post, and now Plum’s summer wardrobe is shaping up nicely. Check back in this week to see the full tutorials for each of these four looks and make some yourself. Do you have any patterns you use as the base for fun variations? I’d love to hear your favorites!