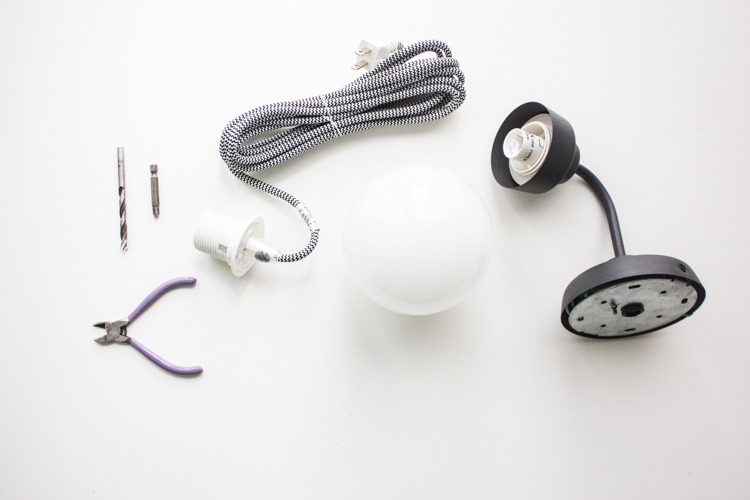
It was so fun to share my home tour last week both here on my blog and over at Design Mom. Thank you for so many sweet comments and all the love! A few details for the tour were things that had been on my list to complete for a long time, and the idea of photographing my house to share with thousands of strangers pushed me over the edge to complete them. It was great motivation!
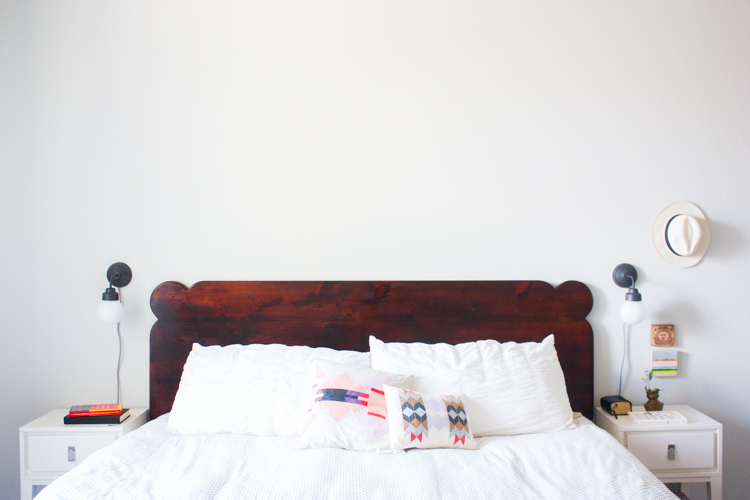
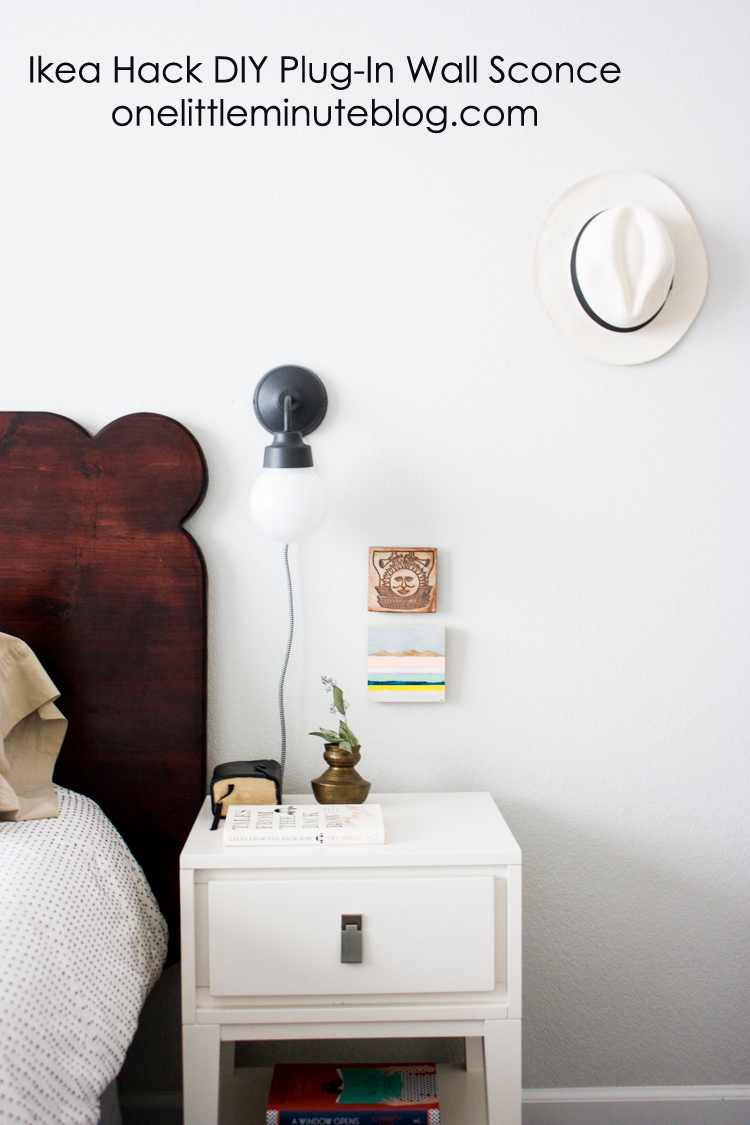
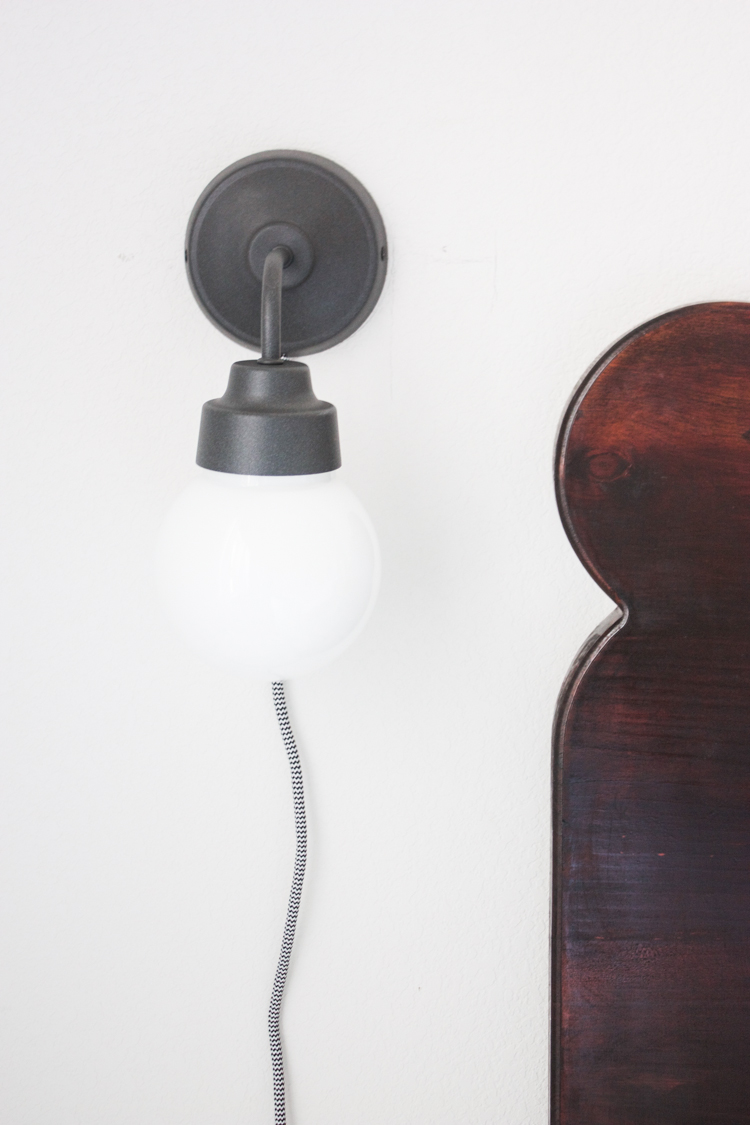
One favorite project was these Ikea Hack Plug In Wall Sconces to flank our headboard. Before we had some mismatched lamps on the matching side tables which both looked funny and took up way too much space on the tables. I love the look of sconces, but needed them to be plug-in so we didn’t have to think about rewiring the electrical in the walls. When I stumbled upon these great looking and inexpensive sconces at IKEA (you know, on one of my weekly trips…) I thought they would be great. The problem was that they were hard wired, not plug-in. A quick google search told me it would be simple to DIY the plugs, so I scooped up two cool, striped cords, and the lights, and went home to hack them.I’m not an electrician by any stretch of the imagination. And I also made my first cut into the wire while the plug was STILL PLUGGED IN, nearly killing myself and burning down my house. But, if you’d like to see how simple this little hack can be, read on for full instructions.
You’ll need:
A hard wired sconce
A plug-in cord
A drill with a drill bit just larger than the cord diameter
wire cutters
tape
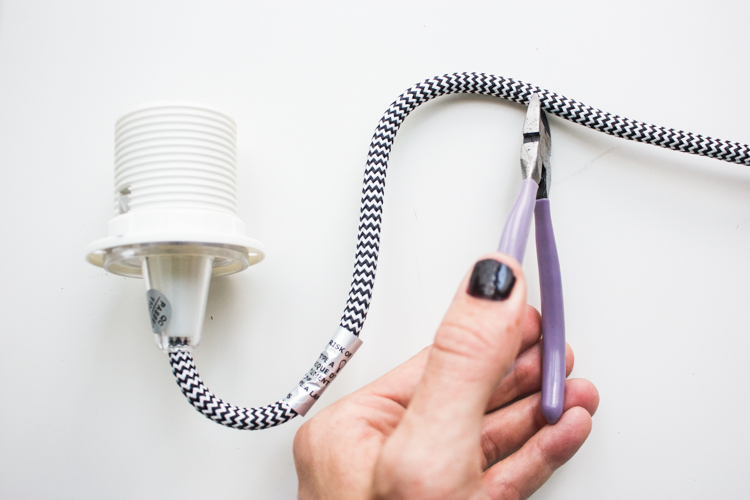
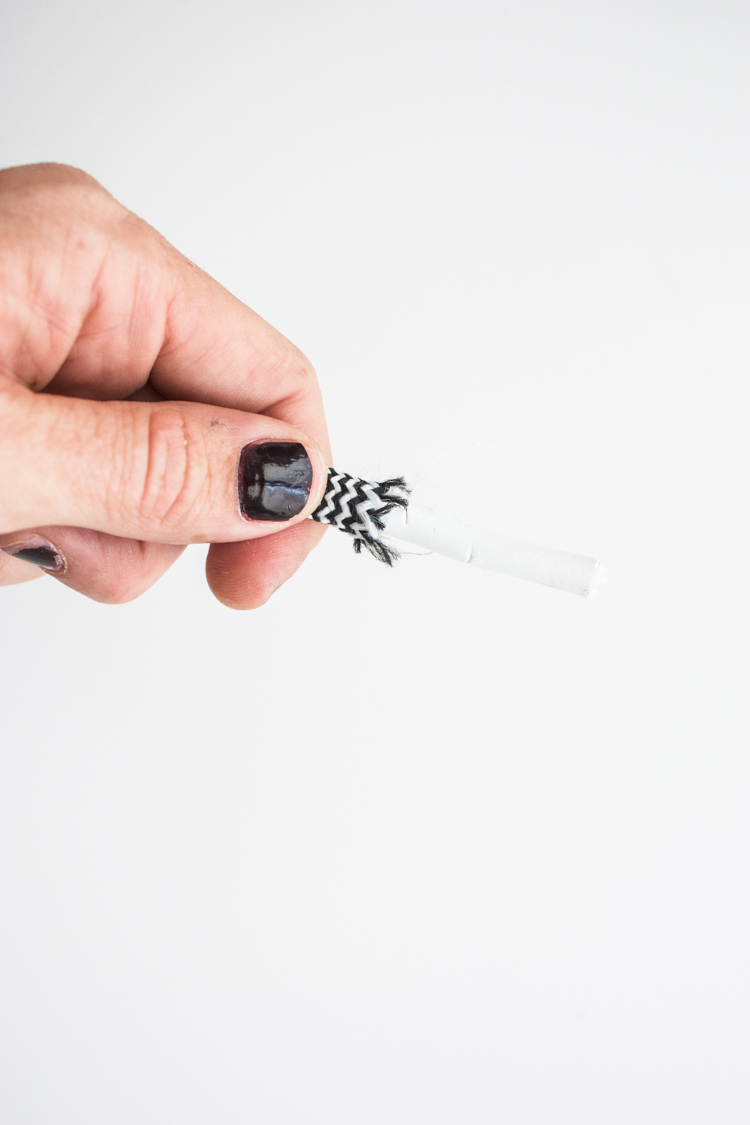
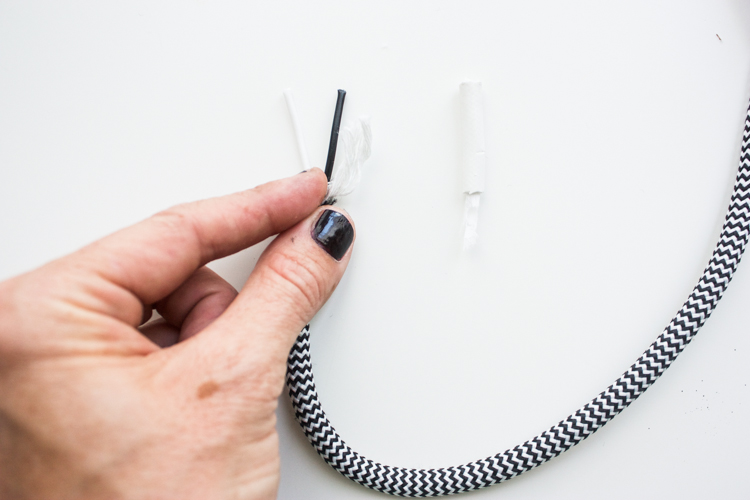
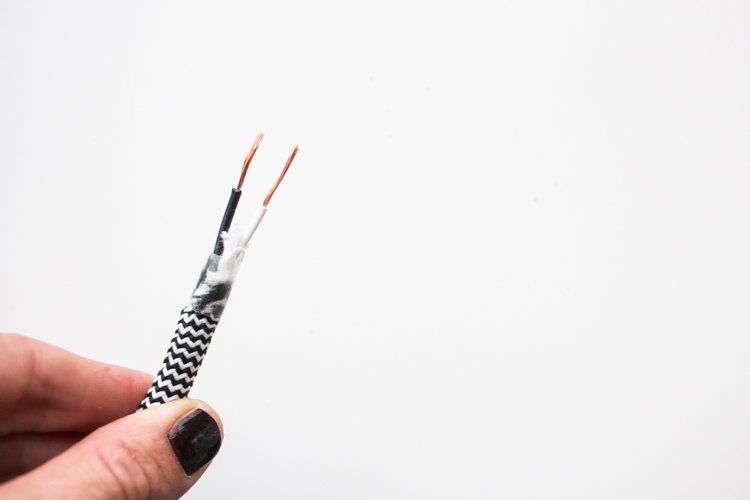
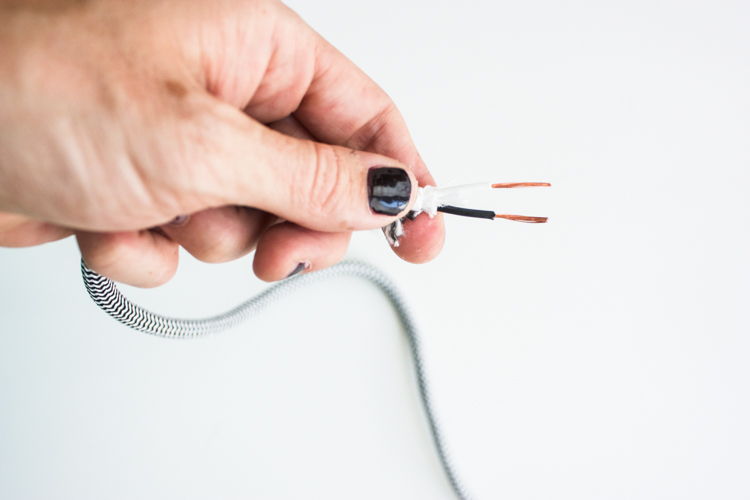
Use the wire cutters to cut the end of the cord close to where the bulb would screw in. MAKE SURE THE CORD IS NOT PLUGGED IN AT THIS POINT! Trim about 1.5″ of the fabric off of the cord so you can see, then carefully cut through the outer rubber cord without cutting the wires inside. I did sort of snips just through the outer layer in a circle, then pulled the end off.
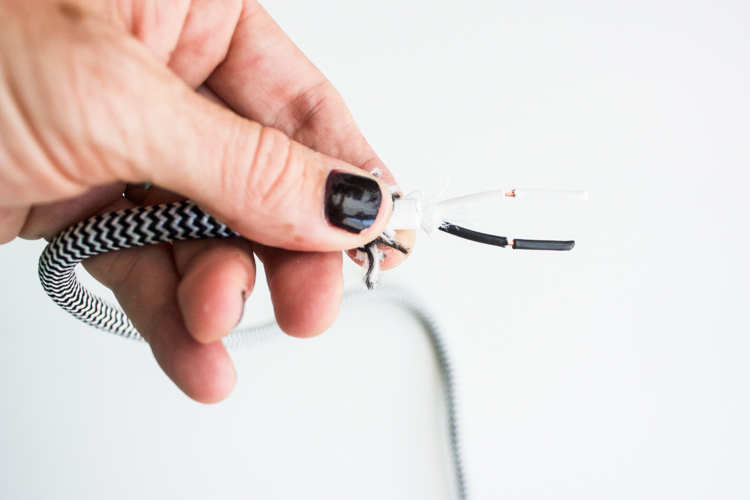
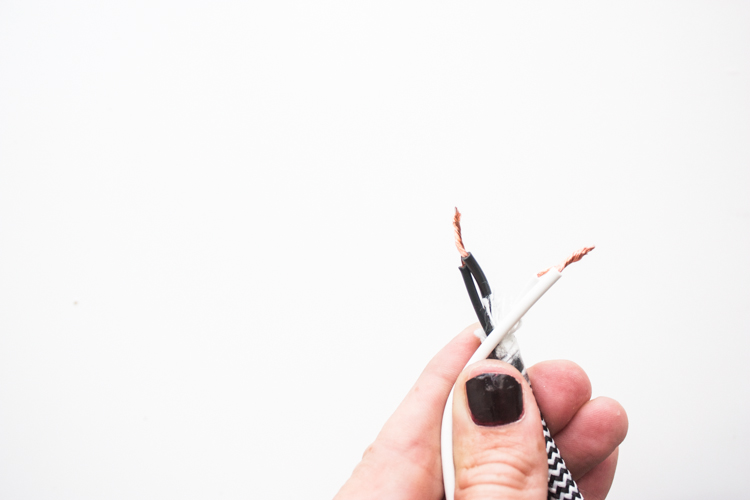
Inside the cord you’ll find two wires, white and black. Carefully snip though the outer rubber layers of each wire, trying to avoid cutting the copper wire inside. Pull off the plastic ends revealing the copper wire.
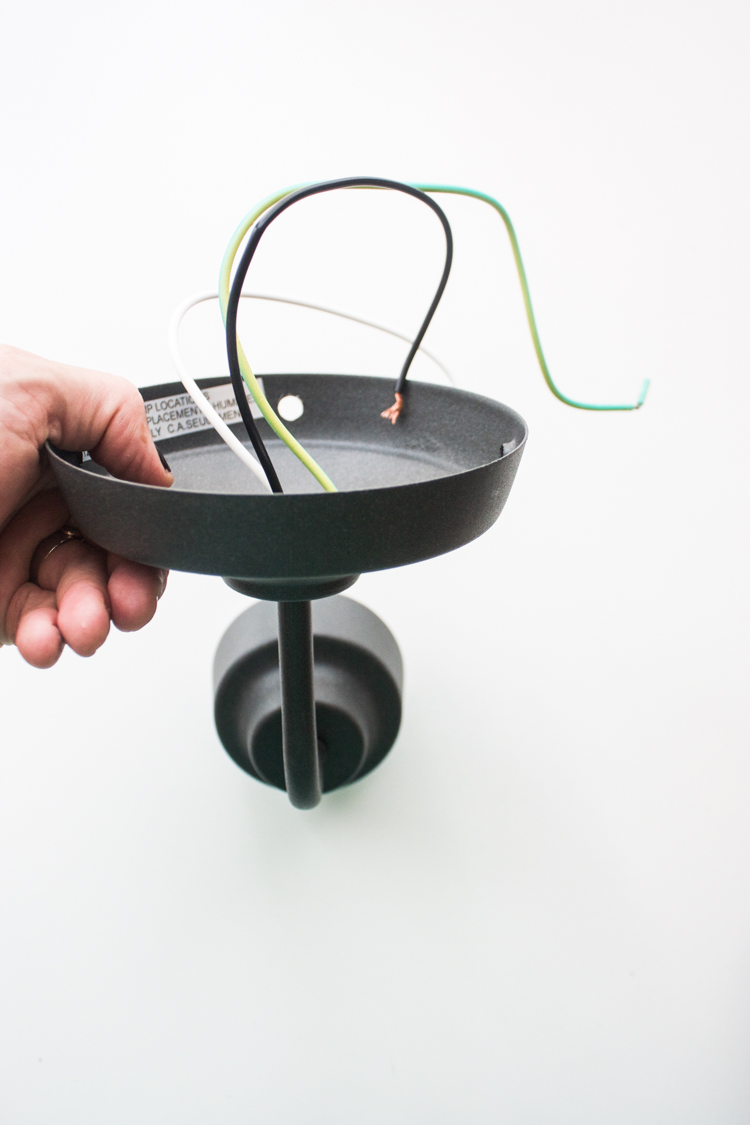
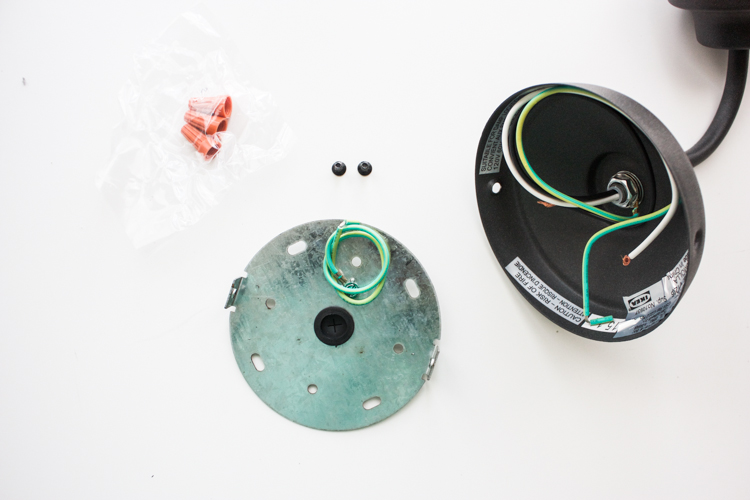
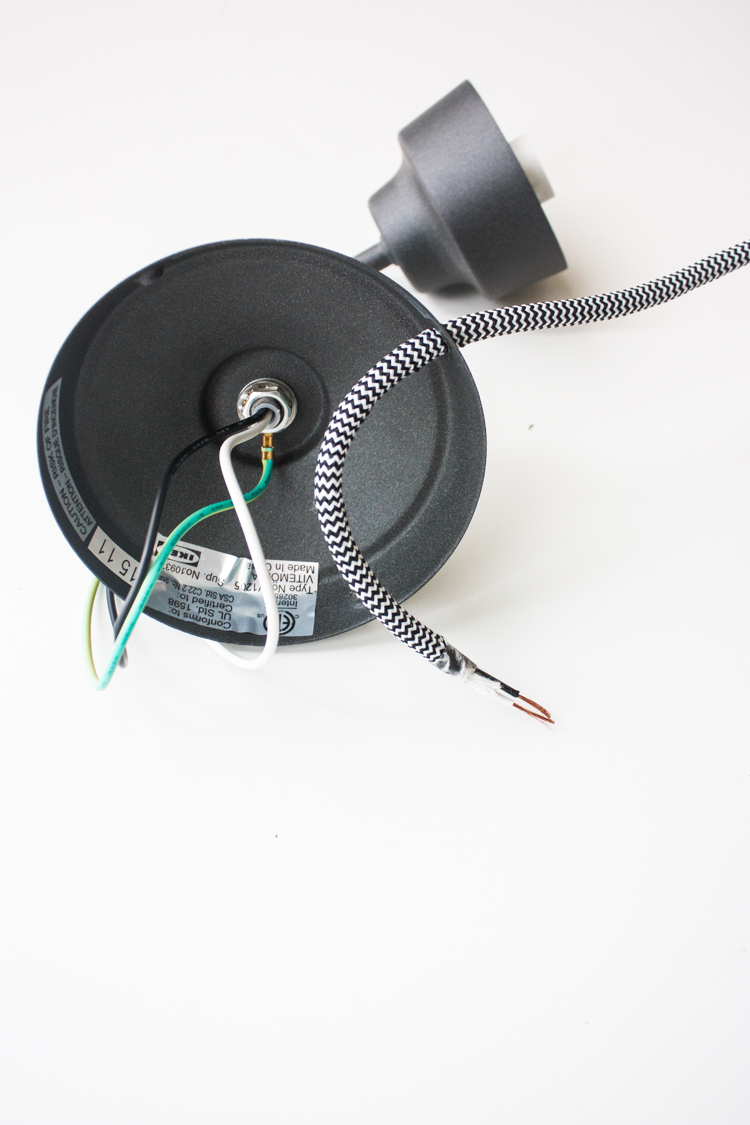
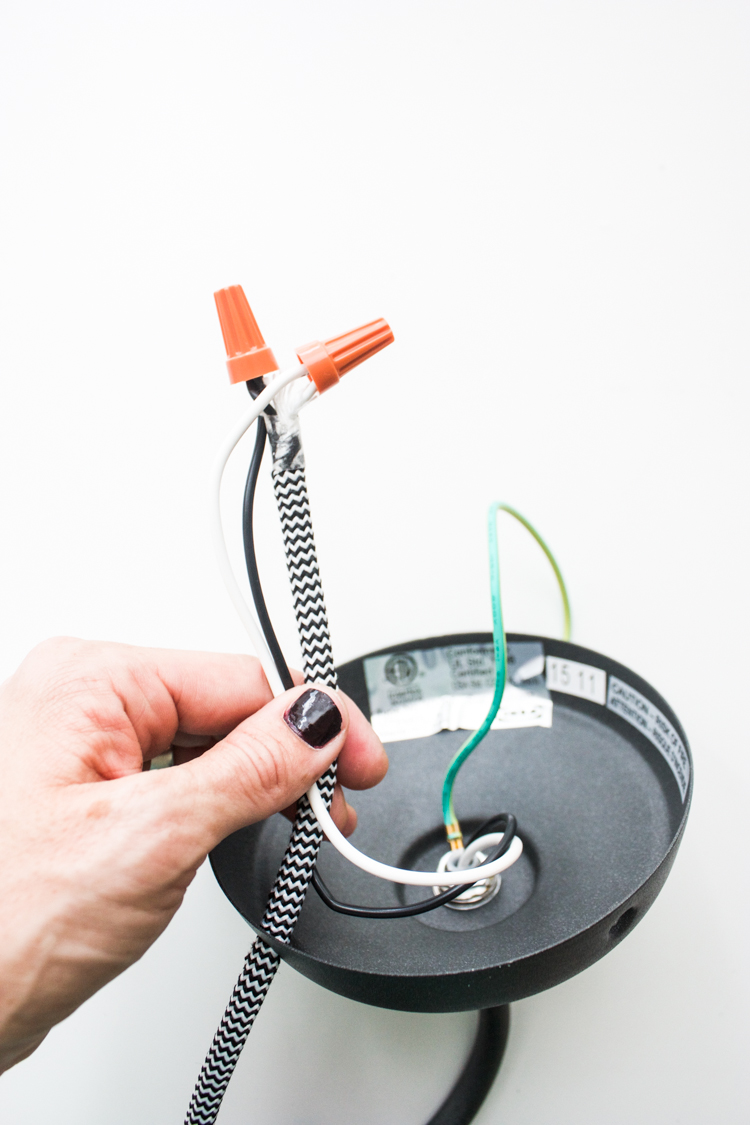
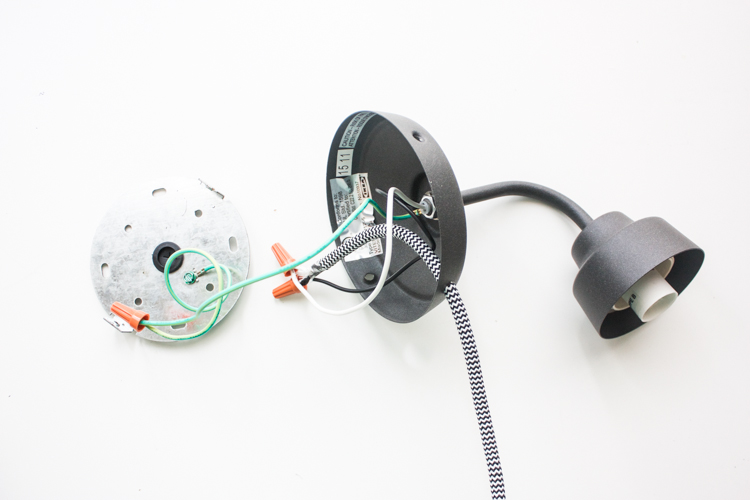
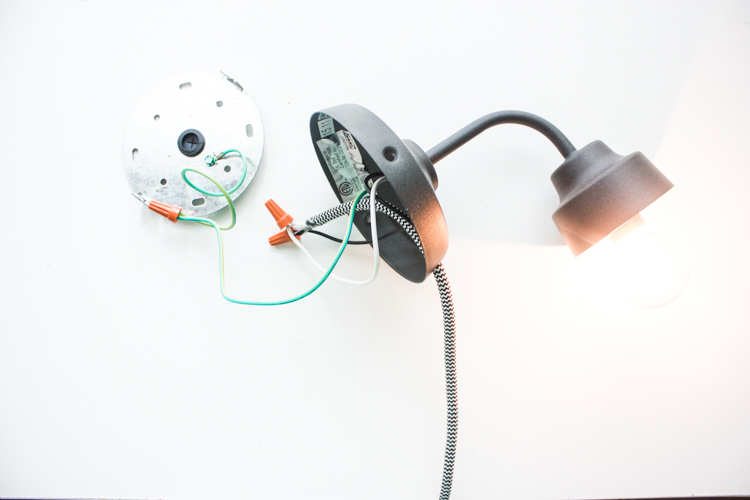
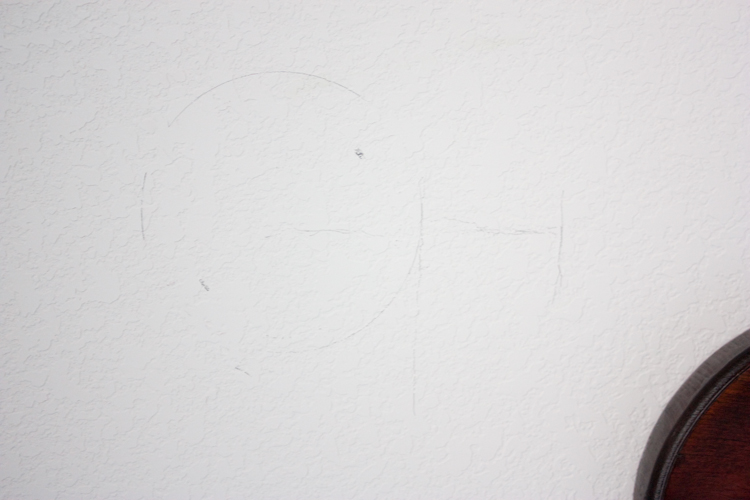
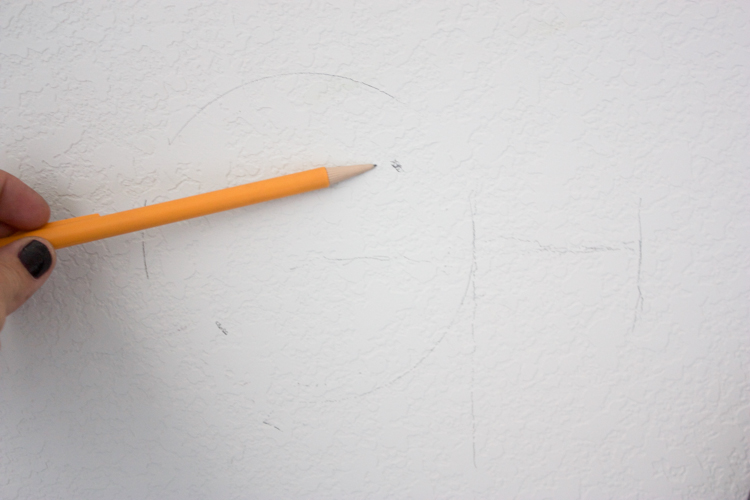
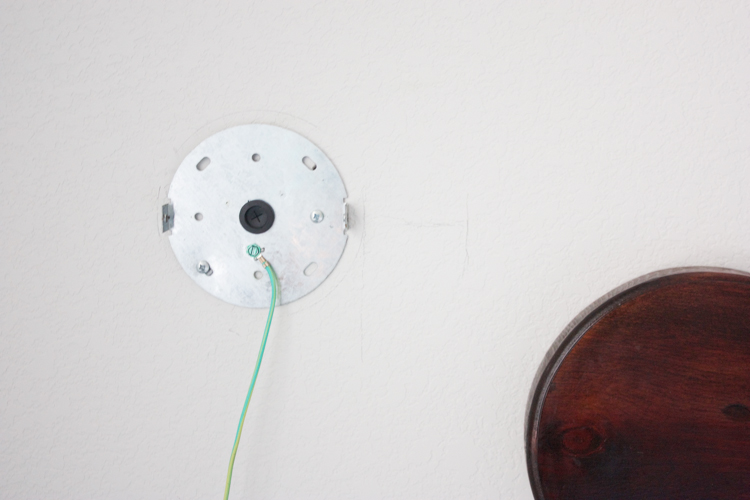
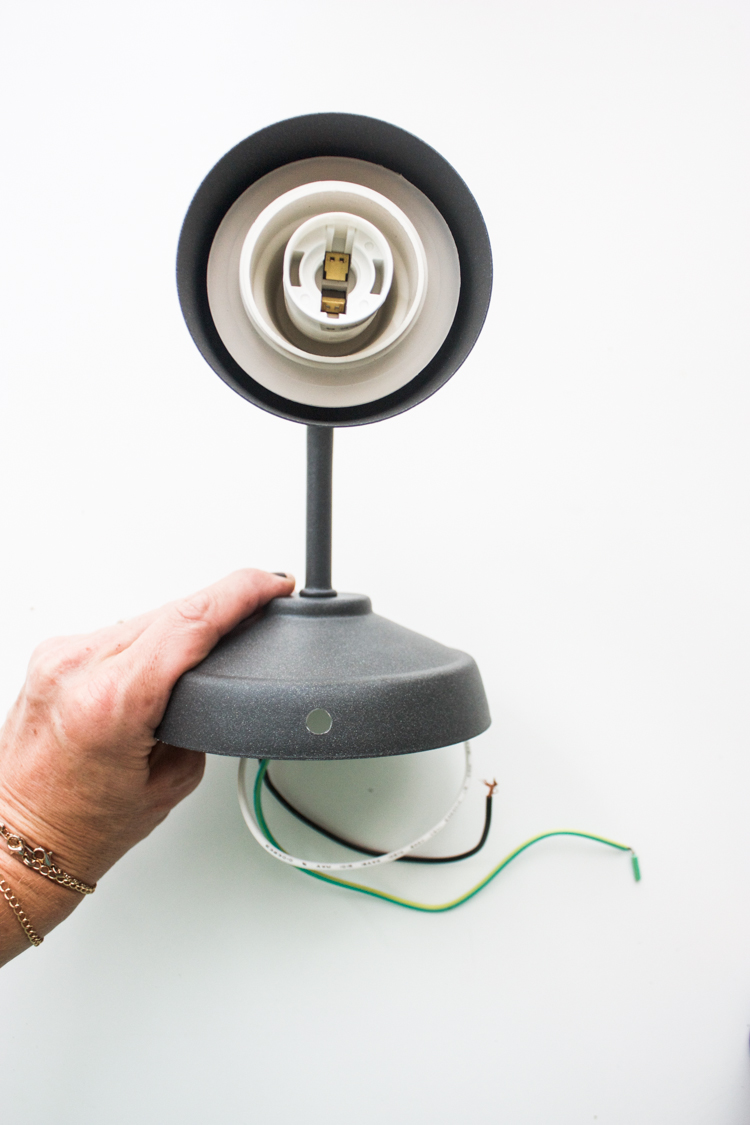
Fasten a piece of tape around the end of the cord so that the fabric doesn’t fray any further down the cord.Use the drill and drill bit to make a hole evenly centered beneath the light post, where you want the cord to come through. Open the back of the sconce and unwrap all of the wires and twist on wire connectors.Thread the cord through the hole you drilled, with the wire ends going into the back of the sconce.Matching colors of wire black to black and white to white, twist the copper wires together.Add the twist-on connector to the ends and twist until the connector stops. This holds all the metal together in a conducive end so the electricity can be easily conducted.Twist the green ground wire of the sconce to the green wire of the back plate and secure with a twist-on connector.At this point it’s safe to add a light bulb stand back, and plug in the cord to make sure everything works! Hooray! Now all that’s left is to install them! Measure and mark the distance from the headboard and side table you want the sconce, then screw the back plate in place onto the wall.
Add the sconce itself and you’re done! Plug it in, and it’s ready to shine.
If your room has a switch connected to some of the outlets, the lamps will go on and off with the switch. If not, you’ll need to add a simple switch to the cord itself, or use a cord that has a switch installed already. It’s another super duper easy DIY, and once you’ve wired the sconce, it will feel like a no brainer how to wire the switch.
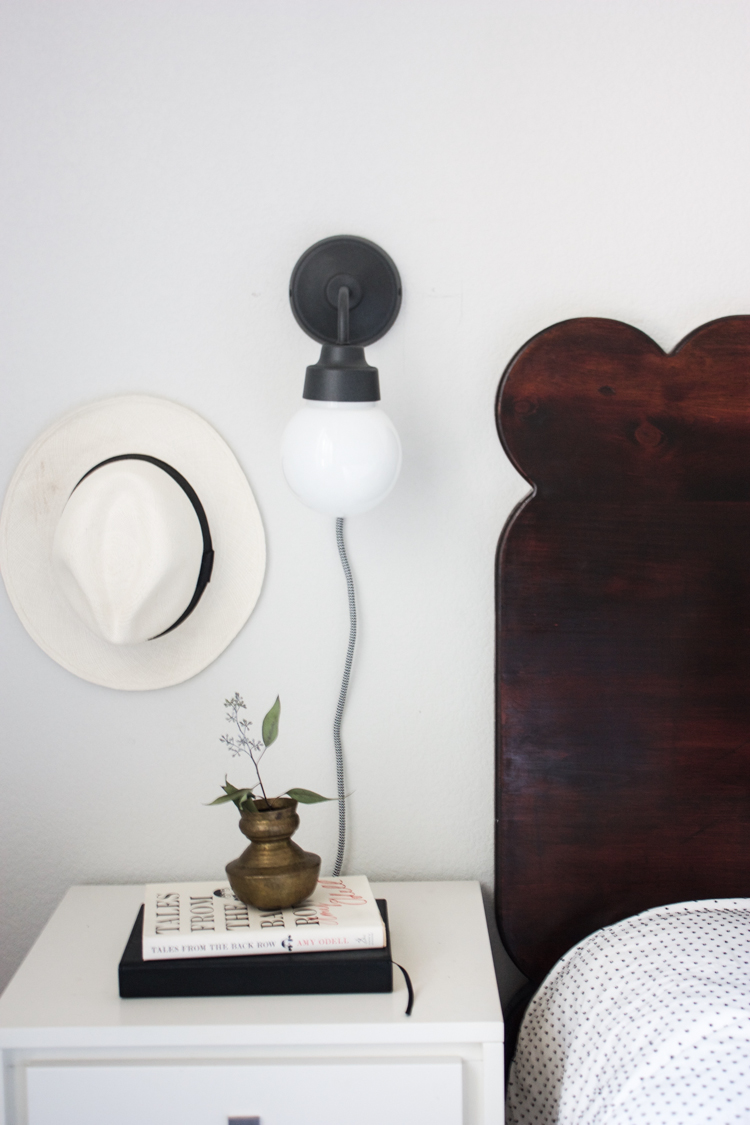
And for a fraction of the cost of all of the beautiful sconces I’ve seen out there, we’ve got them installed and ready to go. Such a simple change made a huge impact on the look and feel of our bed and I’m so happy I finally got it done!