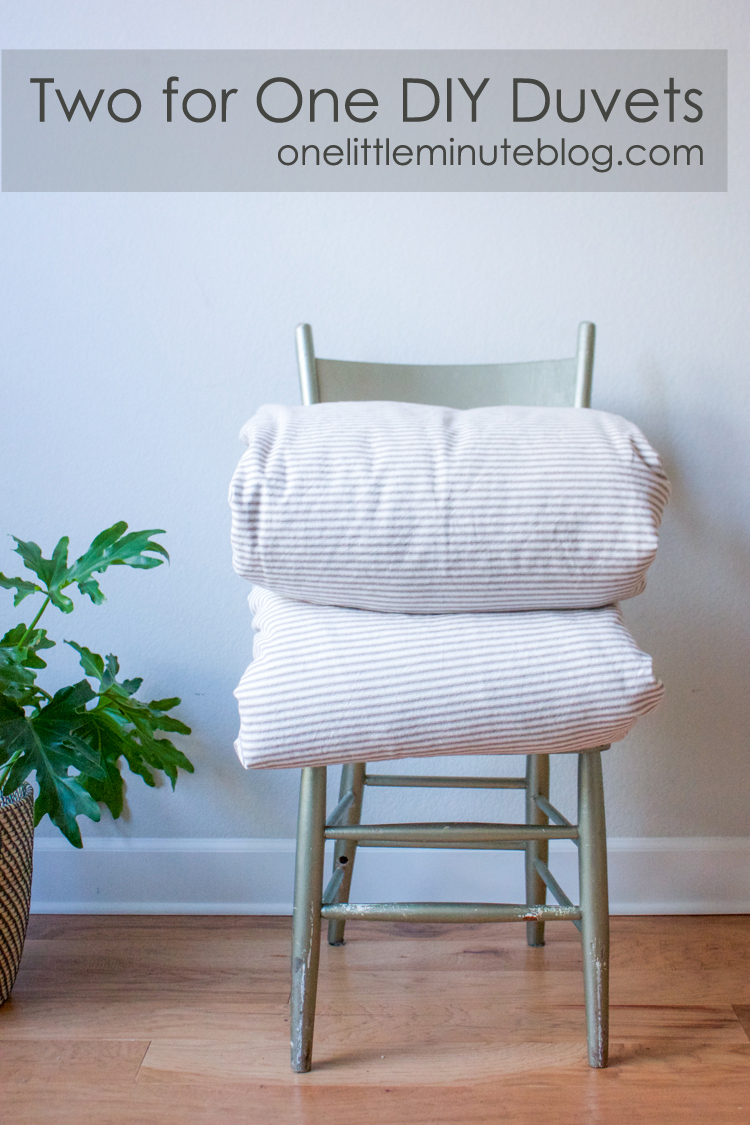
Make Two Duvet Covers from One
The thing about duvet covers is that they’re expensive! Gosh, all bedding is, right? But a nice duvet is like the ferrari of bed coverings. This can get tricky when you fall in love with a designer duvet, but want to have TWO for matching beds in a shared room, like the bunk beds I put in my boys’ shared room, or even to have a second on hand for the laundry switching days. 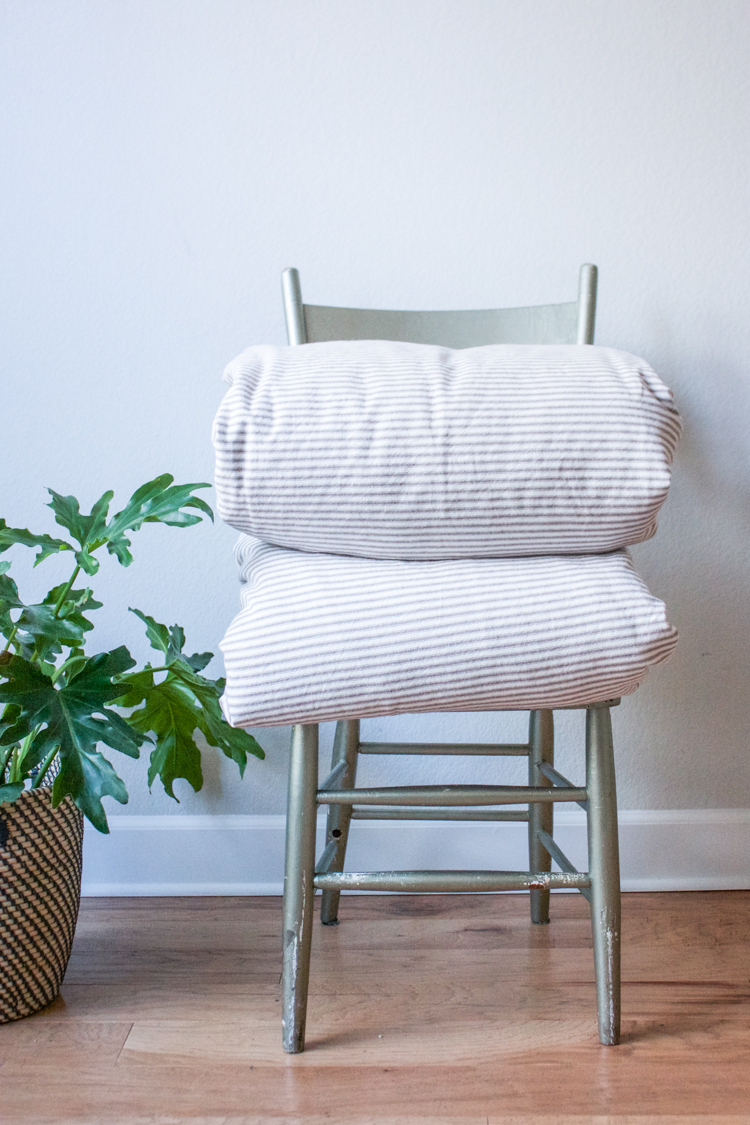
How To Make A Duvet Cover Set
Lucky for you, I have simple solution that takes one nice duvet cover, along with one super duper inexpensive duvet, and mashes them up into a set of two for one DIY duvet covers. It’s just a little cutting along seams, and four long straight seams. Simple as can be for a fantastic, design and budget-friendly result.
Supplies
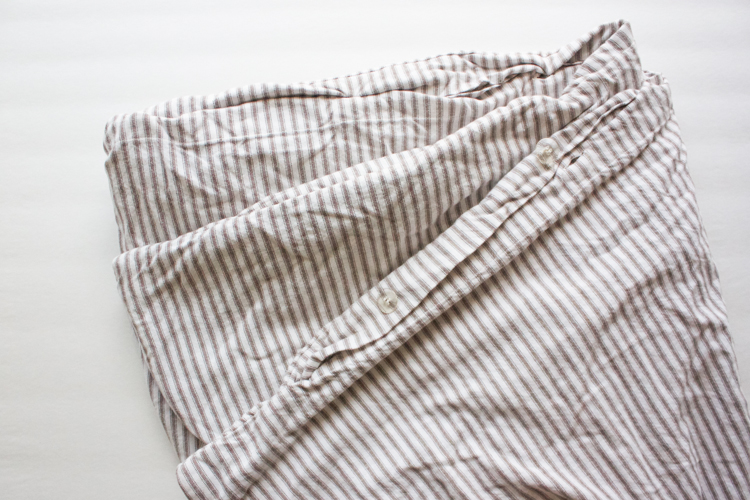
A favorite duvet cover that you’d like to duplicate, mine is this garment dyed ticking stripe from RH.
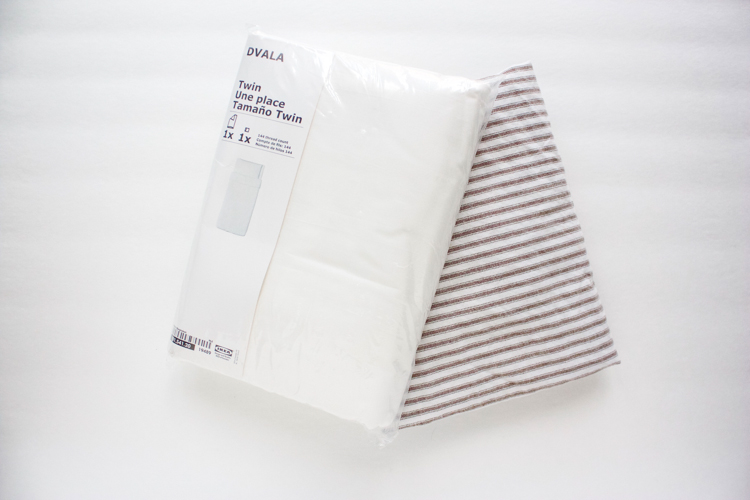
A DVALA in the same size from IKEA, alternatively any other really inexpensive plain duvet. This is the most affordable I’ve found.
Scissors
Your sewing machine or serger
 Because nice duvet covers are typically double sided, we can cut it in half and use both sides, each paired with the plain white from the DVALA duvet to make two. The reason we’re using a second duvet cover, instead of simply a sheet or some fabric is because we are going to use the closure end from both duvet covers, one for each of the new ones. This way, we get the look AND function of two designer duvets, without having to add any additional closures.
 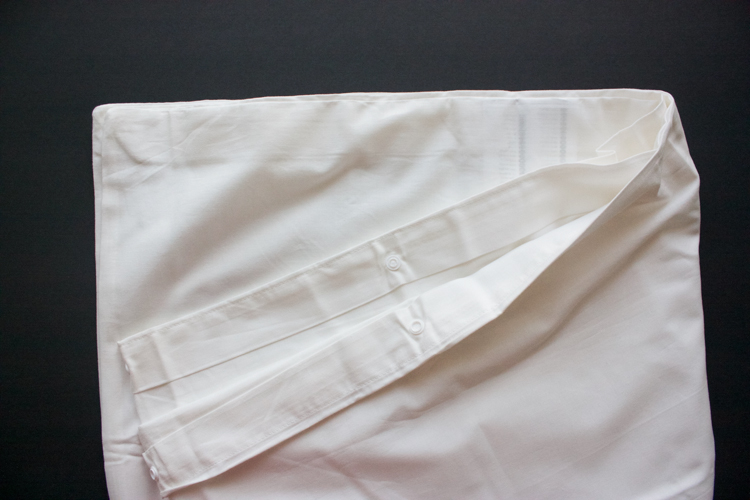 The RH duvet as buttons, and the DVALA has snaps, but both will be hidden on the end of the cover when we’re finished, so the difference won’t be obvious. The trick is cutting along the seams of each duvet on three sides, then allowing a few extra inches along the closure end on one half. Each duvet will be cut into two pieces, one with the closures still attached, one without any. Then we swap and the closure piece of the RH duvet matches up with the non closure piece of the DVALA, while the opposite match happens. When we sew them all back together, we have two for one!
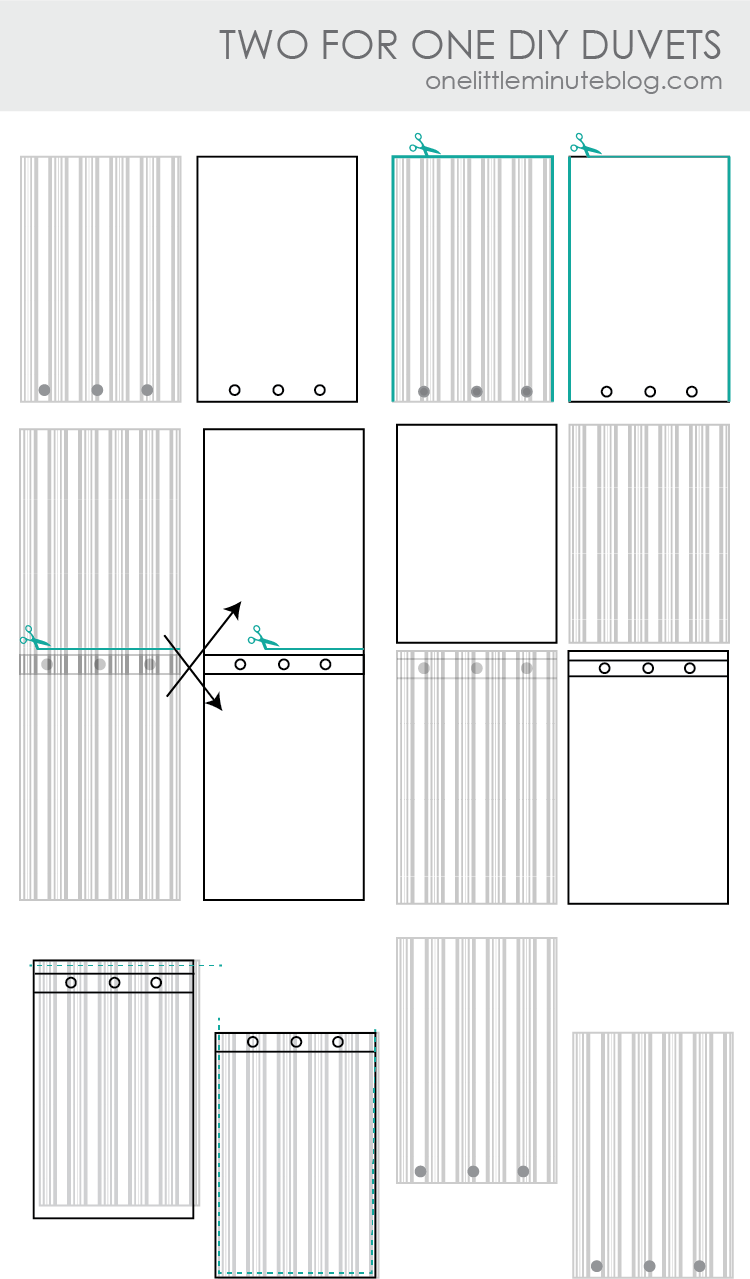 Ready to DIY? Let’s get started.
Lay both duvet covers flat and cut along the seam line on the three sides that don’t have the closures.
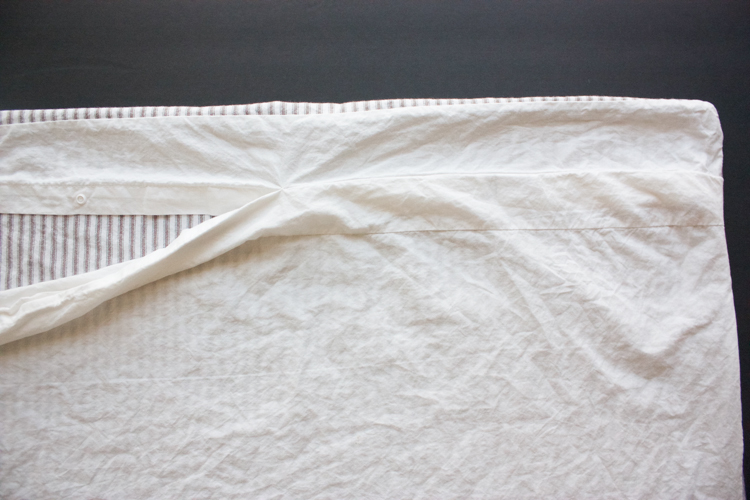
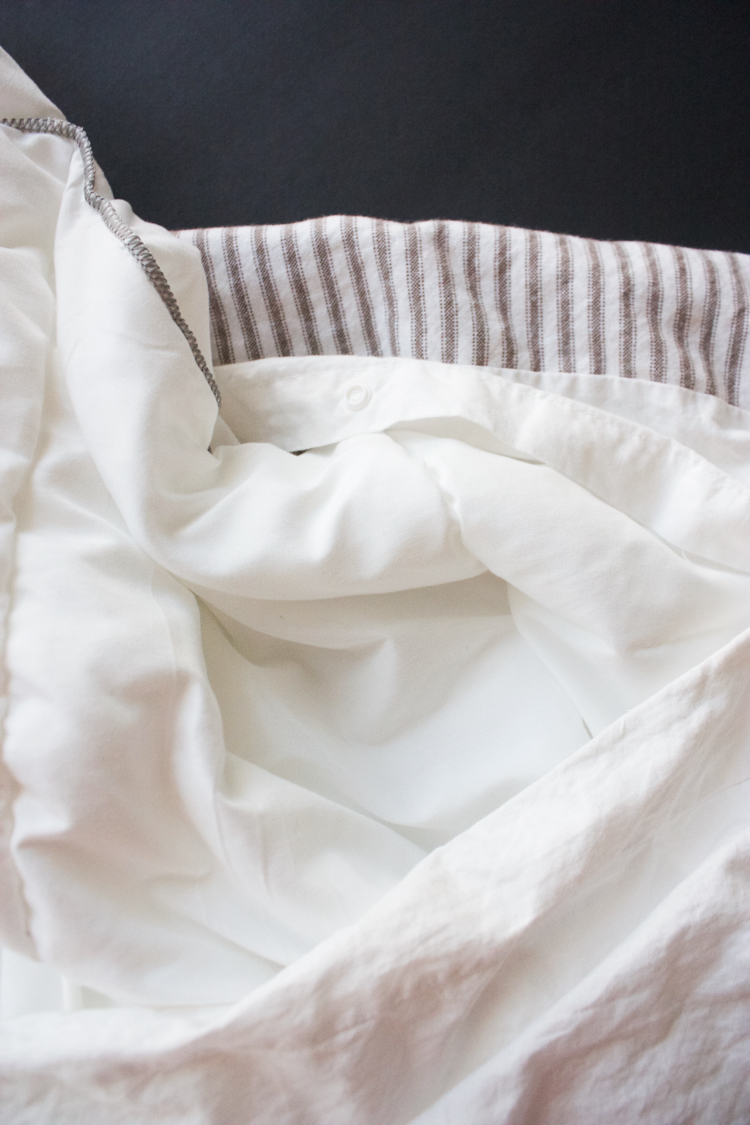
Unfold the duvet so the closures are in the middle and the fabric is stretched out long.
Cut two inches above the closure line along the fabric.
Align the designer closure end with the DVALA non closure fabric, right sides together, and sew along the edge. Fold the duvet back in half, with right sides together, and sew around the other three edges, completing the edges.
Repeat on the other duvet.
Turn right sides out and stuff with comforters.
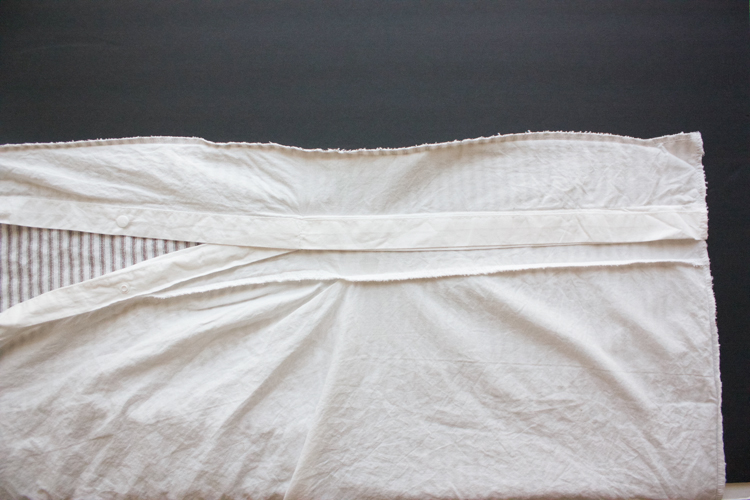
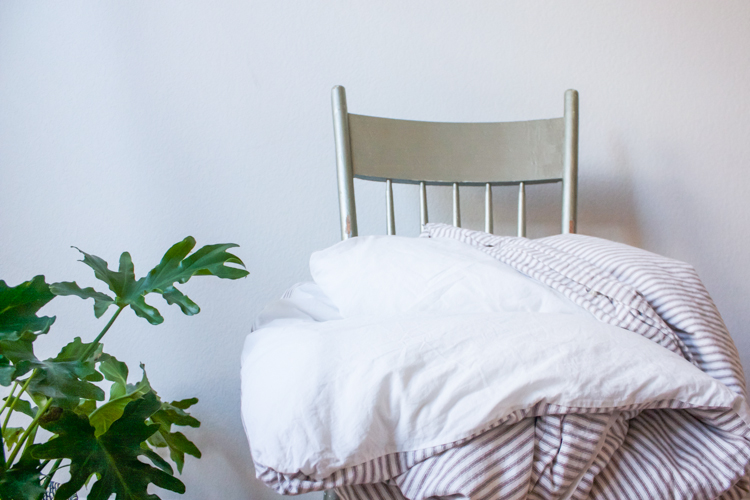
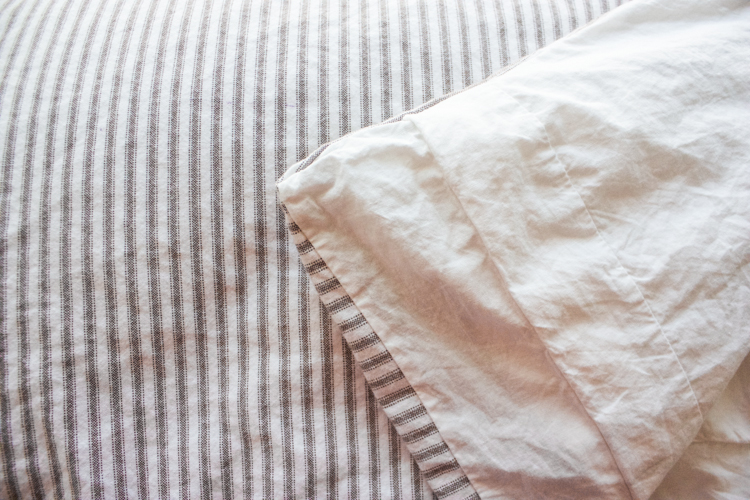
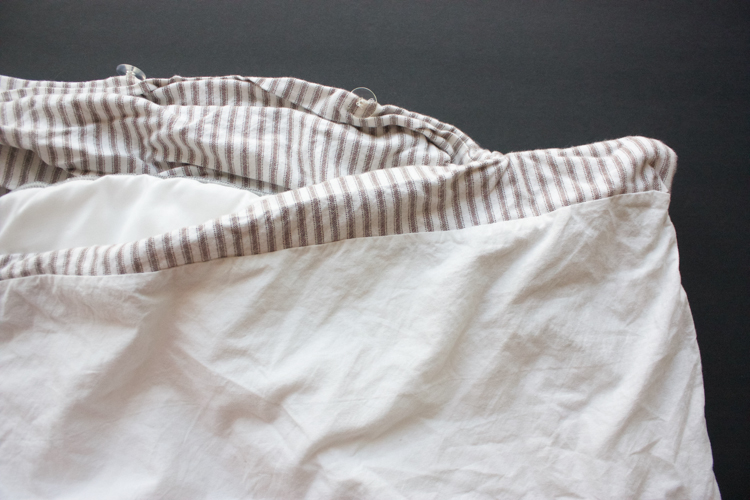
 See how when you flip this one right side out, the top side goes all the way to the end hiding the plain duvet backing? Perfect.
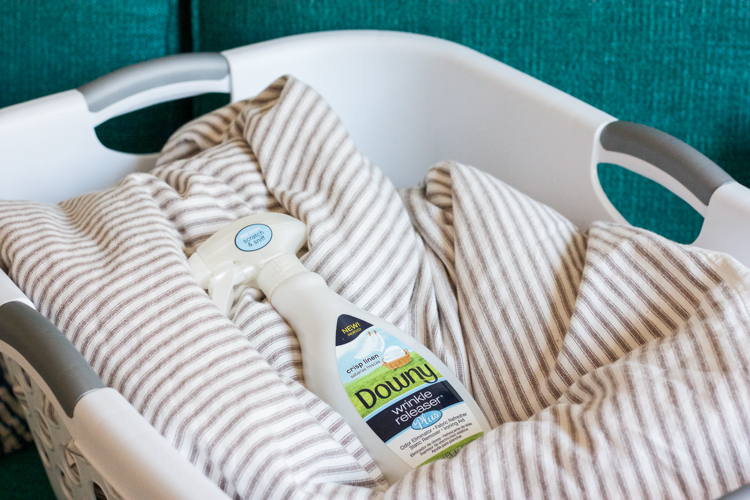
 Once your two duvets are finished, you can wash and dry them as usual. And here’s a little tip to make your life even easier: after you pull them from the dryer, and stuff them with a comforter, lay the duvet on the bed (it will be wrinkly as could be) and spray it with Downy Wrinkle Releaser until just soft, then smooth the wrinkles out with your hand and gently tug on the fabric from top to bottom to flatten those wrinkles right out without busting out the iron! Seriously amazing stuff. I never iron bedding, but love the look of a smooth bed, so this is the best solution. You can also use it on clothes that sat too long in the clean basket, curtains pulled out of the package and hung with the fold marks still on them (guilty!), and table cloths laid out just minutes before guests arrive.