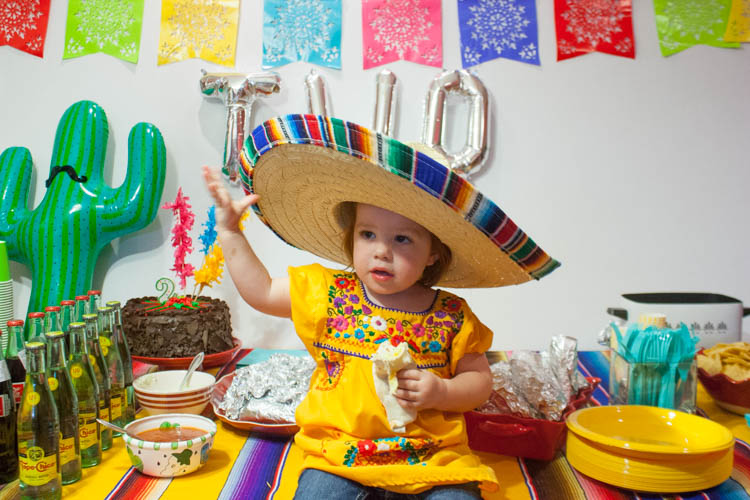
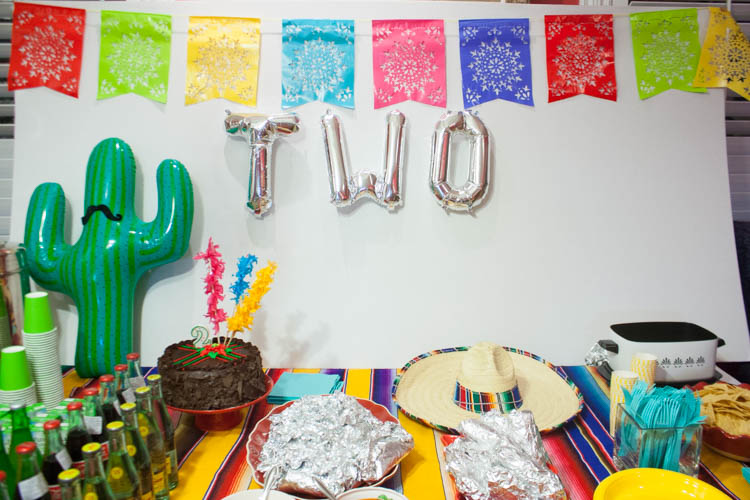
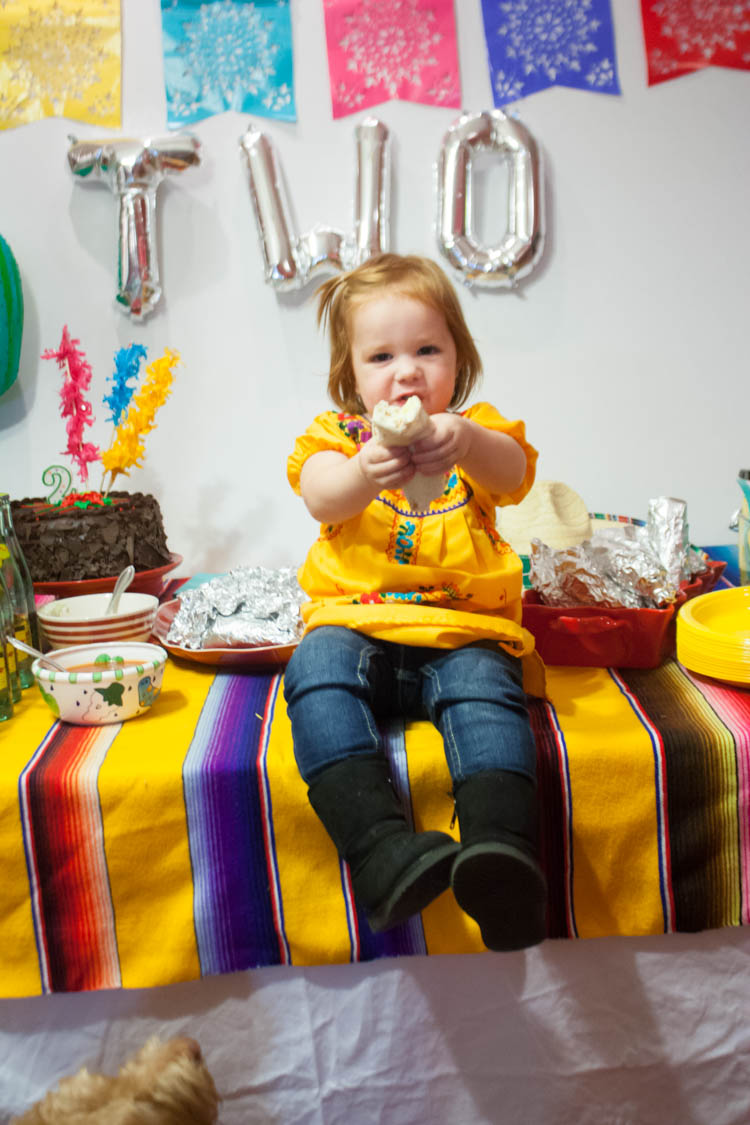
Plum turned two last month, and by fate her birthday fell on a Tuesday. I couldn’t pass up the opportunity to throw my favorite little girl a Taco TWOsday birthday party!
Two types of tacos: bacon+egg+cheese and our favorite green chile pork (recipe below!)
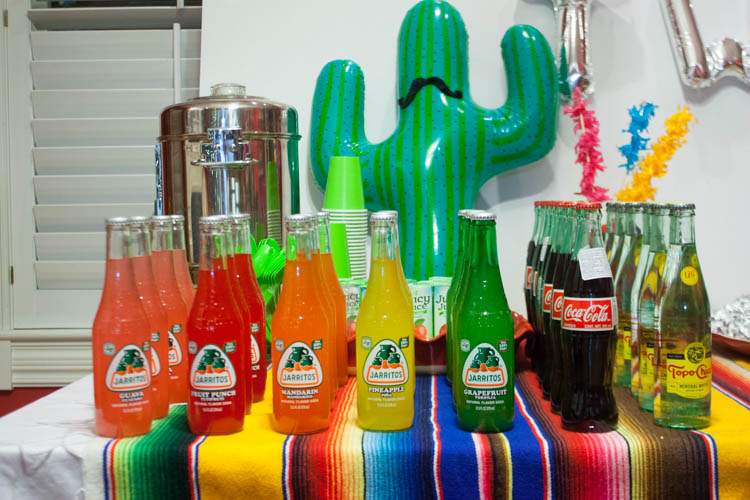
Bottled Mexican sodas
Chips + Queso
Fruit
Costco Chocolate Cake
Piñata
We traveled to Utah the day before Plum’s birthday and this fiesta was super quick and easy to throw together after a quick trip to Zurchers.
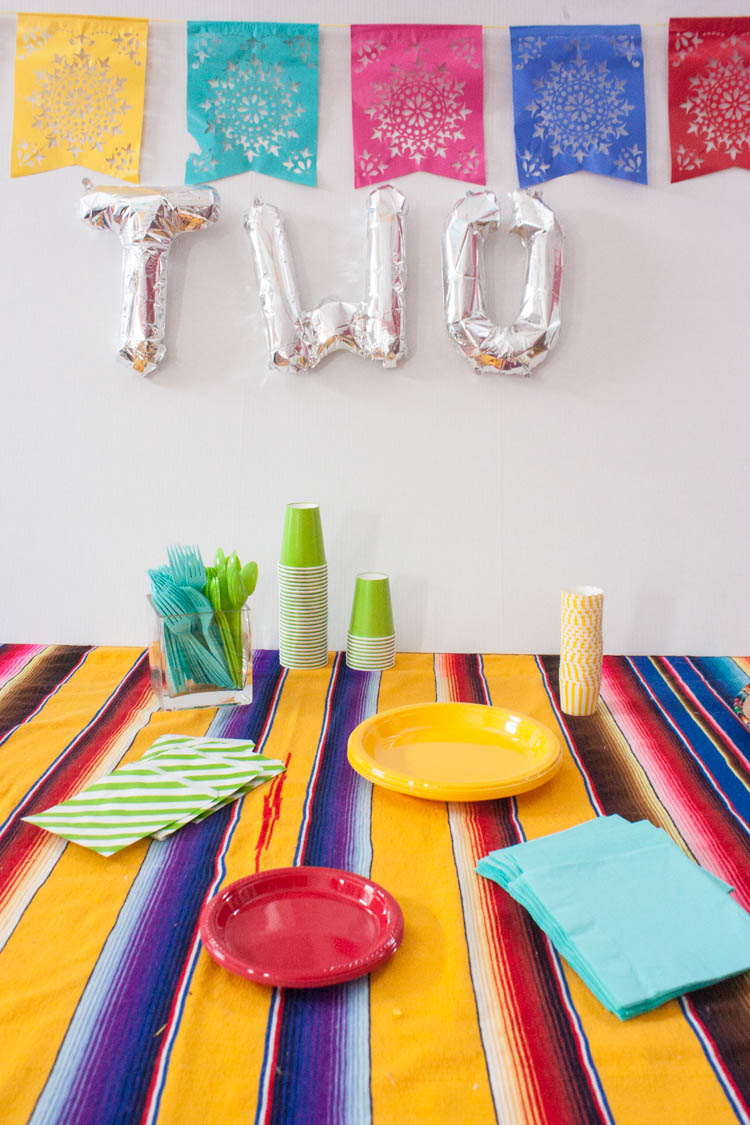
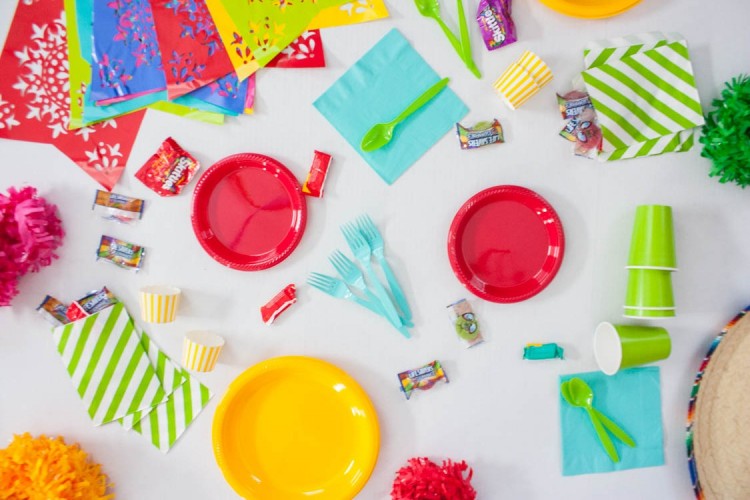
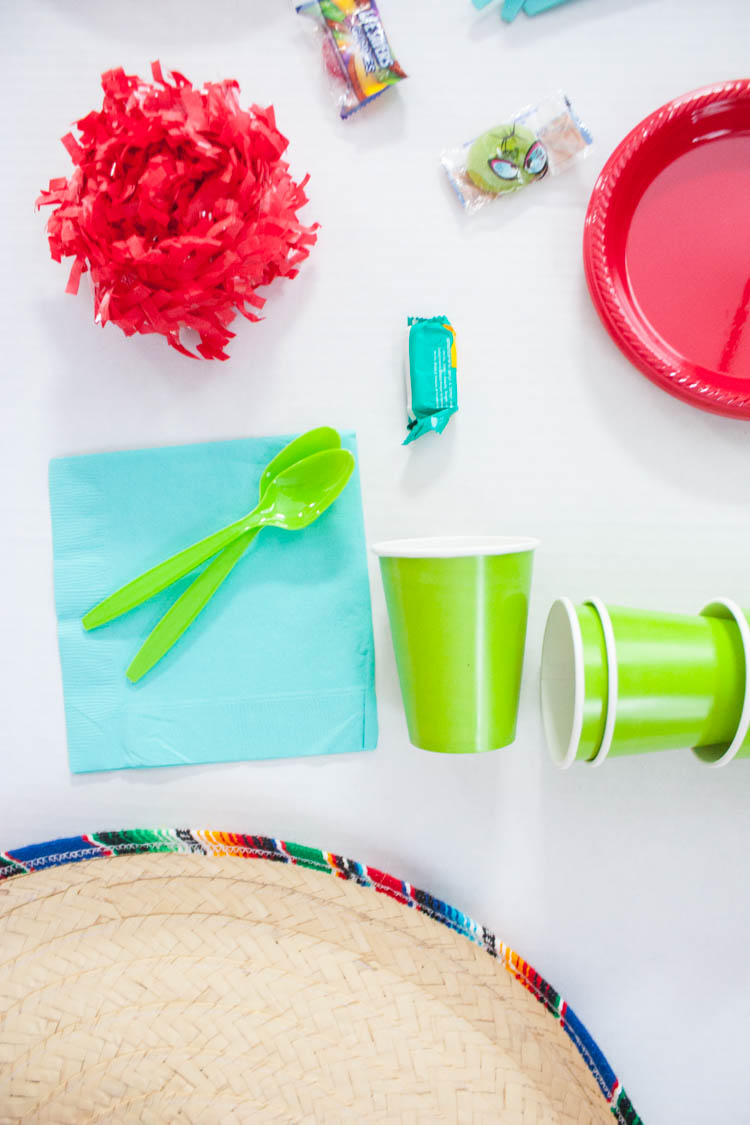
Since not every house has a plain wall for hanging decorations (and my mom’s beautifully decorated French Country home definitely does not), I used an oversized poster board up behind the table so I could put up these darling letter balloons and fiesta flag banner. We hung fringed crepe paper from the ceiling, and used a Mexican sarape as a tablecloth. I used the colors in the banner to choose different colored plates, napkins, cups, and plasticware. Add a couple sombreros and this inflatable cactus, and the table became it’s own fiesta!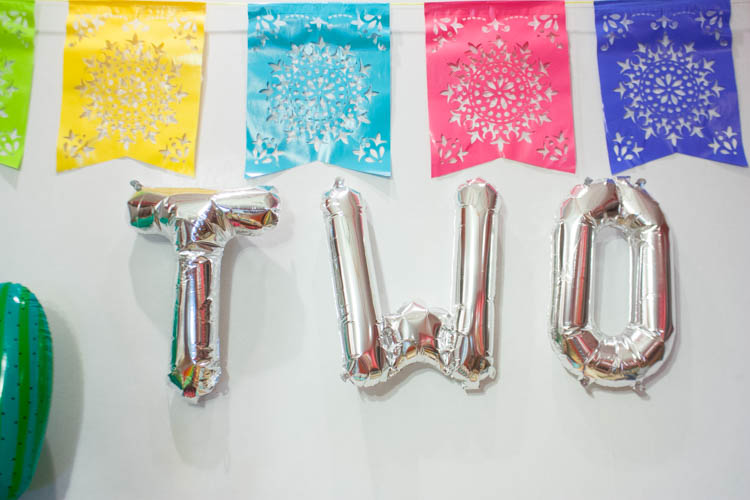
Slow Cooked Green Chile Pork for tacos
1 pork loin
1 can green chile
1 bottle green tomatillo salsa
salt
corn tortillas
chopped cilantro
chopped onion
queso fresco
Put the pork into the slow cooker, pour the green chile and salsa over the top. Cook on low for 6 hours for high for 3-4 until the pork falls apart easily. Salt to taste. Heat tortillas in a pan, add a hearty scoop of pork, then top with cilantro, onion, and quest fresco.
