I love February. Both because it’s my birth month, and because I love Valentine’s Day! I had a great friend tell me a couple years ago that she didn’t really care for Valentine’s Day because her husband wasn’t into celebrating, and I thought she should just celebrate with me together as friends instead then. That sentiment seems to have become widely supported as Galentine’s Day parties are popping up all over social media. I was excited to have an excuse to get some girlfriends together to celebrate our friendship with a brunch and craft party. I had a ton of fun dreaming up the party, then shopping for supplies and creating a menu and craft workshop idea. Having just met and spent some time with the Minted team at Alt Summit a couple weeks ago, I was excited to partner with them for this celebration. I jumped onto their site to get ideas, and ended up finding every fun detail I needed to pull this party together, starting with their new digital invitations (still in beta and free until the 29th). I didn’t have time to order and send a paper invite, plus I really like the rsvp system of online, so they were perfect.
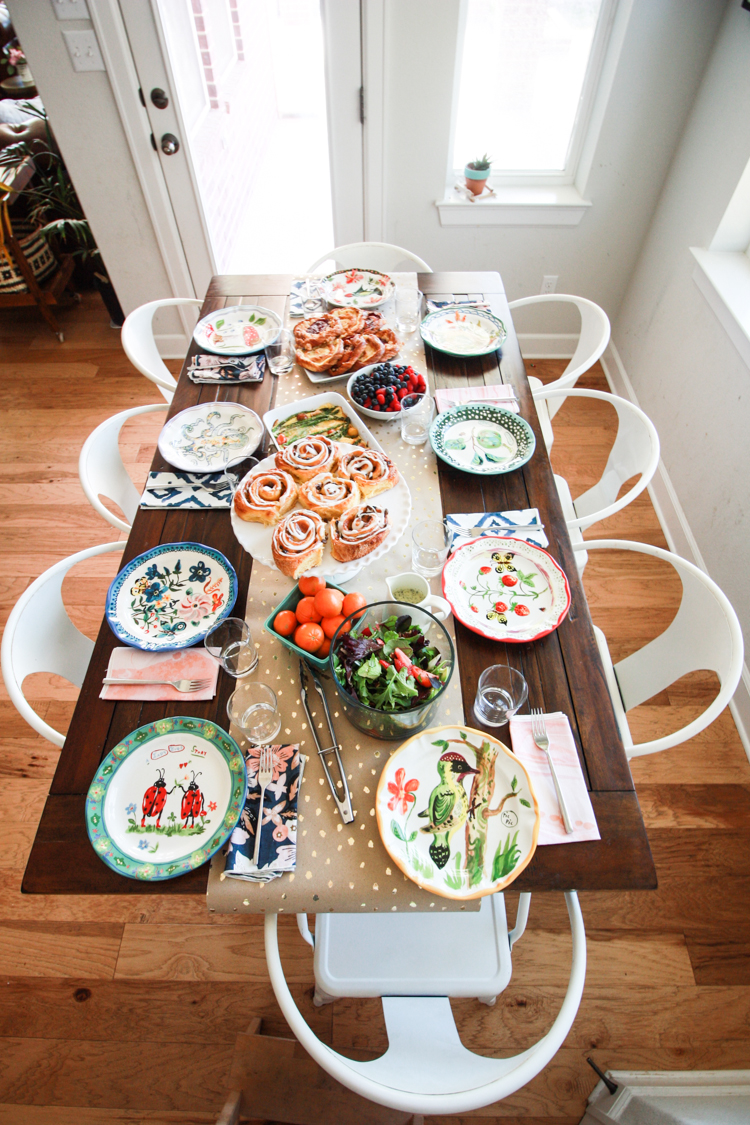
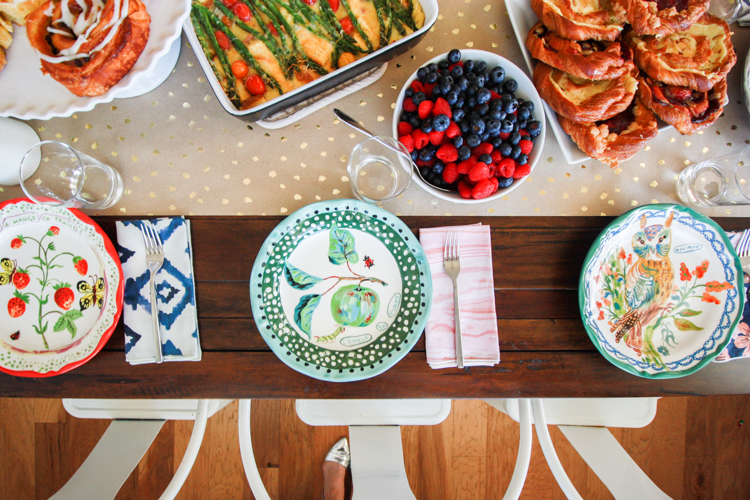
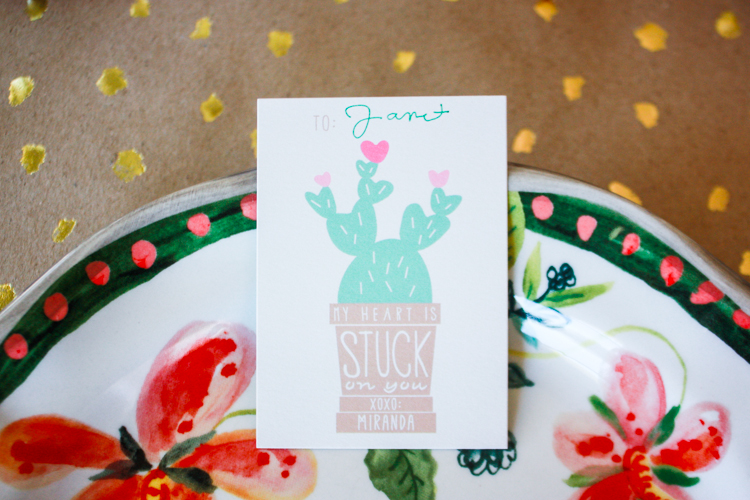
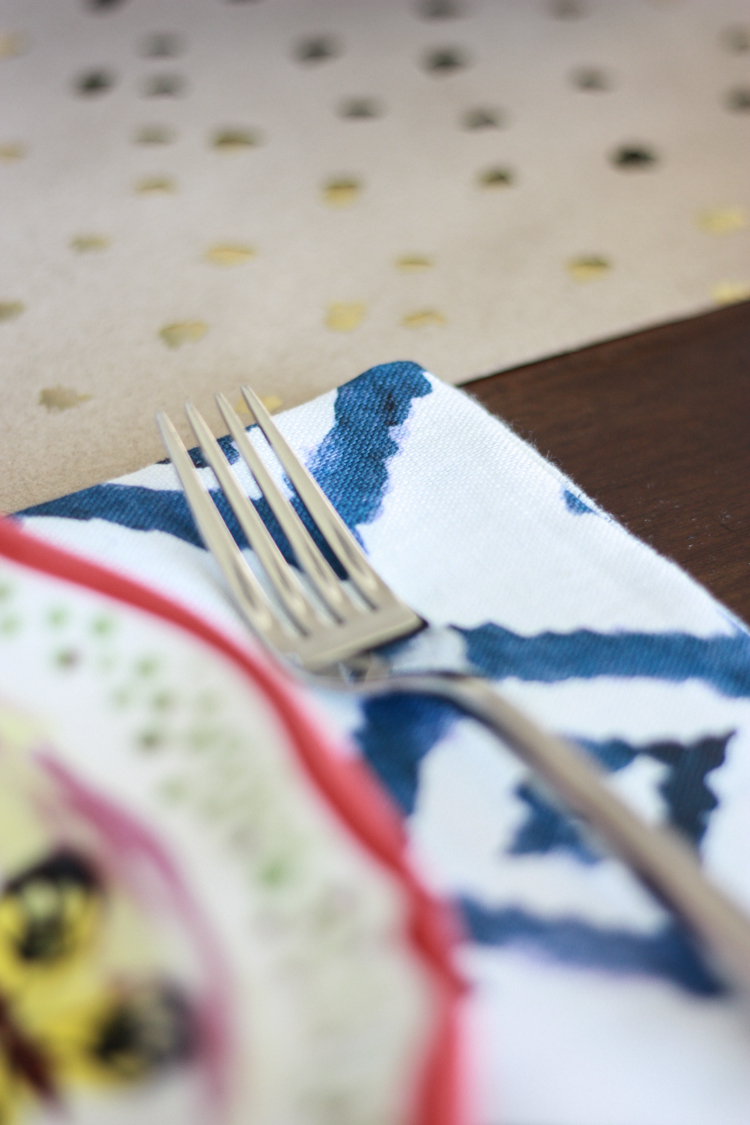
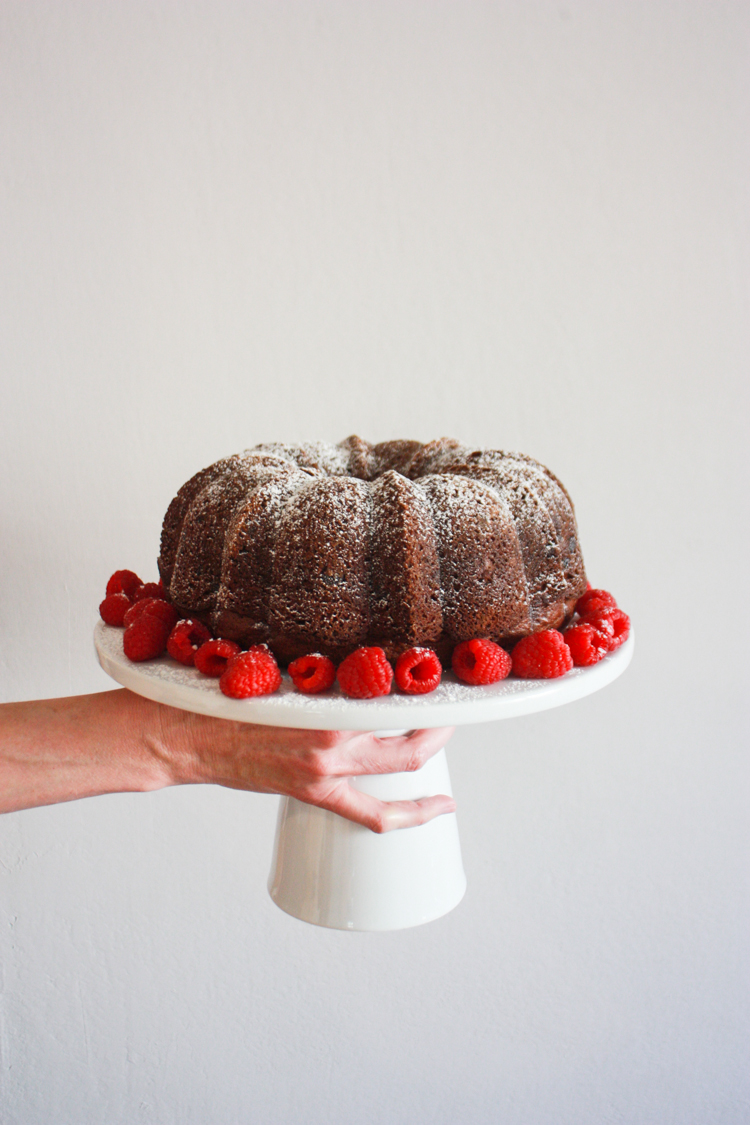
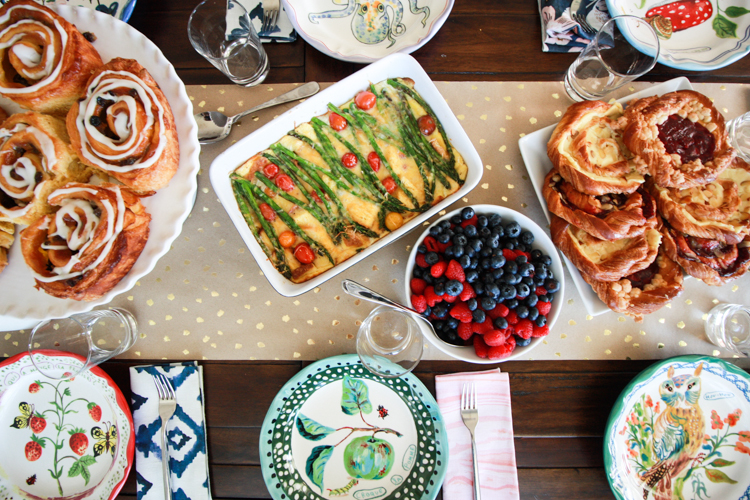
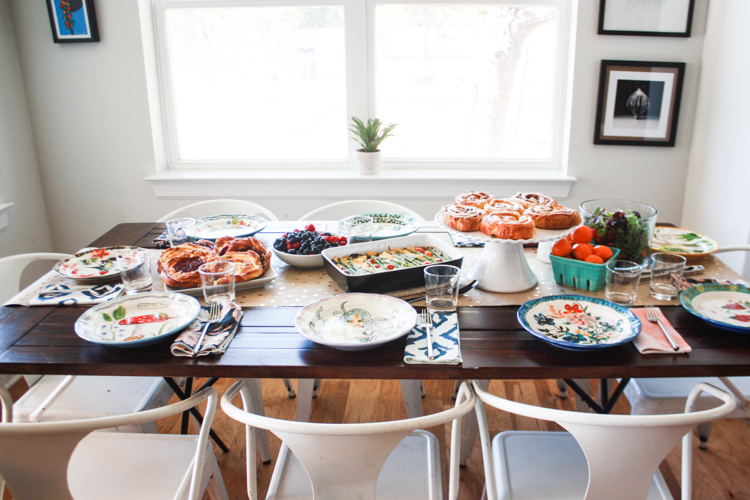
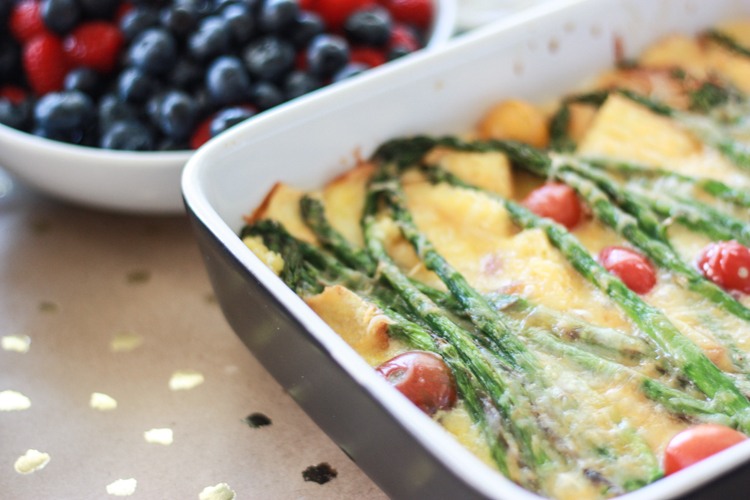
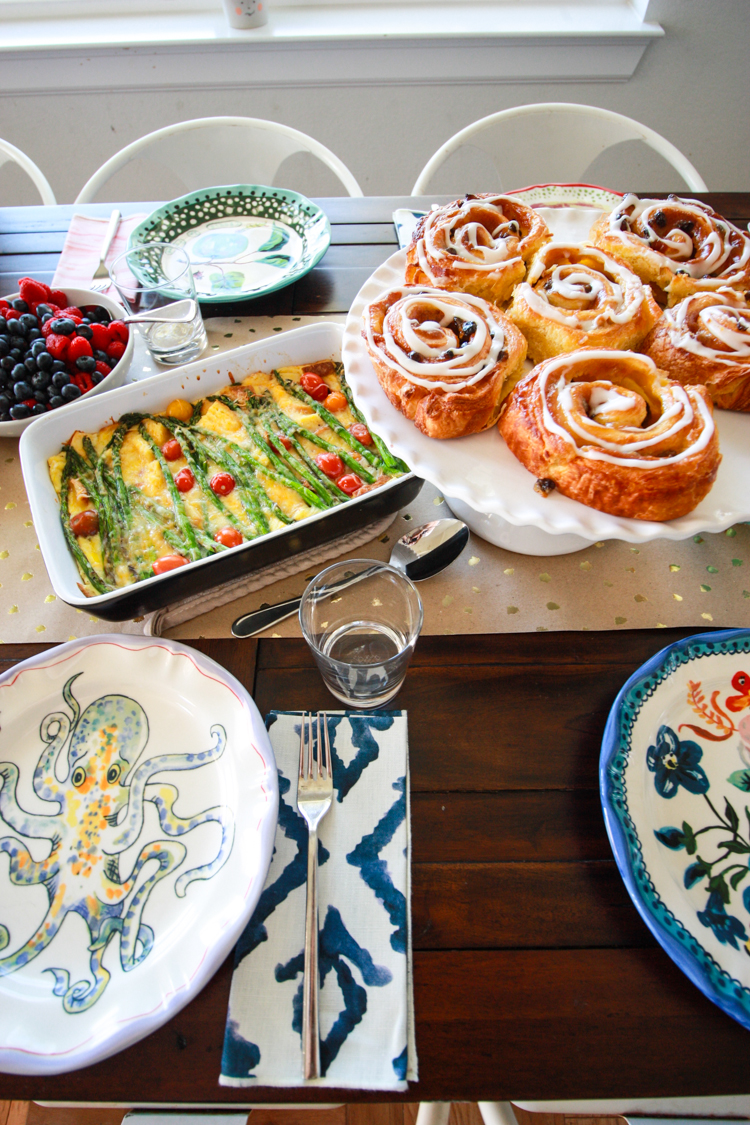
Dave took the kids out of the house about two hours before the party started so I could set up. I loved getting the table all set, food layed out, and everything prepared. That alone time of itself was dreamy! I wanted to keep the menu simple for myself, but still delicious. I bought cinnamon rolls and danishes at Costco, added a bowl of berries and one of cuties, whipped up an overnight asparagus strata to bake in the morning, and served my favorite strawberry poppyseed salad. I set out some San Pellegrino to drink, and called it good. It was so easy to dress up the table with this foil pressed kraft paper runner. It instantly added glam and sparkle to the settings, so I didn’t need to think about a table cloth or place mats. Instead, I just added my favorite collected watercolor plates from Anthropologie, some mis-matched cloth napkins, and simple forks and glasses.These cactus designed classroom valentines made perfect name cards for the table, and a fun introduction to the cactus theme of the party. It was super easy to customize them for ordering, and the backs are all green with cactus spines. So cute!Aren’t the napkins gorgeous? They’re part of the new Minted home line, and I got a few at Alt Summit. The patterns are so beautiful, and the linen washes into such a squishy soft hand, I just love them. My favorites are the watercolor looking designs like this peach marble and this indigo ikat, but I also fell hard for the modern floral. We’re actually regular cloth-napkin users at our house and I’ve amassed quite a collection over the years. These instantly became my favorites, though, and I’m already eyeing these cactus ones, because obviously I’m obsessed. Since my birthday is so soon (it’s tomorrow!) I added that we’d have a “side of birthday cake” at the party, and my sweet friend offered to bring one for me! It was stunning, and so delicious. She said the recipe includes sour cream and pudding mix, in addition chocolate chips…so of course it was amazing.
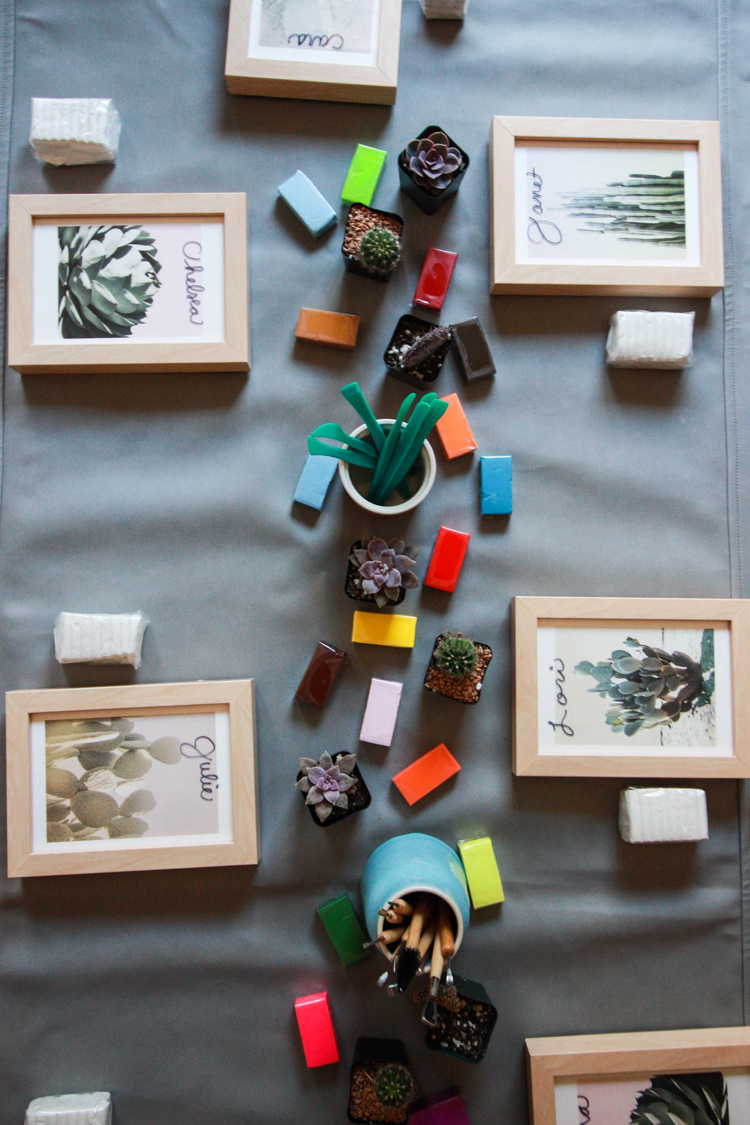
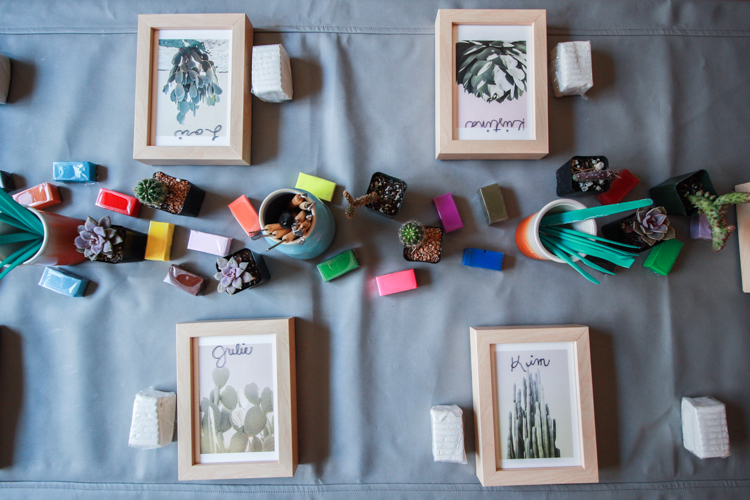
After brunching, we headed into the other room where I had set up the craft table. My first inspiration for the party theme had been this cactus print, where I think the paddle looks like a heart, and the colors feel really soft and Valentine-y. I decided to order a bunch of different cactus and succulent prints to use as place settings, and also to send home as party favors with each guest. The art prints come framed and ready to hang, and are such gorgeous quality. I chose 5 different cactus designs, mostly from this same photographer.
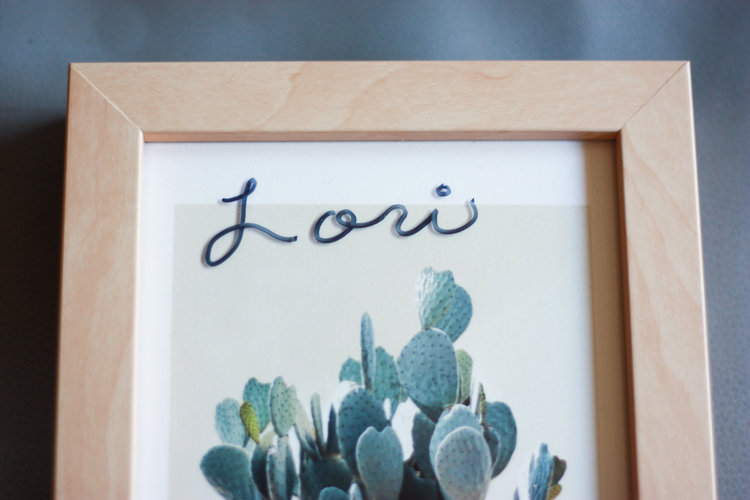
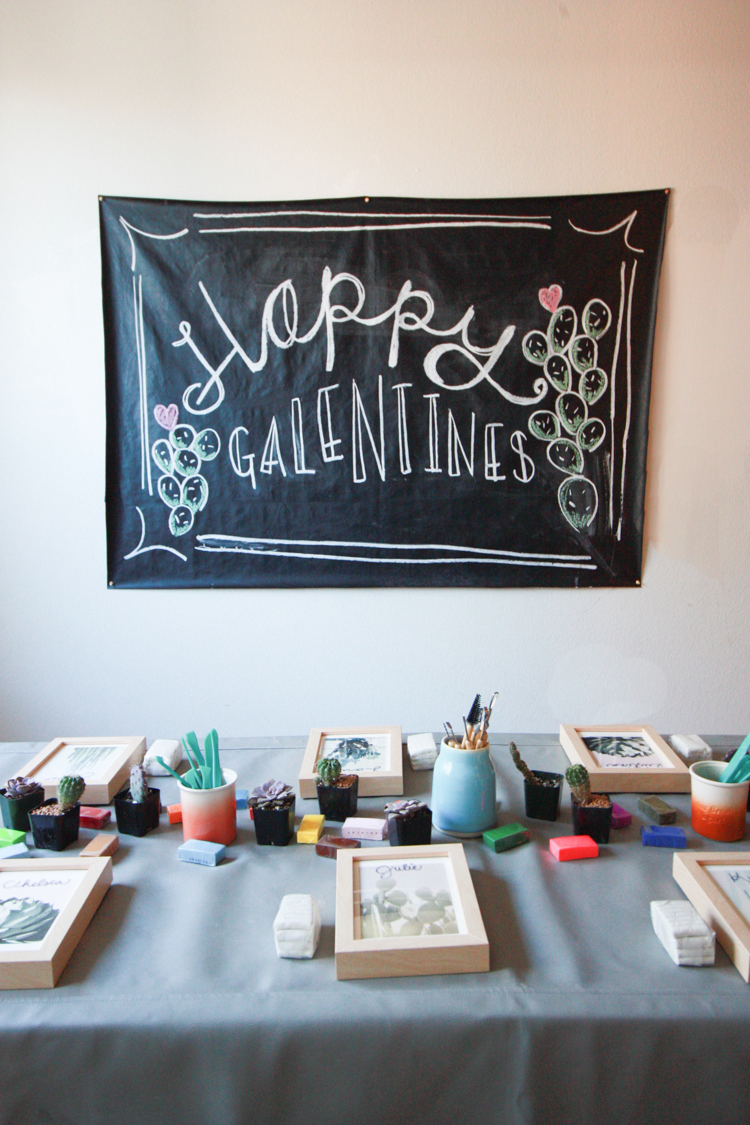
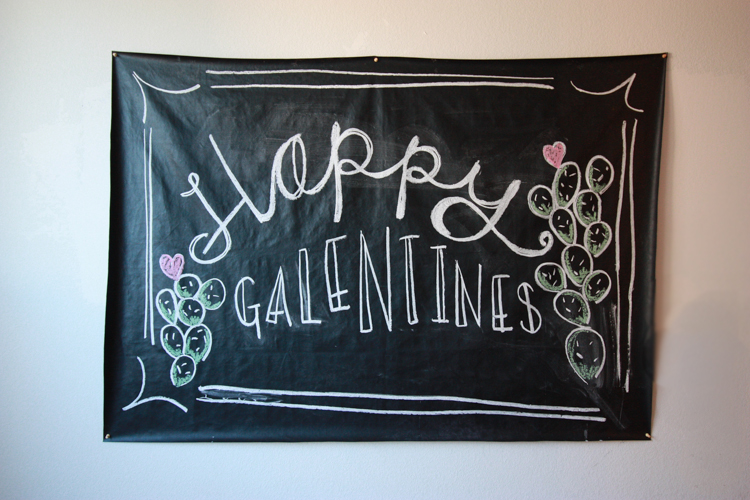
I wrote each guest’s name with Sharpie on the glass, which stood out against the prints. Then I had alcohol swabs on hand for them to simply wipe the name off before they took the print home. For a big welcome sign, I pinned my big piece of chalkboard vinyl to the wall, then drew on a design. It would have worked well with black paper, too, but I had this on hand. I also remembered that the very best way to get a great, clean chalk drawing is to wet the chalk completely before starting. The lines go on faint, but as the chalk dries it ends up bold and gorgeous. My cactus drawings echoed the cactus from the brunch place cards.
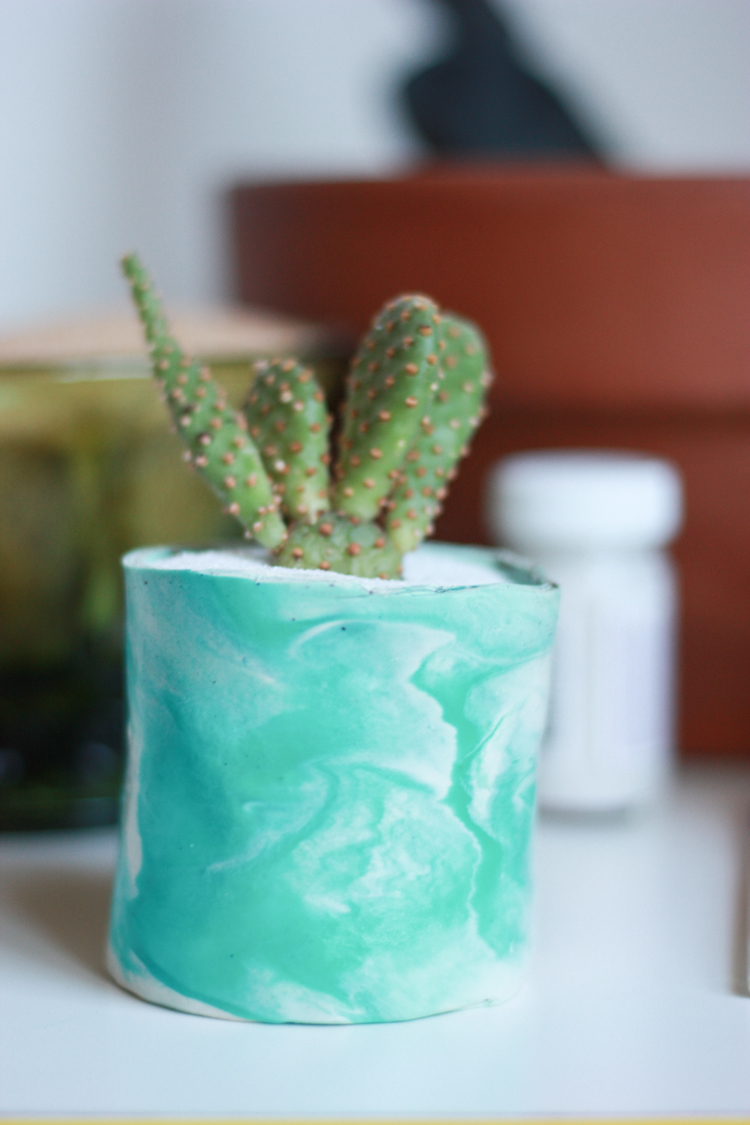
Inspired by the cactus theme, my total interest in and love of all things green, and the February project from The Crafter’s Box, which is marbled hanging planters, I decided on making marbled clay planter pots for the craft portion of the party.
I used this clay planter tutorial to get an idea of how to begin, then experimented with marbling the clay. (Turns out there is this amazing tutorial that I didn’t see until just now that would have been very helpful! haha.)
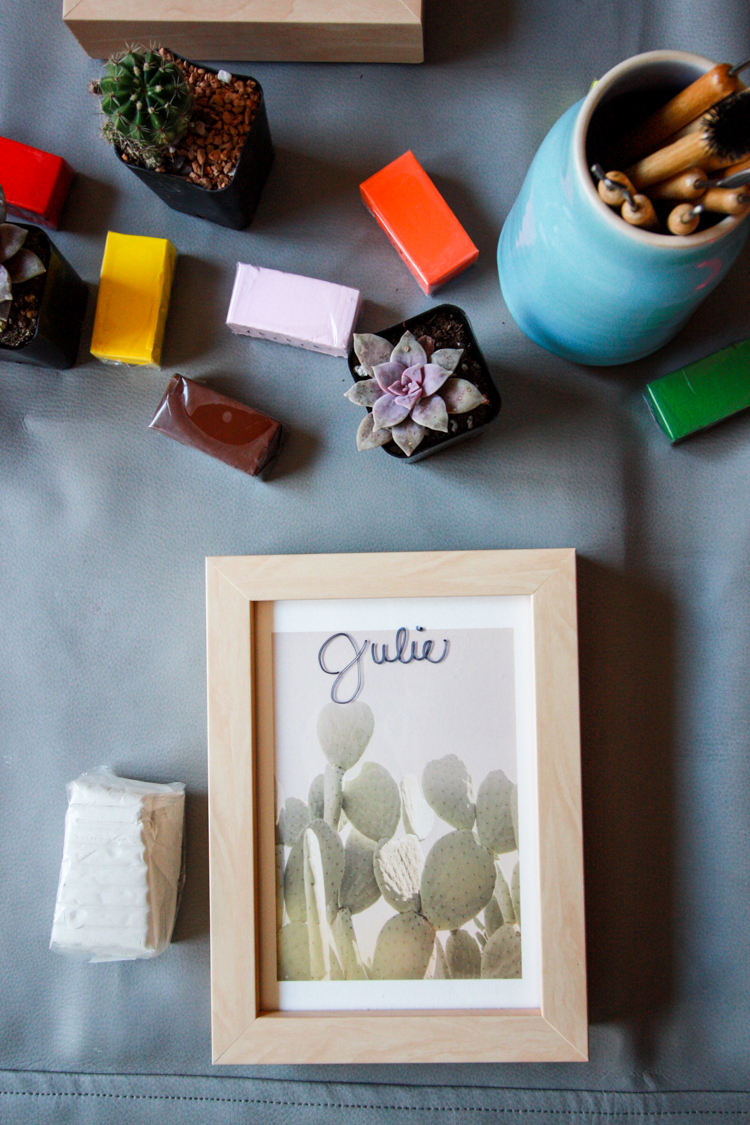
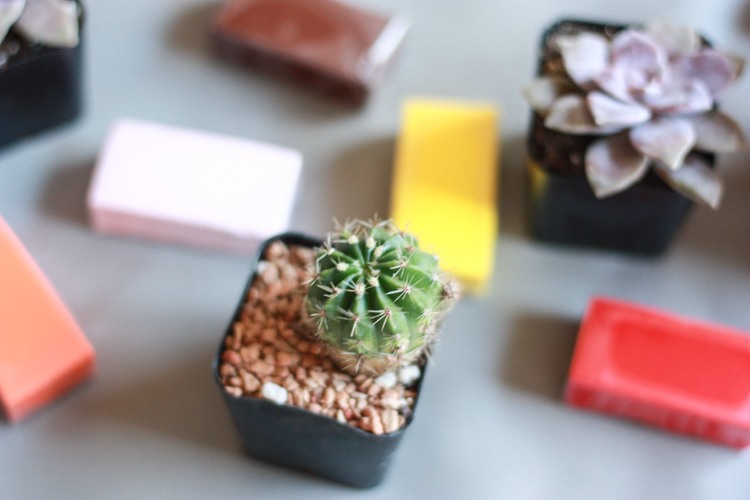
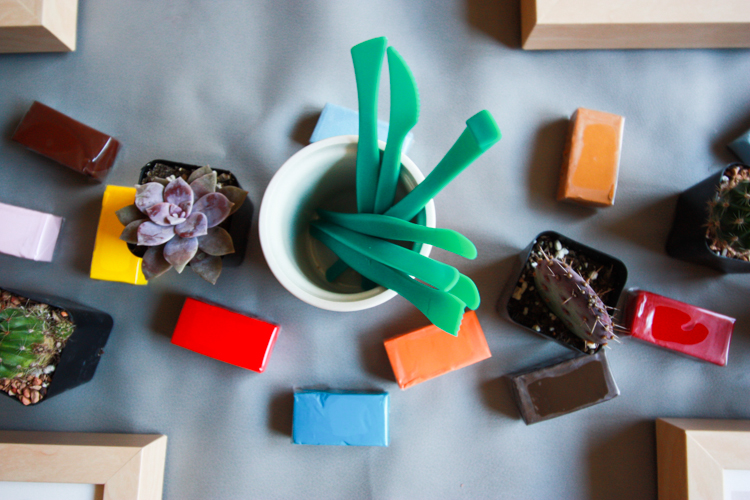
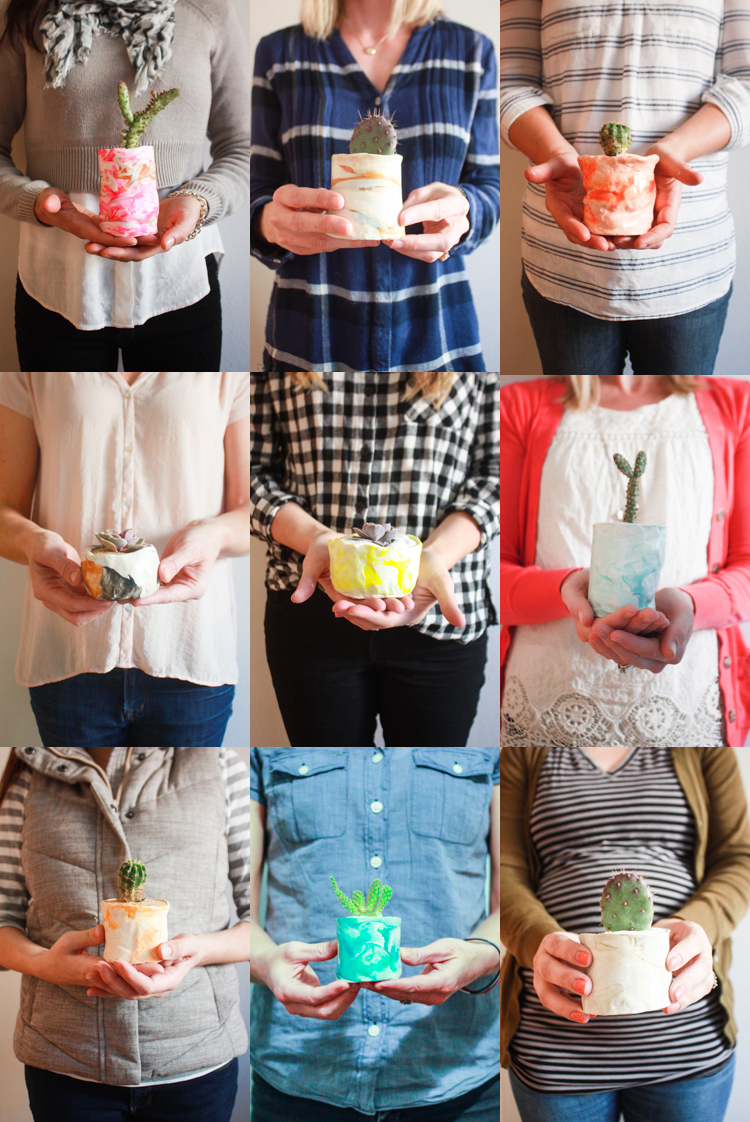
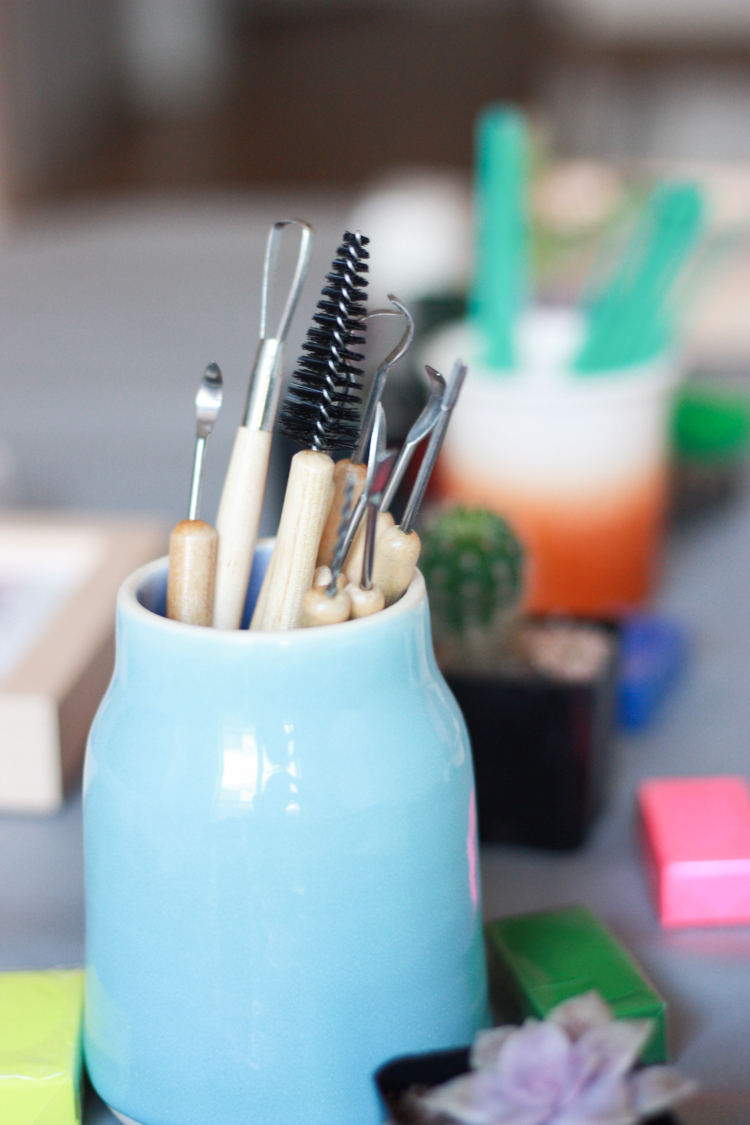
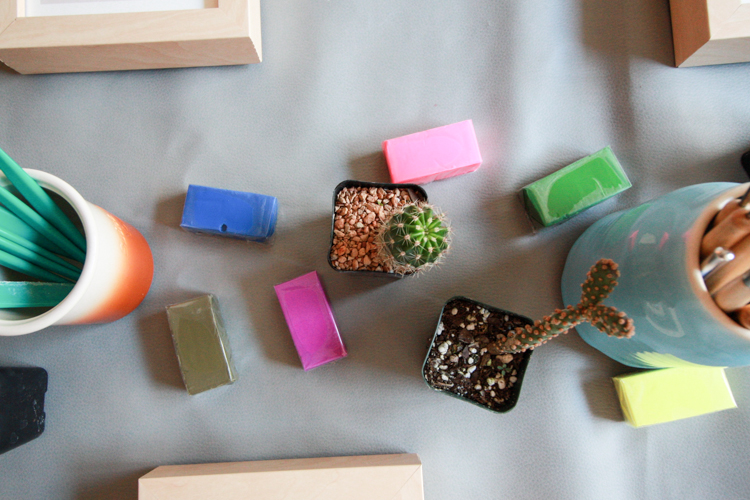
I set out a chunk of white clay for each person (about 1/3 of the bar), and then laid table full of the color options from this clay set to get us started. I also grabbed a couple sets of basic clay tools and some wooden tools as well. The colors are super vibrant, even after being marbled in with the white base, and I loved the different variations people chose. Some mixed in only one color, some two or three.
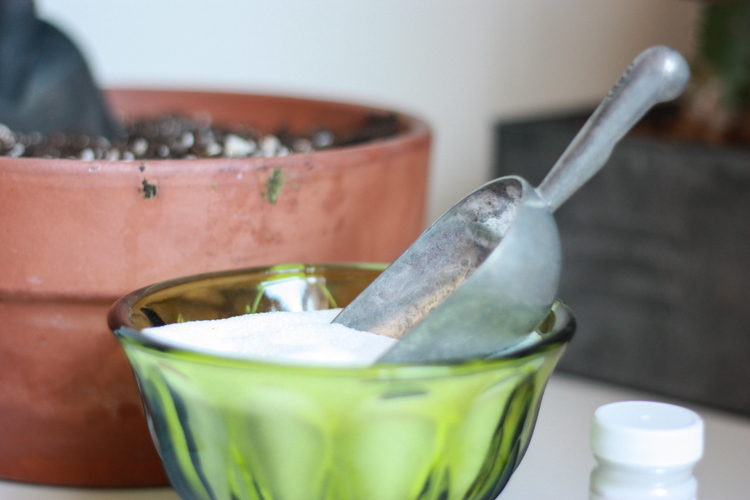
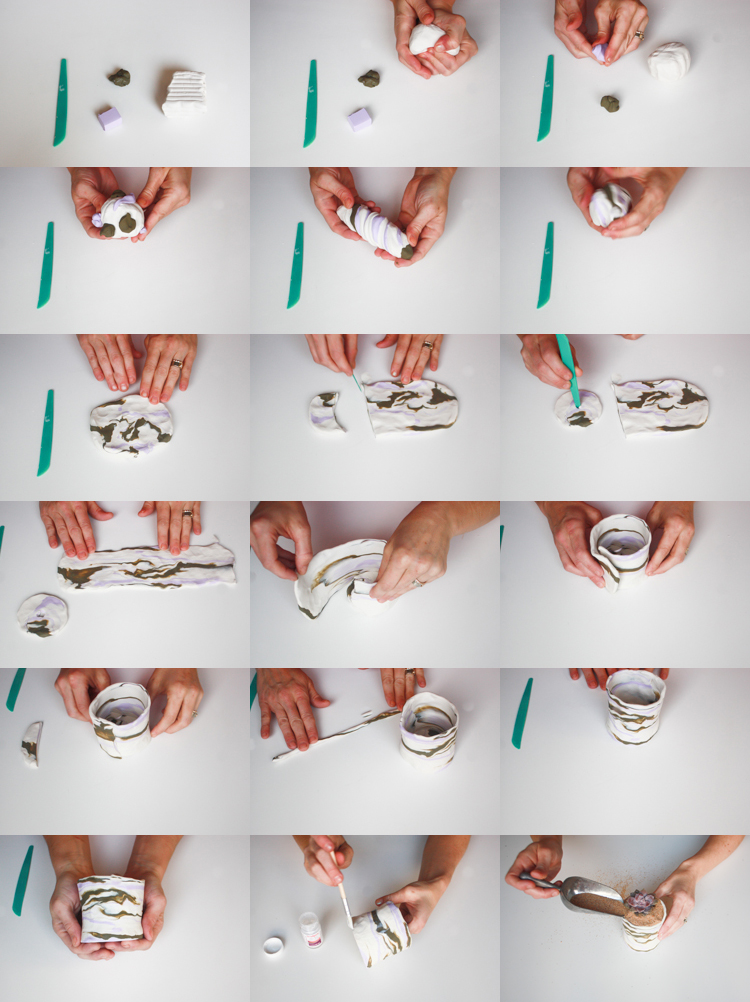
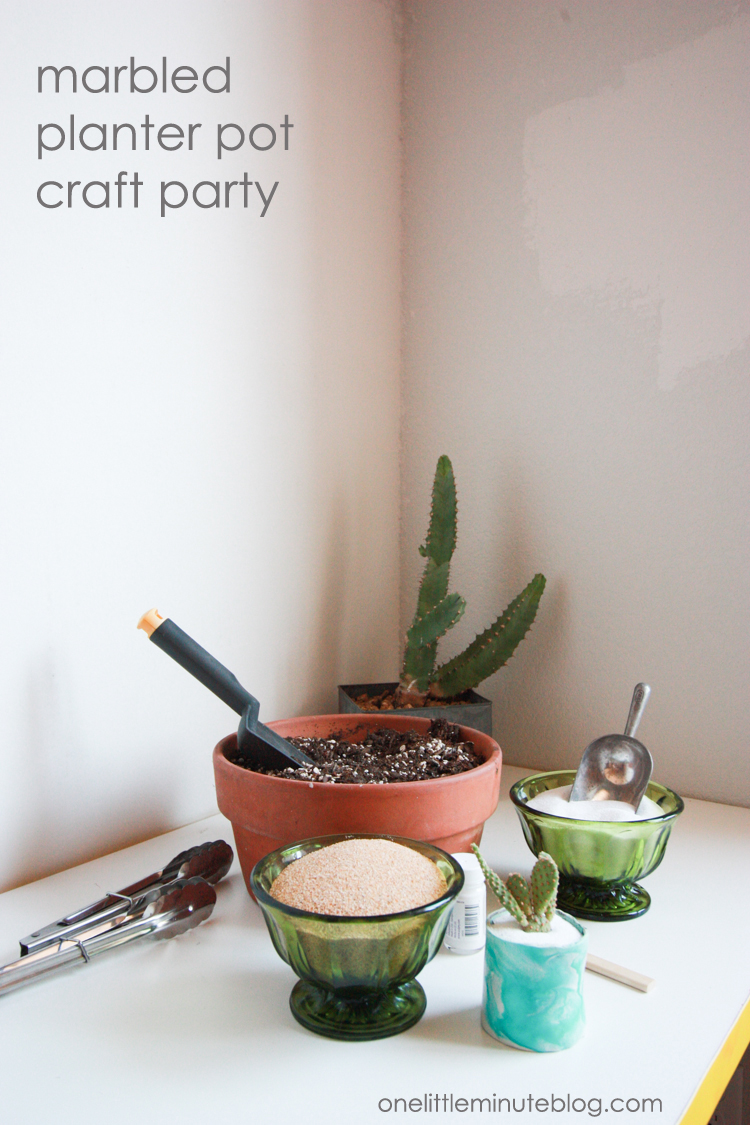
The mini cactus and succulents came from my favorite local cactus nursery, East Austin Succulents. They have the hugest selection and a really knowledgeable staff. Every time I go in I come home with several more things that I planned on…sort of like Target or Costco. It’s a lovely spot, and so fun to share some of their little plant babies with my friends. After everyone had made their pots, we baked them for 15 minutes while we ate birthday cake, then got planting. I had created a little planting station with soil (cactus soil + pearlite for drainage), and a couple different finishing sands for the top of the plants. Cactus planters look so much more finished when they are topped off with sand or gravel.Here’s a simple tutorial for how to make a marbled planter pot:
- Soften the clay by managing it in your hands
- Soften even the smaller, colored pieces of clay so they mold together well
- Add bits of the colored clay to the outside of the white clay ball
- Twist the clay so the colors start to marble together, then form it into a ball
- Flatten the clay into a pancake and use your fingers to add additional marbling where you’d like it
- Cut off 1/4 the clay and form it into a circle for the base of the pot.
- Add a hole for drainage
- Form the rest of the clay into a long rectangle long enough to surround the base
- Wrap the rectangle around the base as the planter pot walls, and cut off the excess
- Roll a worm from the little leftover strip to put around the inside base where the walls meet the bottom, pressing in place to create a good seal
- Bake at 275 for 15 minutes
- Let cool, then brush with high gloss glaze
- Plant with a baby cactus or succulent, then finish with finishing sand
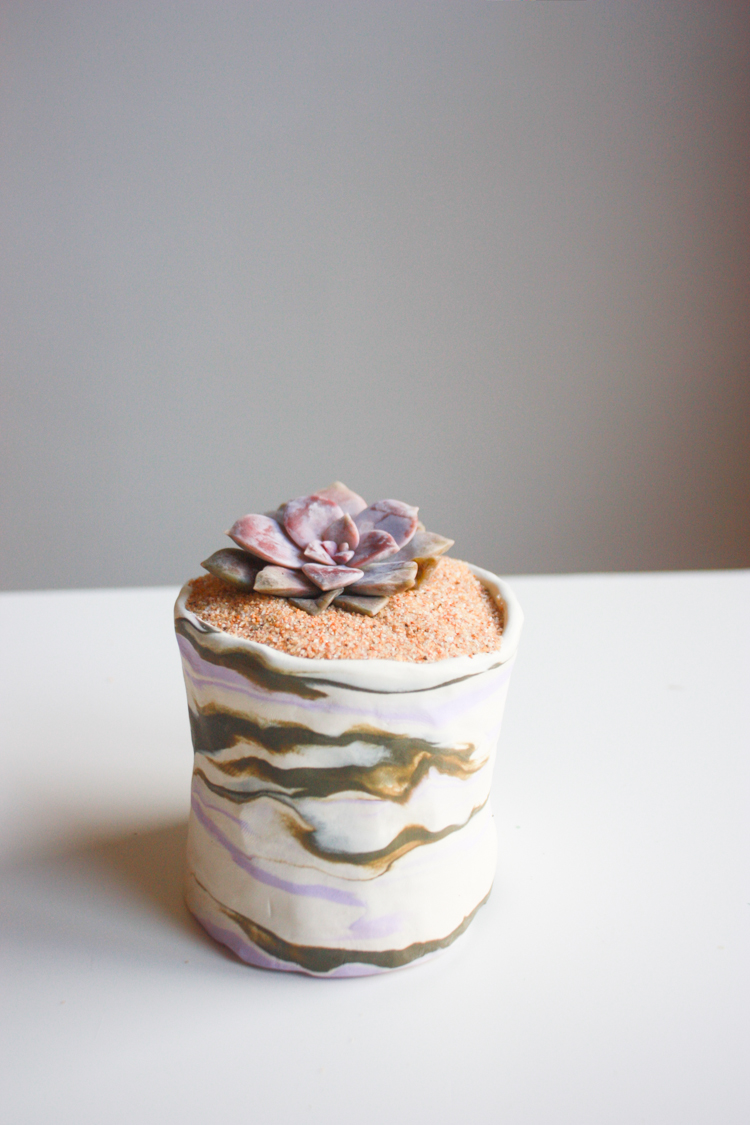
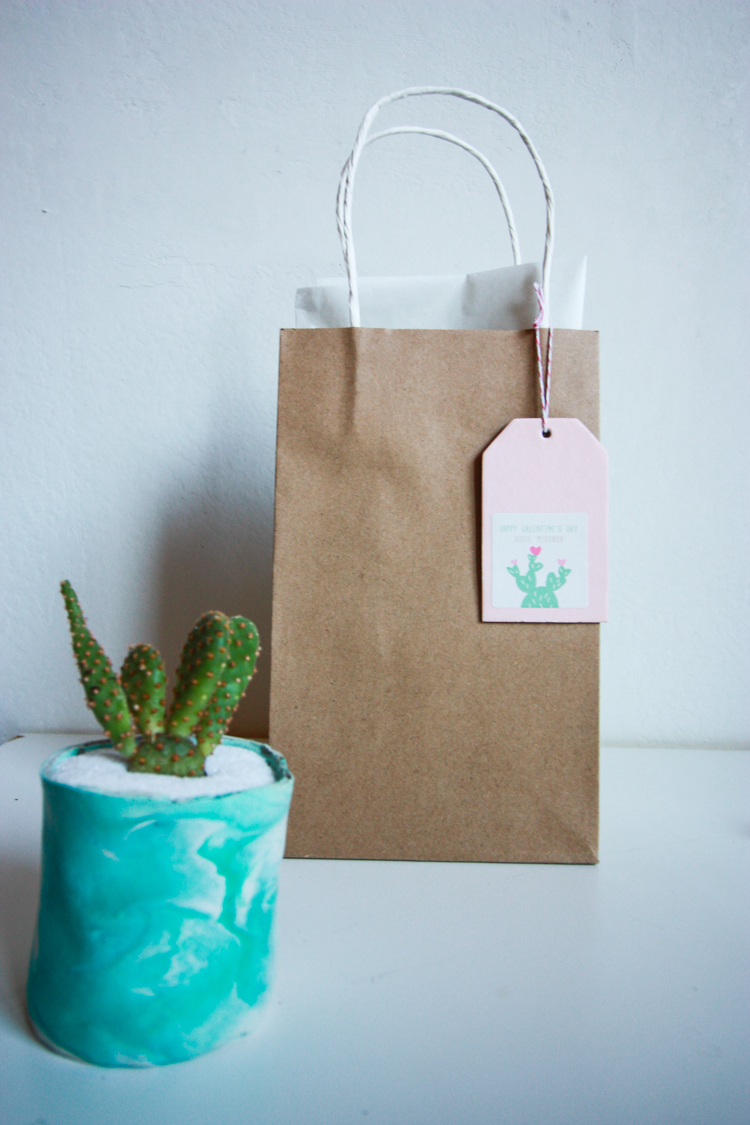
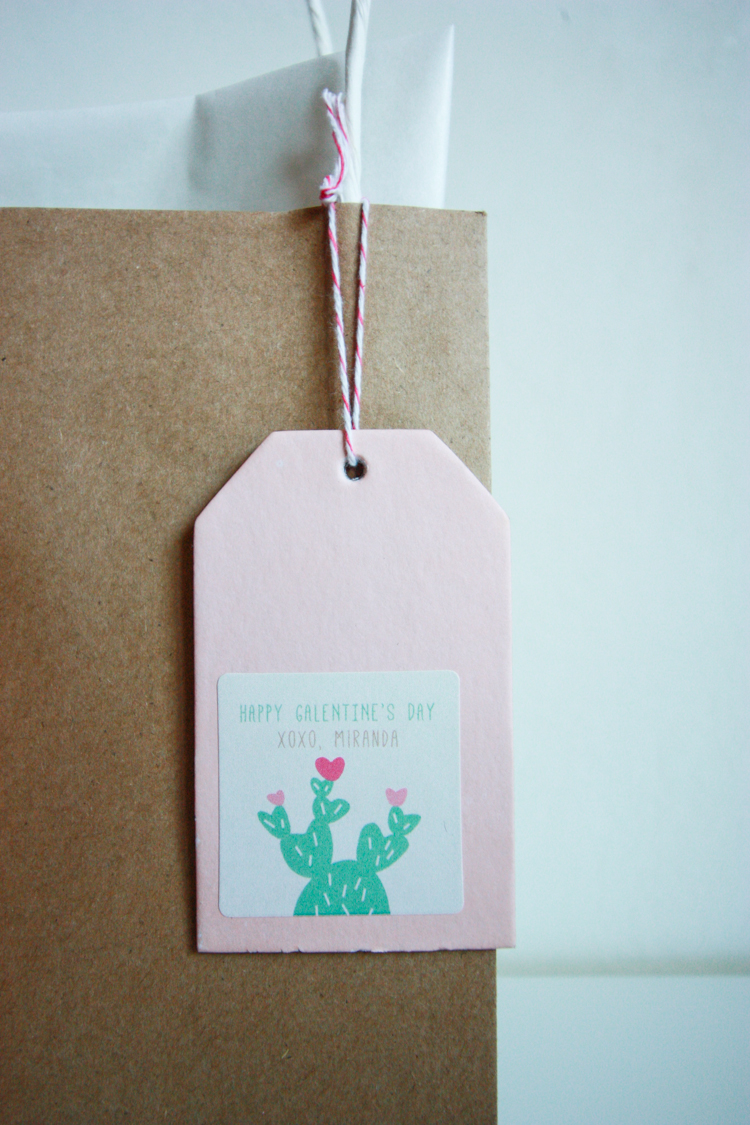
They turn out gorgeous, interesting, and each totally unique to the person who made it!We used tongs for the prickly varieties, and saved our finger tips. I prepared some small gift bags with tissue paper to keep the planters and plants upright on their journeys home, and added these cute hanging tags (found in the dollar spot at Target!)
Of course, I added a matching cactus sticker to the Valentine’s card from brunch to tie the brunch and craft party together. I even have a few leftover I plan to use to deliver some goodies to other friends who couldn’t make the party. They’re really too cute.
It was an amazing morning eating, crafting, and celebrating. I loved every stage of the brunch and craft party, all the way from planning and shopping through to sending friends home with a handmade planter, gorgeous art print gift, and some extra love heading into Valentine’s Day week.