Though I’ve loved the idea of wallpaper for a long time, this was my first experience using it. I knew that before I put it up, I would have to get rid of the ugly, heavily textured Texas walls. You can add wallpaper directly over texture, but all of the texture will show through, making the finished wallpaper as bumpy and uneven as the wall beneath. This post will share how to smooth textured walls in preparation for wallpaper!
Until I started working on this project to wallpaper my guest bathroom, I had no idea how much I would love this little space! I had previously thought that bathrooms weren’t central or seen enough to be worthy of much investment or design consideration. At the very least they were a low priority for me, which is why when we built our house brand new, I left the bathrooms with all builder-grade basics.
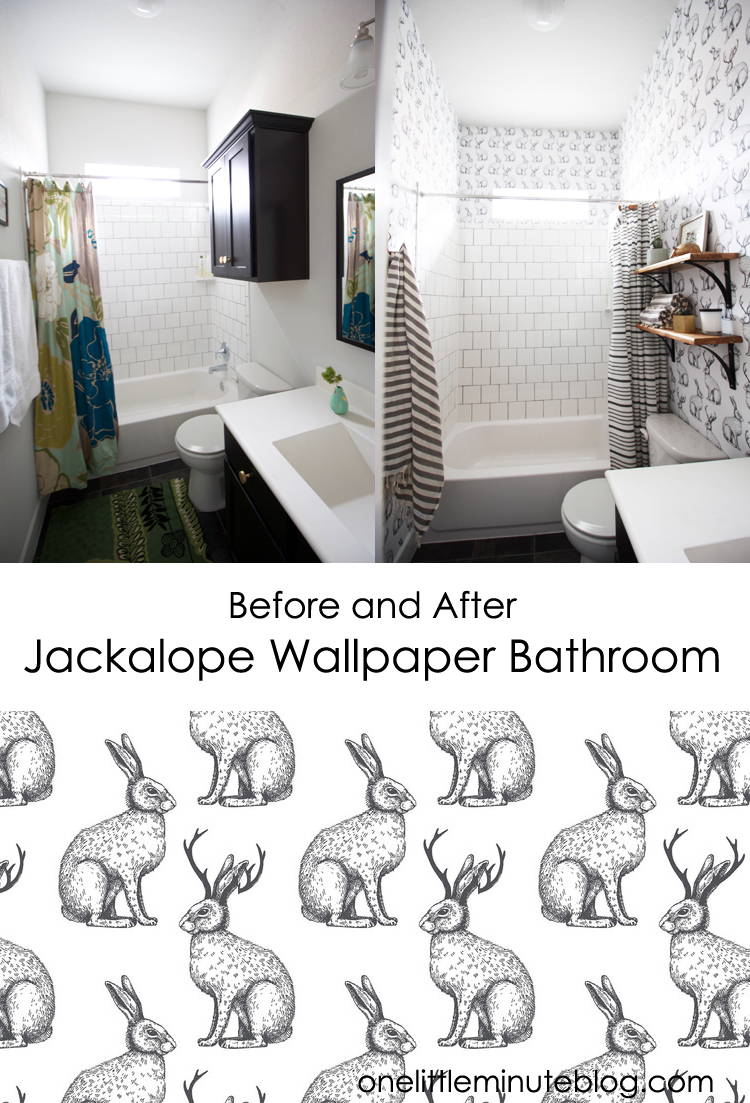
They were all basics that I liked, but pretty boring. It turns out that the small area of our guest bathroom, combined with it’s irregular use made it a perfect opportunity to create a really fun room. Rather than being boring and basic, bathrooms are a place where you can go a little crazy and get away with it! By using this amazing Legend of the Jackalope wallpaper, I instantly added personality, humor, and the modern southwestern bohemian vibe that I love so much.
Skim Coat to Smooth Textured Walls
After lots of research I determined that a simple skim coat would do the trick to smooth the walls enough to add the paper. Adding the skim coat to smooth the textured walls was super inexpensive and a very simple process. I’ve partnered with Walls Need Love to share the DIY in this post! Once you get the hang of it, you’ll want to smooth and wallpaper all the rooms in the house. I’m already scheming my next wallpaper project!
Let me show you the process that took this space from boring to brilliant.
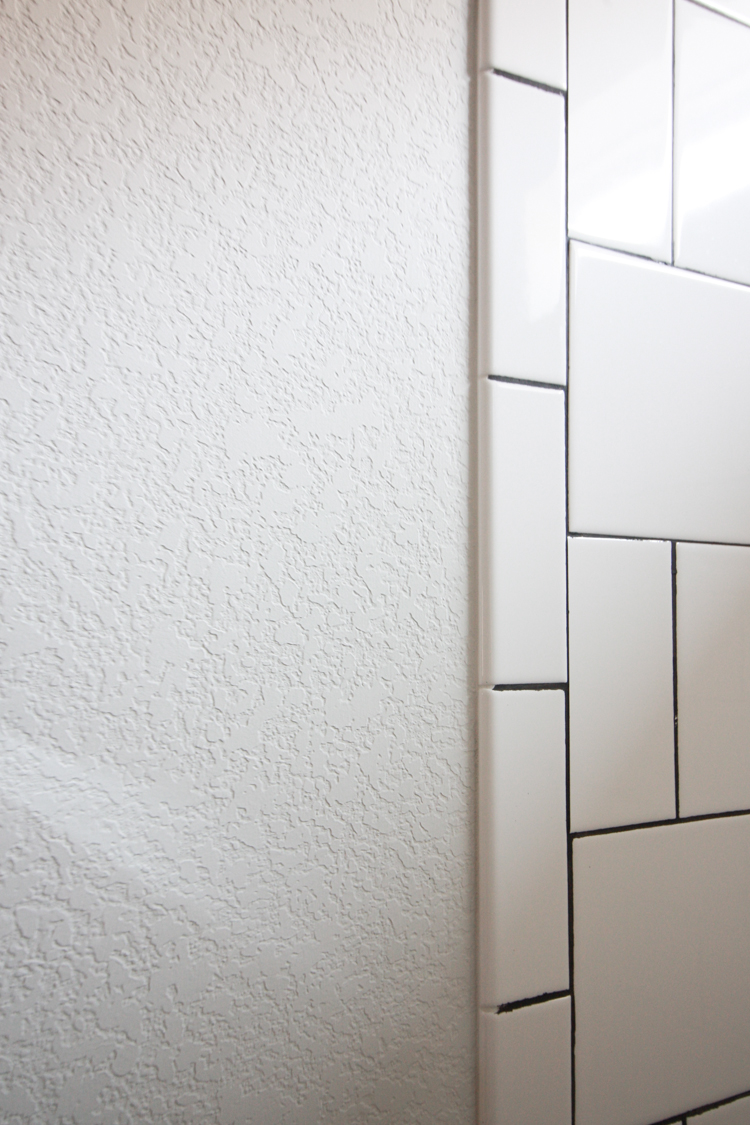
First, the sad before: This photo mostly looks sad because it wasn’t styled. It was a regular day, towels off the rack (probably in the laundry) and nothing to make the space look cool at all. I had previously stained the tile grout, which made a great improvement on the even-more-boring before. What you can see is the heavily textured wall.
I was told that the walls get this knockdown texture treatment to hide imperfections in the sheetrock seams, but I’ve lived in a lot of places with sheetrock and flat walls, so I’m not sure what is really going on. What I do know is that I don’t love it.
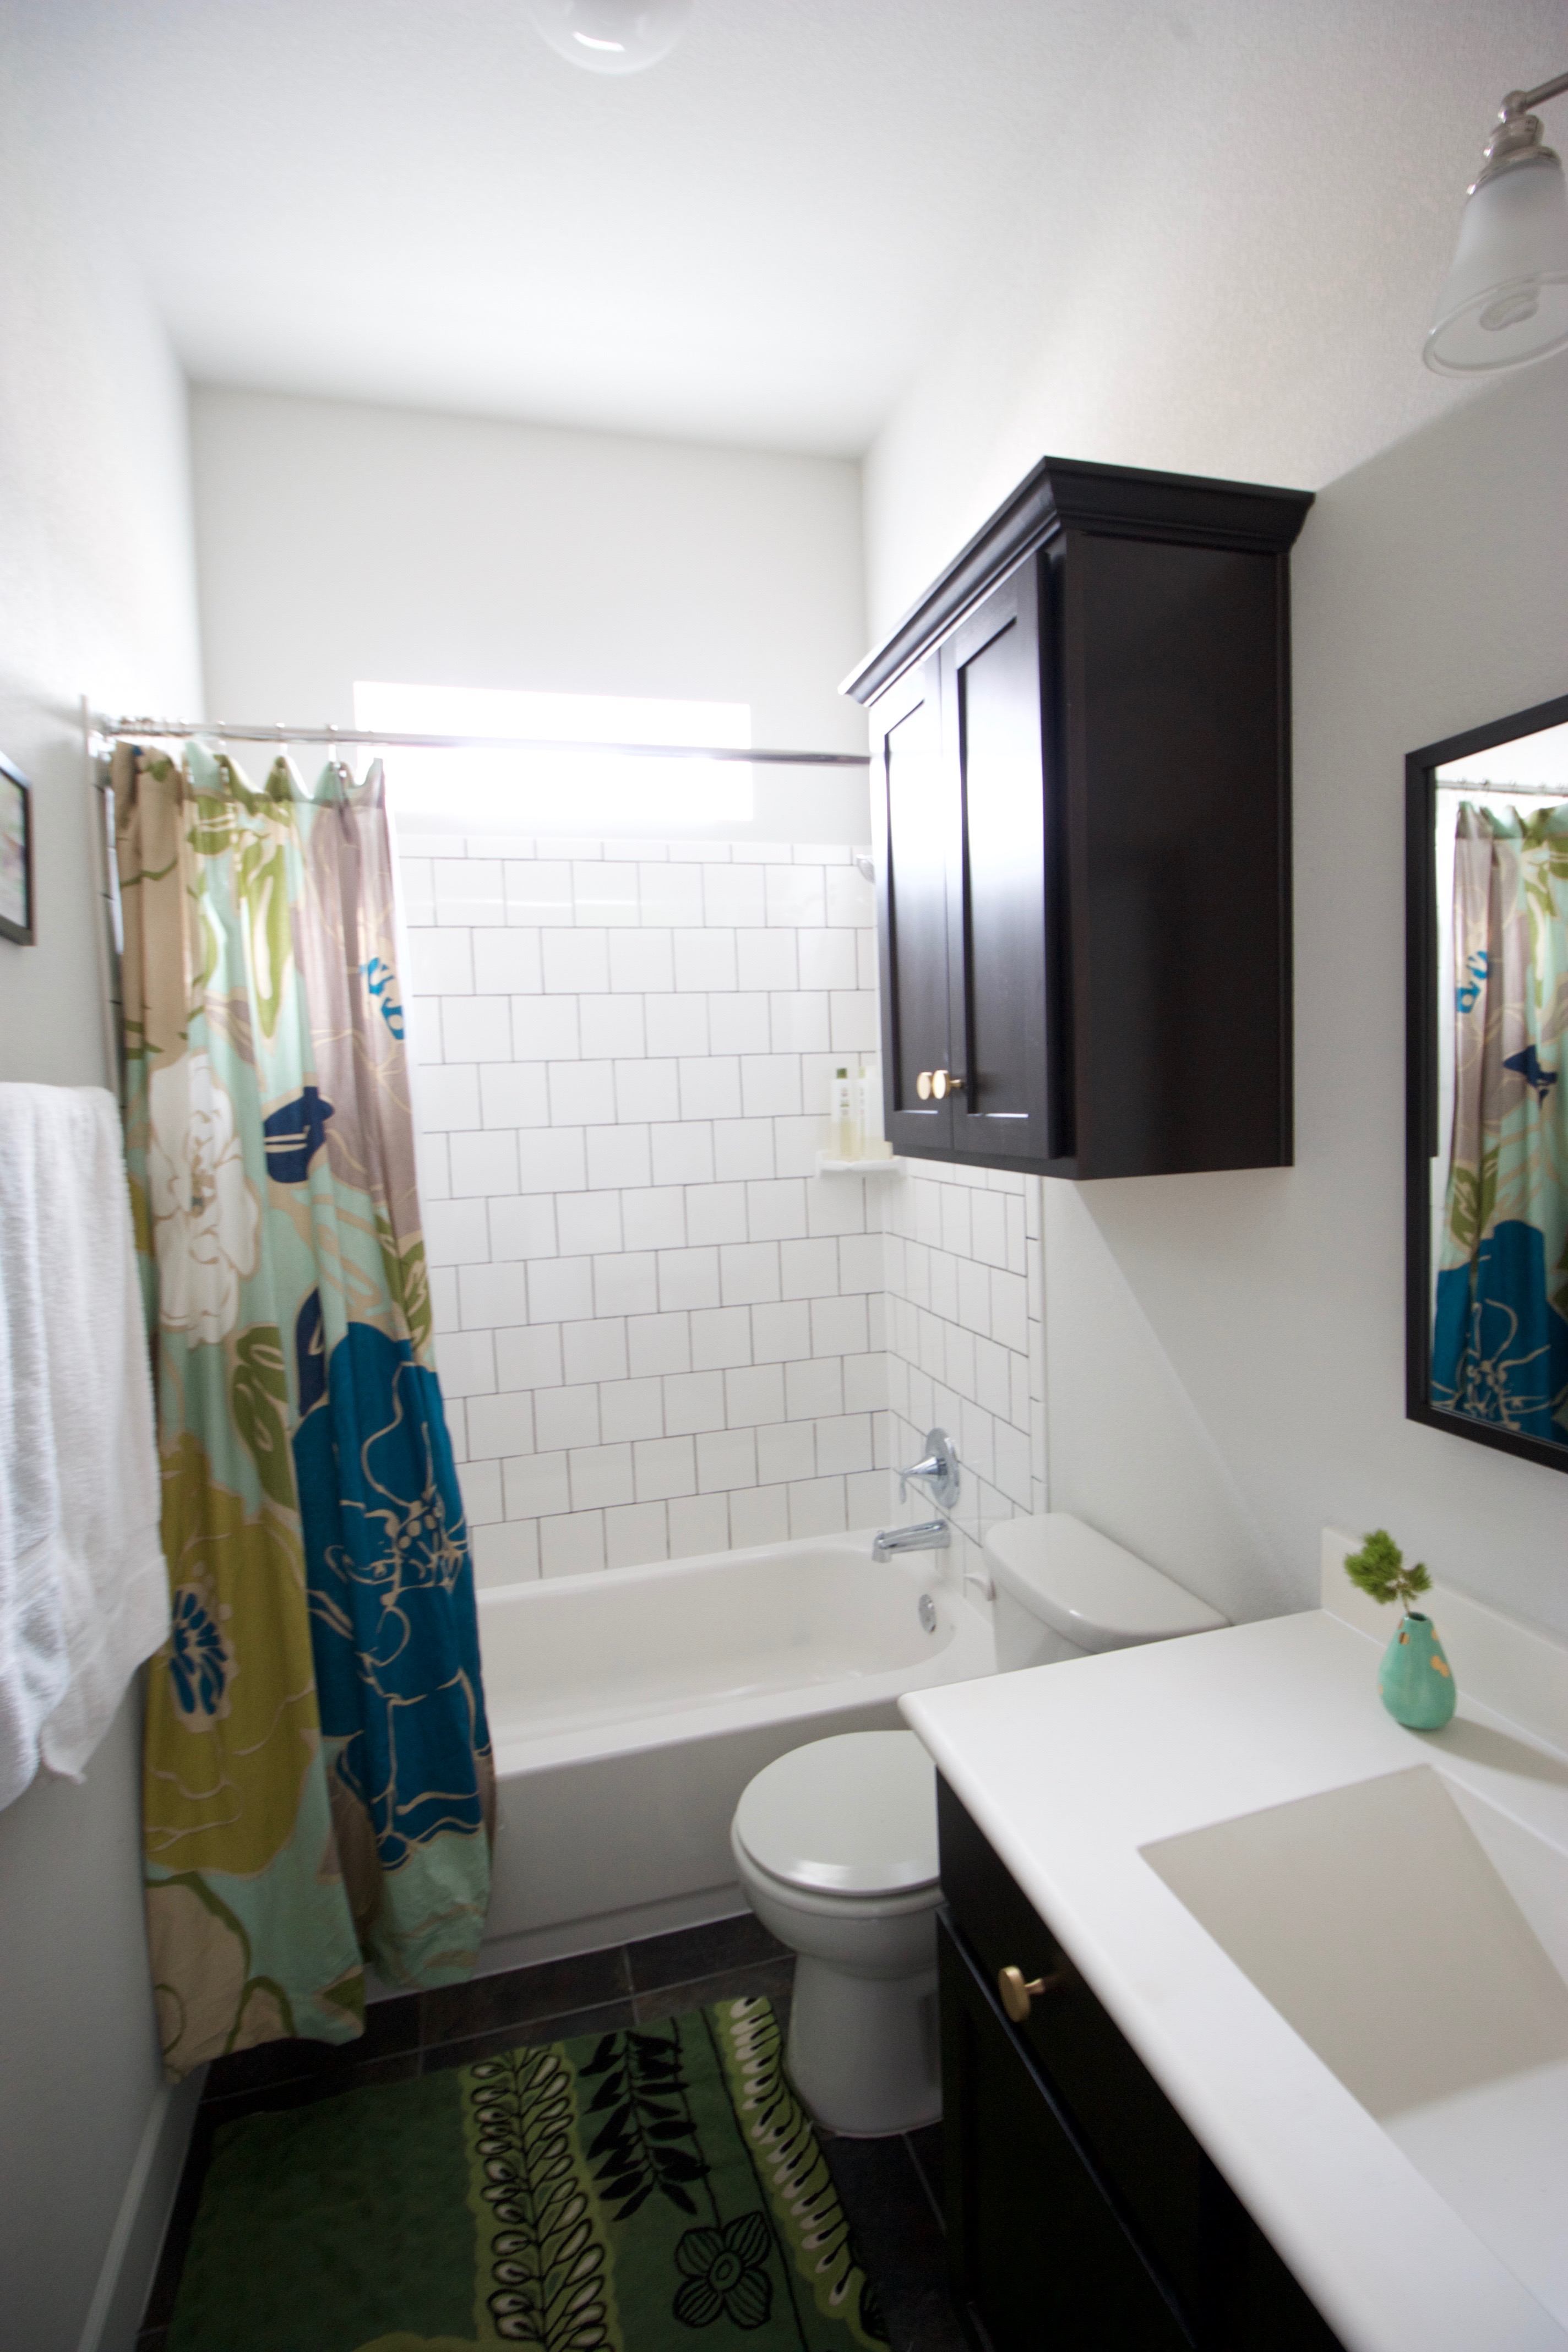 Here you can see a styled shoot of the bathroom. Even with a little effort and some cool details the space is pretty boring. Needless to say I was thrilled with the plan to bring it to life.
 The process of smoothing textured walls with skim-coating is fairly common. It refers to spreading a layer of joint compound over the walls to fill in the bumps and valleys in the texture effectively creating a smooth surface. The texture itself is made of a spray-on joint compound, and since my walls were painted with a flat paint, I had no prep work before I got started. I looked at a few tutorials before attempting on my own, and as I began I actually developed a little different method that really worked quickly and easily.
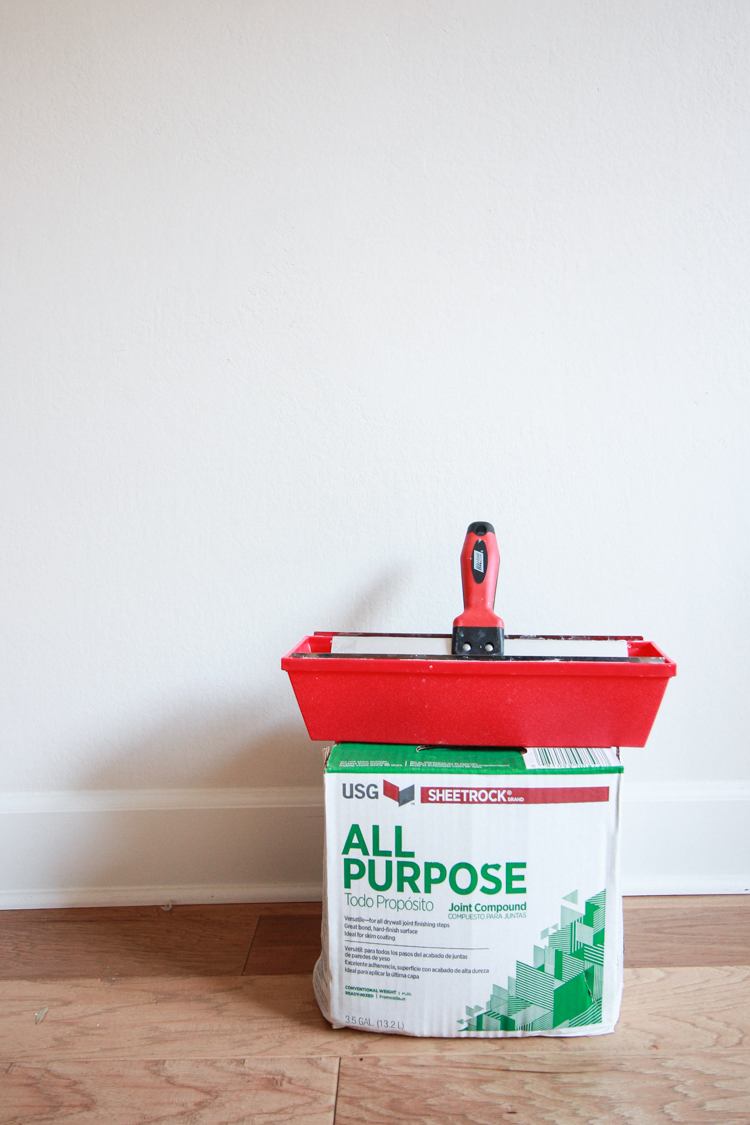
What you will need:
All-Purpose Joint Compound (I got mine at Home Depot in the box, and next time I’ll get the bucket for ease.)
10-12 inch taping knife
14 inch mud pan
smaller putty knives for details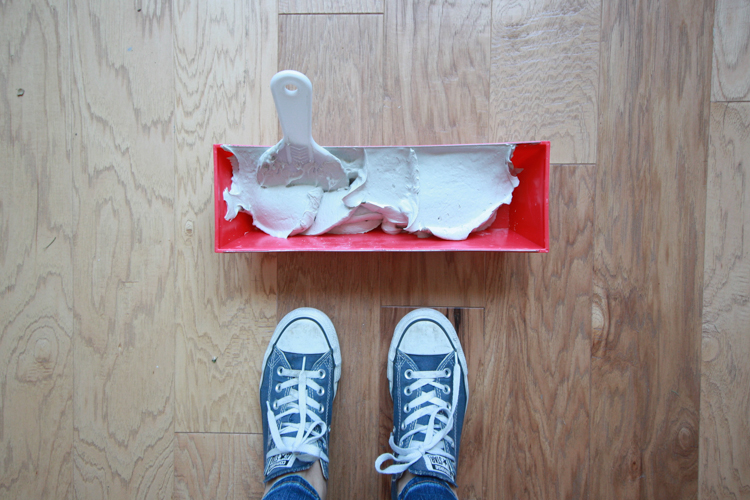
Step-By-Step Instructions
1. Scoop some of the pre-mixed compound into the mud pan. It has the texture of creamy peanut butter. The process of layering it onto the wall is also a little like smoothing peanut butter onto a piece of bread and going all different directions until it stays perfectly smooth.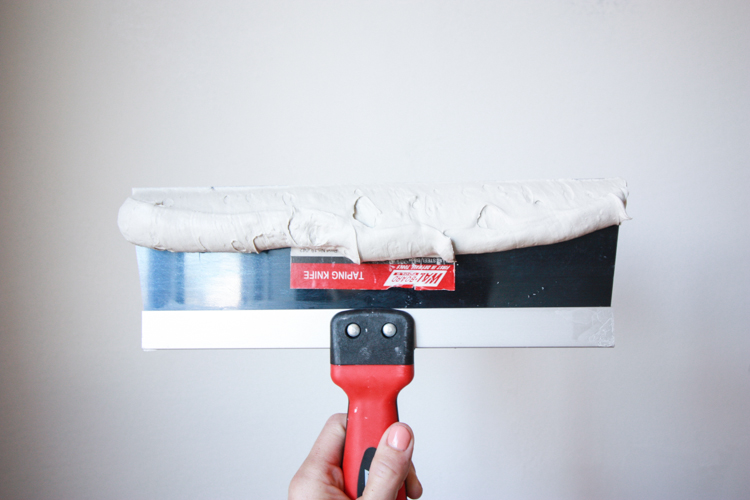 2. Once you have the mud in the pan, use the longer taping knife to scoop a couple inches of compound up, then with the mud facing the wall, simply spread in a smooth motion down the wall.
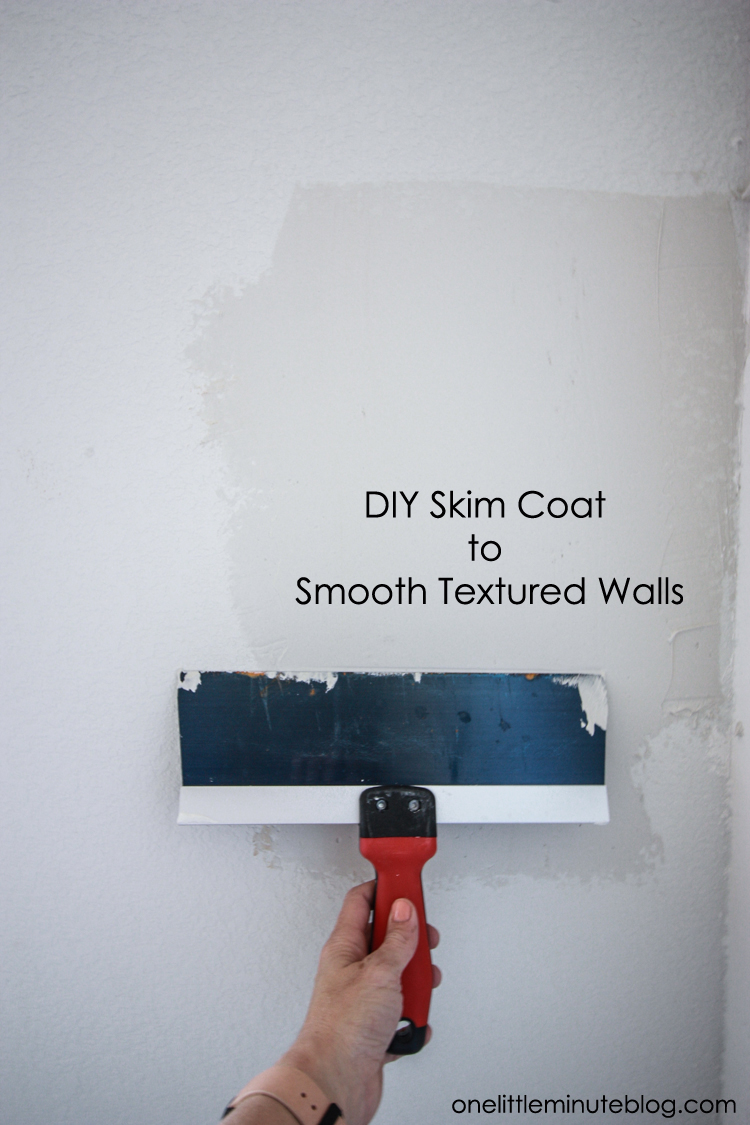 You’ll see that the long taping knife makes creating a smooth surface pretty simple. Scraping right on top of the existing texture, pulling the compound down the wall will start to fill the holes and create a smooth surface.
3. Work in about a 2 foot area pulling the compound down and down, then across and across in smooth motions until it begins to set a little bit. As it dries, the compound becomes harder to scrape, so the final swipes with the taping knife can create a fairly smooth surface without a bunch of seam lines.

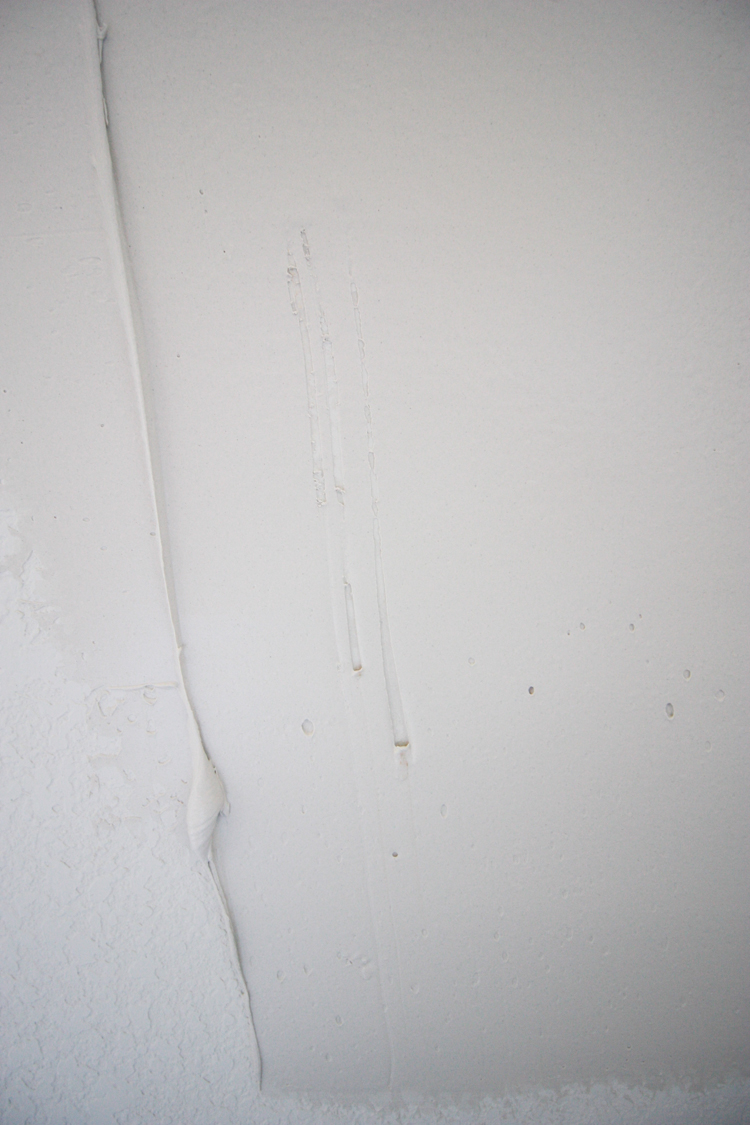 You can see that the compound can have bubbles in it, and you may notice some air bubbles forming as you spread the mud on the walls. Don’t worry, you’ll easily be able to smooth those out further as the coating dries, and even add more mud if you need to.
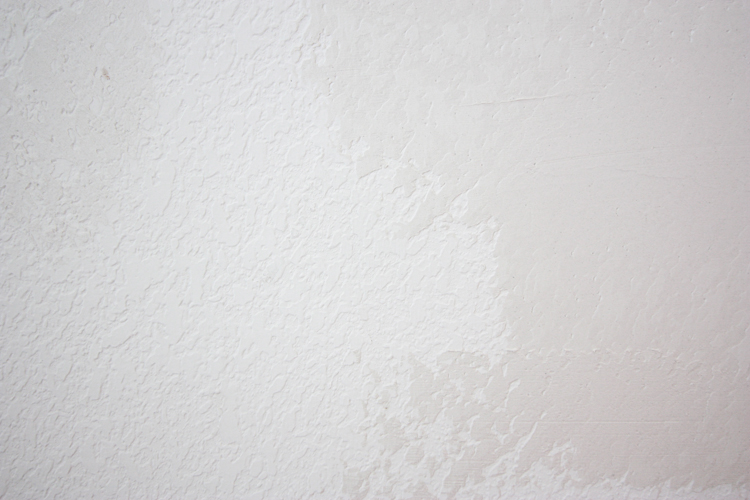
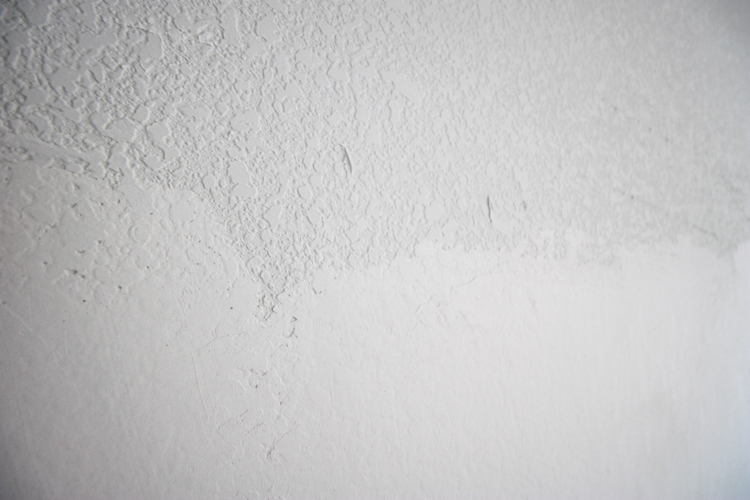 You can see the difference between the skim-coated surface on the bottom of this shot, and the textured wall above. What a difference!
 As you finish spreading in one area, scoop another inch or so of mud and move onto the next area. With the large knife and some efficient scraping, you’ll be able to make great time. I was able to start and finish the guys bathroom skim coat in about 4 hours.

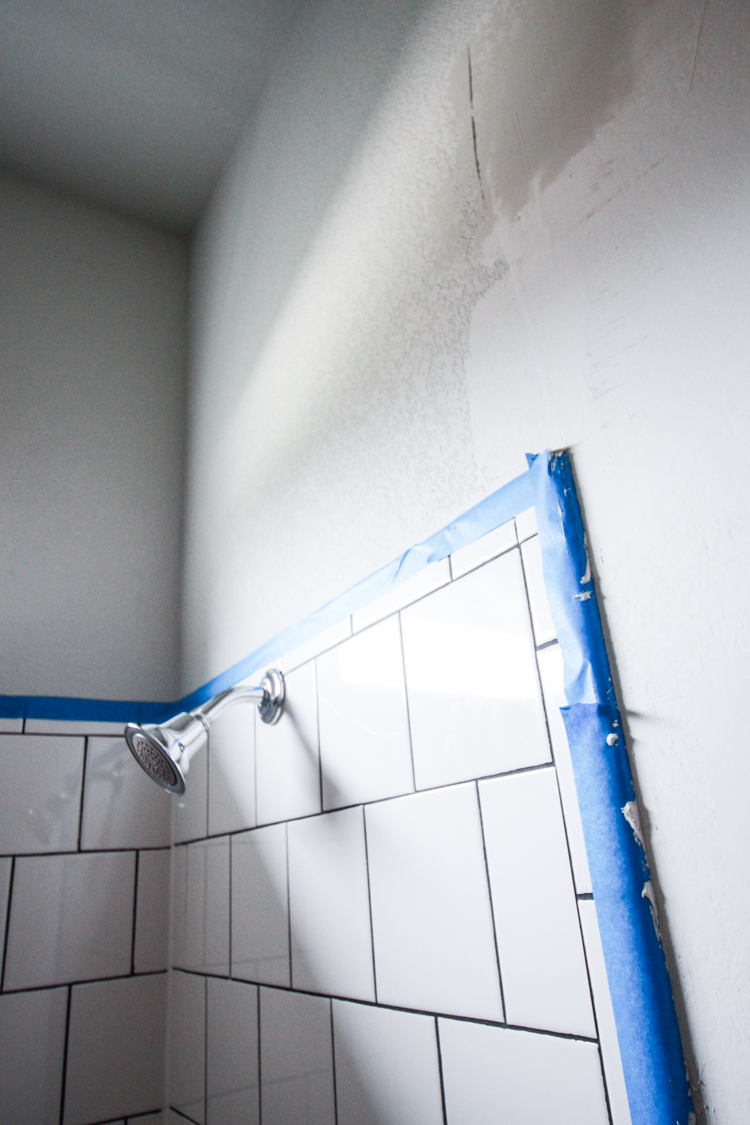 To skim coat around the tile and figures, I taped it all off as I would have had I been painting. The joint compound is super easy to clean-up once it’s dry, because it’s basically dried powder. I used the ladder to reach the tops of the walls. I decided against skim coating the ceiling (I’m planning to add some wood planks eventually).
Add Peel and Stick Wallpaper
Once the skim coat has dried, examine it for major rough areas, or fallen globs of mud. These can all be carefully smoothed with some sandpaper. Once the walls are smoothed and sanded, you’re ready to add wallpaper!
 Oh man I love this paper so much. I met some of the Walls Need Love team at a conference last summer and instantly was impressed with the personality of the brand, and the ingenuity behind all of their removable wallpapers, wall decals, and murals. I used some decals to decorate the boys’ room before it got it’s full makeover, and they were so fun to put up and also nice to take down easily. So when I started to look for paper for this room, they came to mind. And when I spotted the Legend of the Jackalope wallpaper I was sold! It feels just right for our desert-dwelling, curious and fun family.
About Removable Wallpaper
The paper is actually a sort of thick fabric-like vinyl that comes on a roll with a fully adhesive back. It is removable and repositionable, which make hanging it quite a breezy project.
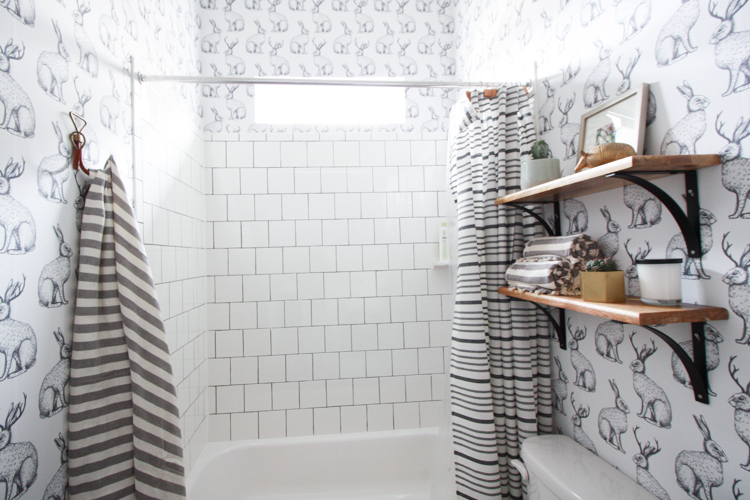
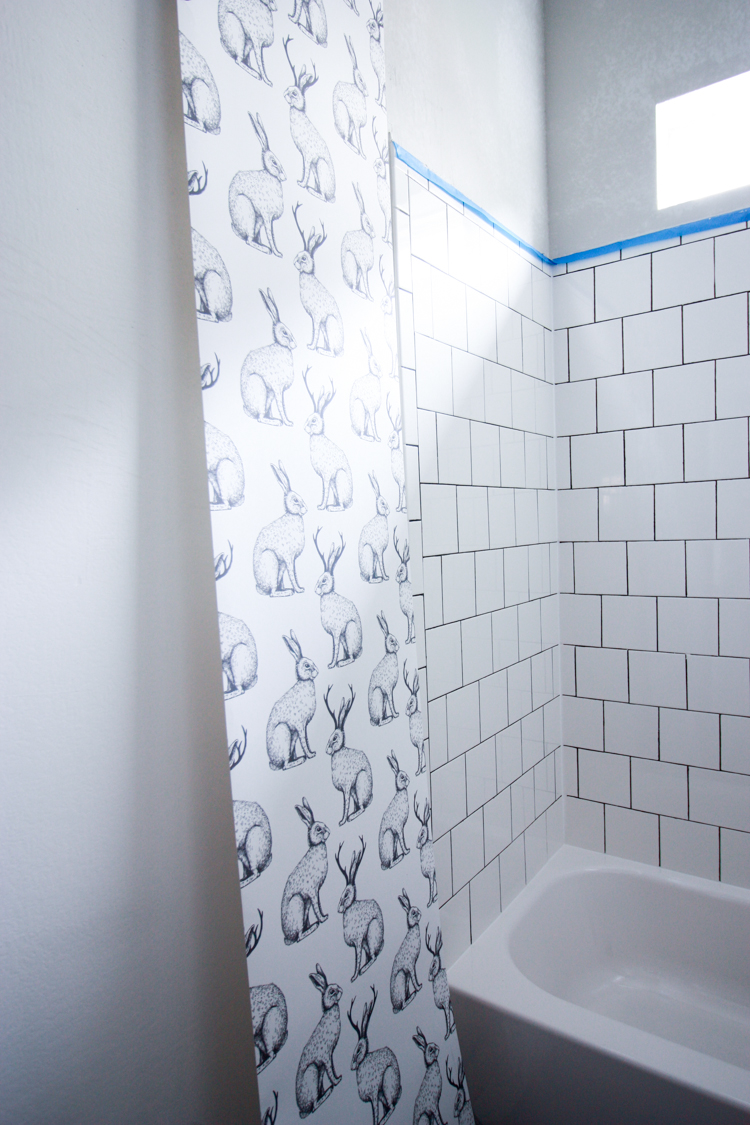
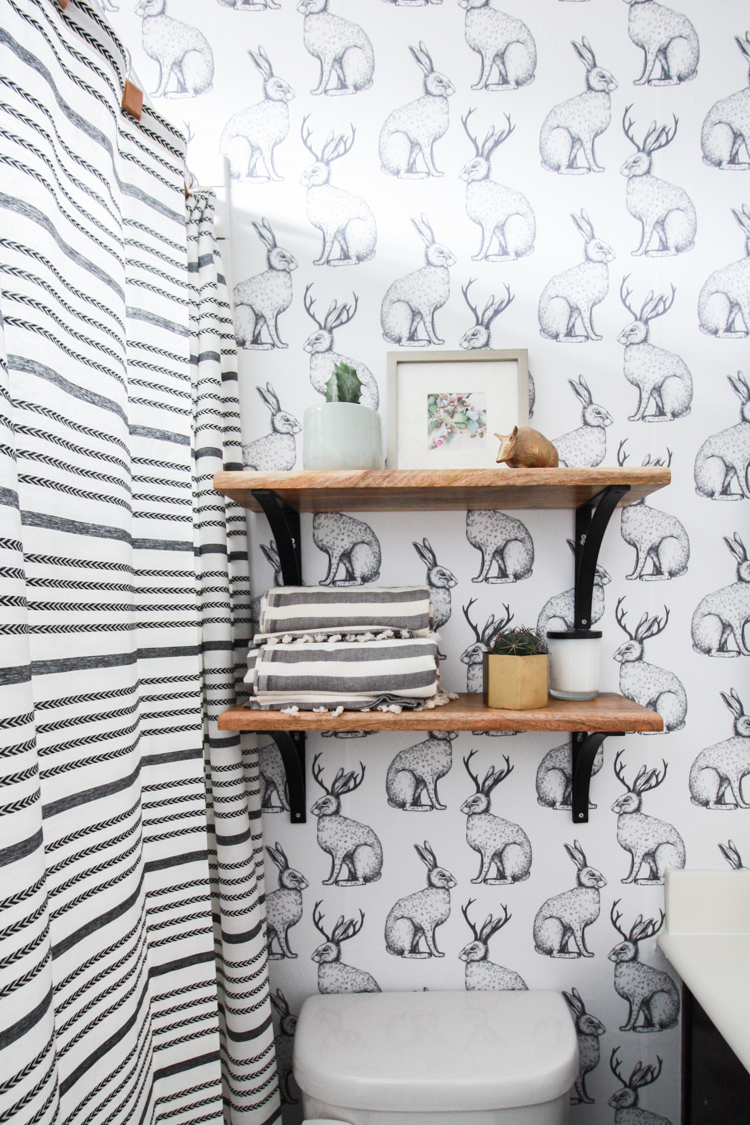
I started next to the tile line on the shower enclosure, and stuck the first panel to the wall. Then, matching the repeat pattern, I was able to adhere the rest of the paper around the walls, covering the whole bathroom space. Once all the pieces were stuck, I carefully trimmed the edges near the baseboards and ceiling with an exacto knife, leaving a clean edge.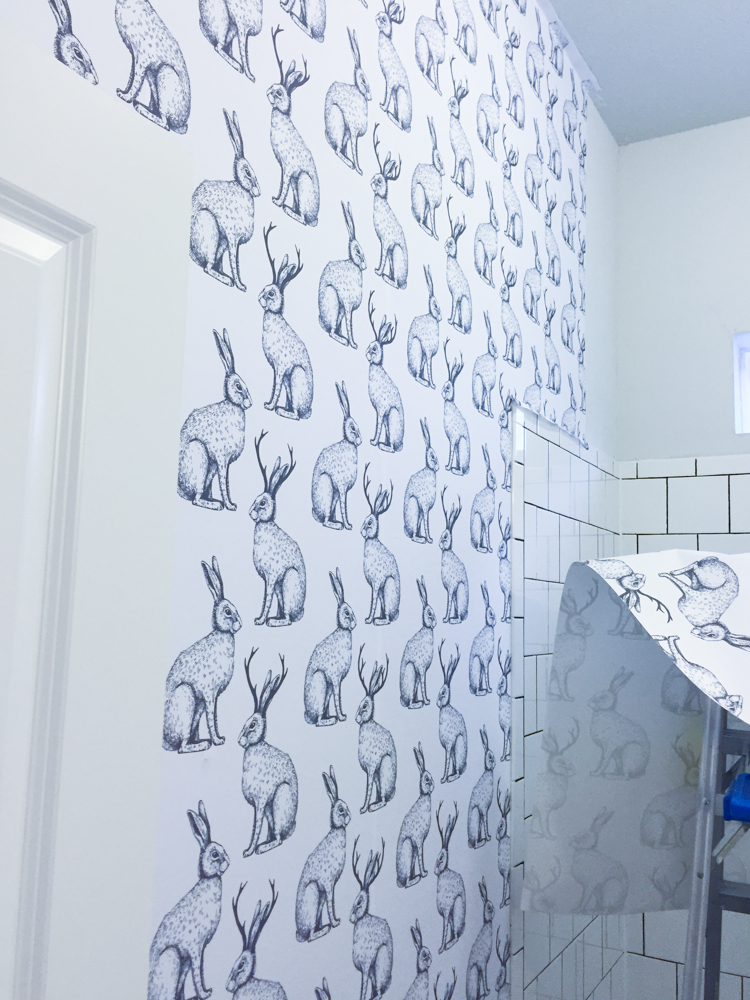 I love the big impact of this cool, bold jackalope wallpaper pattern in the small bathroom. The ceilings are 10 feet tall, so above the shower tile there are a couple feet where the paper gets to be front and center. Once it was all up, I knew I would need to make some small, simple decor updates to match the new vibe of the bathroom and make the whole space feel intentional.
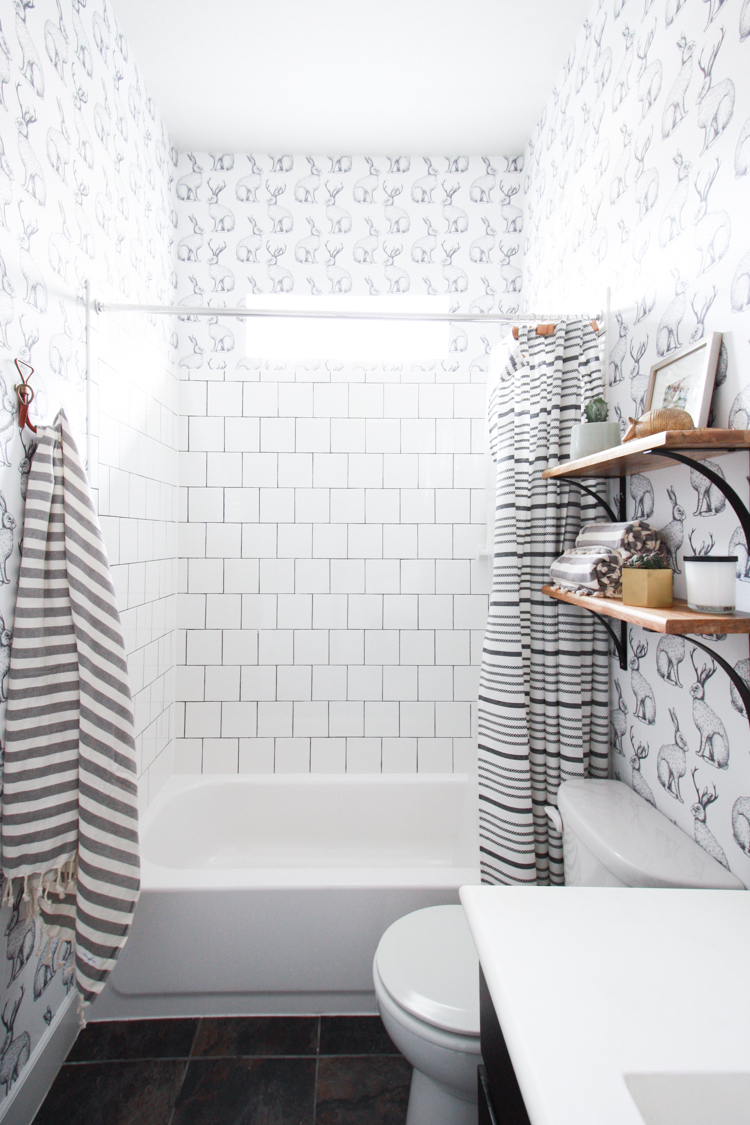
The Design Details
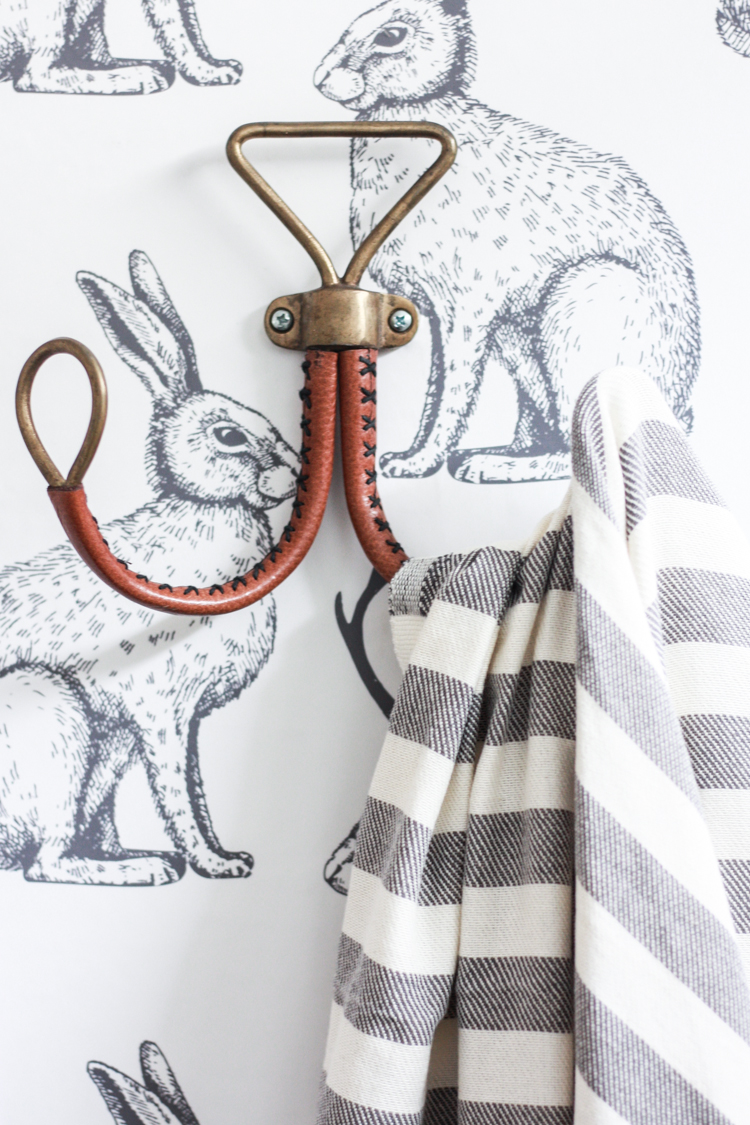
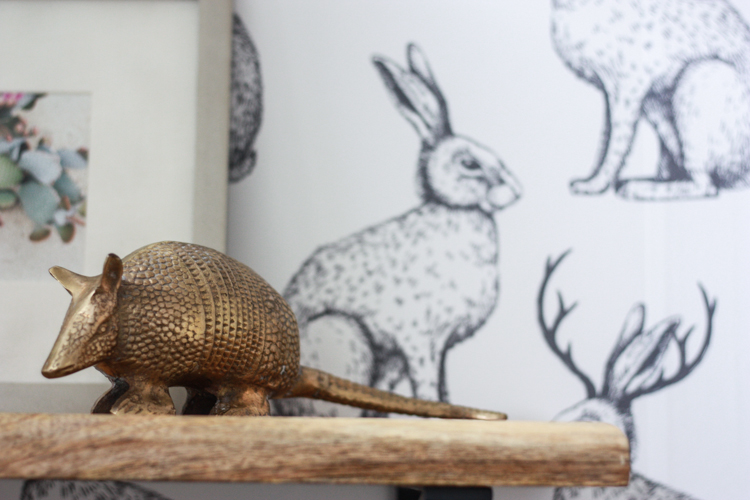
I took down the wall cabinet and replaced it with some floating shelves. That way more of the wallpaper is seen, and the room feels a little bit bigger. I styled the shelves with some favorite things: cactus (both live and in a framed photo), striped turkish towels from the lovely shop Mae Woven, and a brass armadillo, who seemed like a great companion for the Jackalope. I also found a new, striped shower curtain at Target and hung it with cool, wood-front curtain holders.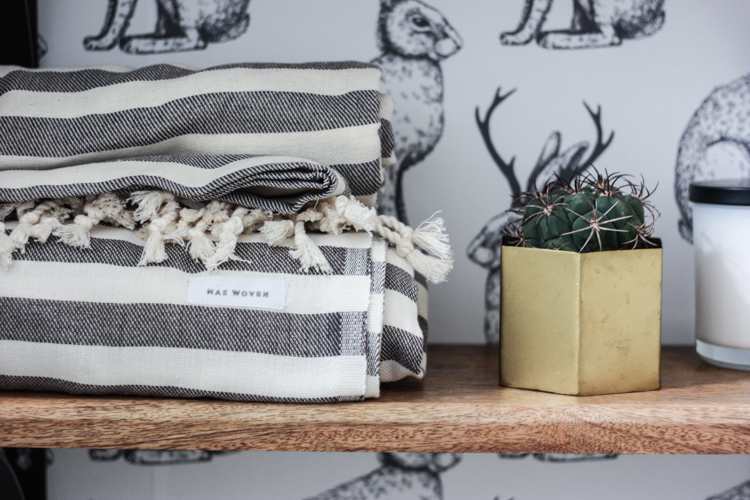
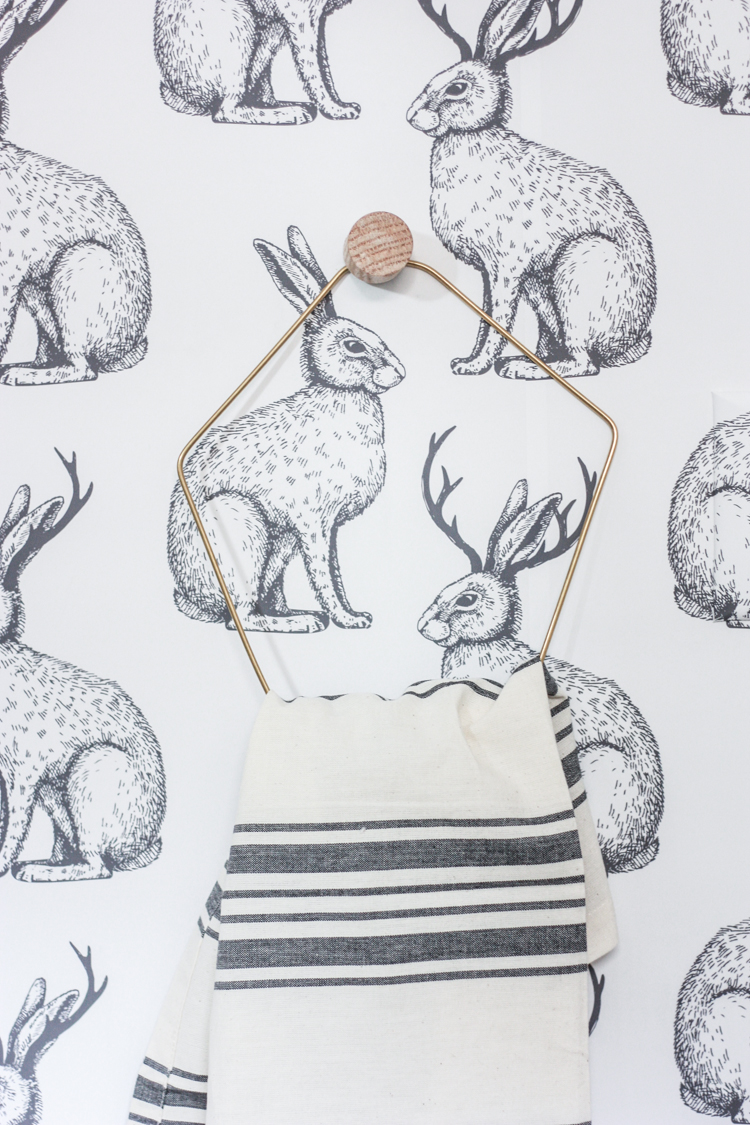 It’s incredibly hard to find a cool, modern hand towel ring. So I went ahead and made one, inspired by this style, but with my own twist added. Here is a full DIY to make your own!
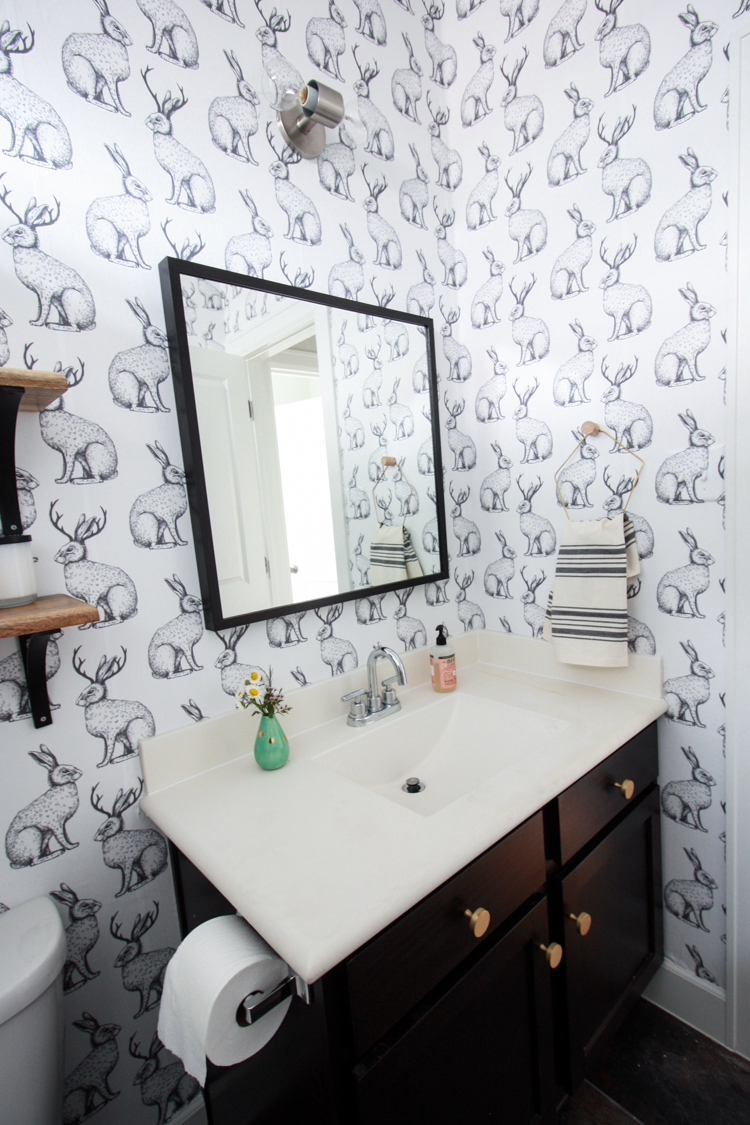
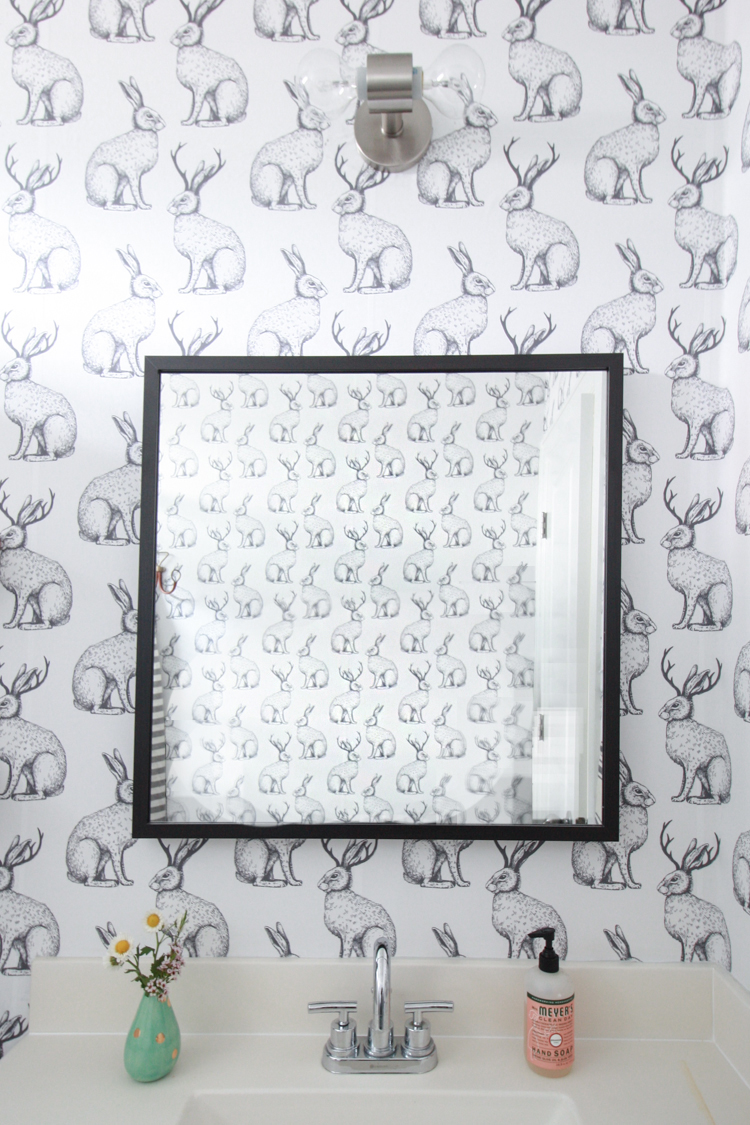 I also decided to switch out the light fixture and I left the glass off of this one to create a cool, exposed bulb sconce. I didn’t mind the standard fixtures, but when I spotted a pretty, gooseneck faucet on the local Craigslist, I grabbed it and replaced it in the sink. Such a subtle change that made a really big difference for me!
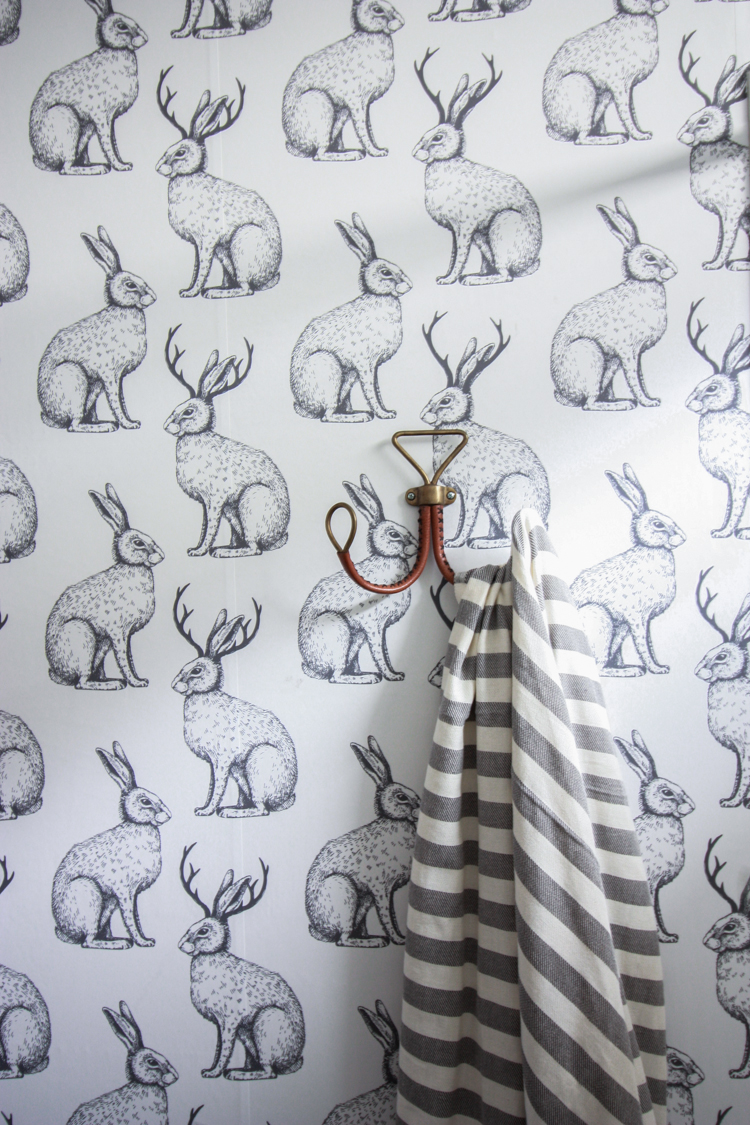
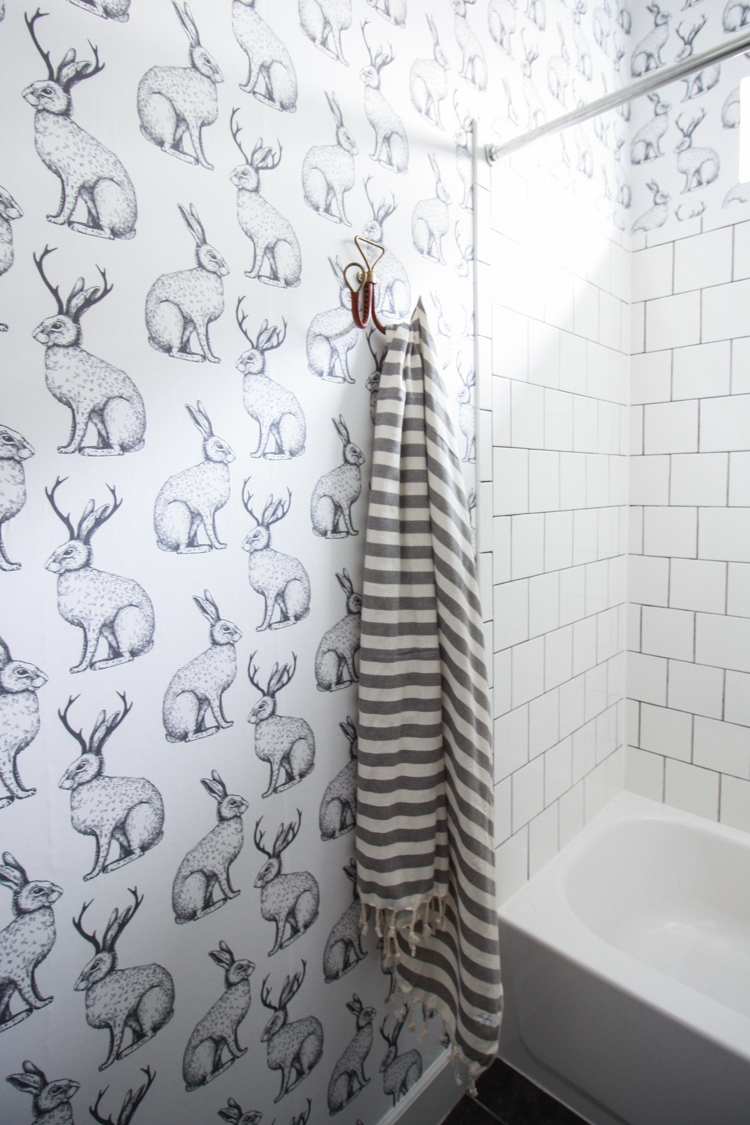 Originally, I had planned to hang a large, train rack towel shelf on the wall, I’m so glad I decided at the last minute to use this brass and leather hook from Anthropologie that I bought on a whim last year. It looks amazing in the space, and leaves so much of the wall open for admiring the jackalope. The room has such impact now! It’s a pop of personality right when people walk through the door. It’s also really nice to have an cool, intentional space for visitors to use when they’re at our home.
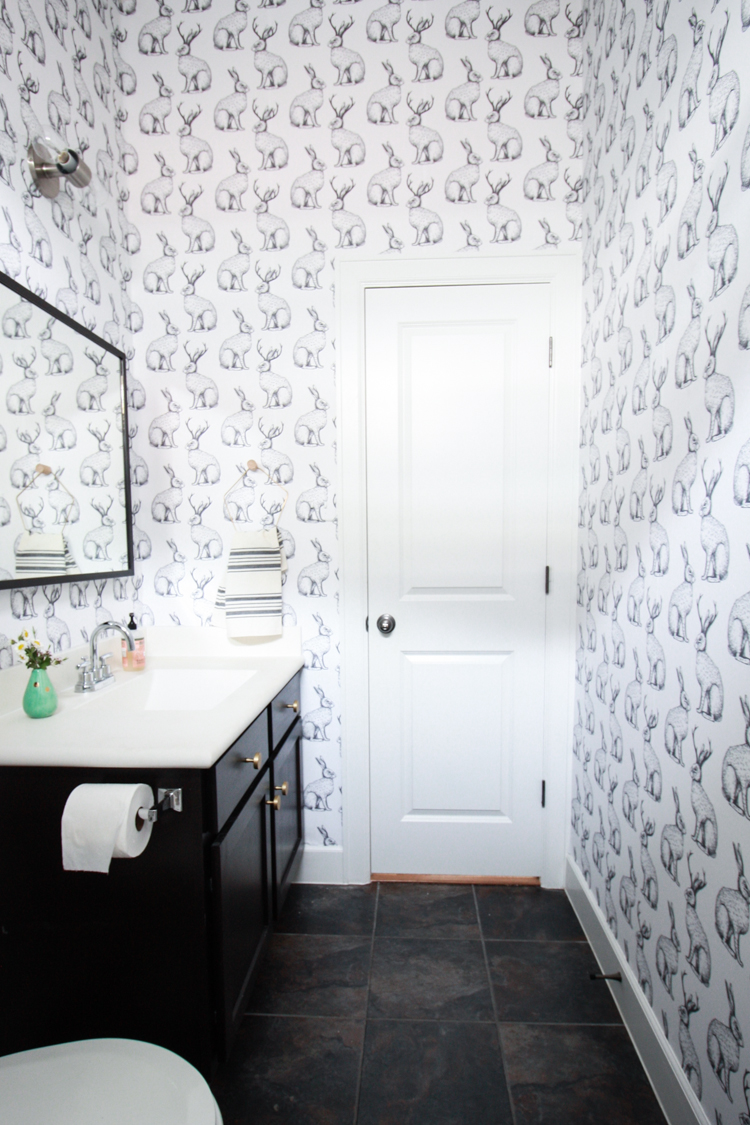
 Usually it’s the small details that make the room, but in this case, it’s the all-over wallpaper that makes the room. The details are simply fun support! I’m over the moon for this cool, quirky room, and now find myself browsing Walls Need Love to decide what I want to wallpaper next.

