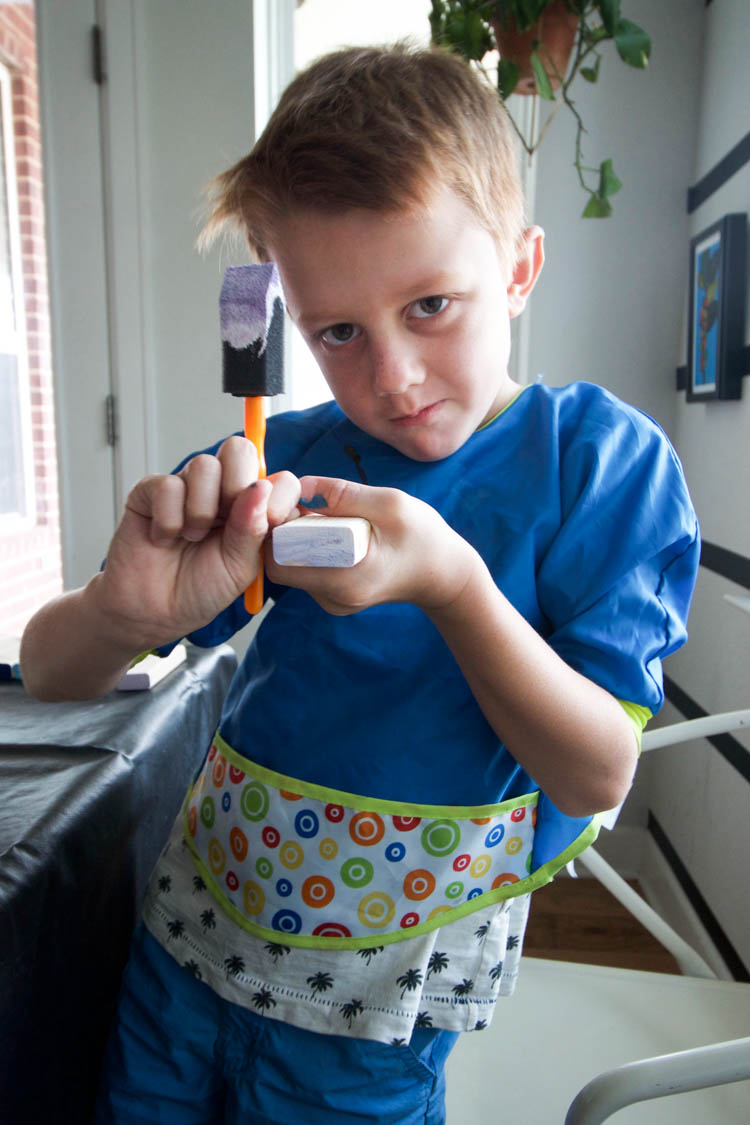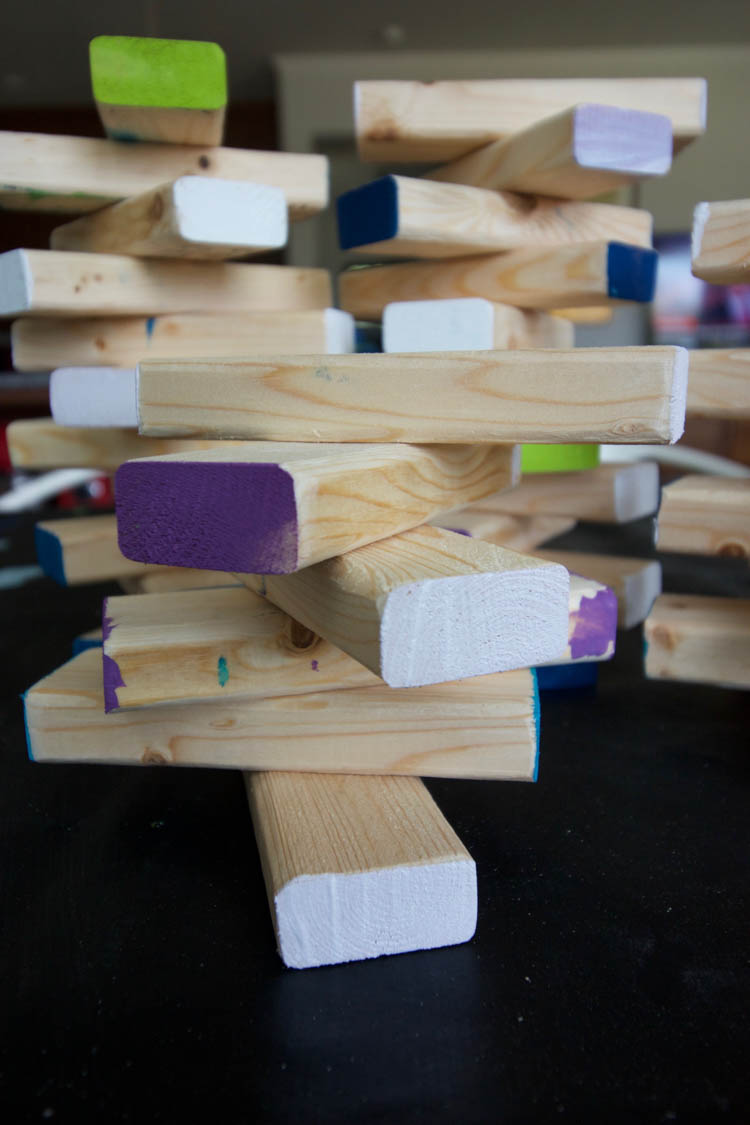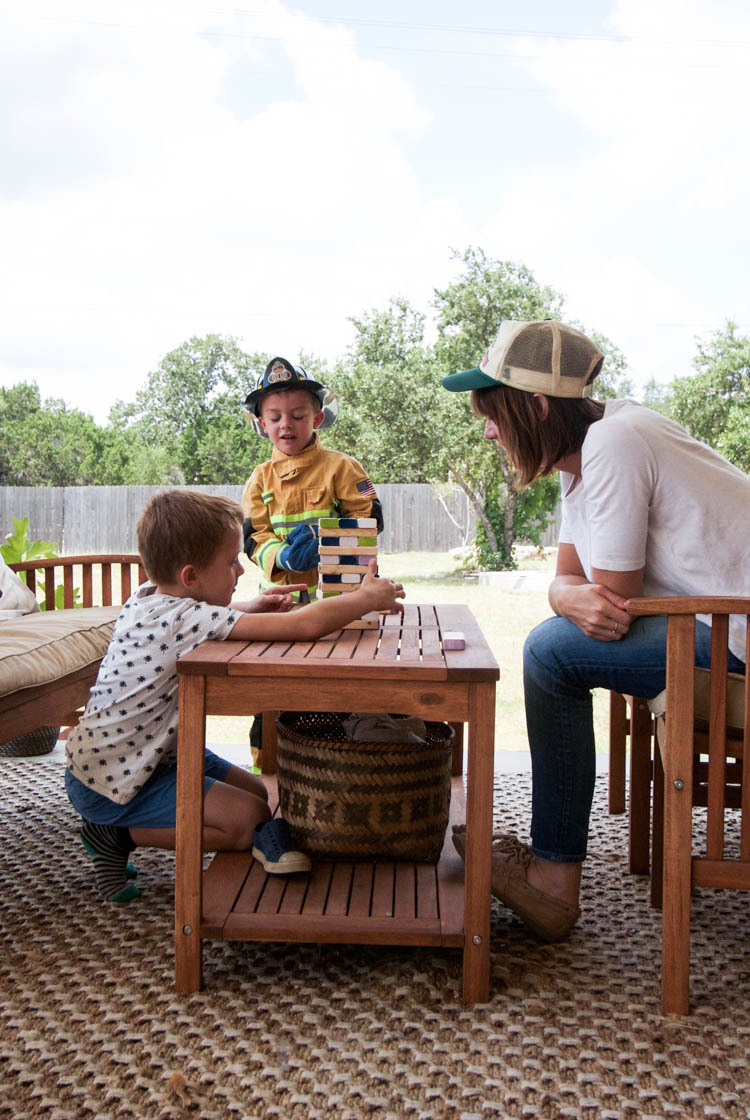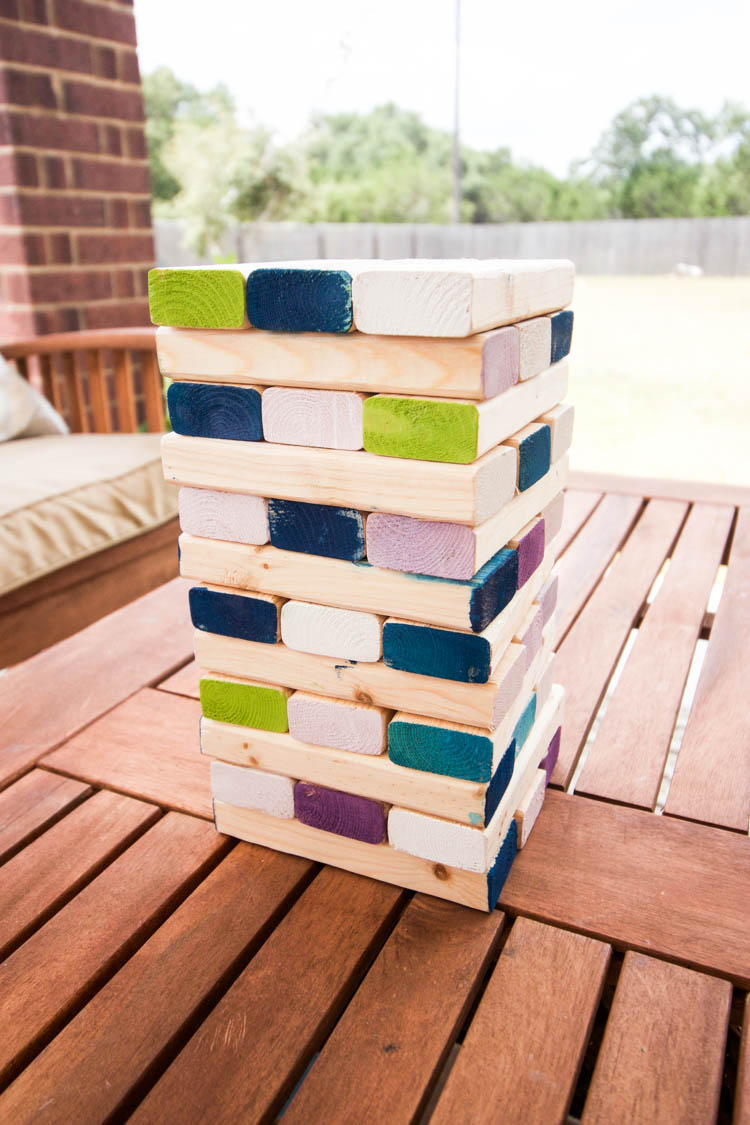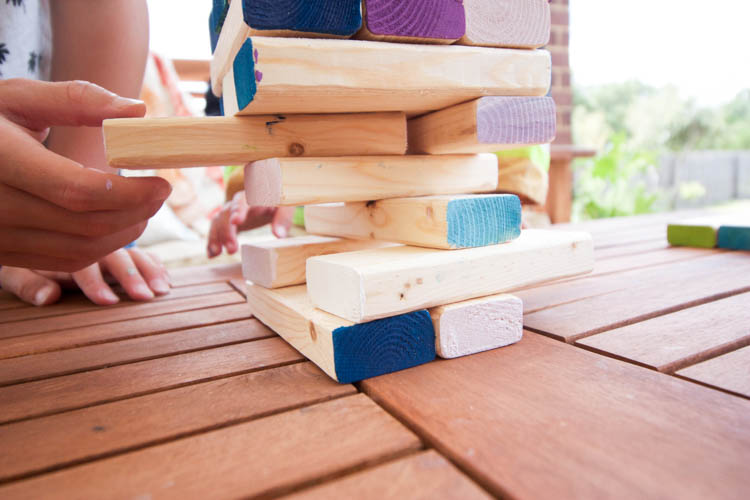
I love the slow days of summer, and have been enjoying these days home from vacation when the kids and I have been able to spend time together. And in order to stay sane and all feel happy and entertained, we have been coming up with some fun and simple summer activities to do. This easy DIY Jenga Set was inspired by a huge version that we’ve played at the children’s museum downtown. The total cost was around $3, and the once I cut and sanded the boards, the kids had a blast painting the ends before we set it up to play. It actually ended up being a great two-in-one because the painting was a fun activity, then once it was dry we played several rounds and had a blast.
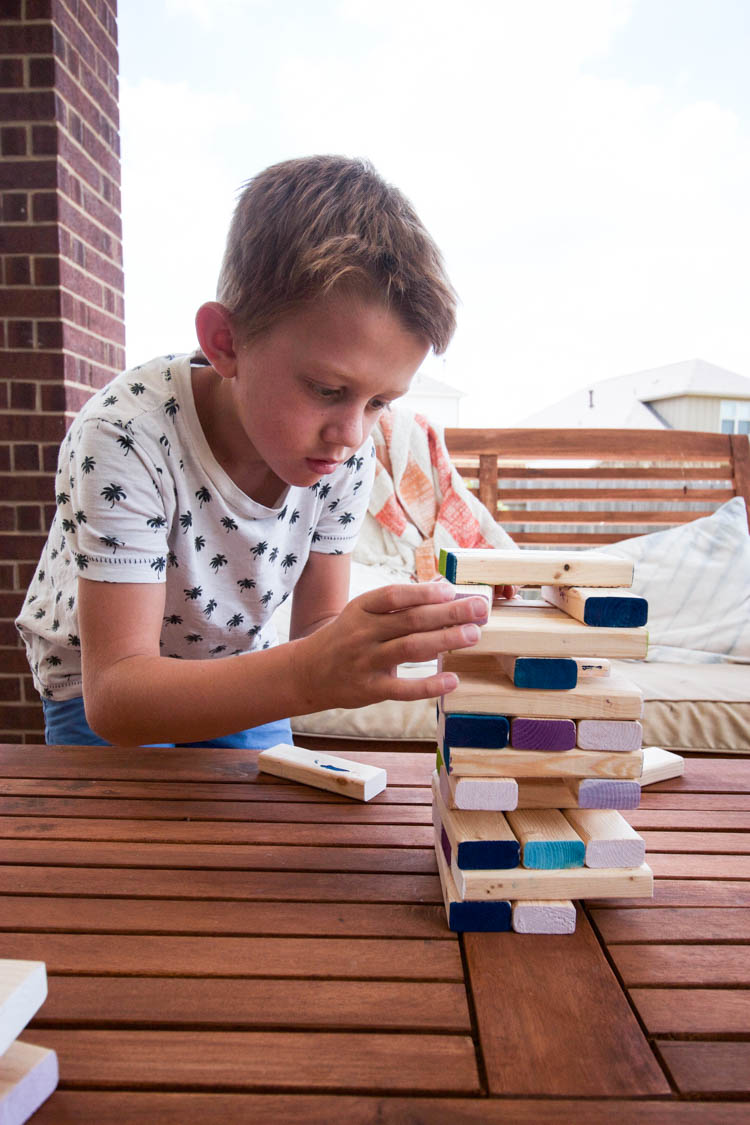
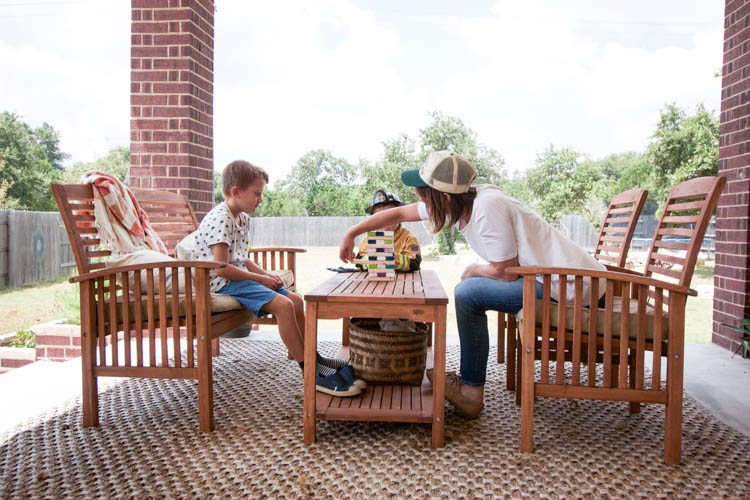
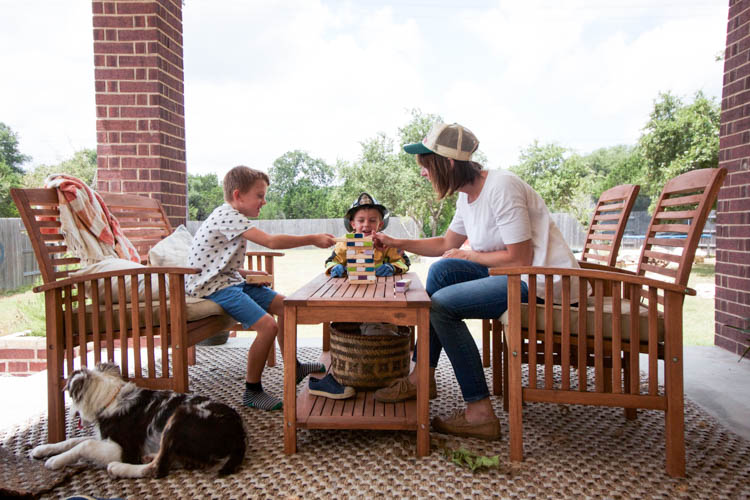
Jenga turns out to be a perfect game for kids over about three years old who can understand how to grab and remover a board from the stack. My kids caught on really quickly, and we’ve been playing almost every day!
Here’s how to make one of your own:You’ll need:
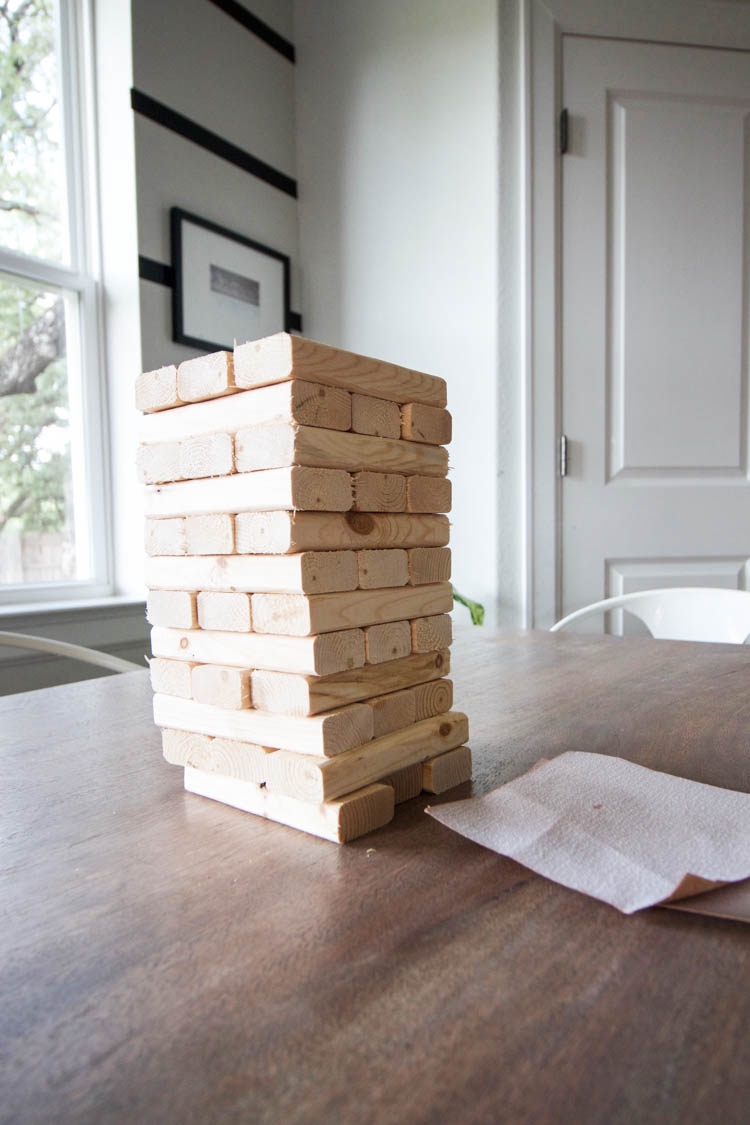
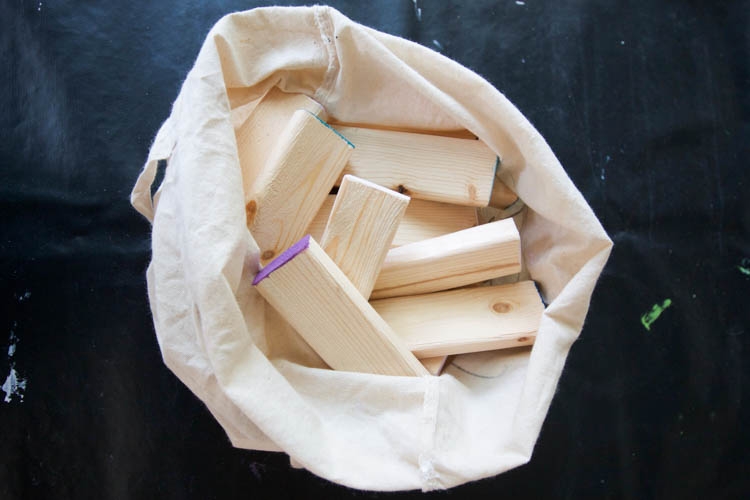
2 1″x2″ boards, 8′ long, cut into 4.5″ pieces
sandpaper
acrylic paint in a variety of colors
sponge brushes
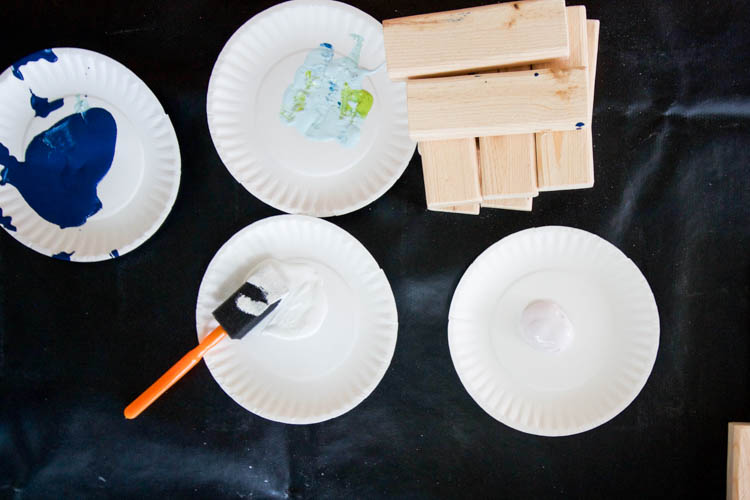
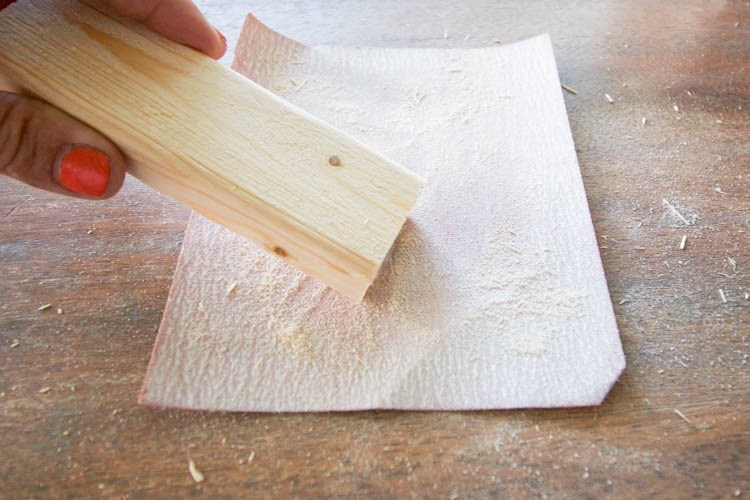
I already had a chop saw out on the patio because I was building an outdoor reading nook, so it was simple to chop up some extra piecesSand all of the sharp edges and ends by rubbing them along sandpaper on a flat surface, then wipe down with a cloth to remove the sawdustSquirt little samples of each of your paint colors onto paper plates and let the kids paint the ends of the boards, then let dry.
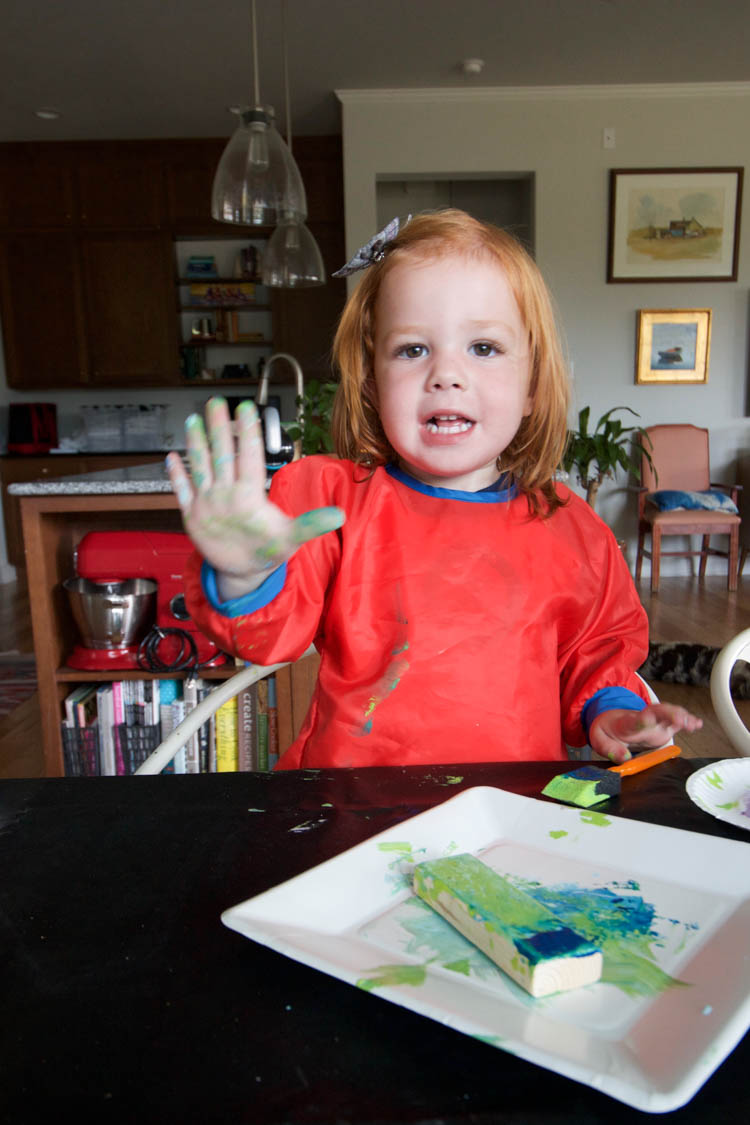
If you have little ones like mine, some of the boards might get painted more than on the ends, and that’s alright. It adds that homemade charm.
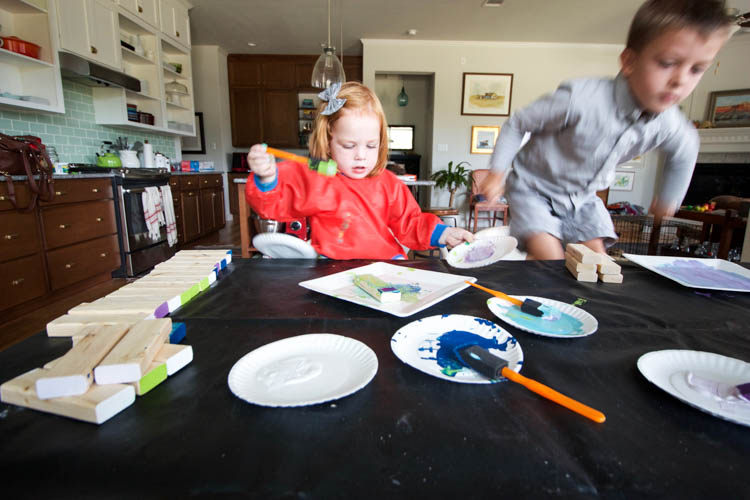
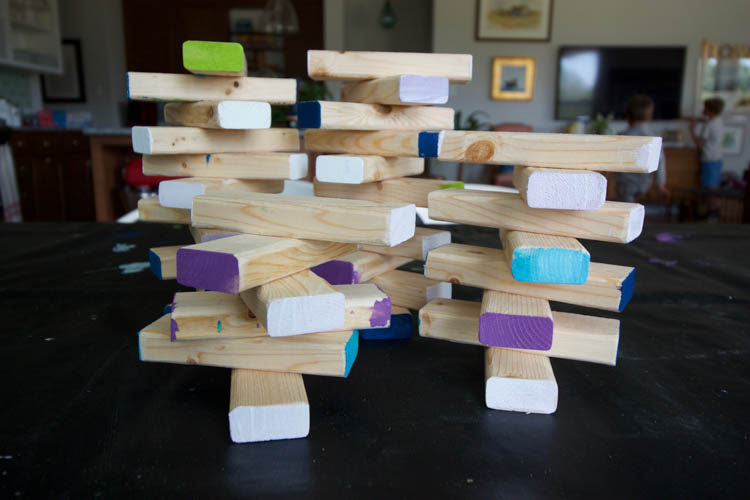
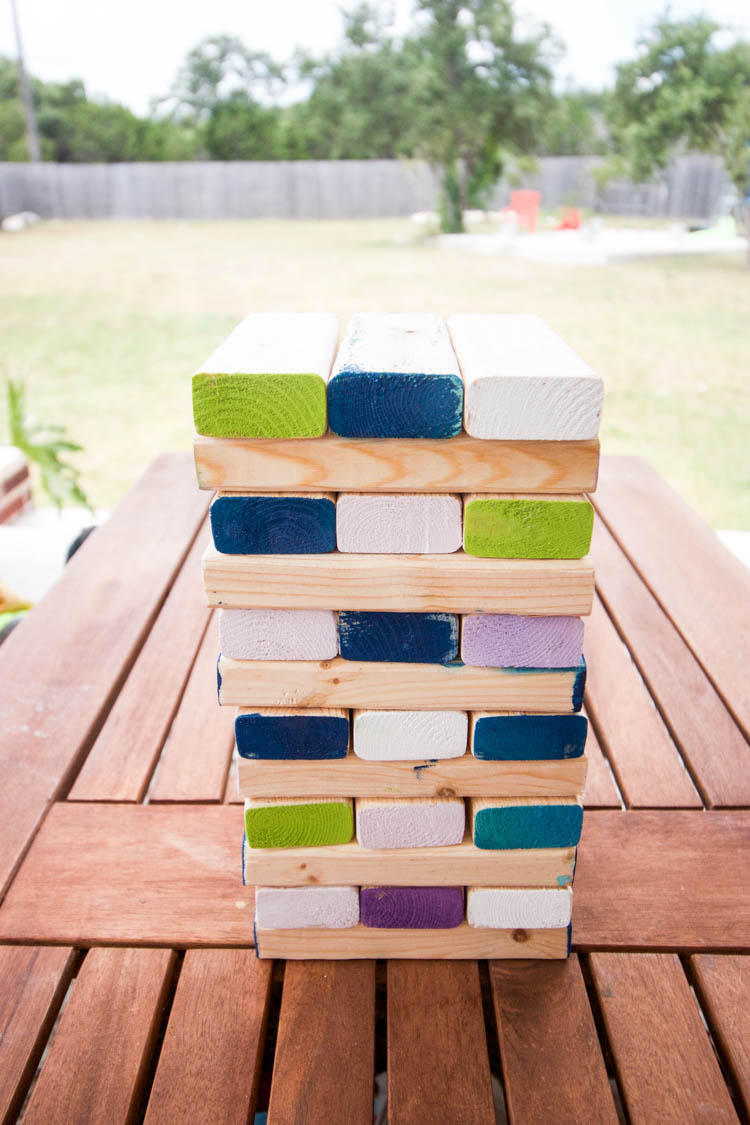
You can see that my kids got really into it, and we had a fun (messy!) time from the get-go! I choose a few coordinating blues, green, and a fun purple for our blocks, and love the way it turned out. My more design-snob side was tempted to only use white paint, or leave them plain wood, but the kids had so much fun mixing colors! It was a good reminder to let them have fun with color!
Once the pieces are all dry, you’re ready to play! Set them each row of three in opposite directions as you stack the tower. Then take turns removing one piece from the middle and setting it back onto the top of the tower. When the tower tumbles, the game is over! It can get pretty tricky to remove pieces after a while. I was always surprised by how little blocks remain when it all falls down.
I really loved making this simple project with the kids. It’s even more fun that we can keep playing it over and over again together! While I don’t often craft with my kids, this was a great reminder how important that time together creating and playing is, and I look forward to doing more.
It was so fun to share this post as part of the Summer Fun series hosted by Nap Time Creations. Check out these other great summer activities linked below, as well as the tons of other fun ideas shared throughout this season!
Velcro Toss Game – Straight Stitch Designs
Mesh Shorts free Pattern – Nap-Time Creations