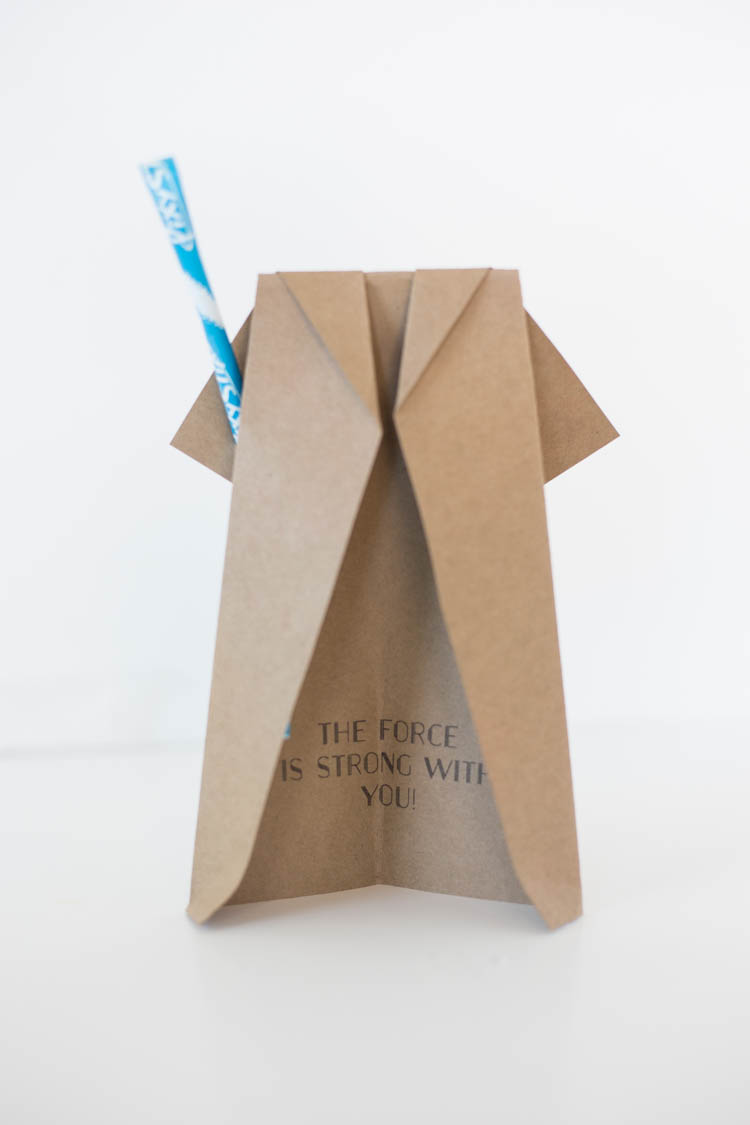
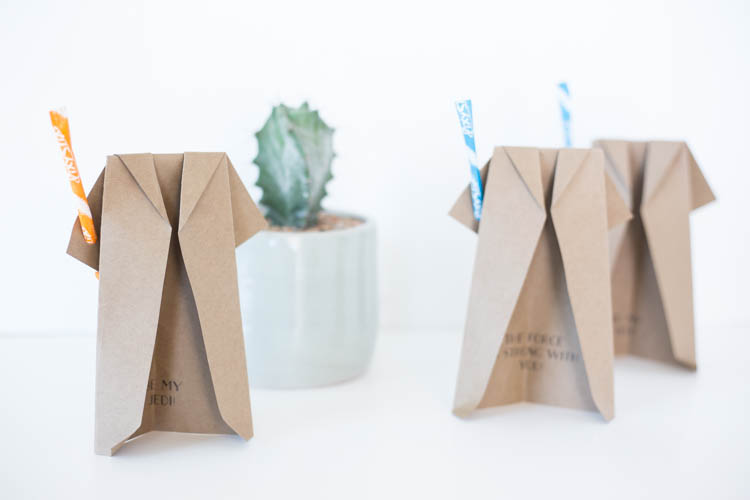
 Can you believe it’s almost February? That means Valentine’s Day is around the corner! I came up with these super simple Jedi Robe Origami Valentines to share in my friend Jamie’s annual Valentine round-up on the CRAFT blog. The kids love them and they are a cinch to make using the stack of kraft paper we had in the printer cupboard at home, plus some Pixy Stix from the dollar store. Find the free printable and instructions at the bottom of the post.
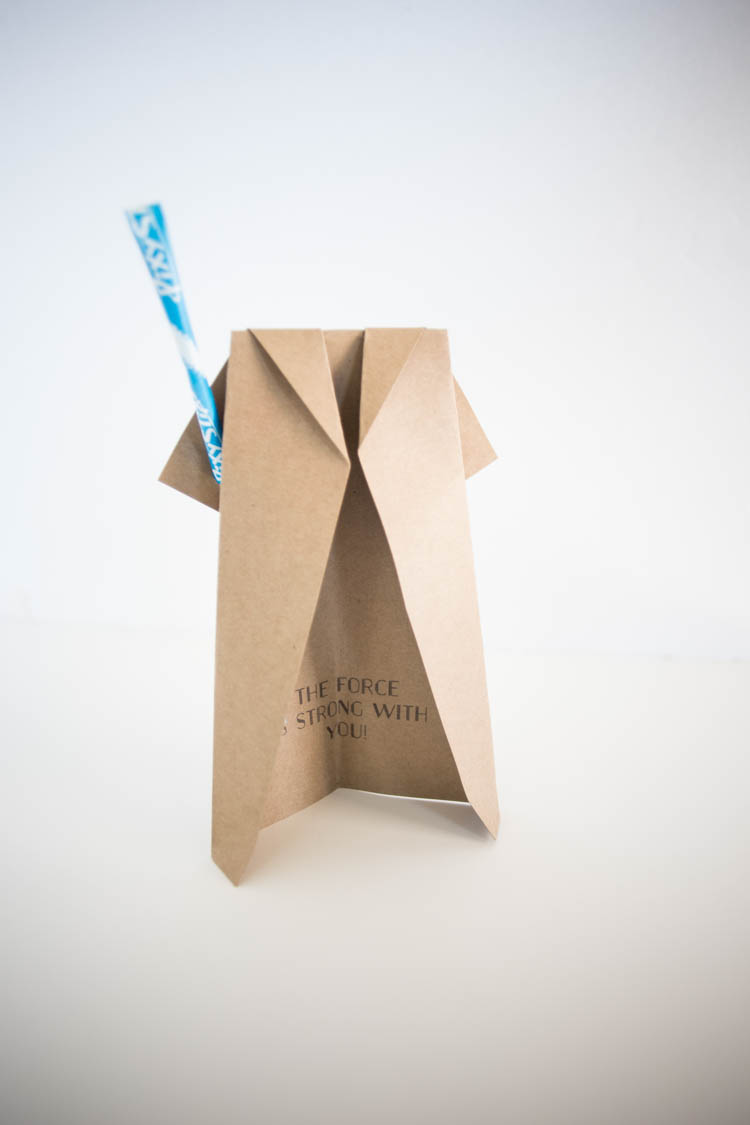 This first month of the year has flown by, and our not buying anything new experiment is going amazing so far. We had a couple interesting challenges this last week, and among them was trying to prepare some classroom valentines for the kids that they would love, and that used some materials we had on hand at home. Paper worked perfectly.
In years past, I’ve made all different types of Valentine’s Day cards. Some with candy, others with healthier snacks, and even some silly little food-free types with small toys or pencils.
This year in trying to stick to using things I had on hand, I realized I’d need to go with candy treats that are consumables and keep the cards simple but still cool. My boys are huge Star Wars fans (okay, I love it, too) so I knew anything Jedi would make them happy.
I also love the art of origami and thought it would be really cool to make some little folded Jedi Robes with Pixy Stix light sabers. They’re super easy to fold and make, and the Pixy Stix add a touch of sweetness and color. Although, Milo has informed me that there are no orange light sabers. So, if you are staying true to the series, you can leave those ones out.
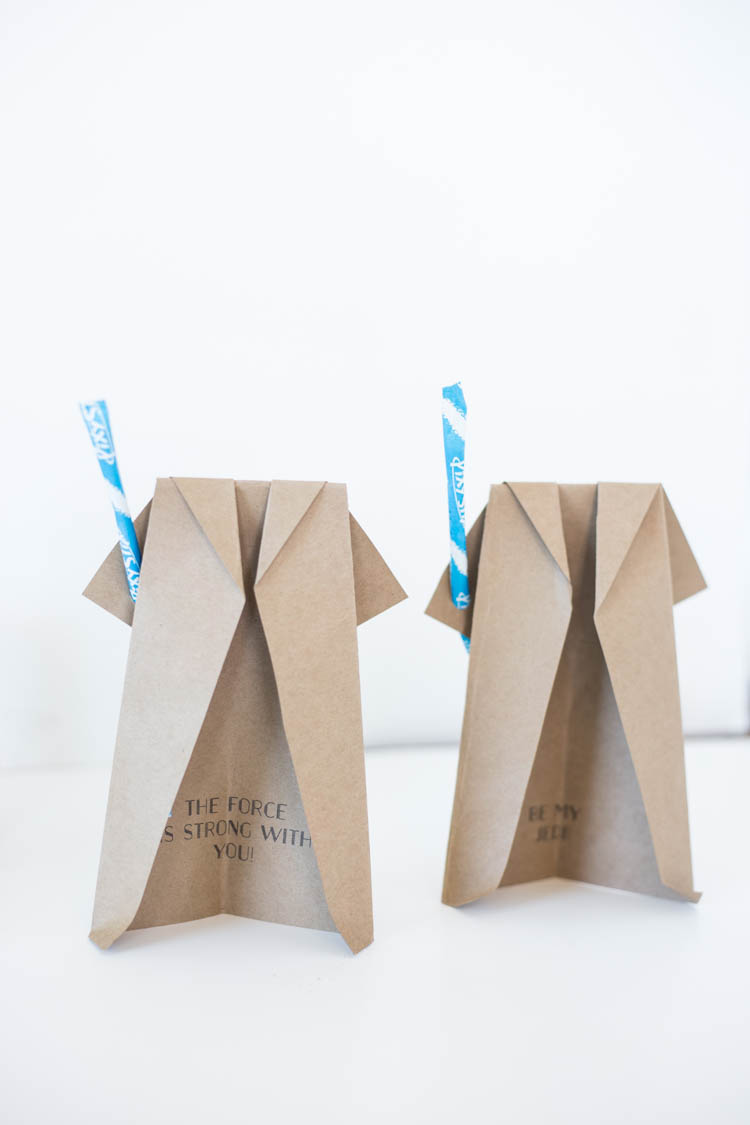
 As an update on our More Than Enough Stuff challenge, things have been rolling right along. Once again, I’ve been staying out of stores for the most part, and find the clear headspace refreshing. I did have to go to three different stores to find Pixy Stix, and while I was in the dollar store I saw about fifteen other things I would have loved to bring home with me.
Cute heart decorations, a couple little organization baskets, twisty straws that I know my kids would love (and we would throw away in a week) and craft supplies that looked so fun. I quickly reminded myself of all of the bins of unused craft supplies I had at home; two reams of this kraft paper cardstock for the Jedi Robe origami as the perfect example. It brought me back to focusing on what I have and how I can better use it.
Valentine’s seemed like a perfect place to start.
 I added a couple Star Wars messages to the insides of the robes to make them feel more like Valentines: The Force is Strong with You! + Be My Jedi. They were both a big hit with the boys, and they’re excited to pass them out at school in a couple weeks.
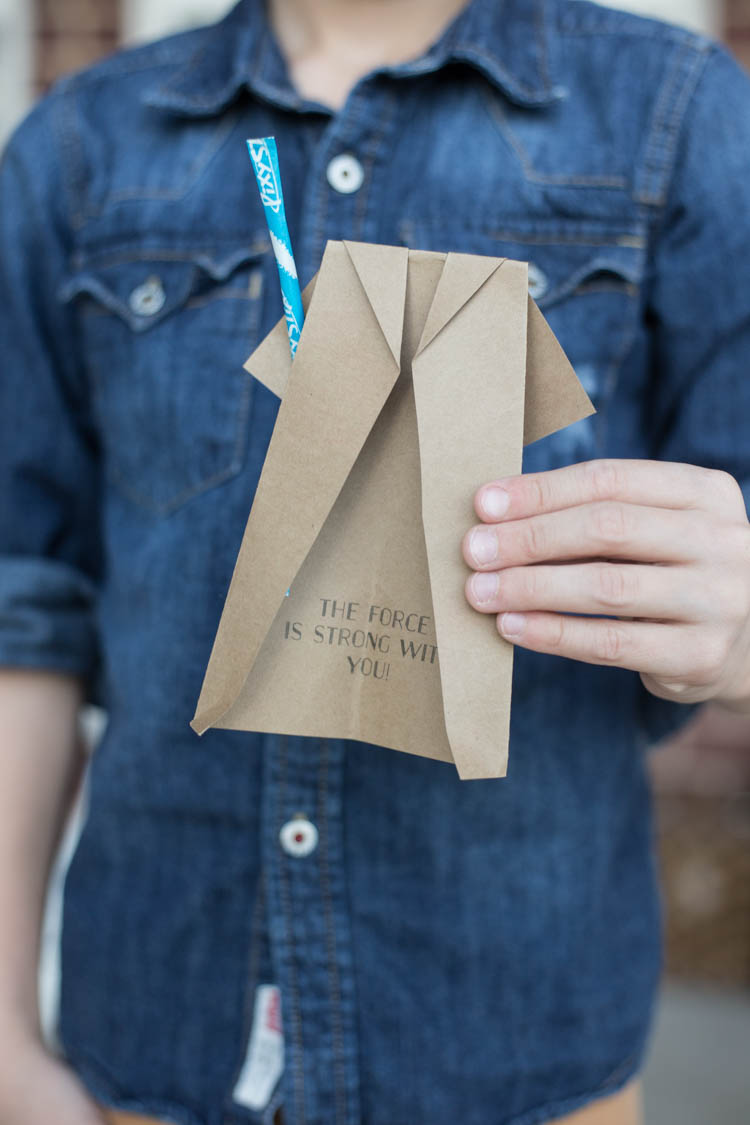 To make your own Jedi Robe Origami Valentines, print this free pdf and follow the instructions, folding on the lines to make the mini Jedi robes.
Here’s what you need:
The free printable Jedi Robe Origami PDF
scissors
a hole punch
Pixy Stix (or pencils or glow sticks for a candy free alternative)
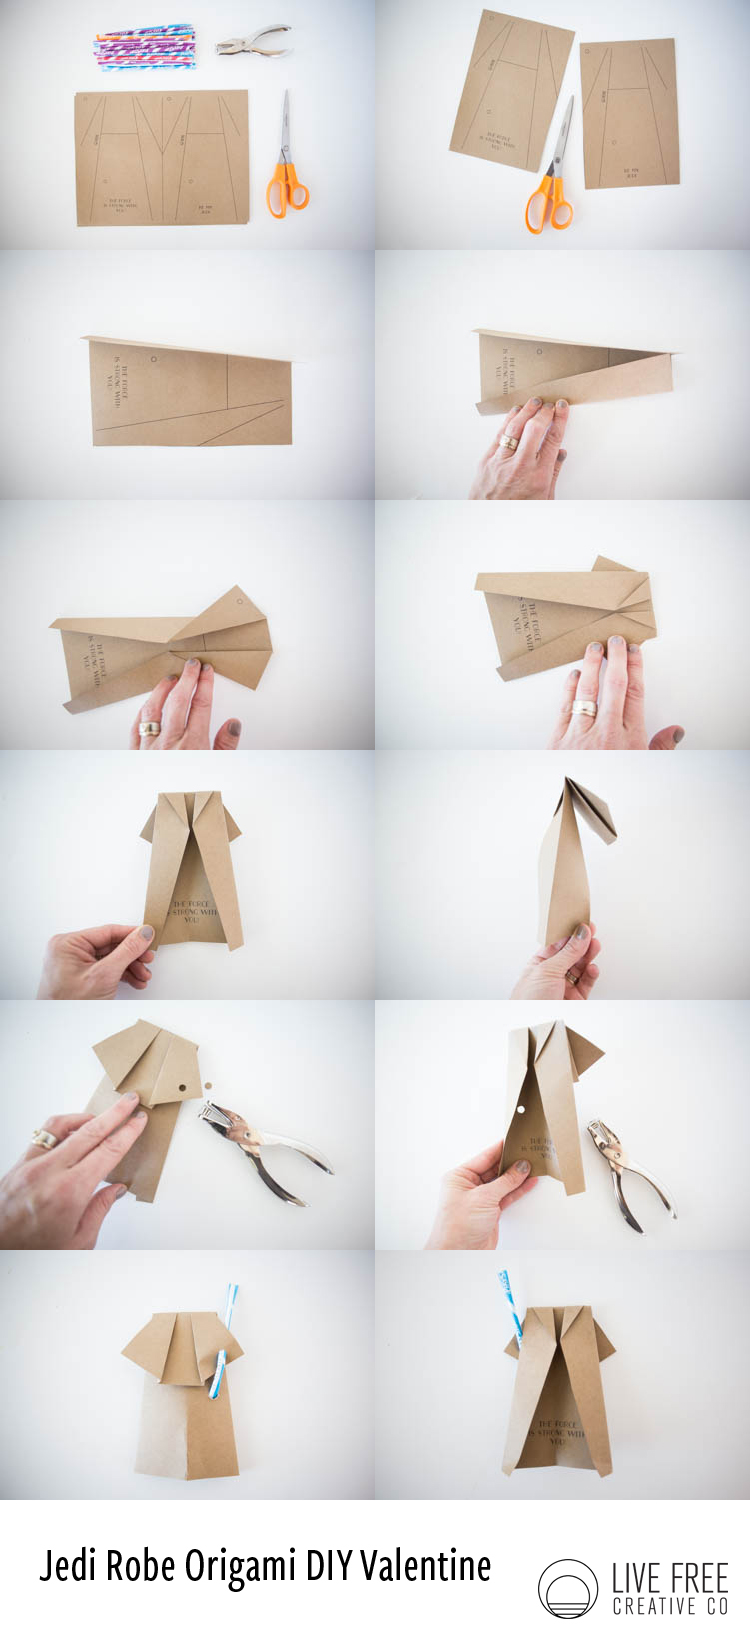
- Gather your supplies.
- Cut the page in half on the center line.
- Fold one of the sides in at a diagonal along the tallest line.
- Repeat on the other side, creating a flat crease with your fingers or the scissor handles.
- Fold out the sleeves and collar along the top diagonal lines on both sides.
- Fold the top section down the back using the horizontal line as a guide.
- You should have a finished looking robe.
- To help make a standing card, fold the back of the robe in half at the center by pinching with your fingers.
- Punch the hole in the sleeve at the indicated circle.
- Punch a hole where indicated inside. You may have to use an awl or sharpened pencil if your hole punch doesn’t reach.
- Thread the Pixy Stix through the two holes, starting from the front of the sleeve to the back, then tucking it in from the back of the robe to the inside.
- Adjust the folds as necessary to get the Jedi Robe looking good.