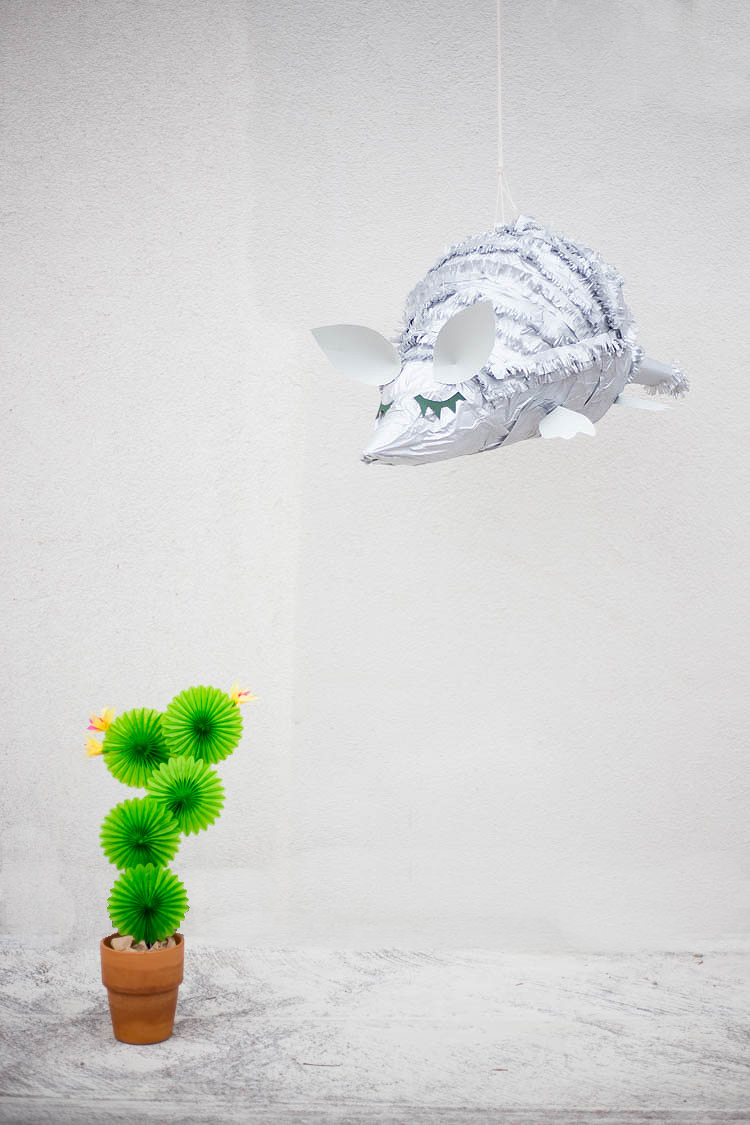
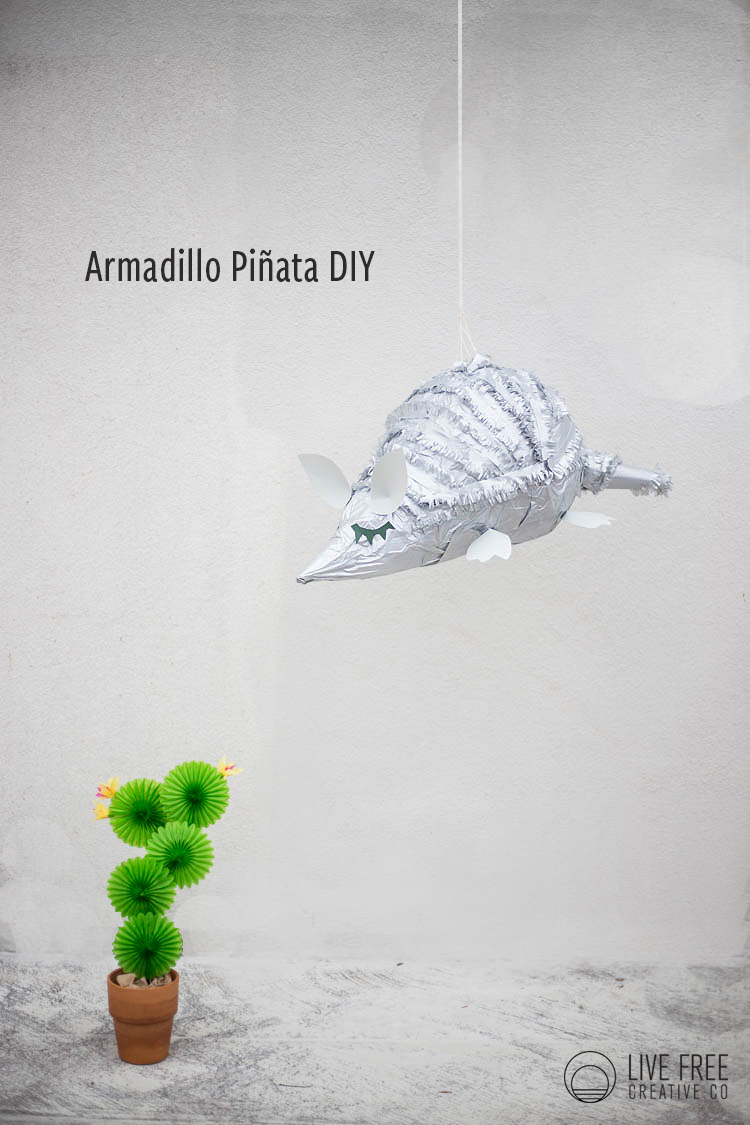
We have lived in Texas for almost four years. It didn’t take me long to fall in love with the southwestern culture, style, and themes. The armadillo is maybe my very favorite local animal, so when deciding on what type of paper craft to make for this week’s Friday DIY, a paper mache Armadillo Piñata seemed like a perfect project.
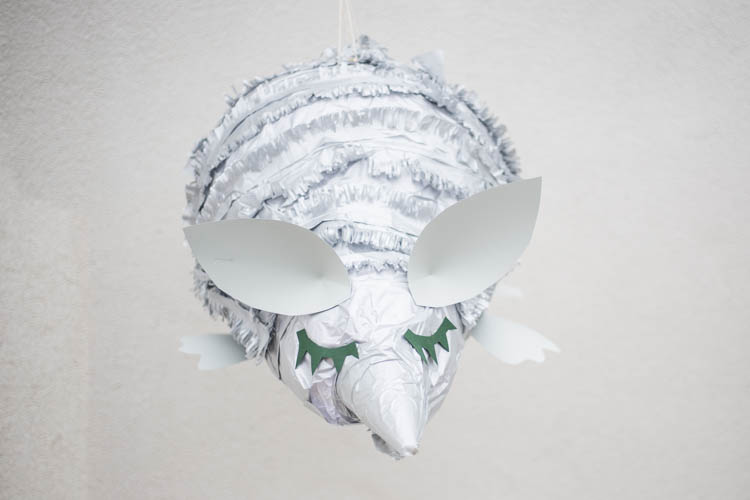
I first molded the base design using a pile of paper shopping bags I had on hand. It dried quickly in the Texas sun. Next, I covered it with layers of delicate tissue paper.
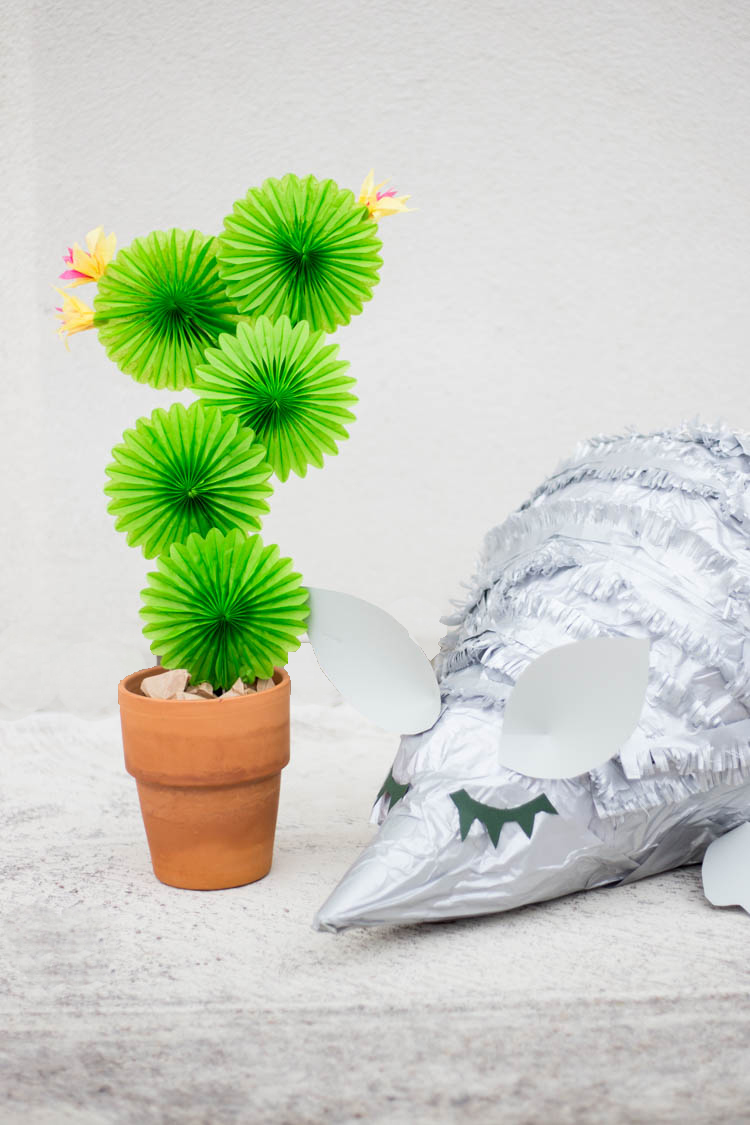
After adding some finishing details like those large, pointy ears and the little paws, it was ready to fill. The only problem with this piñata is that it may be too cute to break!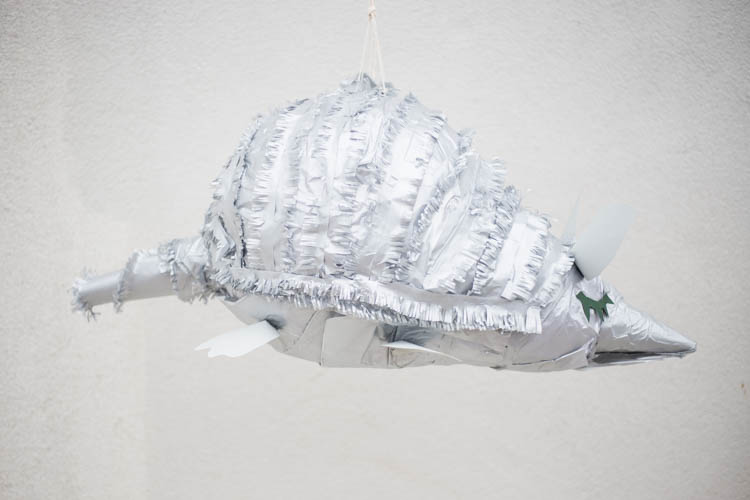
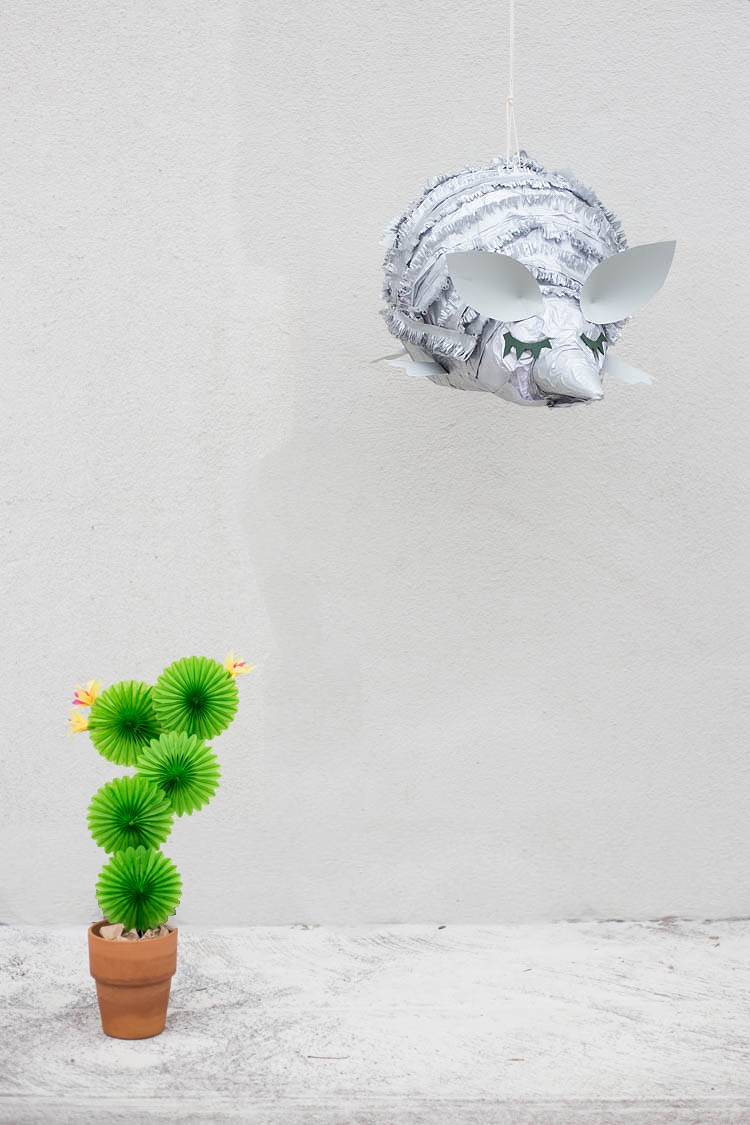
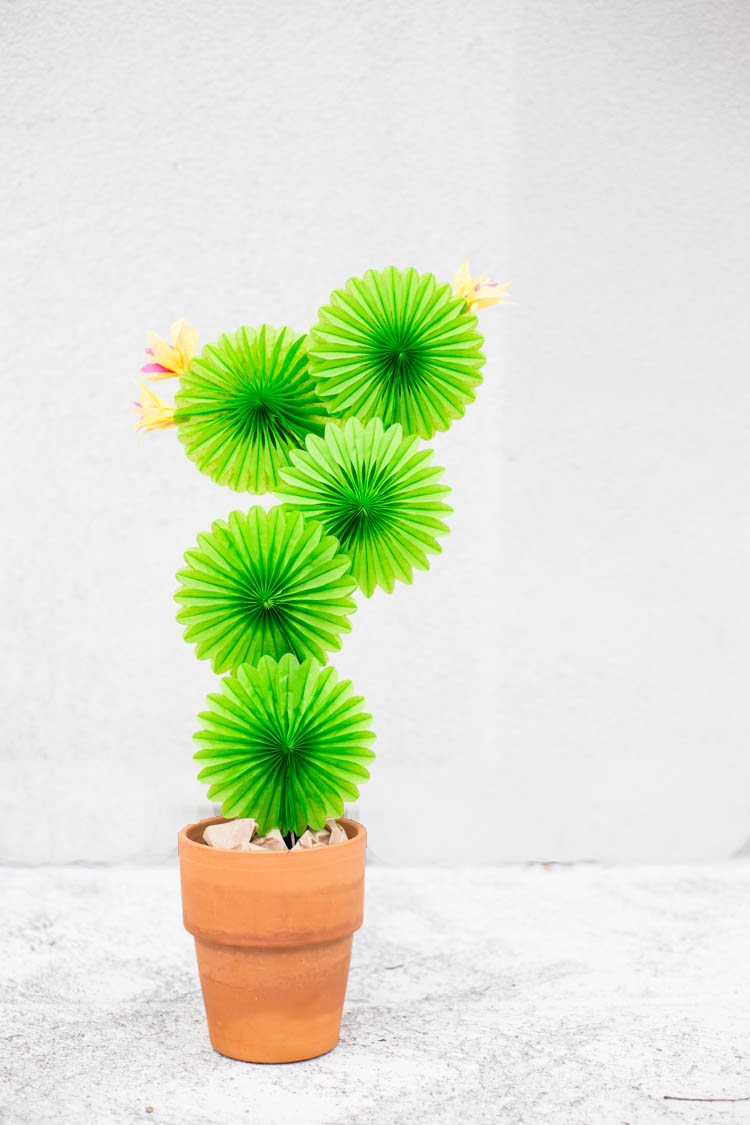
I think the cactus might steal the show! I secured them in place by hot glueing them onto some wooden paint stir sticks that I tucked into the terra cotta pot. Then I cut a couple easy tissue paper flowers from yellow and pink paper to stick on top.
If you know me at all, you know I adore cactus. So this little accessory makes me really happy.
Are you ready to make your own? Here’s what you need:
1 24″ balloon
1 12″ balloon
packing tape
2 cups flour
2 cups water
a bowl
a whisk
5 brown paper shopping bags
plastic wrap
5 sheets of white tissue paper
15 sheets of grey tissue paper
5 sheets of grey card stock
1 piece of dark green card stock
hot glue
spray adhesive
scissors
string
- Gather your supplies.
- Blow up both of the balloons. Tape the smaller balloon to the front of the larger balloon with packing tape.
- Prepare the paper mache paste by mixing 2 cups of water and 2 cups of flour in the bowl with the whisk. It should be loose like pancake batter.
- Cut the paper bags into 2″ strips and thoroughly wet with water.
- Cover the balloons with a layer of plastic wrap so that when you pop the balloon later the paper mache shell doesn’t collapse.
- One by one, dip the paper strips into the paste, run each strip between two fingers to remove excess paste, then lay onto the balloons. Repeat with all of the strips, overlapping by 1/4 inch. Cover the entire balloon base.
- Set the paper mache base outside to dry.
- Once dry, the base should be hard.
- Lightly spray one section of the base with adhesive, then press white tissue paper onto it. Repeat until the whole base is covered.
- Cut two cones out from the grey card stock and tape onto the front and back of the base. These form the snout and tail of the armadillo.
- Lightly spray adhesive, then cover the entire animal with a layer of grey tissue paper.
- Cut strips of grey tissue paper about 3 inches wide.
- Fold the strips in half and cut fringe along the folded edge.
- Cut ears from the card stock. Cut a small slit, enabling you to fold the bottom to make the ears 3D. Hot glue the ears onto the top of the head.
- Using hot glue, begin glueing strips of fringe onto the body of the armadillo. Alternate directions, giving the fringe a banded look. Start and stop about 1/3 up the body.
- Once fringe is added over the top of the body, wrap a layer of fringe around the body edges, to form the edge of the shell.
- Wrap a strip of fringe onto the tail.
- Cut four paw shapes from the cards tock. Using the same technique as the ears, cut a slit then fold and glue the paws so they have some dimension. Glue them to the bottom of the piñata in the front and the back.
- Cut two closed eyes with eyelashes from the dark green card stock. Hot glue to the face above the nose.
- Cut four small holes on the top of the back and thread a piece of string through. Tie into a knot at the top and use for hanging the piñata. Cut a flap door into the back of the piñata, above the tail and use this to fill with candy. Hang, break, and enjoy!
Taco Twosday Birthday Party
Mexican-Inspired Stylo Magazine Shoot

