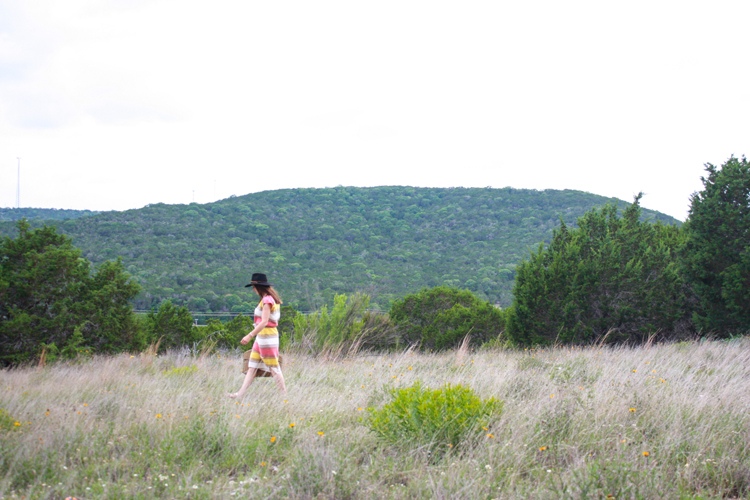
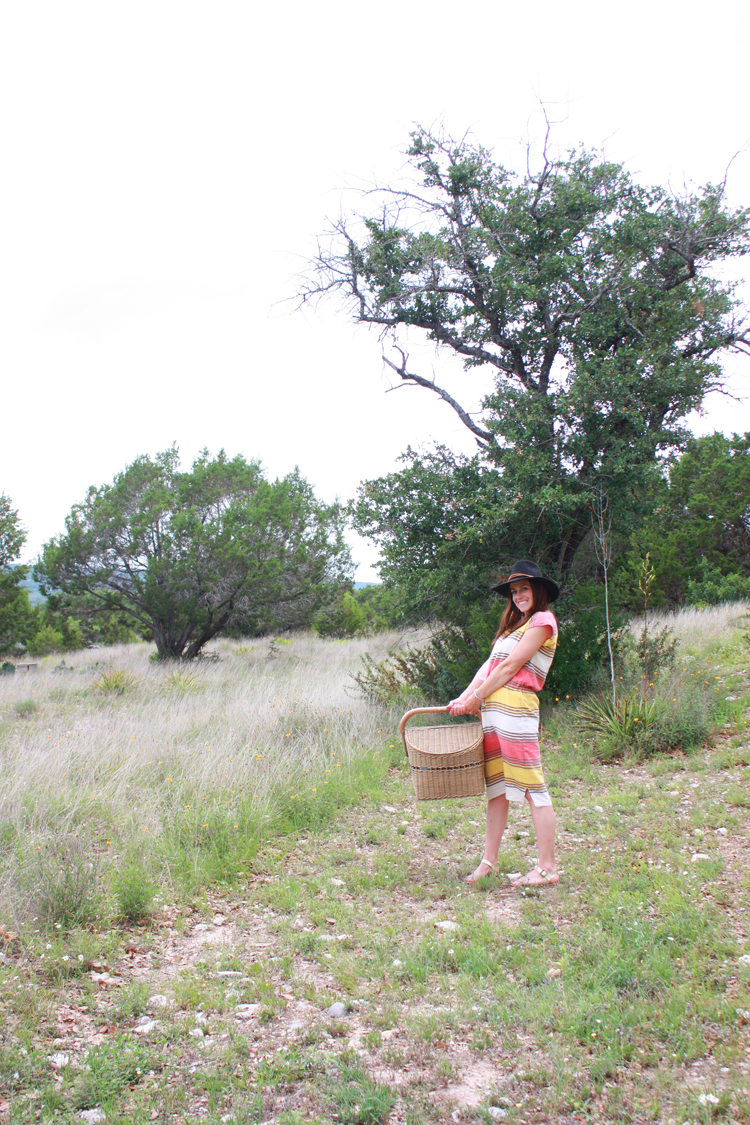
Ah, summer. It’s arriving in slow, subtle awakenings here in the beautiful Texas hill country. First were the brilliant blossoms along every roadside, wildflowers as far as the eyes could see. Next came the buds on my new trees, fuzzy and hopeful (then turning slowly brown and dry as I’m just learning how to water regularly). Day by day my layers have become lighter, and these last few days I’m breaking a sweat even while sitting still if I’m in the sun, rather than tucked into the safety of the shade.
We moved to Austin exactly one year ago, and even though it’s creeping up quietly, I know what’s in store for the summer months: heat and humidity, sun and sweat. I can’t think of a better way to prepare for the Texas Summertime than sew a super simple, lightweight sundress for Melissa’s 30 Days of Sundresses Series.
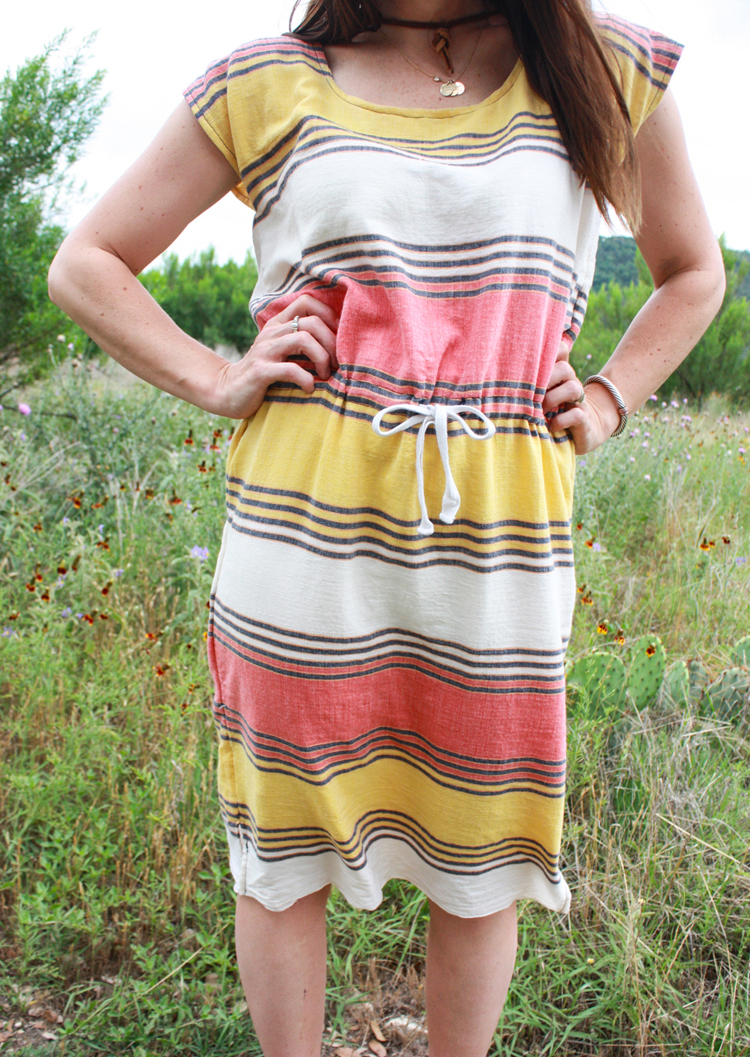
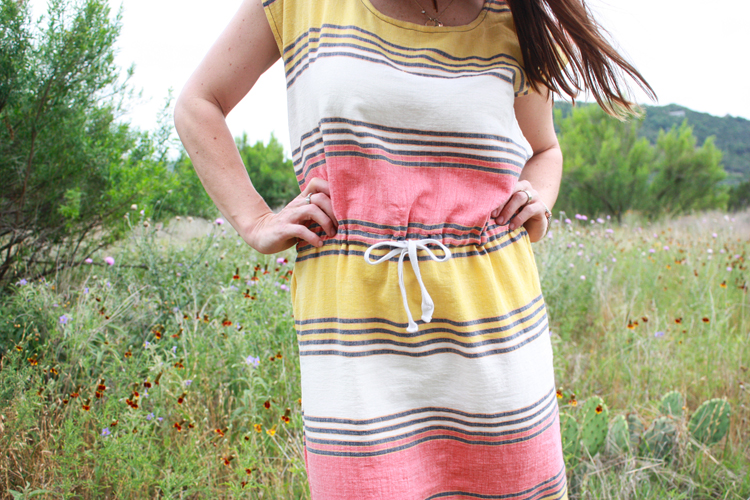
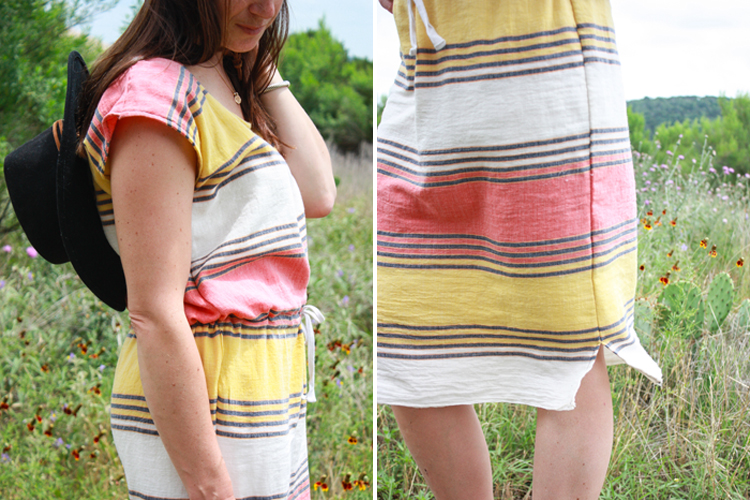
Because of the breeziness and sheer properties of single gauze, which make it perfect for summer, I took advantage of needing to line it (with a second layer of the same exact fabric) to try a new seam style that I think you’ll like. It’s crazy easy and creates beautiful French seams without even trying. You probably won’t see this in a fashion sewing textbook, but as I’m self-taught, I allow every corner-cutting liberty that I can find improves upon my final product. Ready, Set, Sew!
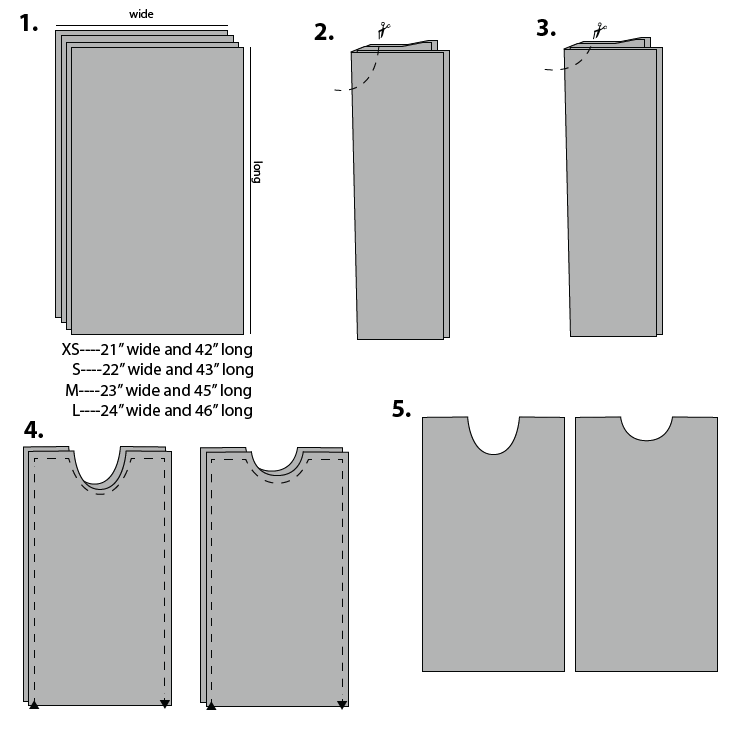
1. Measure and cut four rectangles of gauze (or another lightweight summer fabric) according to the size chart above.
2. Fold two of the rectangles together lengthwise and measure 5″ across and 5″ down from the center top fold. Mark and cut round for the front neckline.
3. Fold the other two rectangles together lengthwise and measure 5″ across and 2″ down from the center top fold. Mark and cut round for the back neckline.
4. Place right sides together of both front pieces. Use a 1/4″ seam allowance and start sewing at one hemline. Sew up one side, across the shoulder seam, around the neckline, and back down to the hem. Repeat on the back pieces.
5. Turn both front and back dress pieces right side out, using a point to turn the corners, and press seams flat.
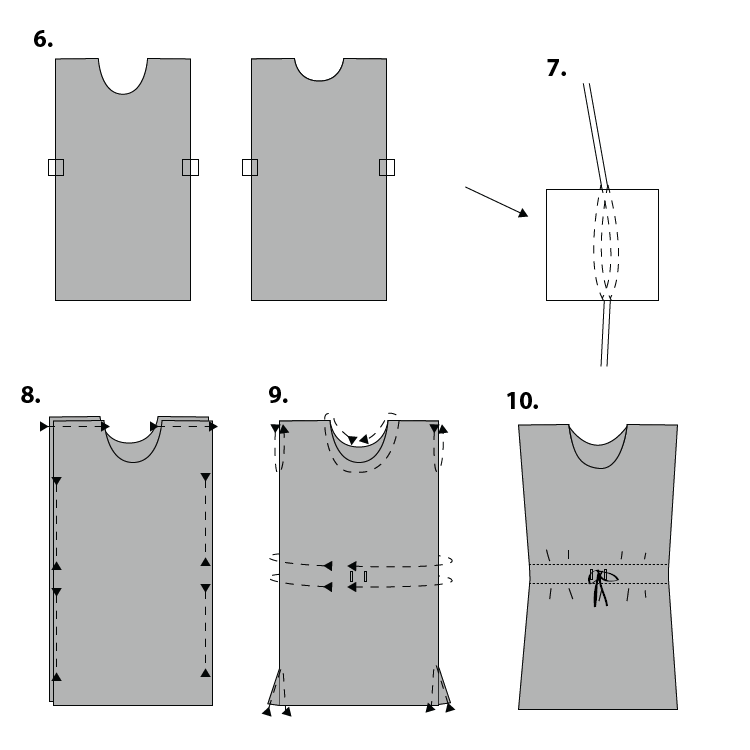
6. For optional drawstring, measure where you’d like your drawstring waist and mark the fabric. Unpick both all four side seams in between the 2″ of the waistband casing location.
7. Place right sides together of the holes you just created in the side seams. You’ll do this, then have to flip on of the pieces back inside out to get to where you can sew around this hole, creating a casing passage for the drawstring.
8. With both pillowcase-style pieces placed together (both sides should be right sides at this point as the wrong sides are all inside with the seam allowance) use a 5/8″ seam allowance and sew across the shoulder seams. Measure 9″ down from the corner and start sewing the side seams, using the same 5/8″ seam allowance to sew down both sides (stop and start again on either side of your drawstring casing, if you are doing one). Stop sewing the seam 3″ from the bottom of the dress to leave a short side slit on either side. At this point you could also turn the hemline under and finish it with a rolled hem. I used the selvage on my gauze so I just left the hem raw.
9. Turn your dress right-side out, with all of those beautiful, crazy-easy French seams on the inside of the dress and press flat. Topstitch around the neckline, both arm holes, and up and around each side slit. If you are creating a drawstring waistband, mark your center and create two button holes through ONLY the outer layer of the fabric in the front. Then sew two even lines around the dress through both layers, above and below the button holes, creating a casing for the drawstring between the outer and lining layers.
10. Pull your drawstring through the casing and enjoy your summer!
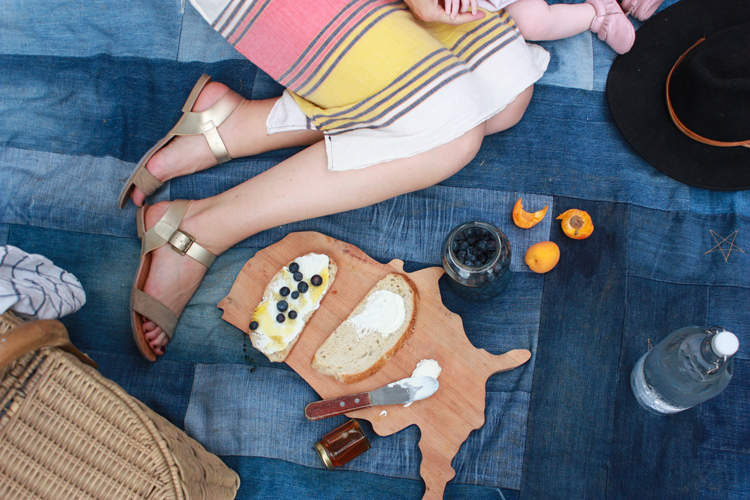
I’m so happy Melissa invited me to join the sundress party this year! Be sure to check out the other 29 days of free sundress tutorials happening this month on Melly Sews.

