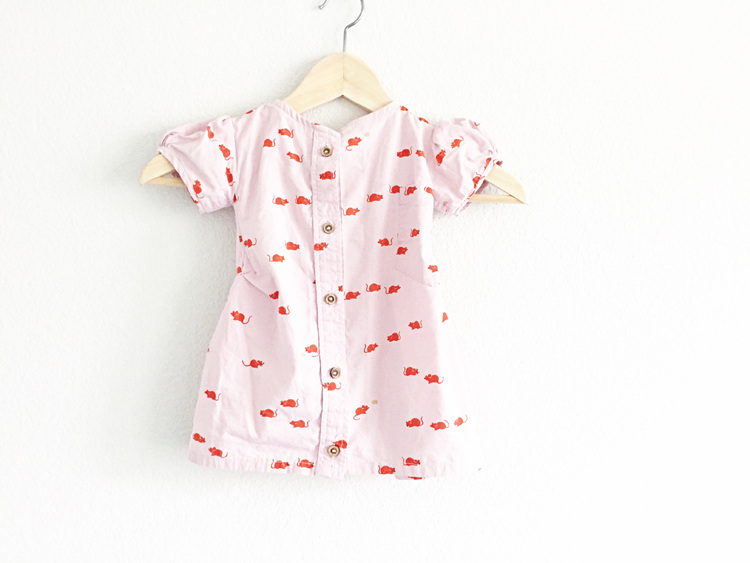
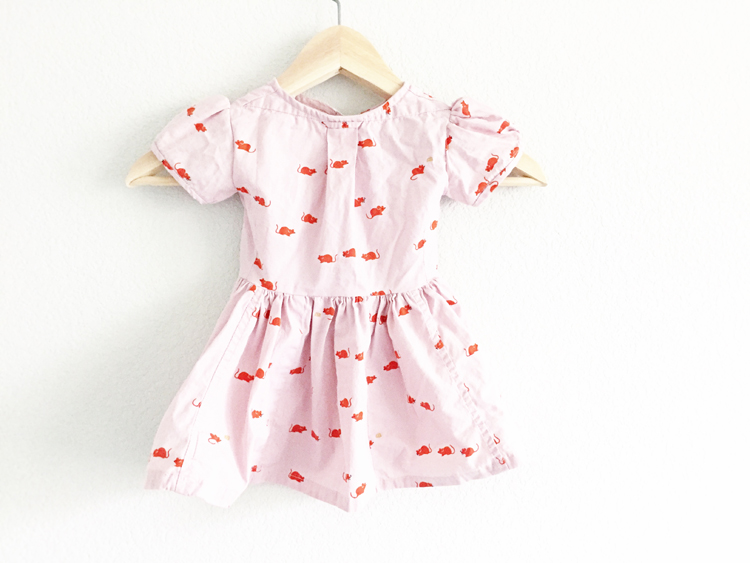
I’m a sucker for fabric. I think most seamstresses are. The problem with having a fabric love affair, is that I’ve begun to see anything that is made of fabric as just fabric itself. I see curtains and think “Wow, those would make a great pillow!” I see a fantastic silk dress and dream of cutting it up into a kimono. Duvet covers become jackets in my head. So, when I’m going through my closet to purge unused clothing, it only makes sense that the best fabrics don’t make it to the donation center. The best fabrics simply move from my bedroom closet to my studio closet to become different clothes.
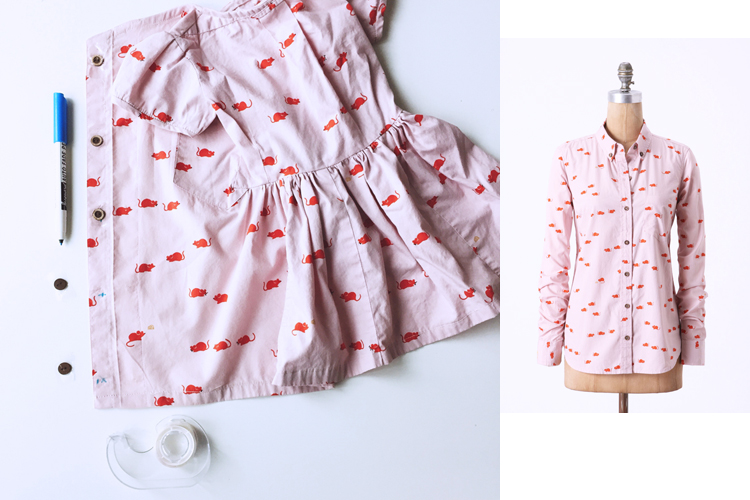
Read on for a better idea of how I put it all together, with some illustrations to guide if you decide to give it a try:
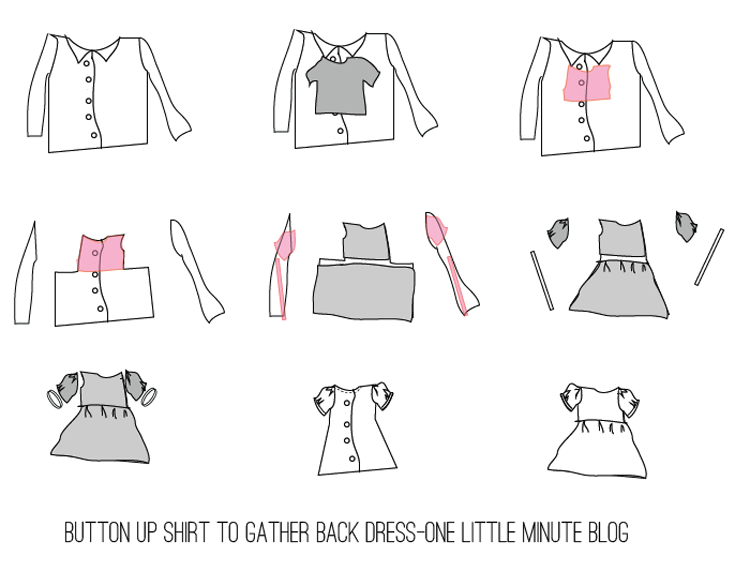
I used a tee shirt from my daughter’s closet to get the sizing of the bodice. Lay it on the shirt and add about an inch of seam allowance+ease along the side seams and shoulder seams.
Trace around the tee with a disappearing ink marker or chalk, along the shoulder seams (you’ll cut the sleeves later) then cut around the bodice.
Cut through both the front and back of the shirt at the same time, leaving the skirt piece along the bottom intact on the side seams as illustrated.
Now flip the shirt over and cut straight along the skirt line, only through the back piece of the fabric. This separates the bodice so you can gather the skirt.
With right sides together, sew the shoulder and side seams of the bodice together.
Trace around the shirt sleeves adding a couple inches to the top and hem for gathering. Also, Cut some strips to make into bias tape for facing the neckline and hemming the sleeves.
Sew the sleeves into rounds, and gather both the shoulder and hem of the sleeves, and all along the bodice edge of the skirt, starting and stopping at the front bodice side seams, that are still intact.
Turn the bodice and skirt inside out, match up the right sides of the gathered waistline, and sew along the waist, reattaching the now-gathered skirt to the bodice.
Sew the bias tape into rounds that will fit the arm, using the original tee as a size guide. Bind the hem of the sleeves with the bias tape.
Match the gathered edge of the shoulder with the right sides of each arm hole, and sew into place.
Use the bias tape to bind the neckline, starting and ending with the button placket.
If needed, hem the skirt to the desired length.
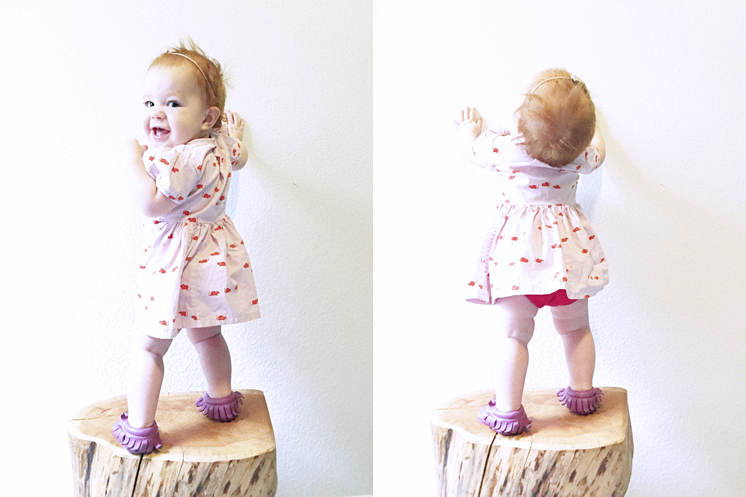
I always knew I would love having a girl to sew for. And I was right!

