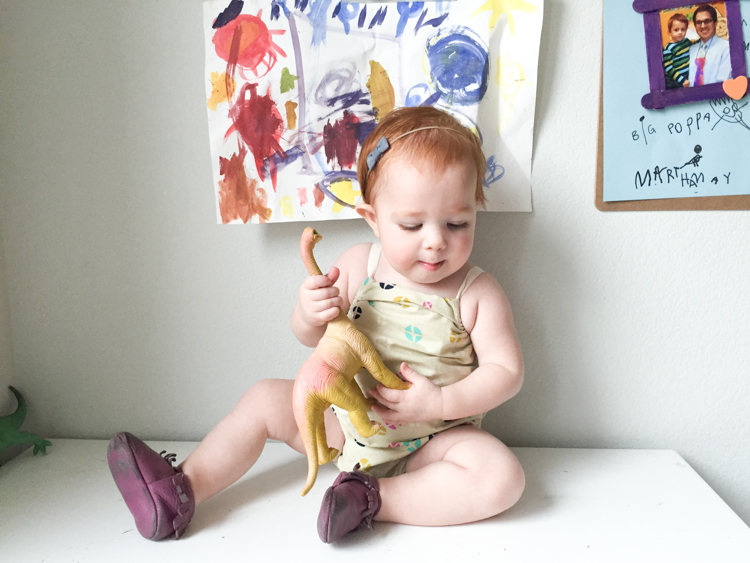
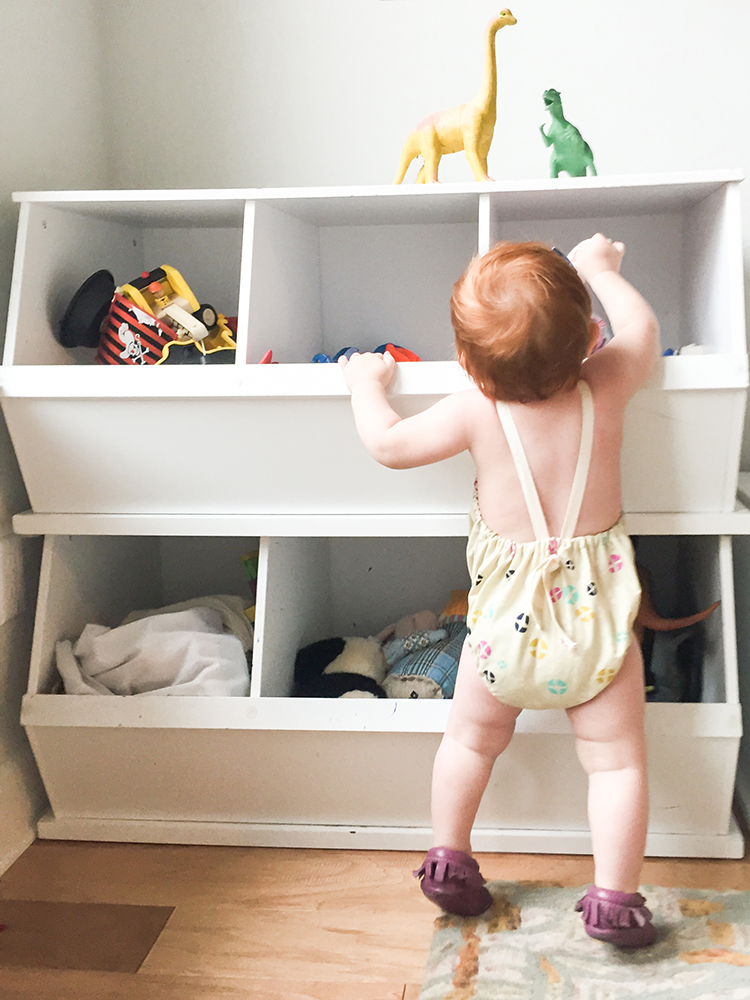
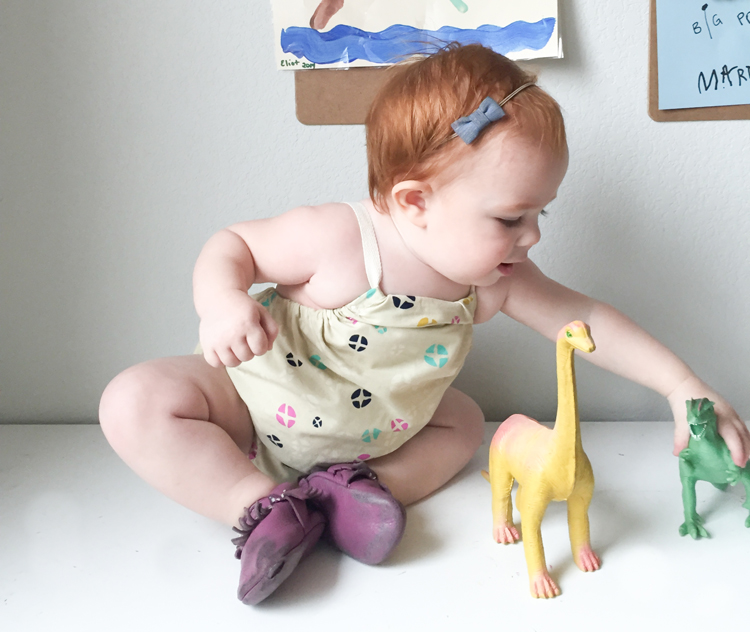
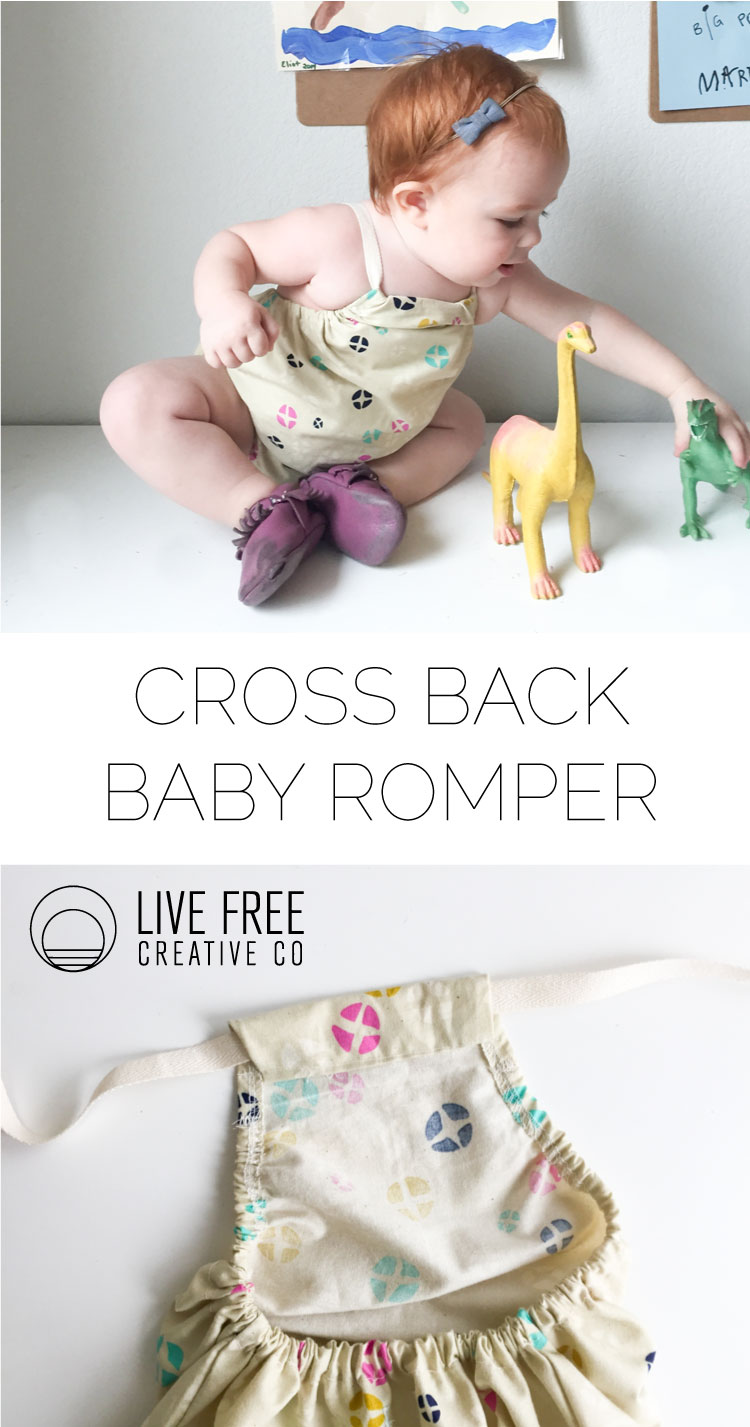
Today we went hiking and got sun-kissed. Being outside in the warmth made me excited all over again about the impending summer and all of the fun that we have in the outdoors. Texas is blissfully hot, and most days we try to get away with as light and little clothing as possible and appropriate (this Texas Summer Dress is one of my go-tos!) I imagine Plum will spend most of her days this summer in something like this darling cross back baby romper. It’s minimal and well-fitting, with just enough fun design detail to make it look intentional and baby-chic. 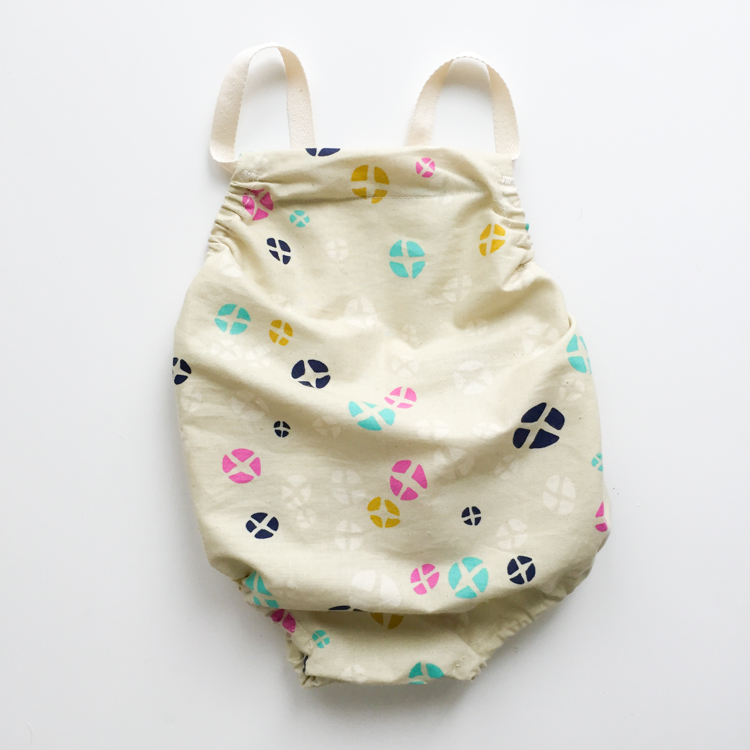
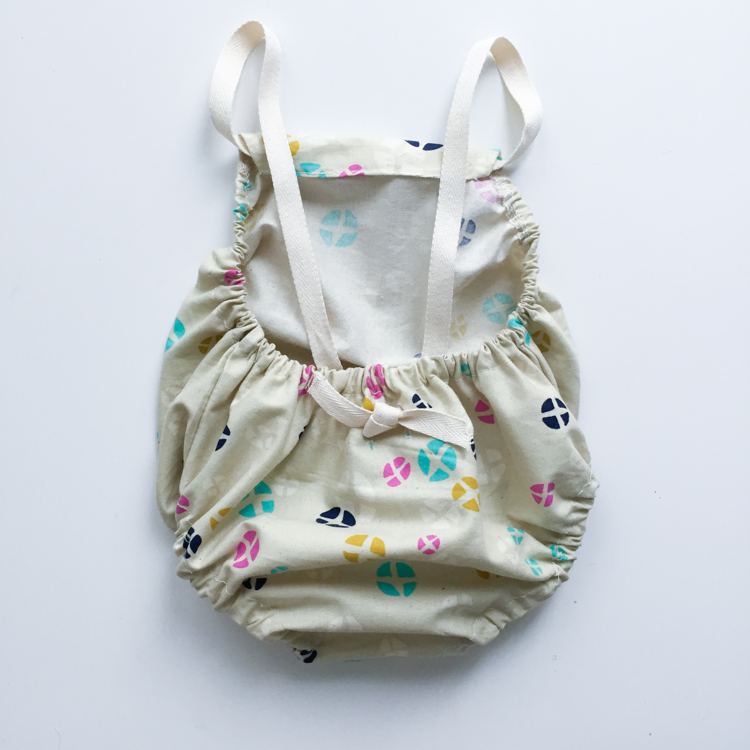
For this romper you will need:
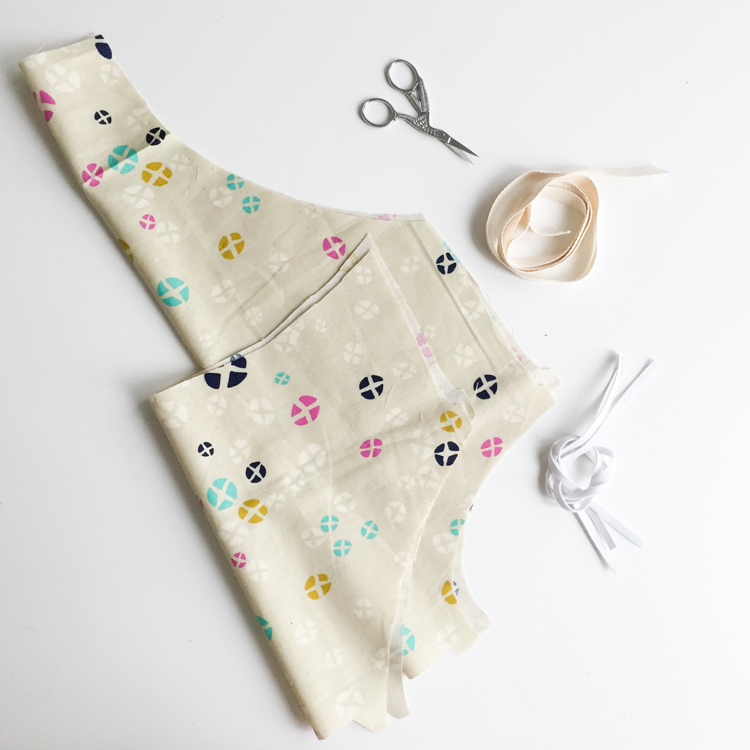
1/2 yard of fabric
1.5 yard of 1/2″ elastic
1 yard of 3/4″ twill tape or ribbon
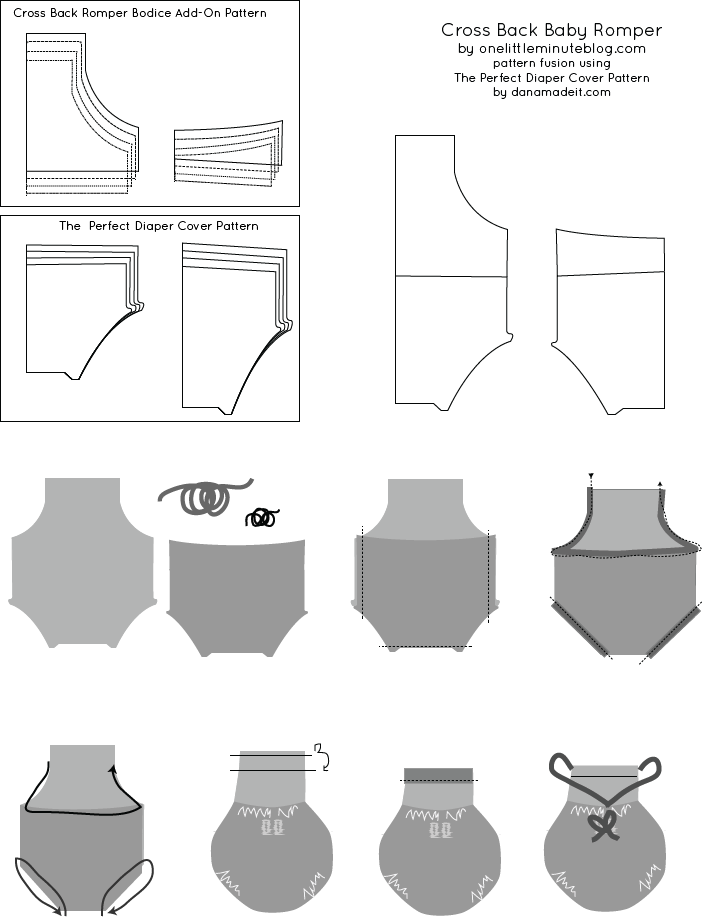
Print both patterns and line them up as written. Then align the bodice pattern pieces with the diaper cover pieces as shown in the illustration and written in the pattern. Make sure that the fold for the patterns is along the same edge for both the bodice add on as well as the diaper cover. Choose your size and cut around the entire outline of each piece. Cut the leg elastic and waistband elastic as written in the diaper cover pattern. You will use the same lengths here.
With right sides together, sew along the side seams and crotch of the romper.
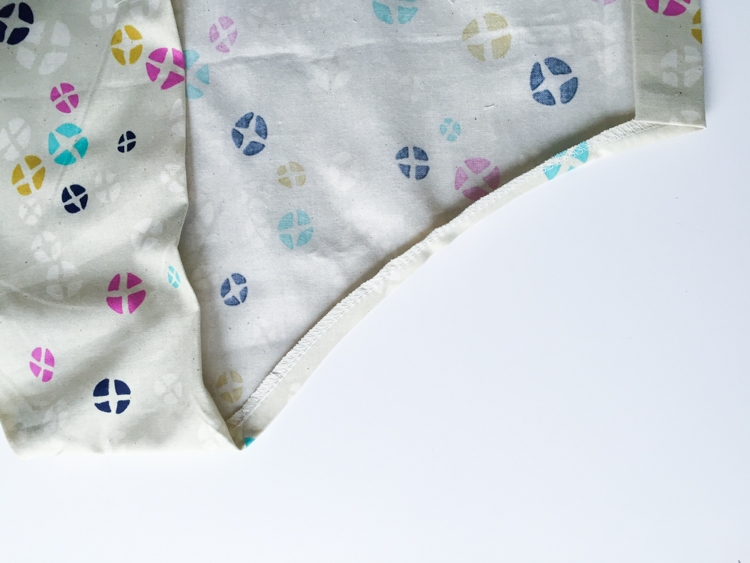
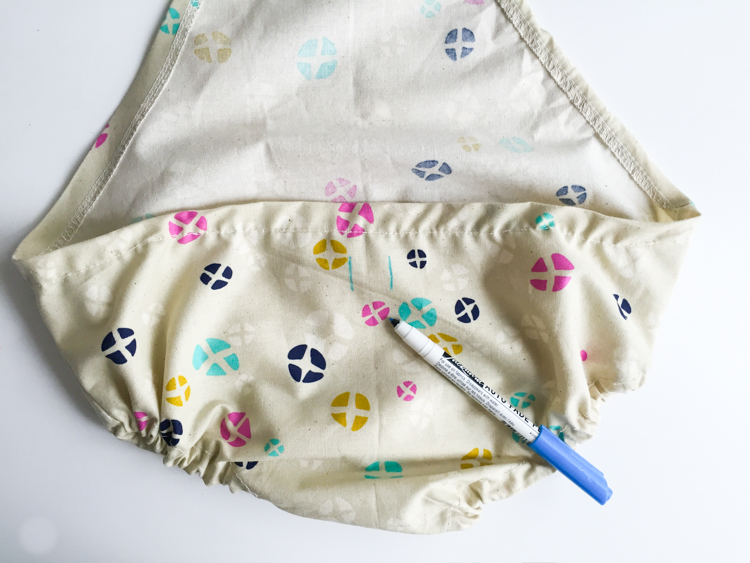
Thread the elastic through the leg openings and sew together, then stitch the casings closed. 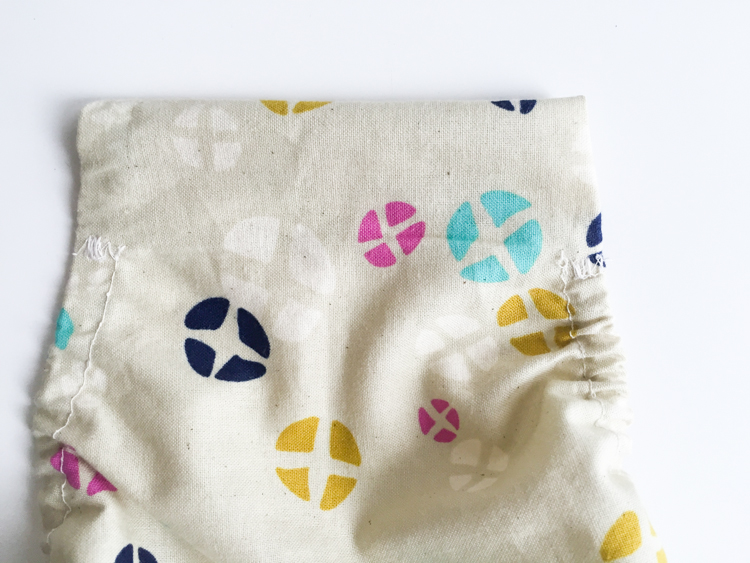
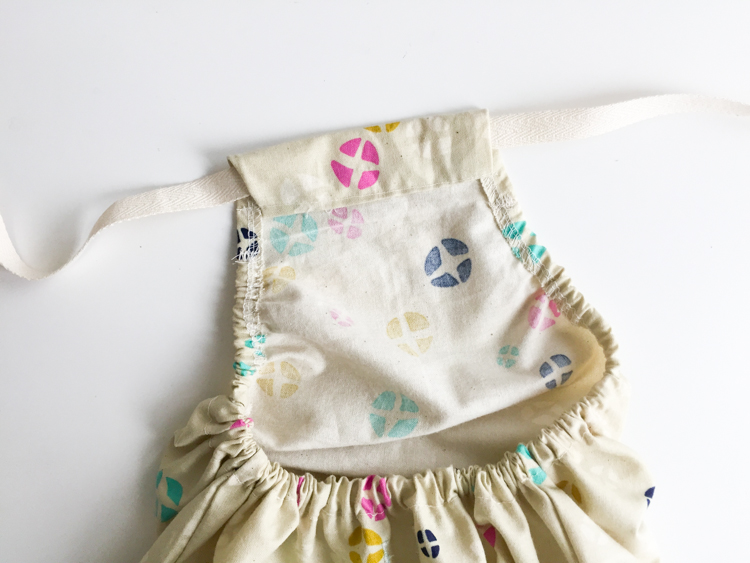
Fold the top edge under 1/2″ and then 1″ and stitch down to create the twill tape casing. Thread the twill tape through the casing, cross it in the back and thread it through each button hole.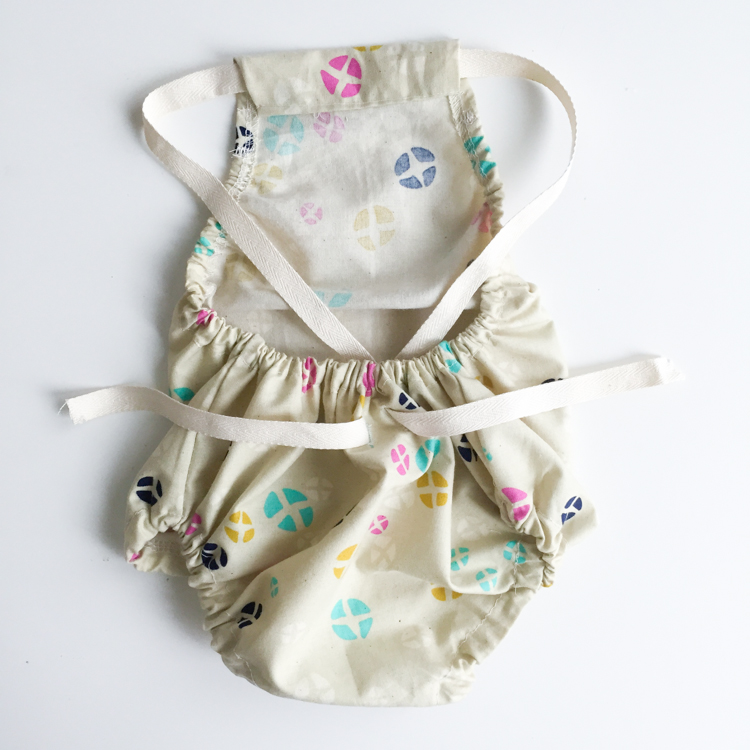
Nothing better than chubby baby thighs in rompers. I die. You’re welcome!

