DIY Painted Floral Tea Set
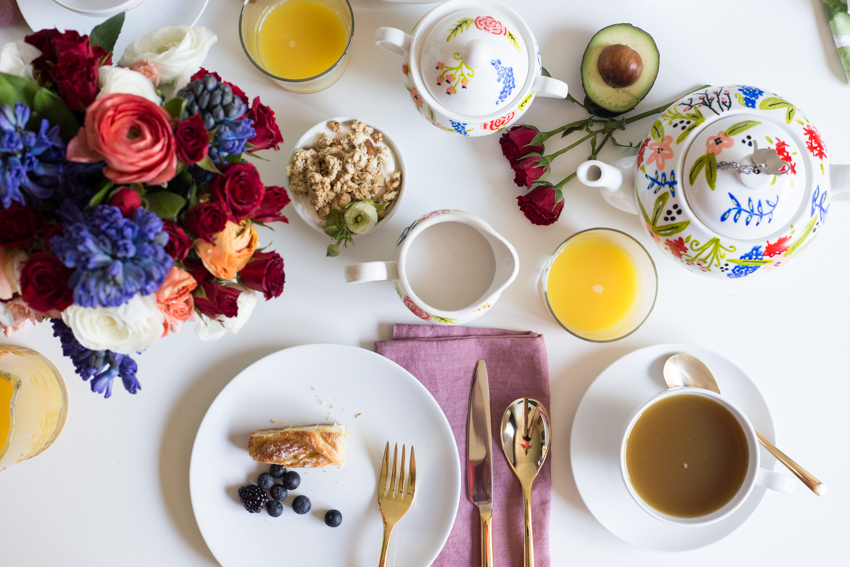
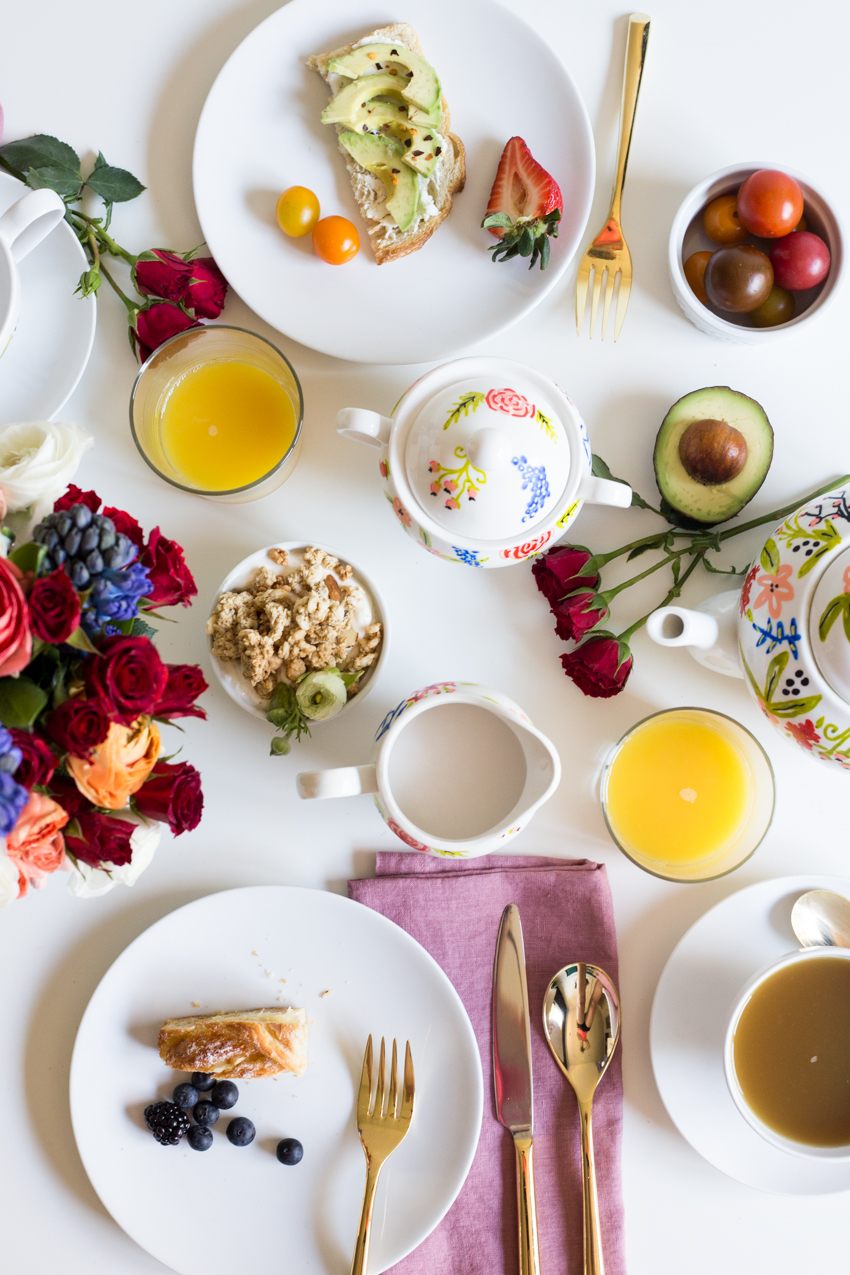
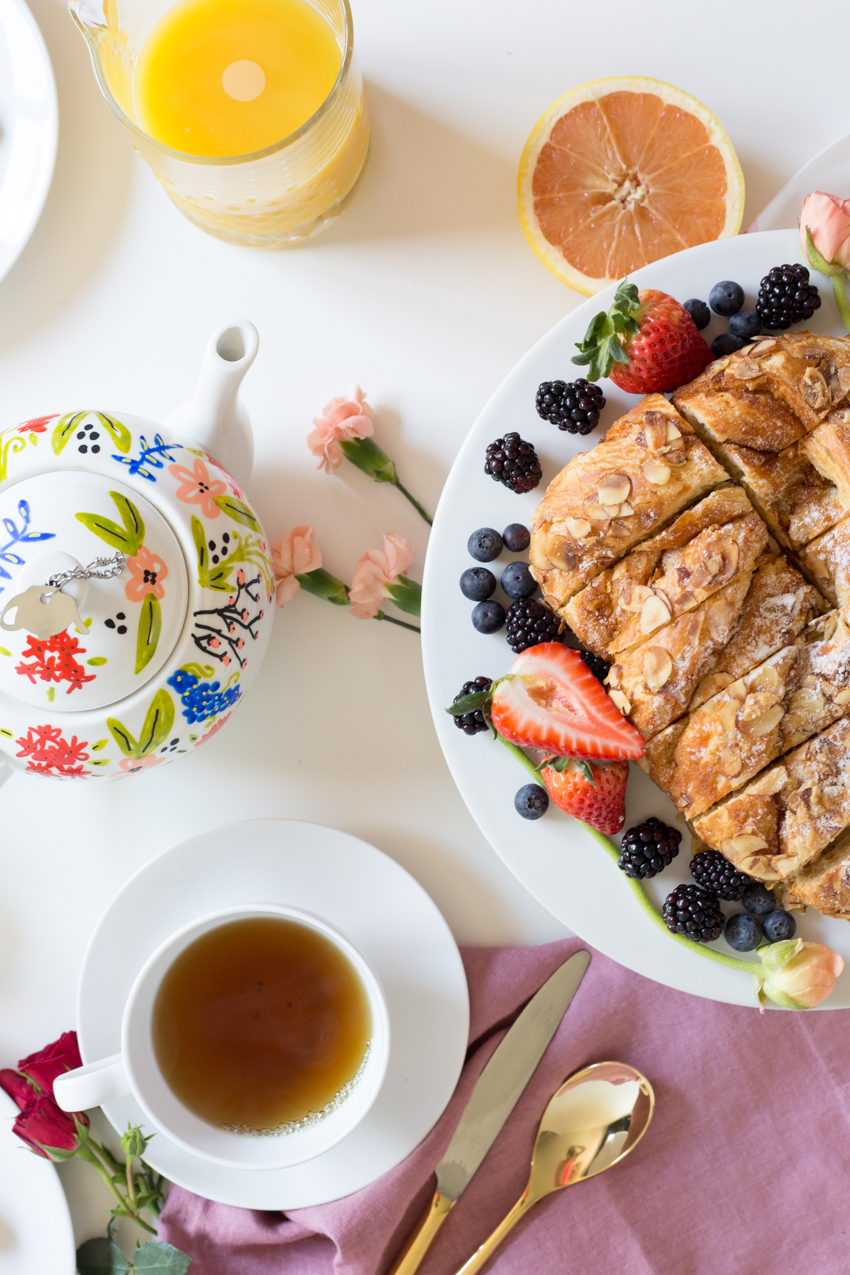
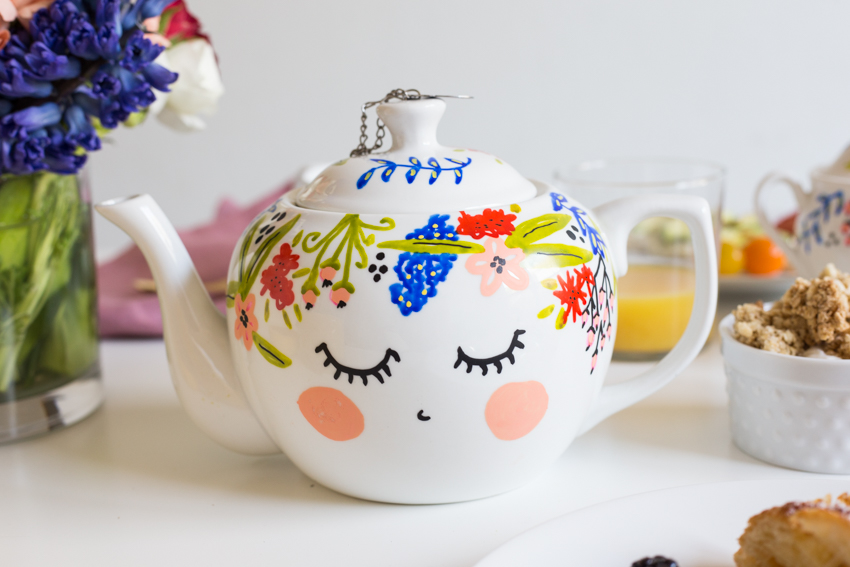
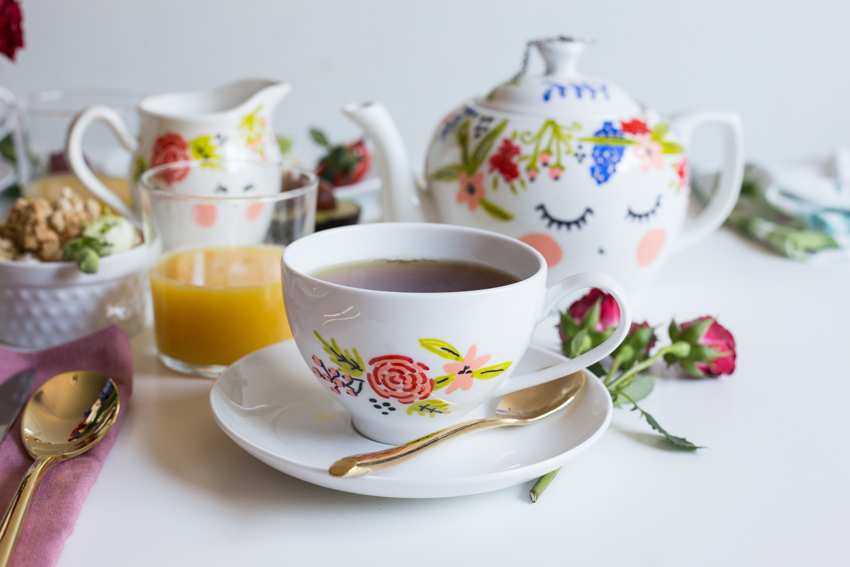
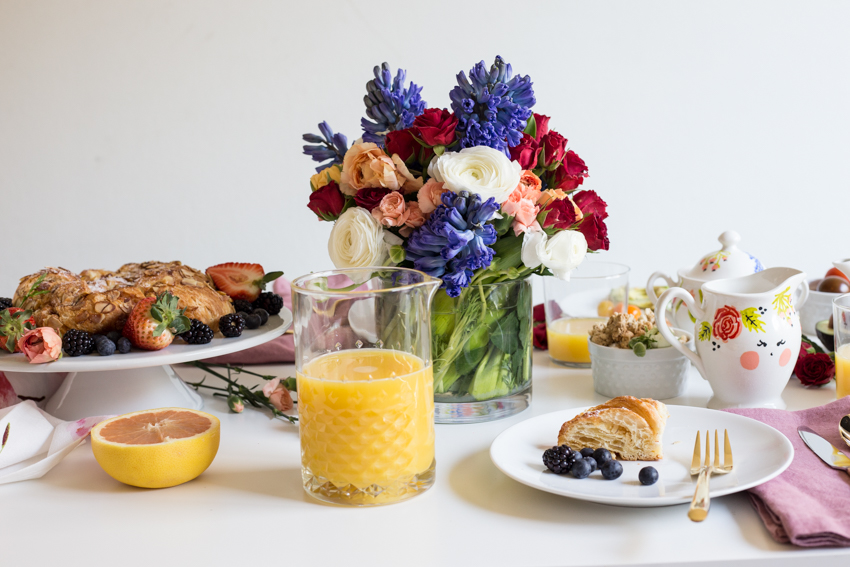
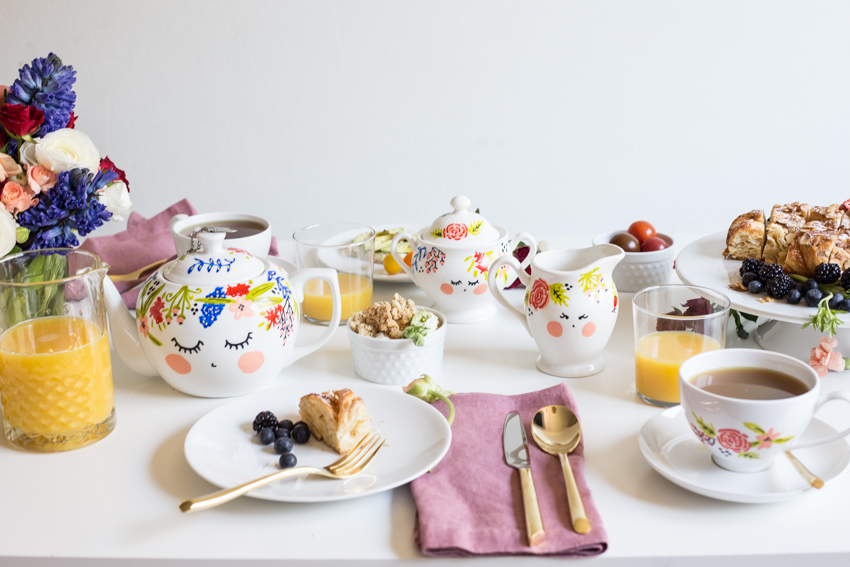
Mother’s Day is fast approaching. What a beautiful holiday to celebrate the wonder of motherhood and the women in our lives. I also equate Mother’s Day with a gorgeous and delicious brunch, so this year I created a festive painted floral tea set for the occasion.
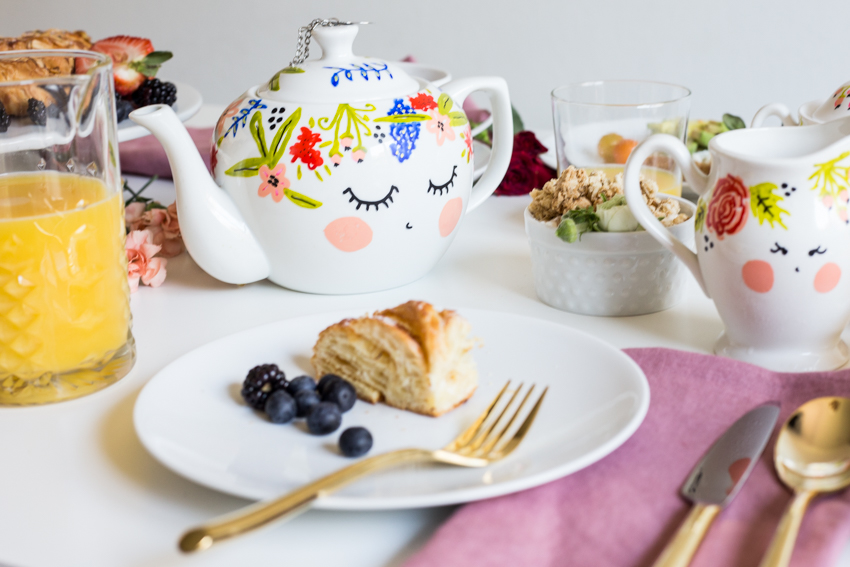
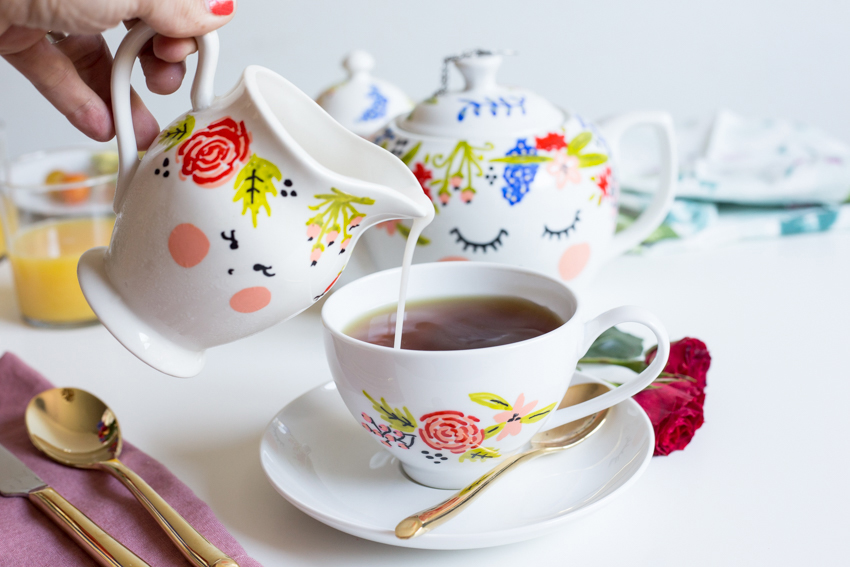
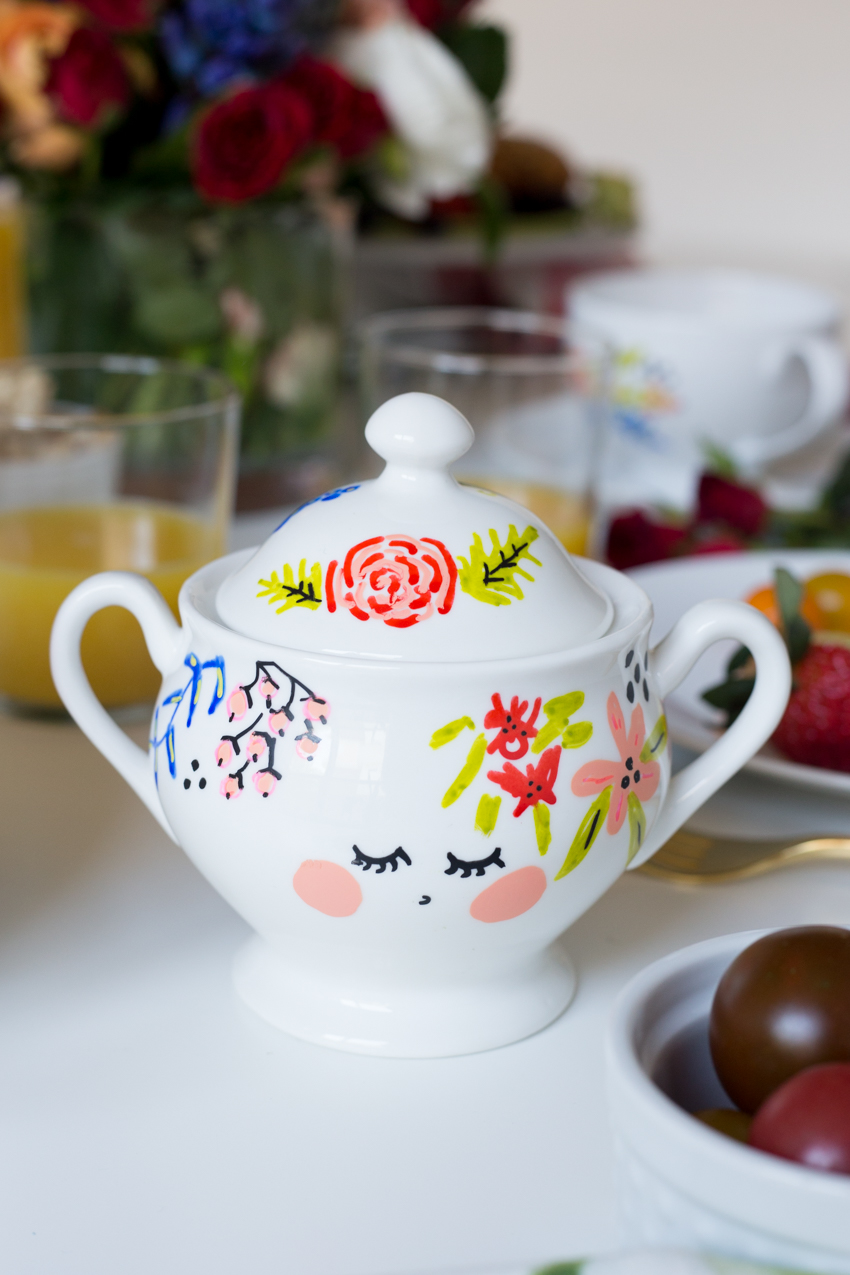
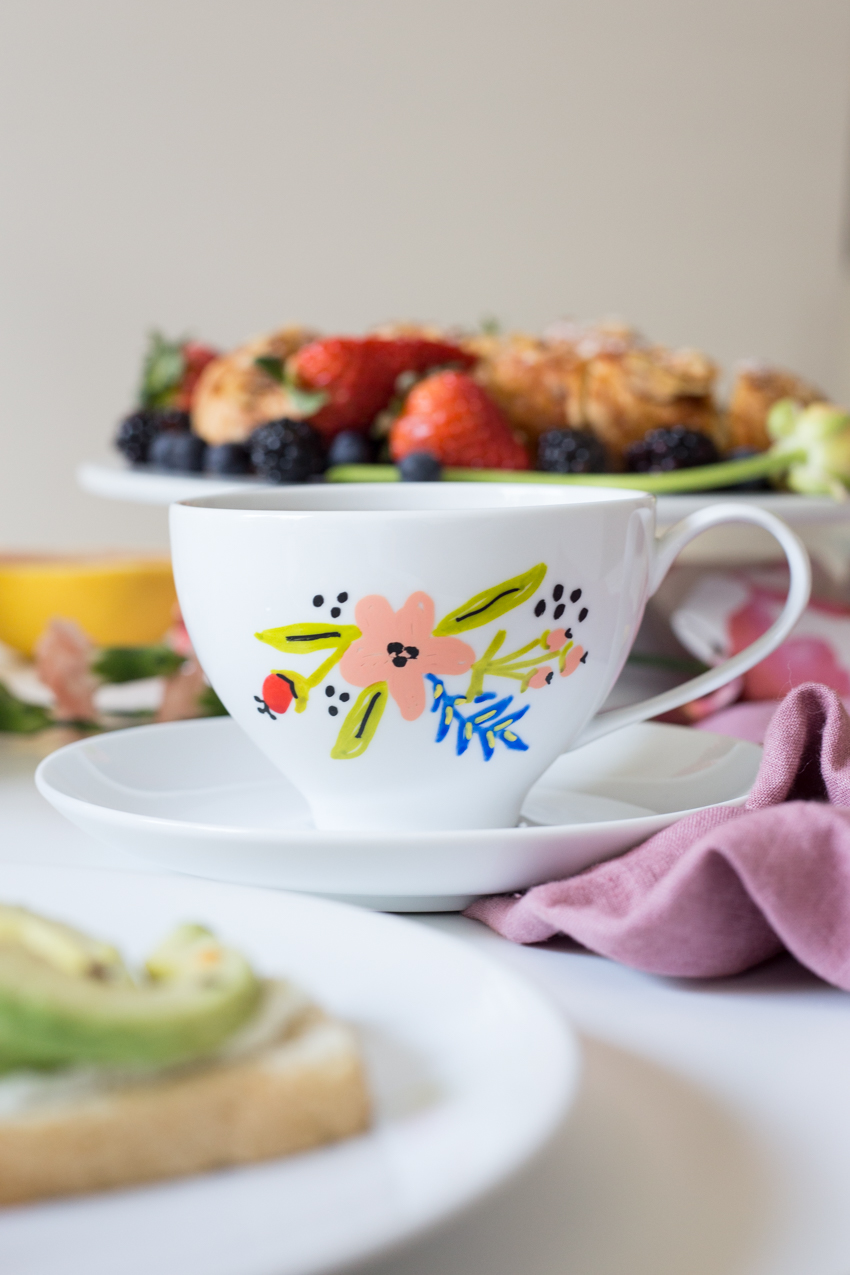
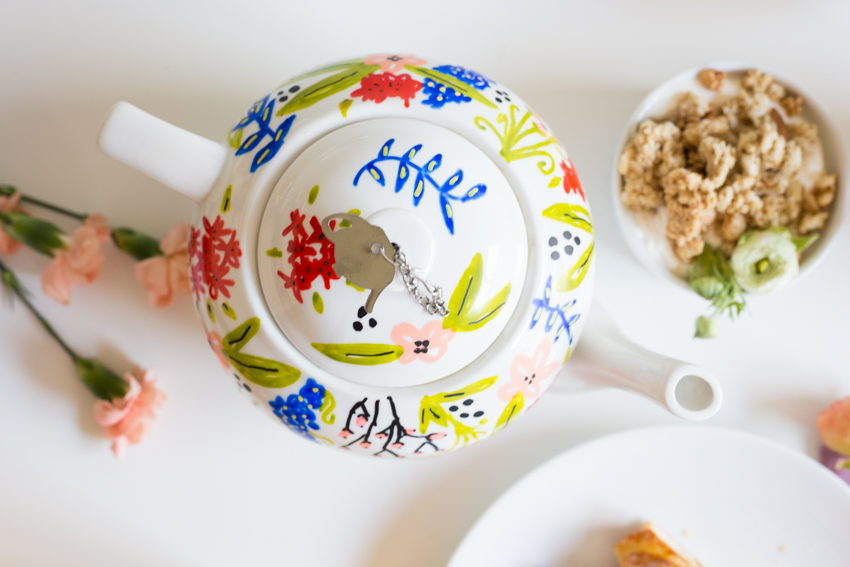
For this painted floral tea set I chose some spring coral pinks, accented by a pretty indigo blue and red. I also used a lot of black to add definition to the designs, which modernizes the patterns and makes them pop.
How to begin:
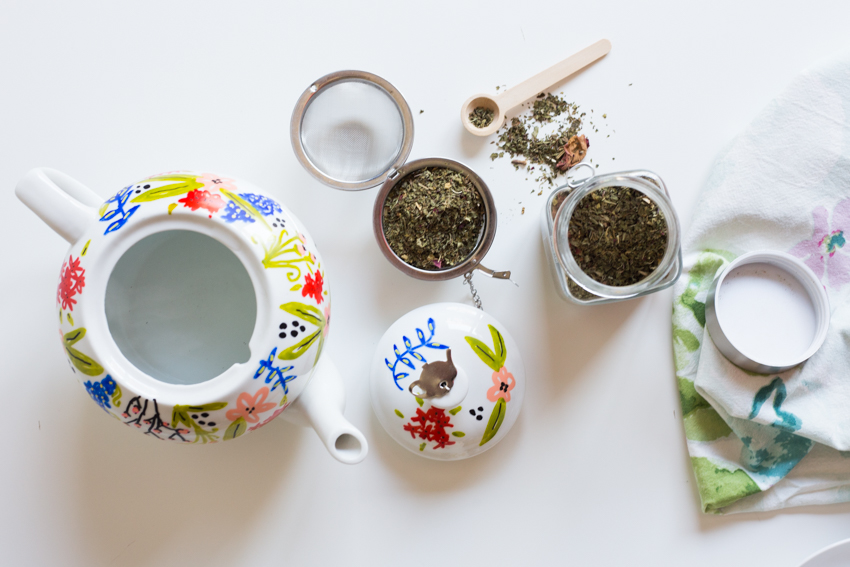
I began with just the plain white ceramic tea pot, then couldn’t resist also grabbing a creamer, sugar bowl, and two tea cups and saucers to complete the set. Add in some pink linen napkins, gold flatware, a low cake plate, and my favorite crystal cut juice pitcher, and your Mother’s Day brunch table is complete.
Gather Your Supplies
To make your own DIY Floral Painted Tea Set, here’s what you’ll need:
white ceramic tea pot
creamer
sugar bowl
tea cups
several colors of painter’s oil-based pens
clear coat spray sealer
Instructions
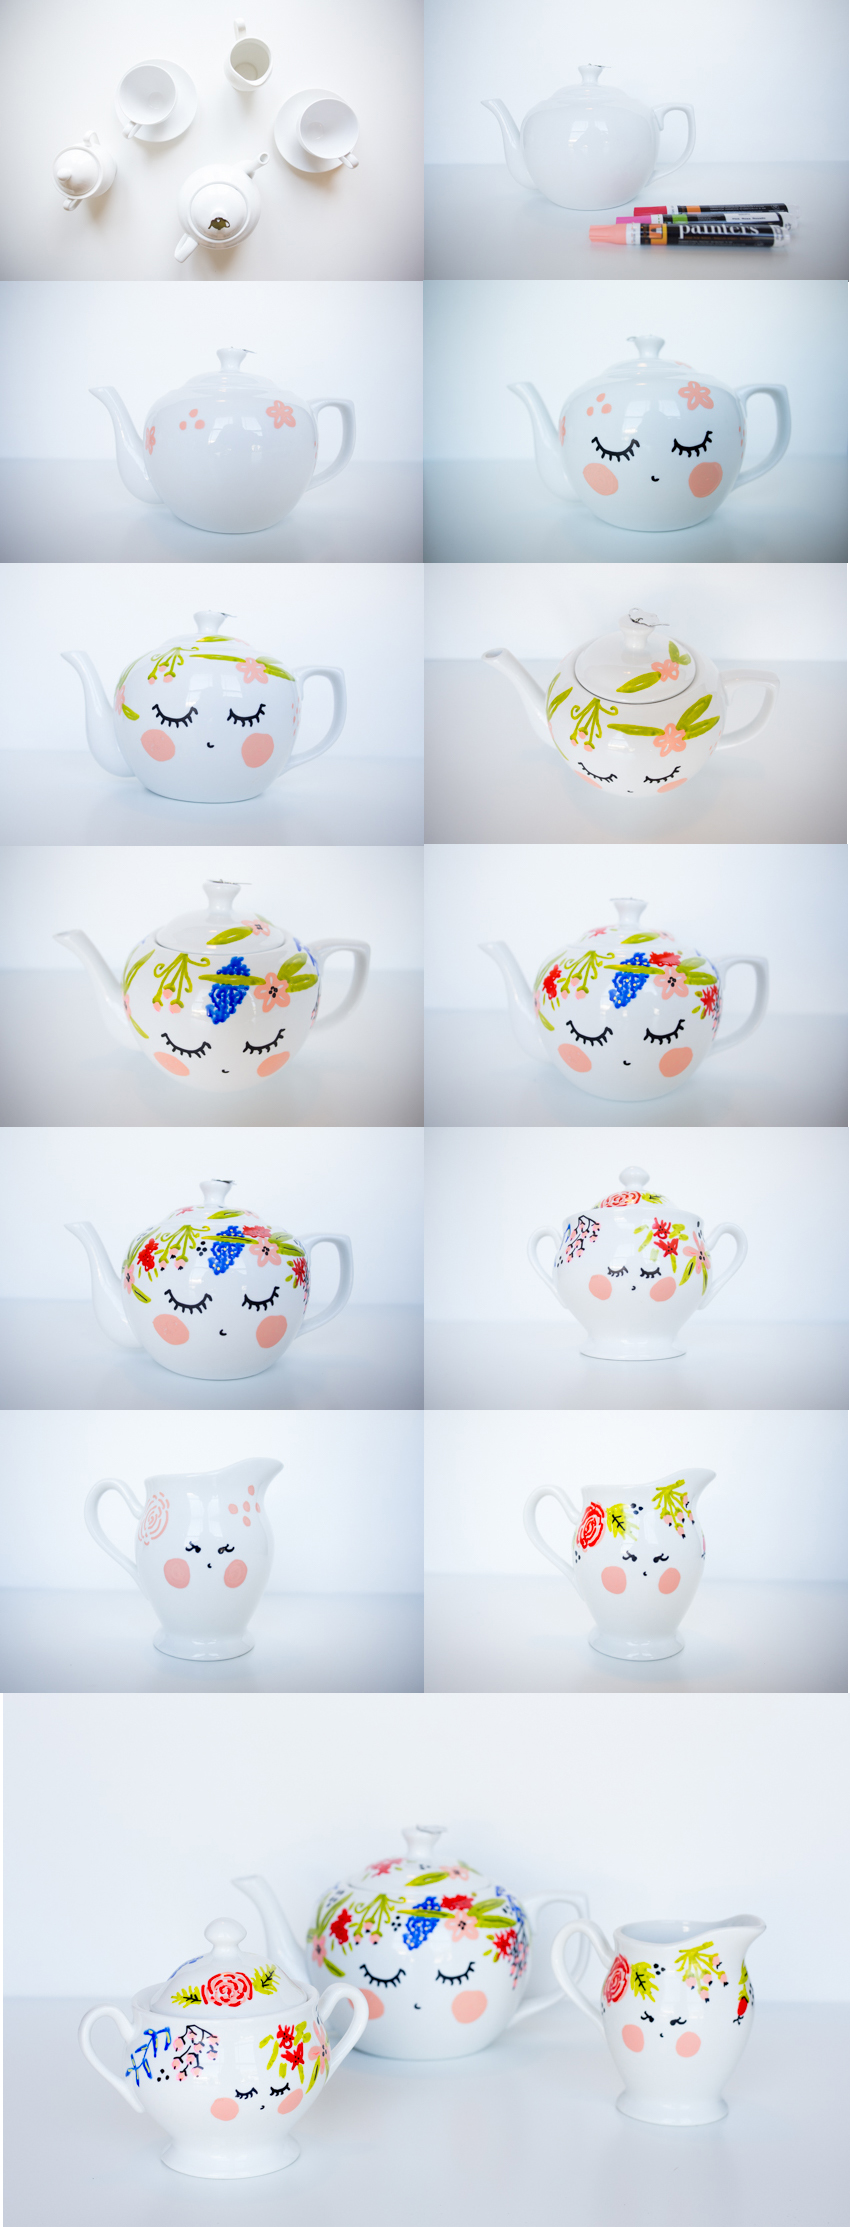
- Begin by washing and drying all of the ceramics.
- Choose the first piece, and a lighter color to begin with.
- Add a few small flowers, and buds to the top of the pot, around the edges.
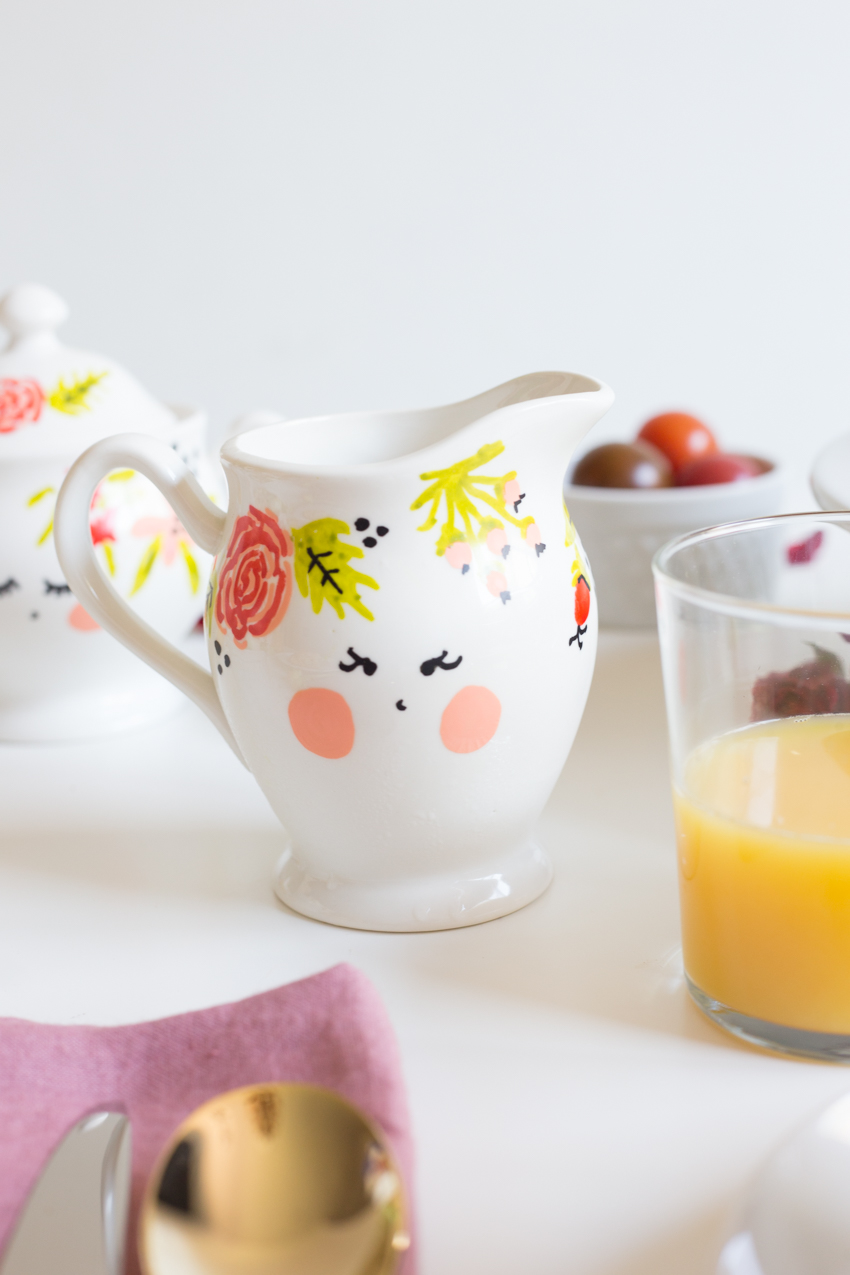
- Using the black pen, add eyes and a nose. With pink add big, round cheeks
- Add green leaves and stems to the first round of flowers and buds, filling some of the empty space between flowers.
- Choose a second flower color and add buds and blooms in two or three places around the pot.
- Use the fourth color to add some additional blossoms in the rest of the empty space.
- Use the black pen to add dots, leaf lines, and details to the floral pattern.
- If you make a mistake, the pen easily wipes off of the ceramic while it is wet. Keep some paper towels or wipes on hand for corrections.
- Once you are happy with your design, bake the painted ceramics in the oven for 30 minutes at 350 degrees.
- Let the baked ceramics cool completely. Spray each ceramic with a coat of clear coat sealer. Let dry again.
- Once baked and sealed, the painted ceramics will be gentle hand-wash only and the painted designs will stay on permanently.

