DIY Mexican Star Piñata
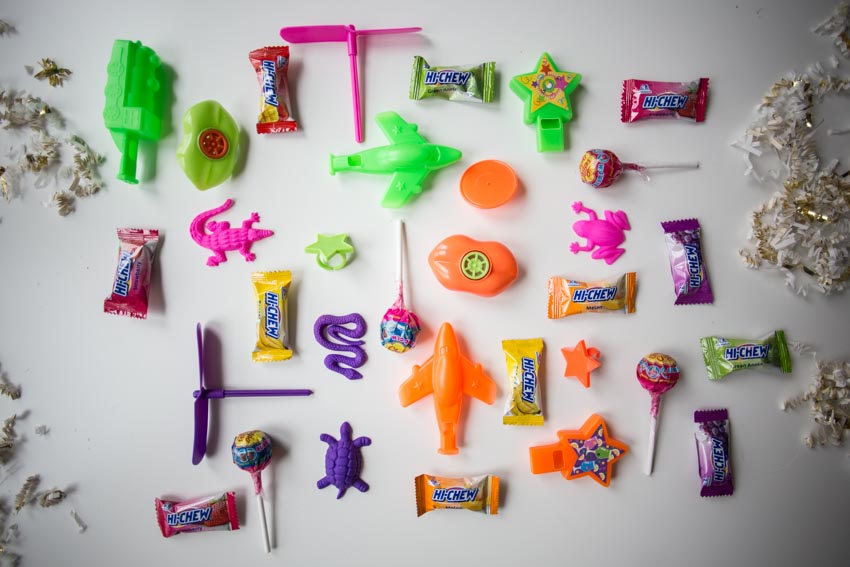
With Cinco de Mayo around the corner, I get excited about filling a special piñata with treats and toys for our annual fiesta. I learned to love piñatas on a childhood trip to Mexico, and we have made them part of our family culture ever since. (My husband and I even had a piñata at our wedding dinner!)
There are lots of really beautiful piñatas available, and it is especially fun to make them in custom colors and shapes to fit any theme or event. Find simple instructions for your own DIY Piñata at the end of this post.
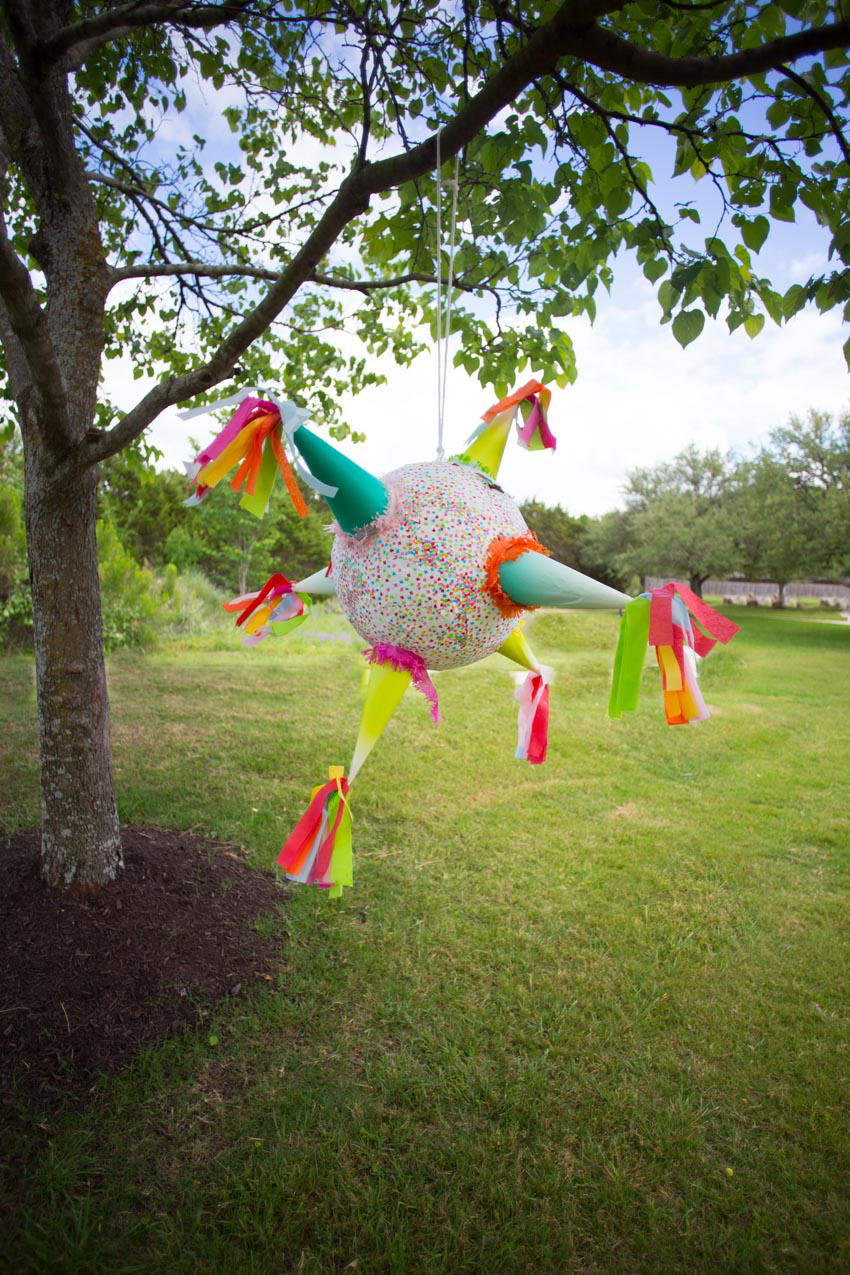
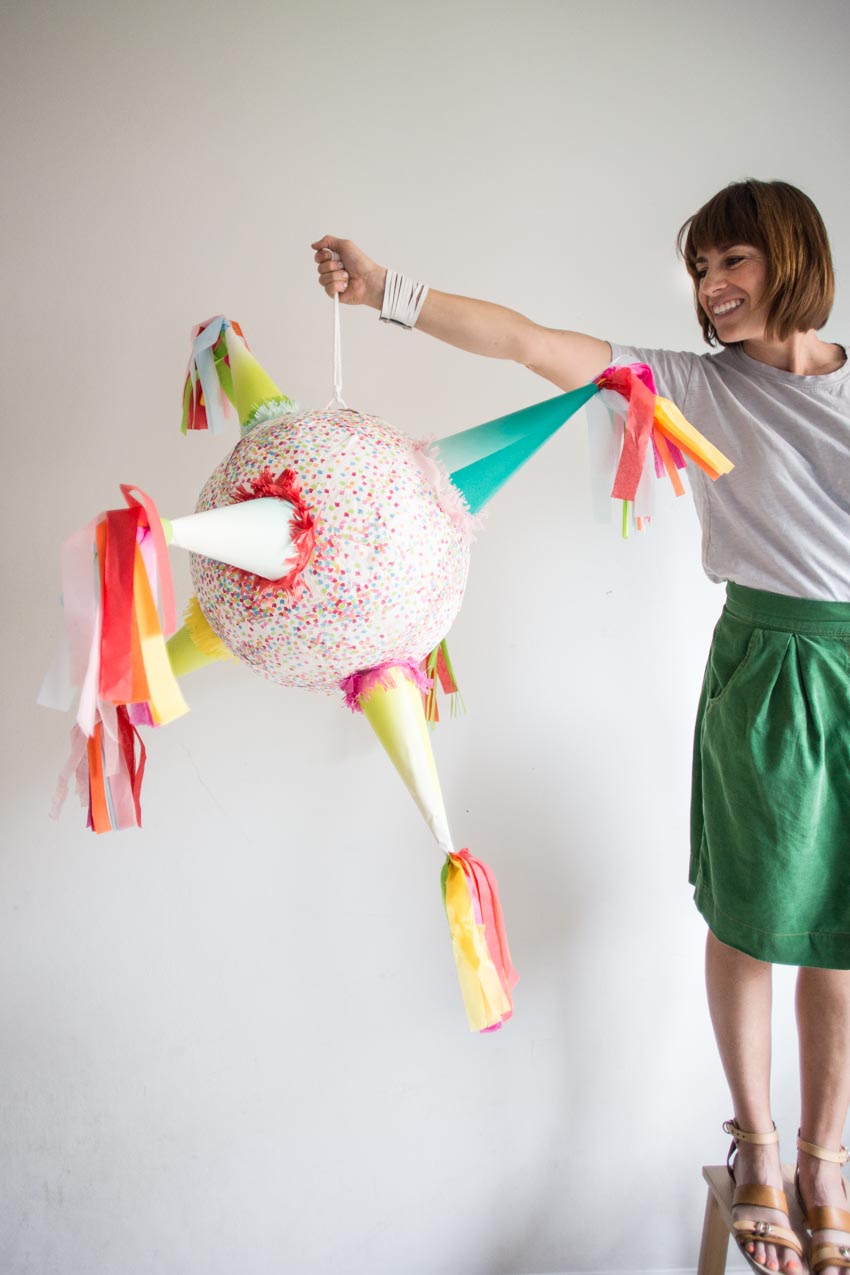
This Mexican star style is very traditional, and also easy to make! The base is a large balloon, covered in paper mache, then once it is dry, the wrapped cones are added to create the colorful and festive shape.
You can use wrapping paper for to add color and pattern to your design. Using gift wrap as the paper mache eliminates a step and makes the making process just a little more simple. The papers can be easily mixed and matched for the style and colors you want for your party. 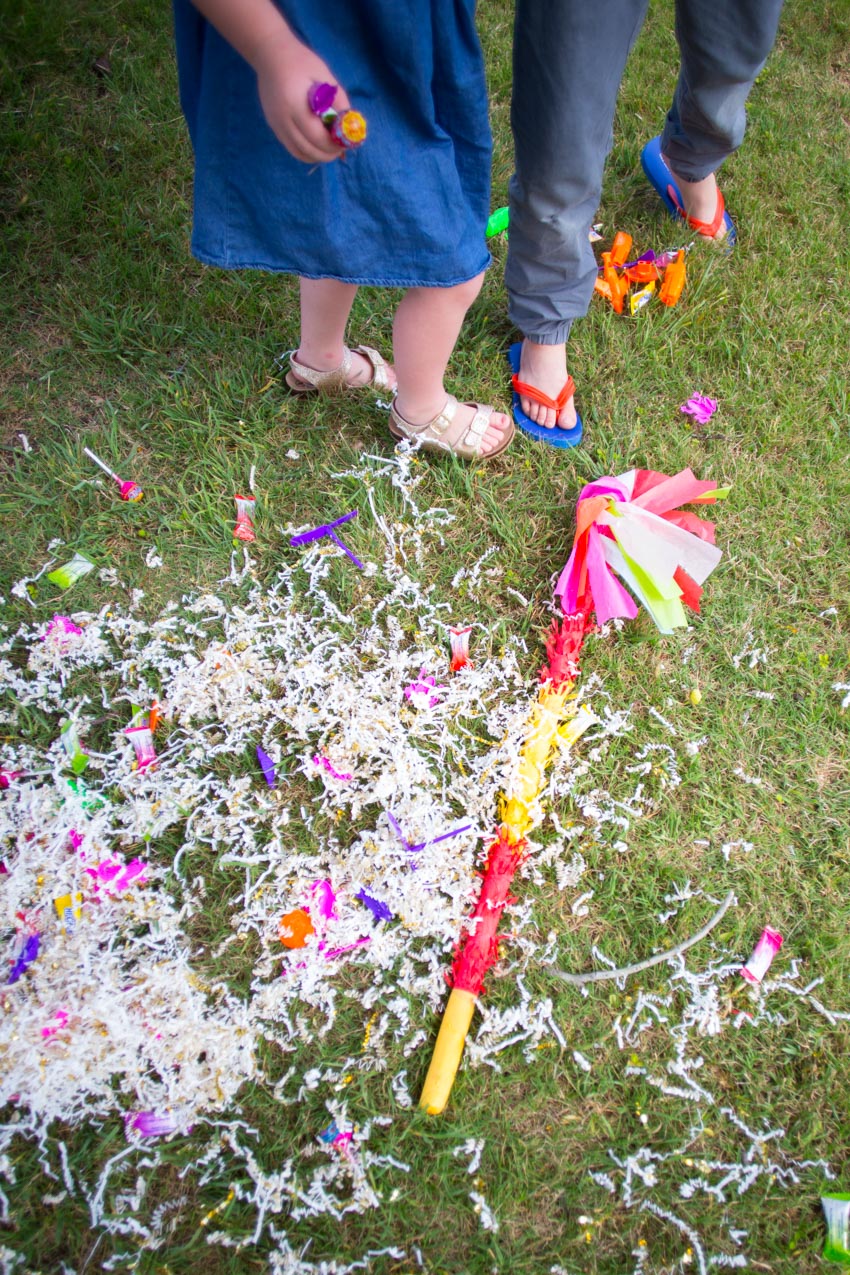
Piñata Time
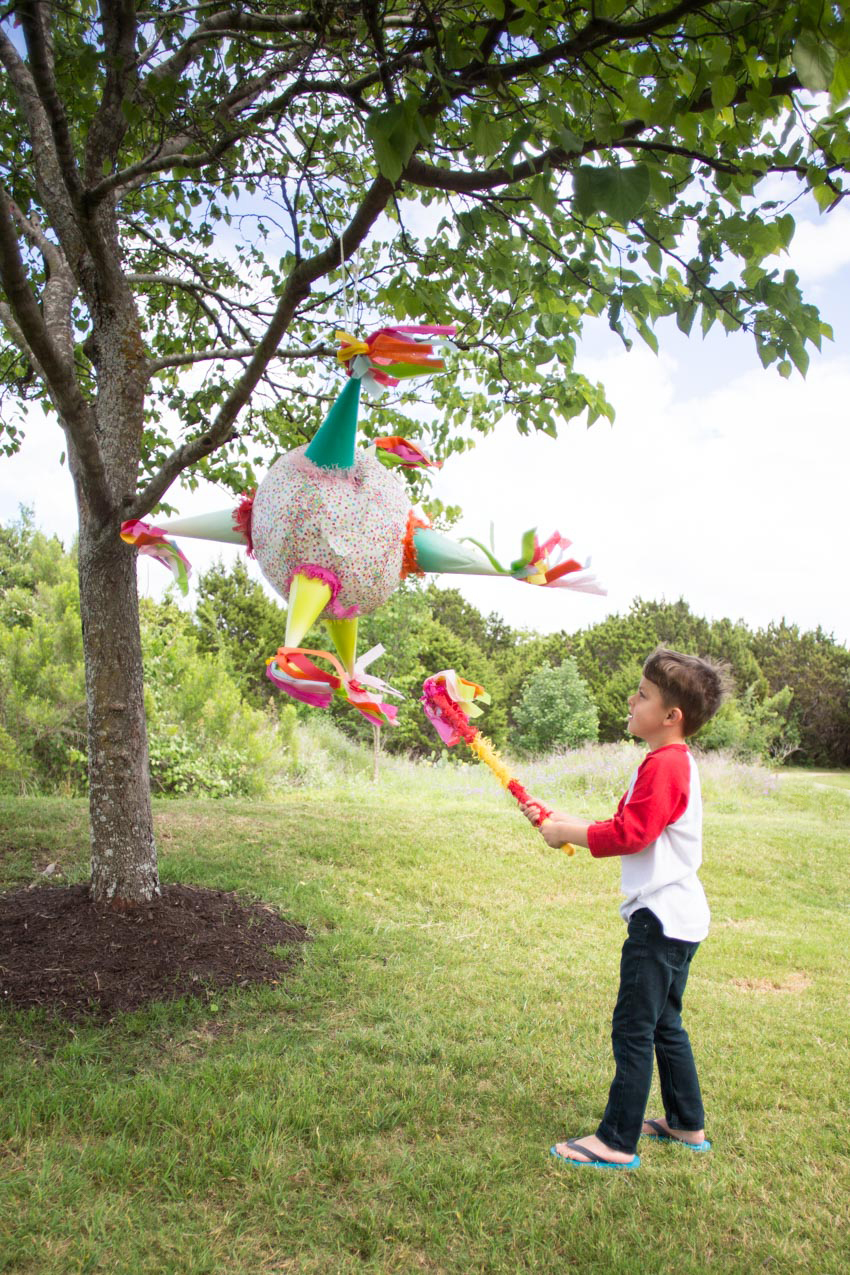
We always have the kids line up youngest to oldest to take turns hitting the piñata. With young kids, we don’t use a blindfold so they have a better chance of hitting the mark.
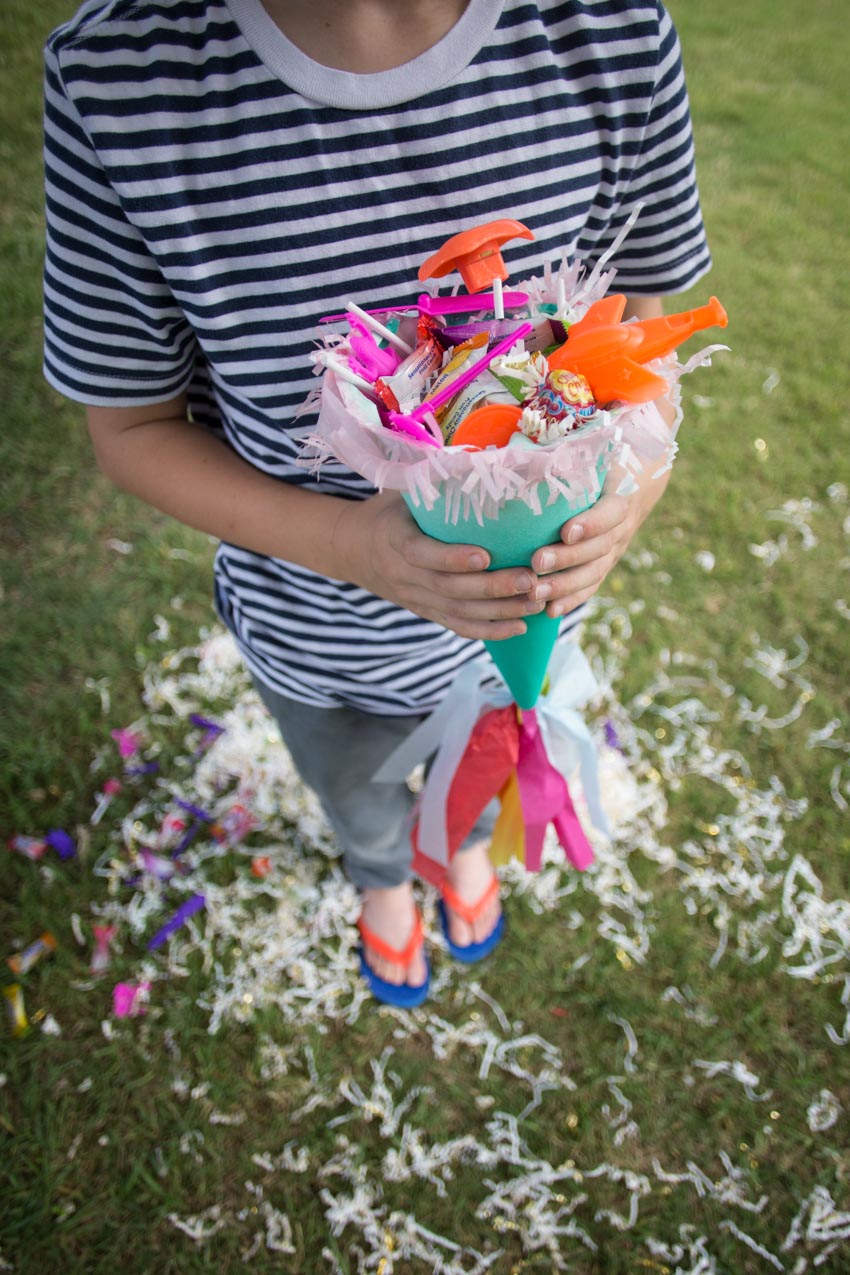
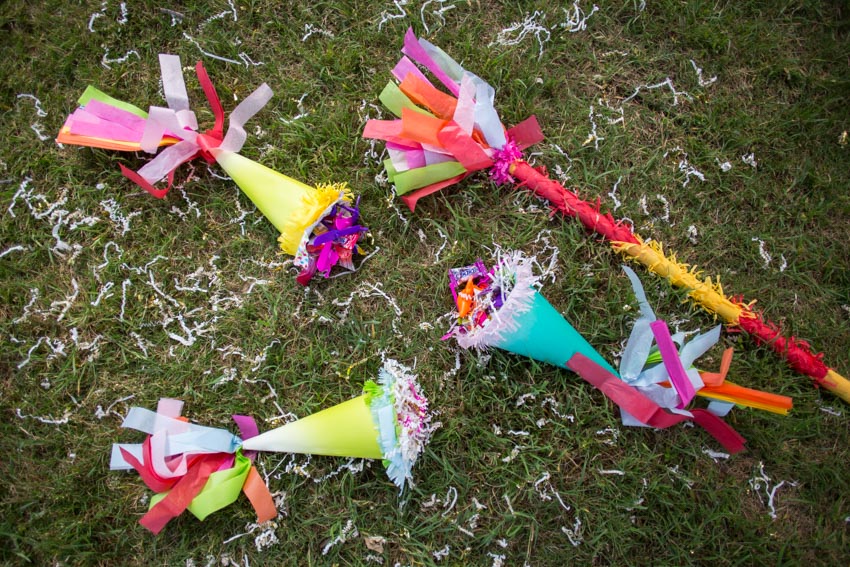
When the candy flies and kids start to gather their loot, I like to pull the cones from the piñata to use as treat holders. They work great, and are super fun for the kids to carry around with their treats.
Are you ready to make your own Cinco de Mayo piñata?
Here’s what you’ll need:
1 24″ balloon (found at a party store)
1 roll of plastic wrap
2 coordinating rolls of gift wrap
2 cups of water
2 cups of flour
scissors
2 pieces of poster board
colorful tissue paper
a hot glue gun or glue stick
a couple feet of cotton rope
wrapped candy
toys
crinkle paper
DIY Mexican Star Piñata
- Gather your supplies, mix 2 cups of water with 2 cups of flour to make paper mache glue
- Blow the balloon up to desired size.
- Wrap the balloon in plastic wrap. This prevents the collapse of the piñata when the balloon is popped.
- Choose one roll of gift wrap for the piñata body, and cut it into 2″ strips.
- Working over a covered surface (like a plastic tablecloth), dip each strip of gift wrap into the paper mache mix, then lay it onto the balloon. As you continue dipping and layering, make sure to change directions and overlap the strips by a little bit so that when it dries the balloon is covered completely.
- Continue adding strips until the whole balloon is covered, rub it slightly with your hand to remove excess glue and flatten any loose pieces. Set aside to dry. It will take from a couple hours to overnight depending on the location.
- Once dry, cut three sides of a small square in the top, and gently bend back the paper. This will be your hole for filling.
- Cut two small holes just behind the fill hole, and thread your rope through. If the base feels like it needs to be reinforced, cut a small rectangle from one piece of pasteboard, make the same holes, and thread the rope through both the poster and the piñata.
- Cut the poster board pieces into quarters.
- Starting at one corner, roll each piece into a cone, and secure with glue.
- Cut the base so that it is flat, and repeat on 6-9 cones.
- Grab the other roll of wrapping paper and the tissue paper for the cones.
- Cut the multicolor tissue paper into 1″ strips.
- Glue a pile of strips to the tip of each cone.
- Wrap each cone in wrapping paper, covering over where the fringe is glued, and glue in place. Cut off the excess paper, leaving about a 1/2″ edge on the bottom to fold under.
- Repeat on all of the cones.
- Add a bead of glue to the folded edge of the cone base, and stick it onto the piñata body in various places. Use your hand inside the piñata to press up against the base of the cones as they are applied, to help them stay in place.
- Cut some strips of tissue paper into fringe and glue it to the base of each cone, to help secure them and add some fun.
- Add some extra fringe to the top of the piñata stick to match.
- Fill the piñata with candy and treats, hang from a tree, and enjoy!

