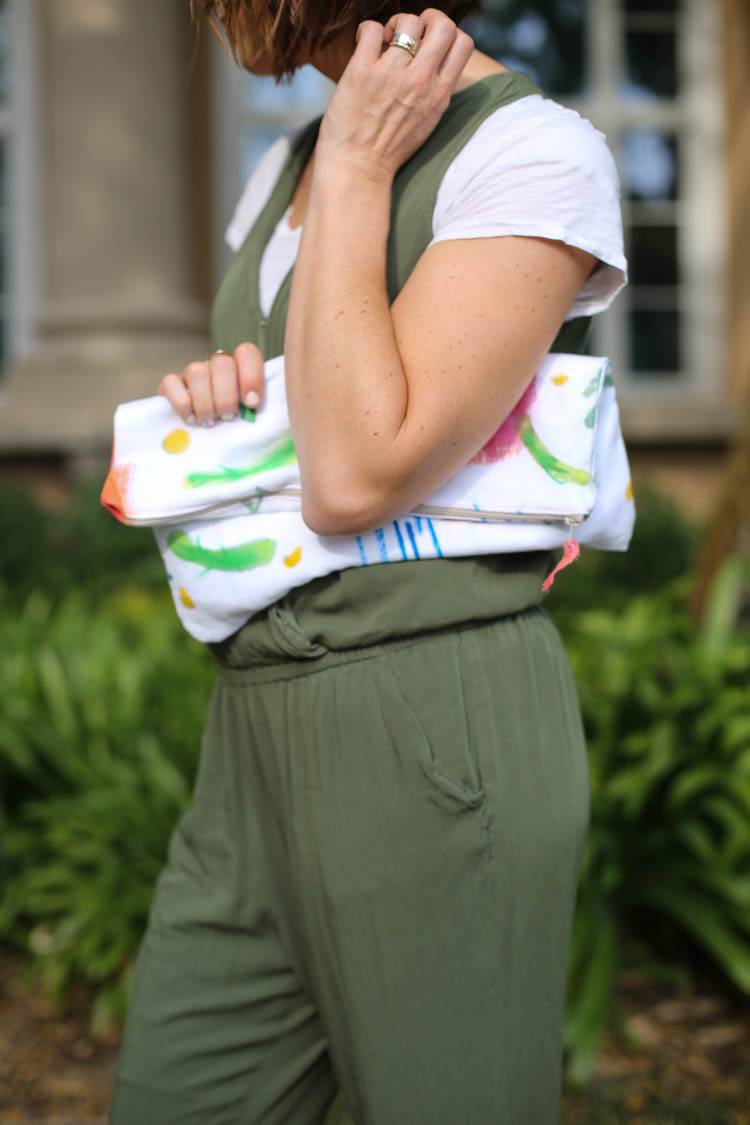
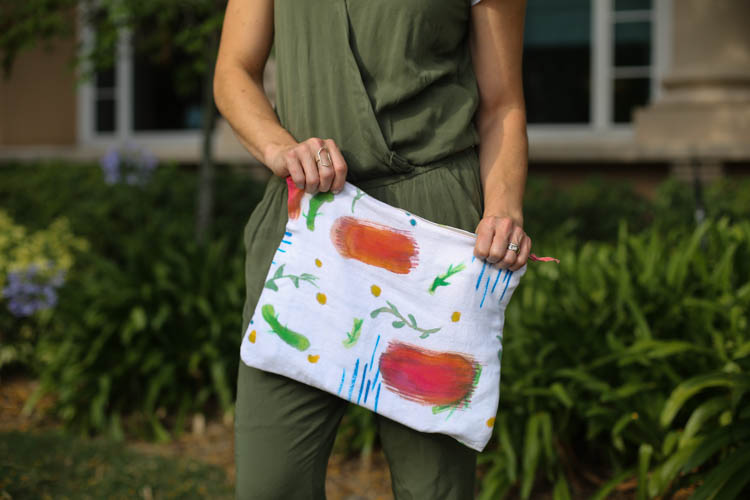
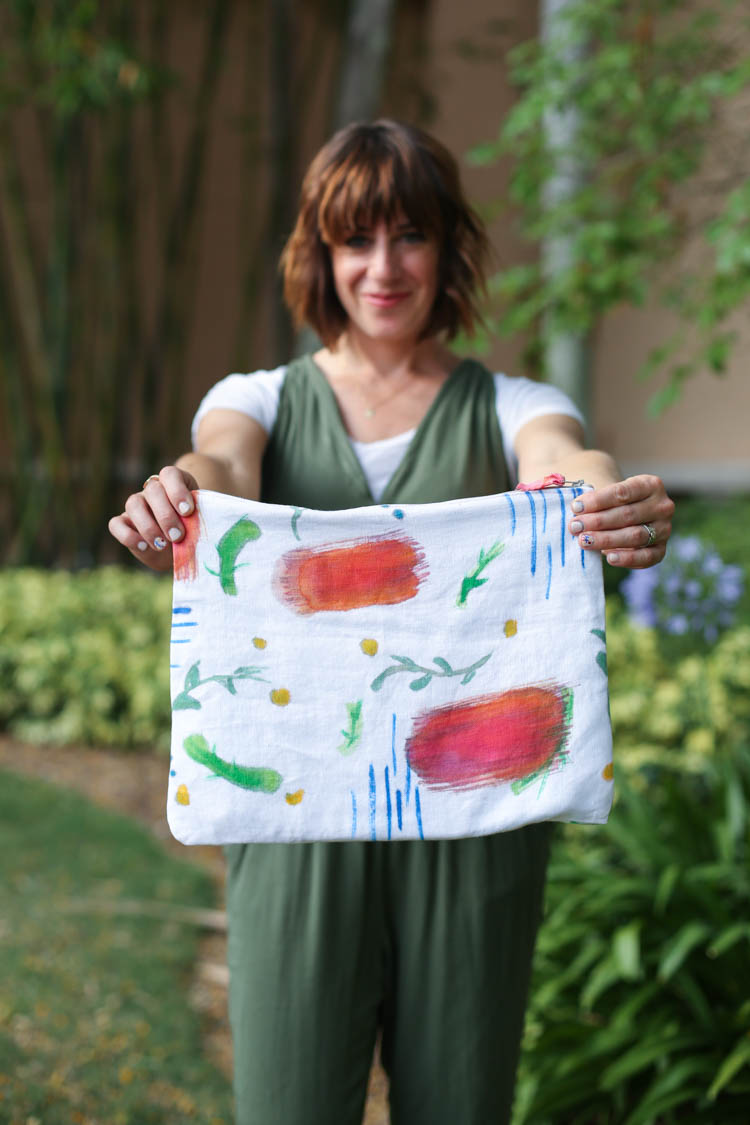
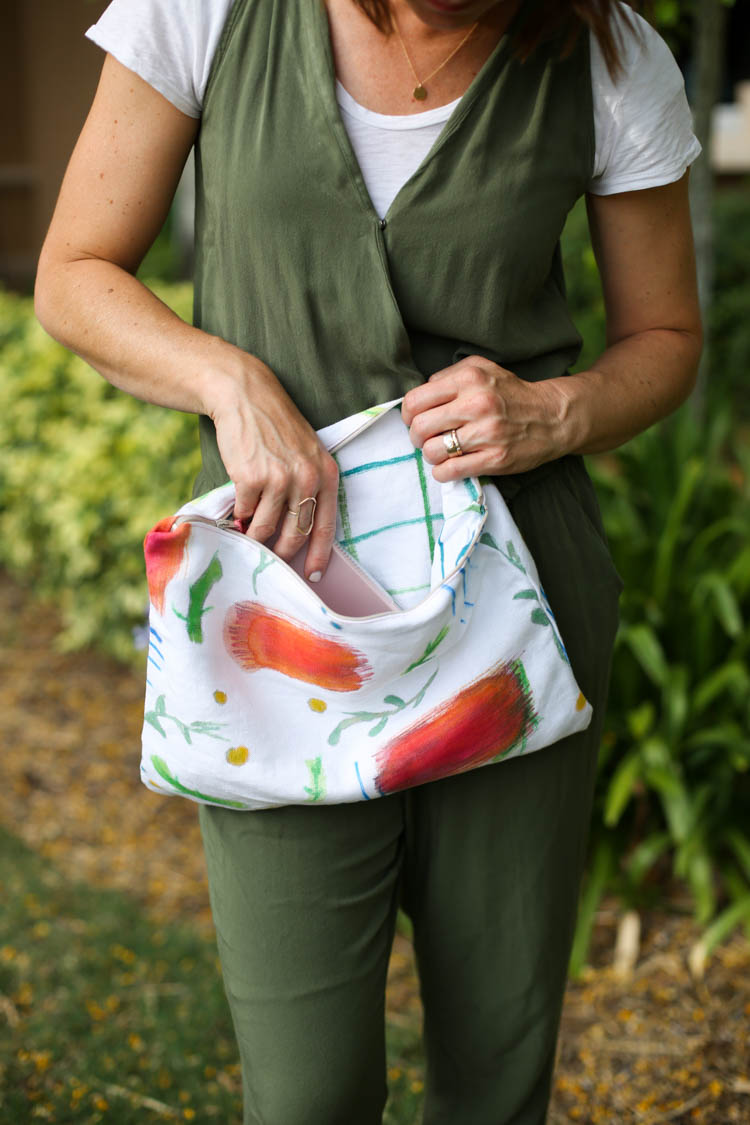
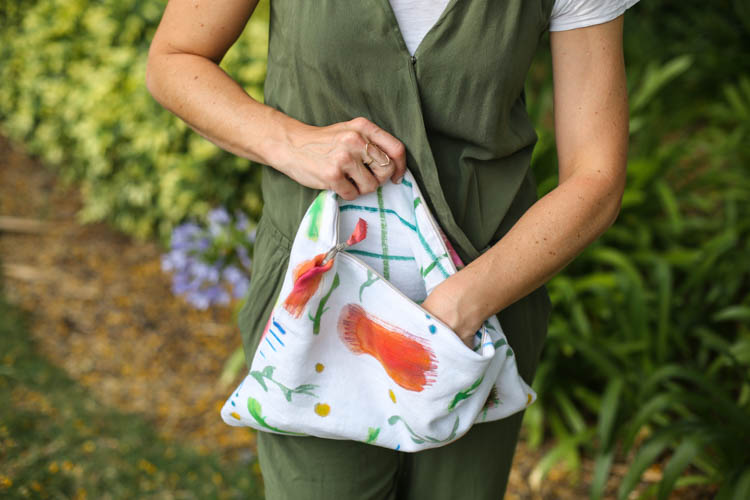
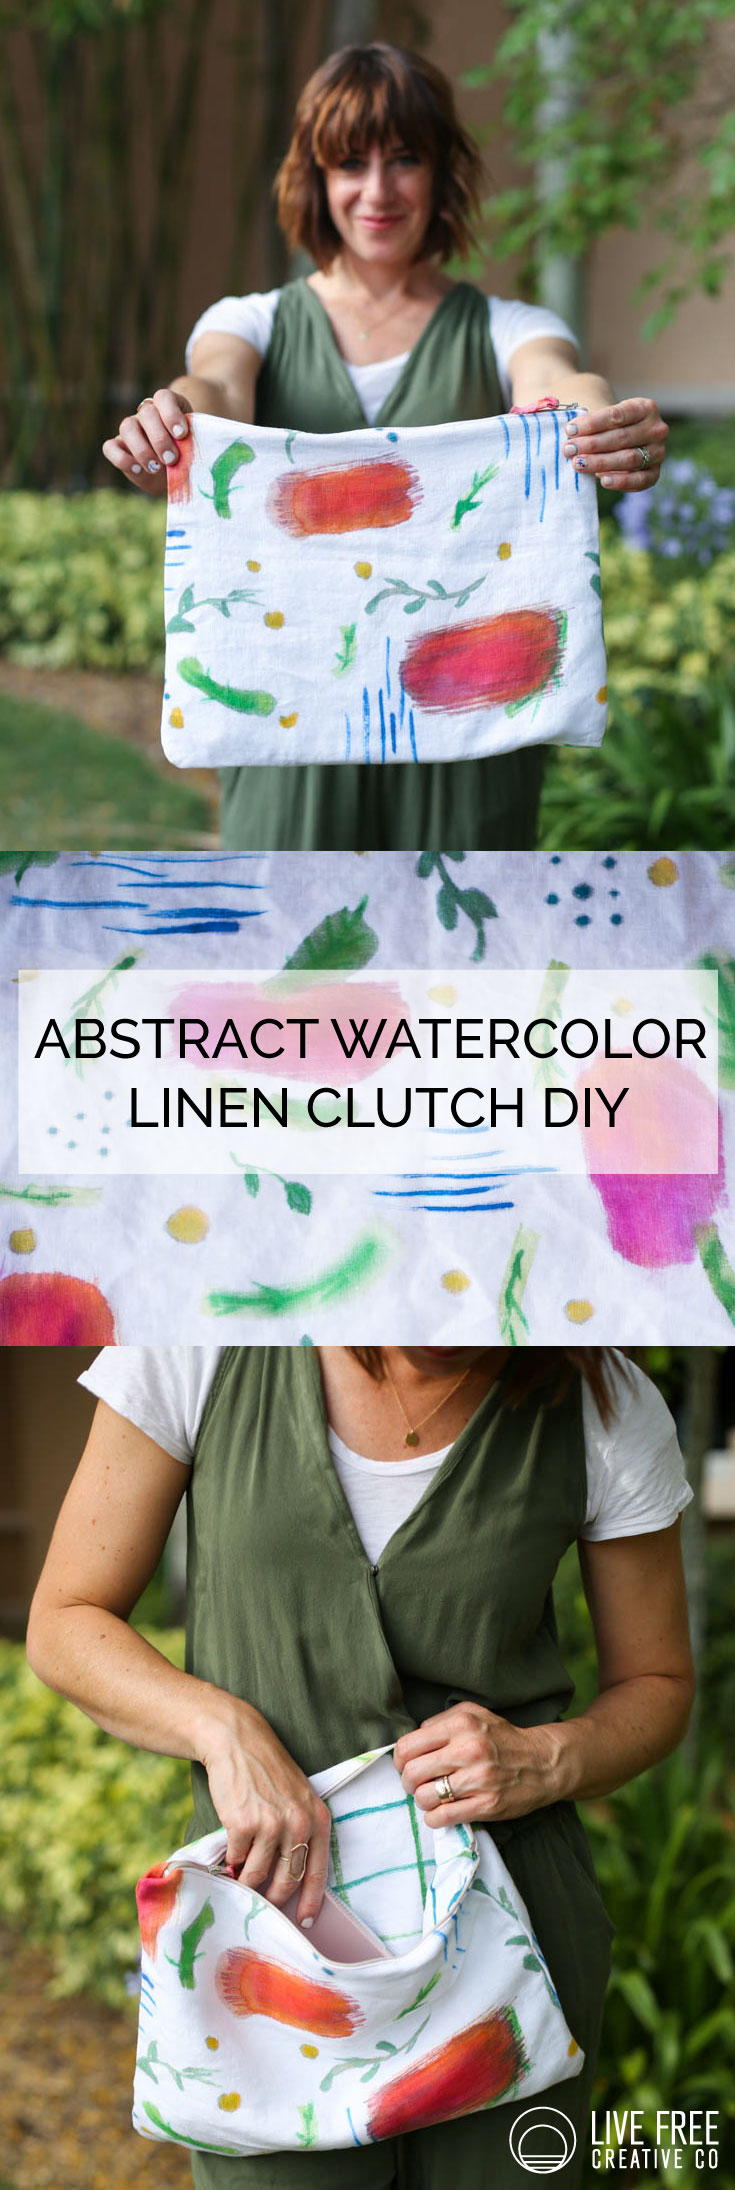
Hello from sunny Florida, where I’m sure this week’s DIY Friday was inspired by the sun, palms, and spending a morning floating on the pool. It feels like summer, here and at home, and with that I find inspiration coming in brighter colors, and breezy fabrics. Choosing to work with linen in May was inspired, and this abstract watercolor linen clutch will be a really fun accessory for the months to come!
Watercolor-style painting on fabric is one type of textile art that I really enjoy, and haven’t seen done very often. In fact, when I share about doing watercolor on textile I often have people ask “doesn’t that wash out?” And it doesn’t! Because I’m not using watercolor paint, of course, but liquid textile dye that has some similar properties to watercolor but is colorfast once heat set.
In my shop, I have a small line of hand-painted cactus products, and I really love the ease and creativity of painting on the fabric. Every piece becomes an original work of art, and with a really abstract style like this clutch, there isn’t much skill required. Just a little bit of confidence to jump in and see what happens!
I chose a color way before packing for Mom 2.0 Summit, so I could bring the few dye colors that I might want to use on the project. Some bright pink and yellow, and couple blues and greens to add the botanical touch that I love.
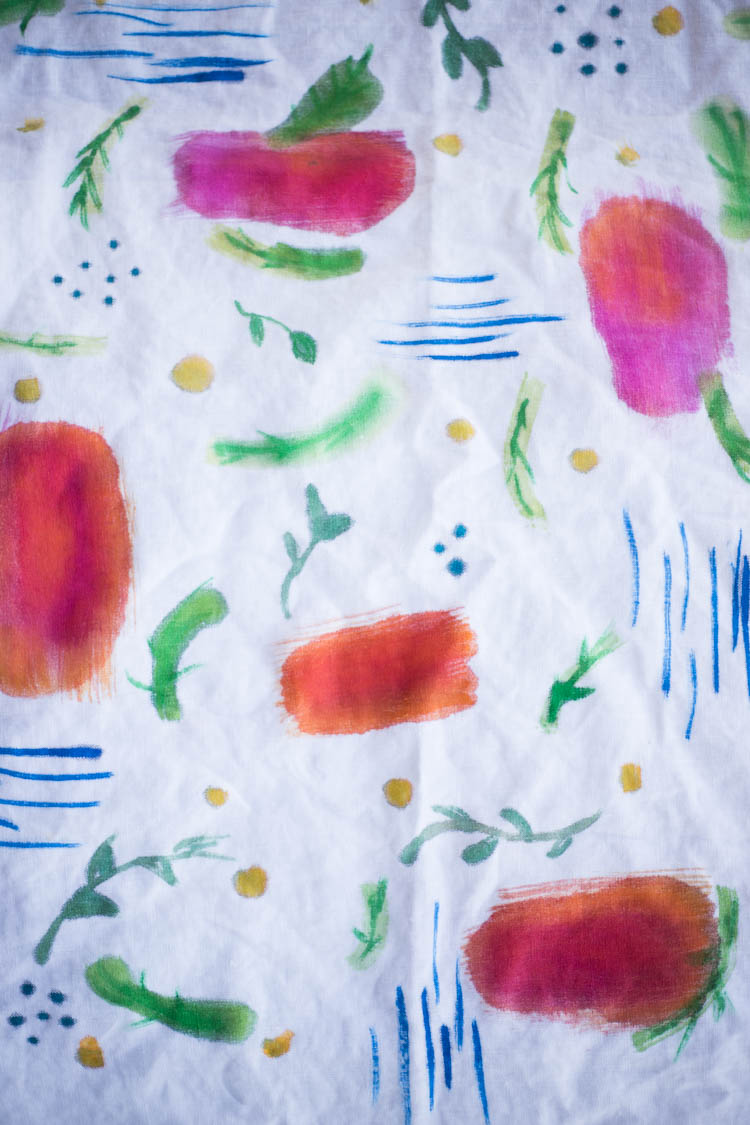
The painting process on linen is really similar to painting with watercolor on a loosely woven paper. The open fibers allow the water to run and bleed, so the more wet the brush, the more saturated and soft the lines will be. I began with one color, gently brushing swipes here and there, then went back in to add big bold pink focal points. The sharp blue lines were pretty dry, so they maintained their edge. Then the yellow and blue spots added in some design detail and color balance, and I really love the easy way it all came together.
You can see the pattern isn’t perfect. Color runs, bleeds, overlaps, and where I usually opt for less is more, in this case I felt like adding more and more until I landed on a great balance of color and chaos.
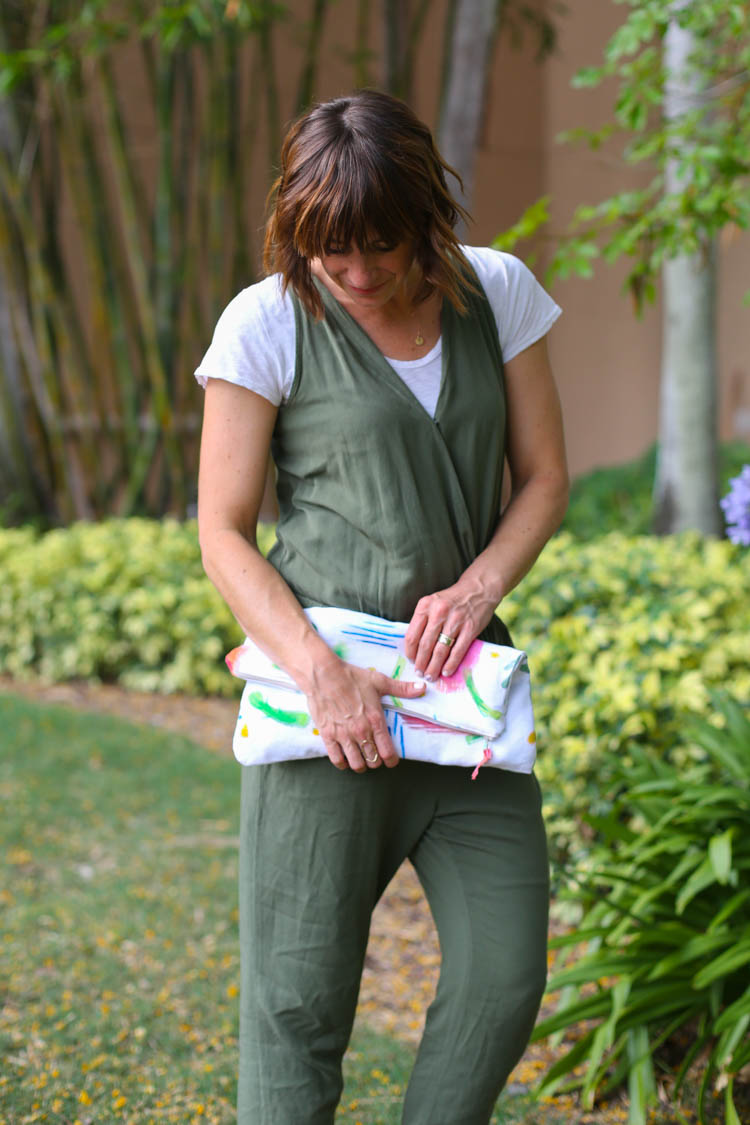
Once painted, the fabric is simply heat set with a hot iron. Then it was time to turn it into a sweet and simple zipper clutch. It has been a long time since I sewed a basic bag like this and I remembered how awesome they are! A few straight lines and you’re done.
Even with the zipper, I would call this a confident beginner sewing project, and hope that some of you who are wanting to dig out those machines jump in. Even as a minimalist, I am a bit of a bag lady and think that another zipper clutch could be useful for almost anyone.
Okay, are you convinced you need to make your own abstract watercolor linen clutch? Here’s what you’ll need:
1/2 yard of white, pre-washed linen
a few colors of liquid textile dye
a few sizes of brushes and a painters pallet
a zipper
sewing machine with a zipper foot
coordinating thread
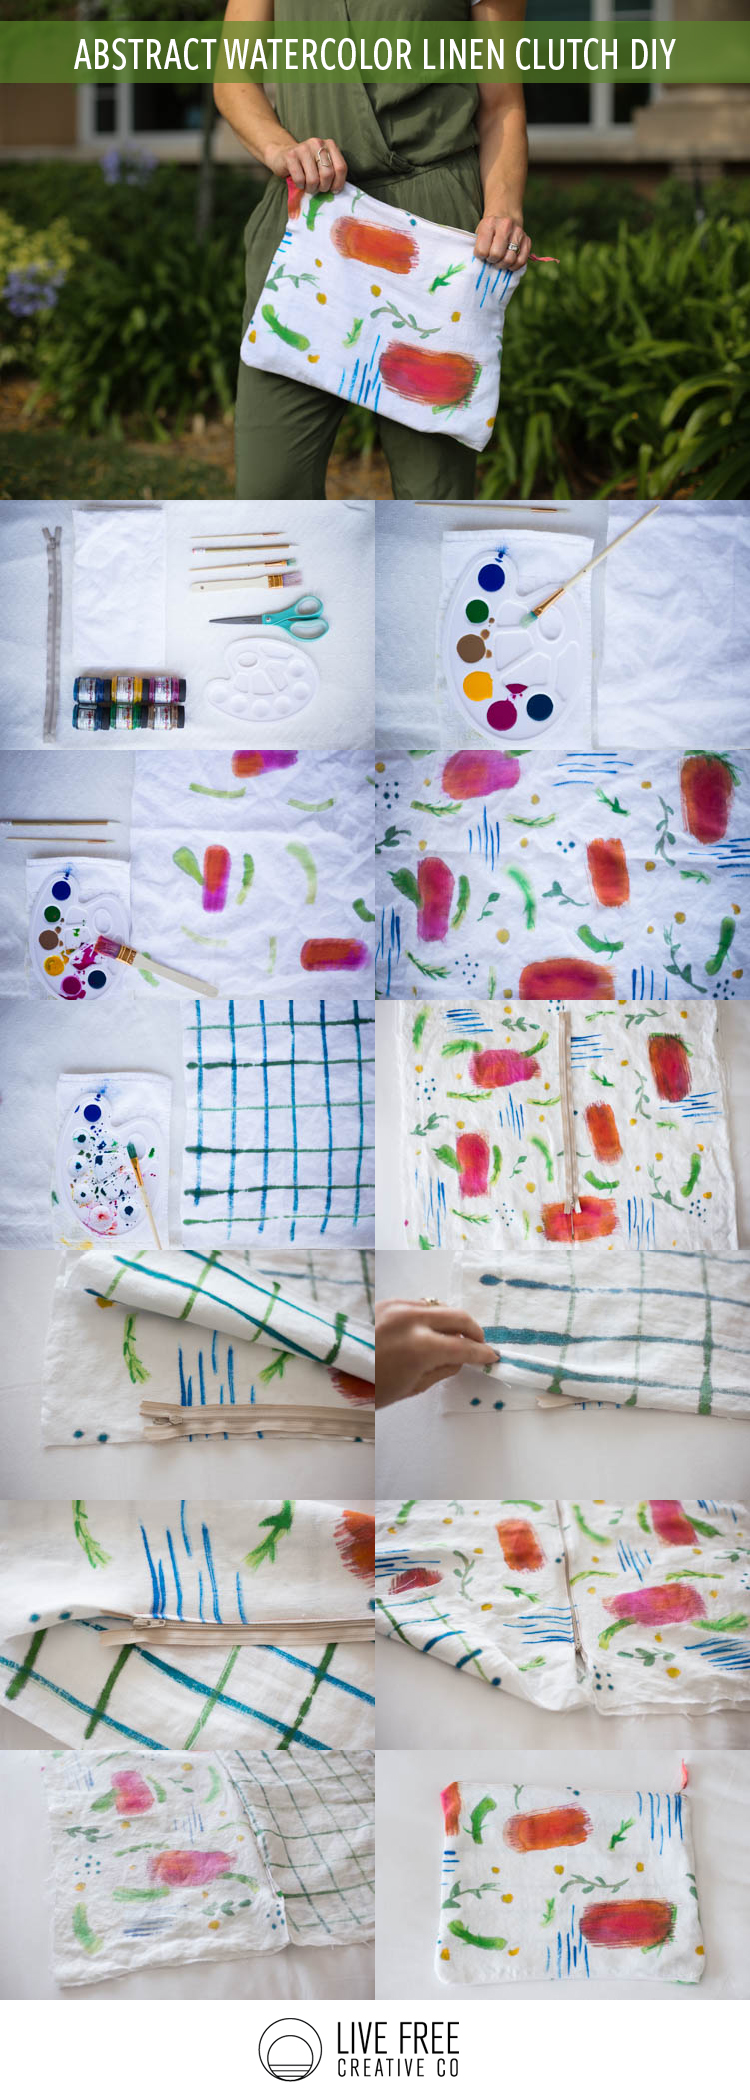
- Gather your supplies, including a cup of water for washing brushes. Lay some plastic or paper beneath the linen to prevent bleeding through to the table
- Cut the linen into two equal sized pieces, one for the outer fabric, one for the lining.
- Pour your liquid dye colors into the pallet.
- Begin with one brush and one color, making dashes, lines, or dots all over the fabric.
- Add in a couple bold strokes as focal points, then go back in with a smaller brush and a different color to add dots, stripes and other types of designs to fill in the pattern.
- Set aside to dry.
- Paint a simple pattern onto the lining fabric, contrasting or matching the outer fabric. Have fun with this!
- Once dry, iron both pieces of painted linen with a hot iron to heat set the dye.
- Lay the zipper on the center of both pieces of fabric, marking the middle where it will go. Cut the fabric pieces in half along the center line.
- Sandwich the zipper face DOWN onto the cut line of the main fabric, then adding the lining fabric right side together on top of the zipper.
- Using the zipper foot to be able to stitch closely to the zipper, sew a straight line along the zipper tape.
- Repeat with the other side of the zippers, sandwiching the main and lining fabric on either side of the zipper.
- Top stitch along the zipper edges.
- Fold the fabric and lining so that they are right sides together, with the zipper in the middle. Mark a section about 3″ wide along the side seam of the lining to not stitch.
- Starting at the zipper, stitch a square around the sides of the main and lining fabric, leaving open that 3″ previously marked. Sew right next to the zipper ends without crossing onto the zipper itself.
- Turn the bag right side out through the 3″ opening. Tuck the lining into the bag and stitch the turn opening closed.
- Press flat along all of the bag seams. Tie a small bit of linen through the zipper for a pull, then enjoy your one of a kind clutch!
Hooray for DIY Friday!
So far this year I have explored: cotton, paper, wood, clay, and this month I’m making projects with linen.
This focus on making has been a really fun creative outlet for me, and also reminded me how much confidence and creativity come during the process of making–no matter what the project is, or how it turns out. The PROCESS of MAKING builds confidence and inspires creativity, and those things bleed into other areas of life boosting happiness and satisfaction. So, whether you make one of my projects, or something else (if you make cookies, send some my way) make time to make!

