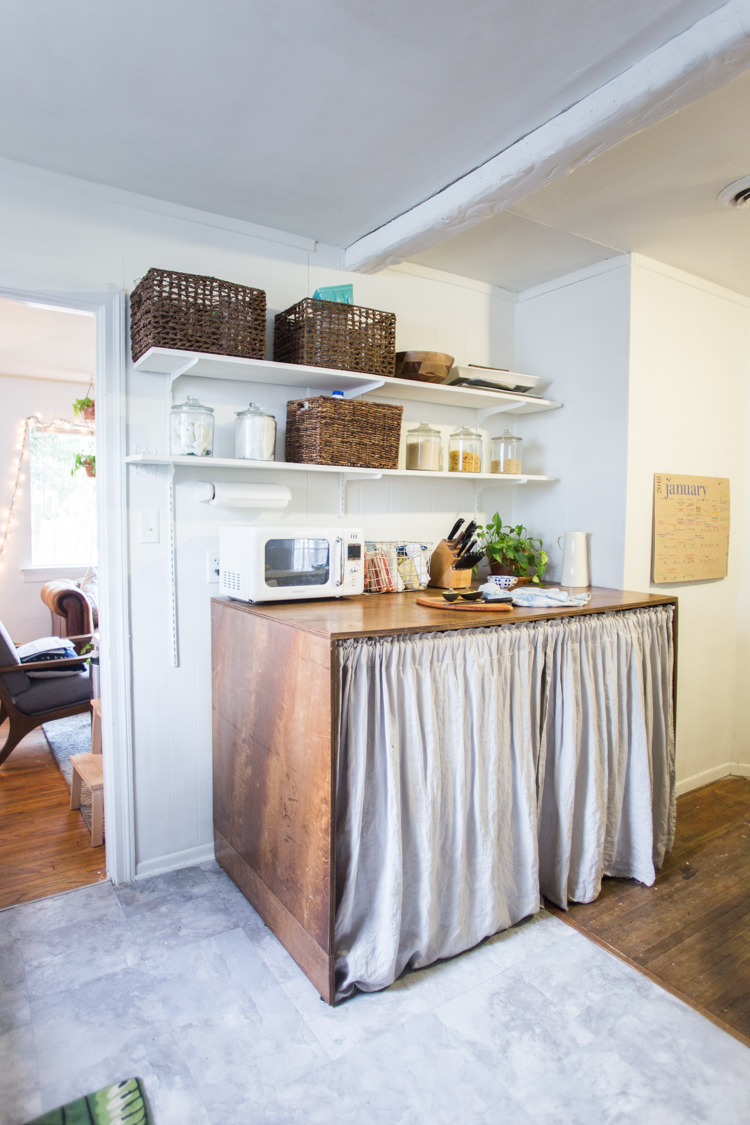
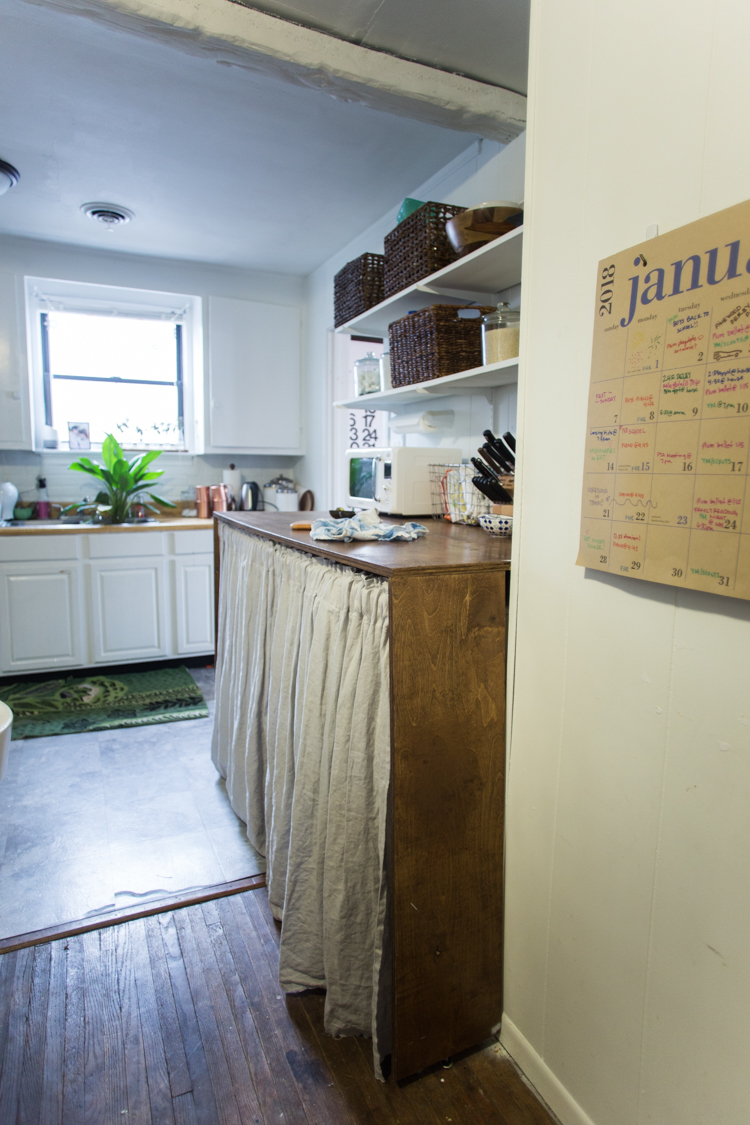
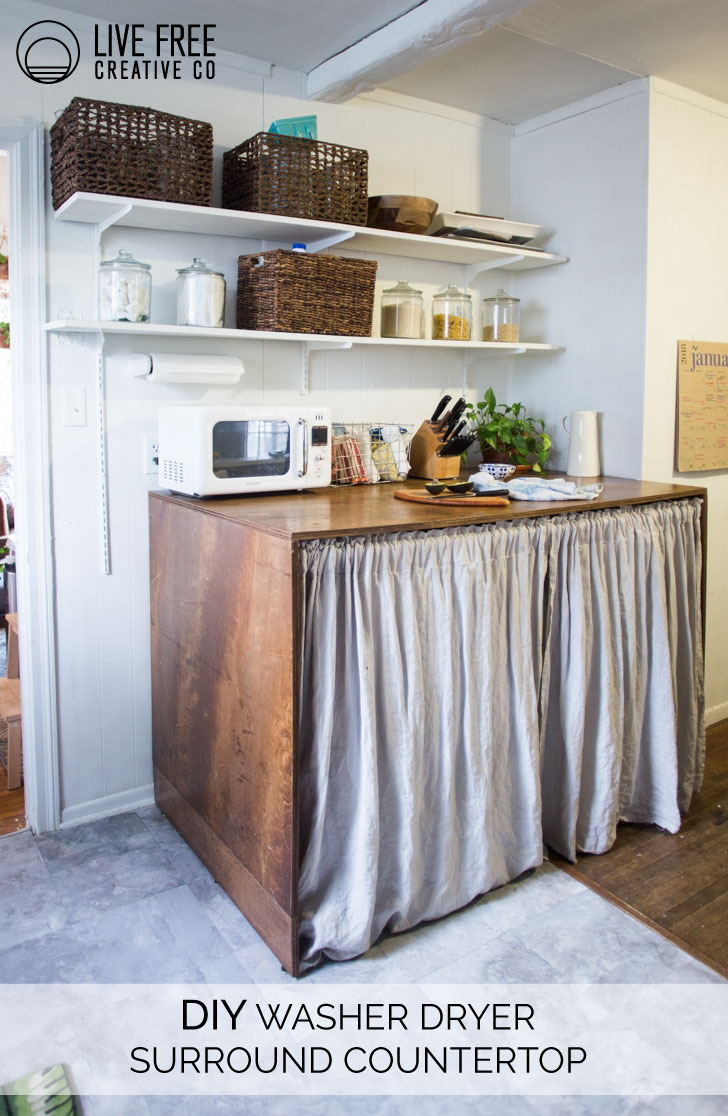
When we moved into this tiny rental house back in August, it was clear that I would need to do a little work to make the spaces functional and pretty. We pretty quickly whipped out a DIY washer dryer surround countertop for the kitchen/laundry room and it has been the best.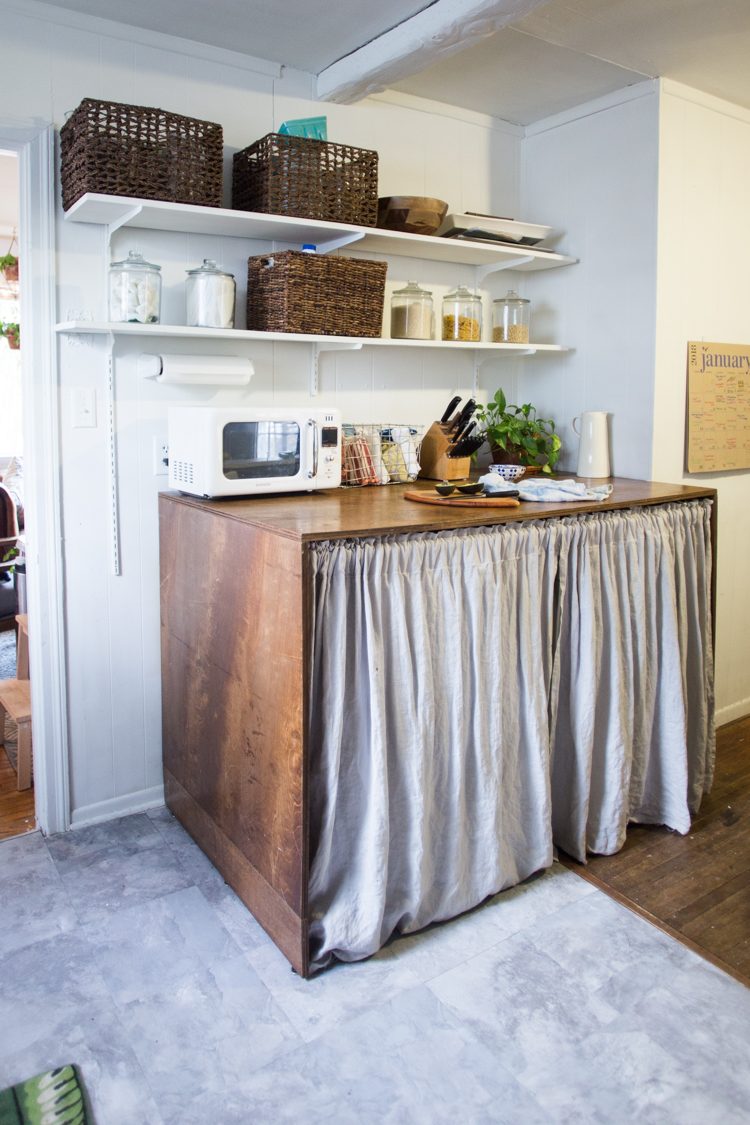
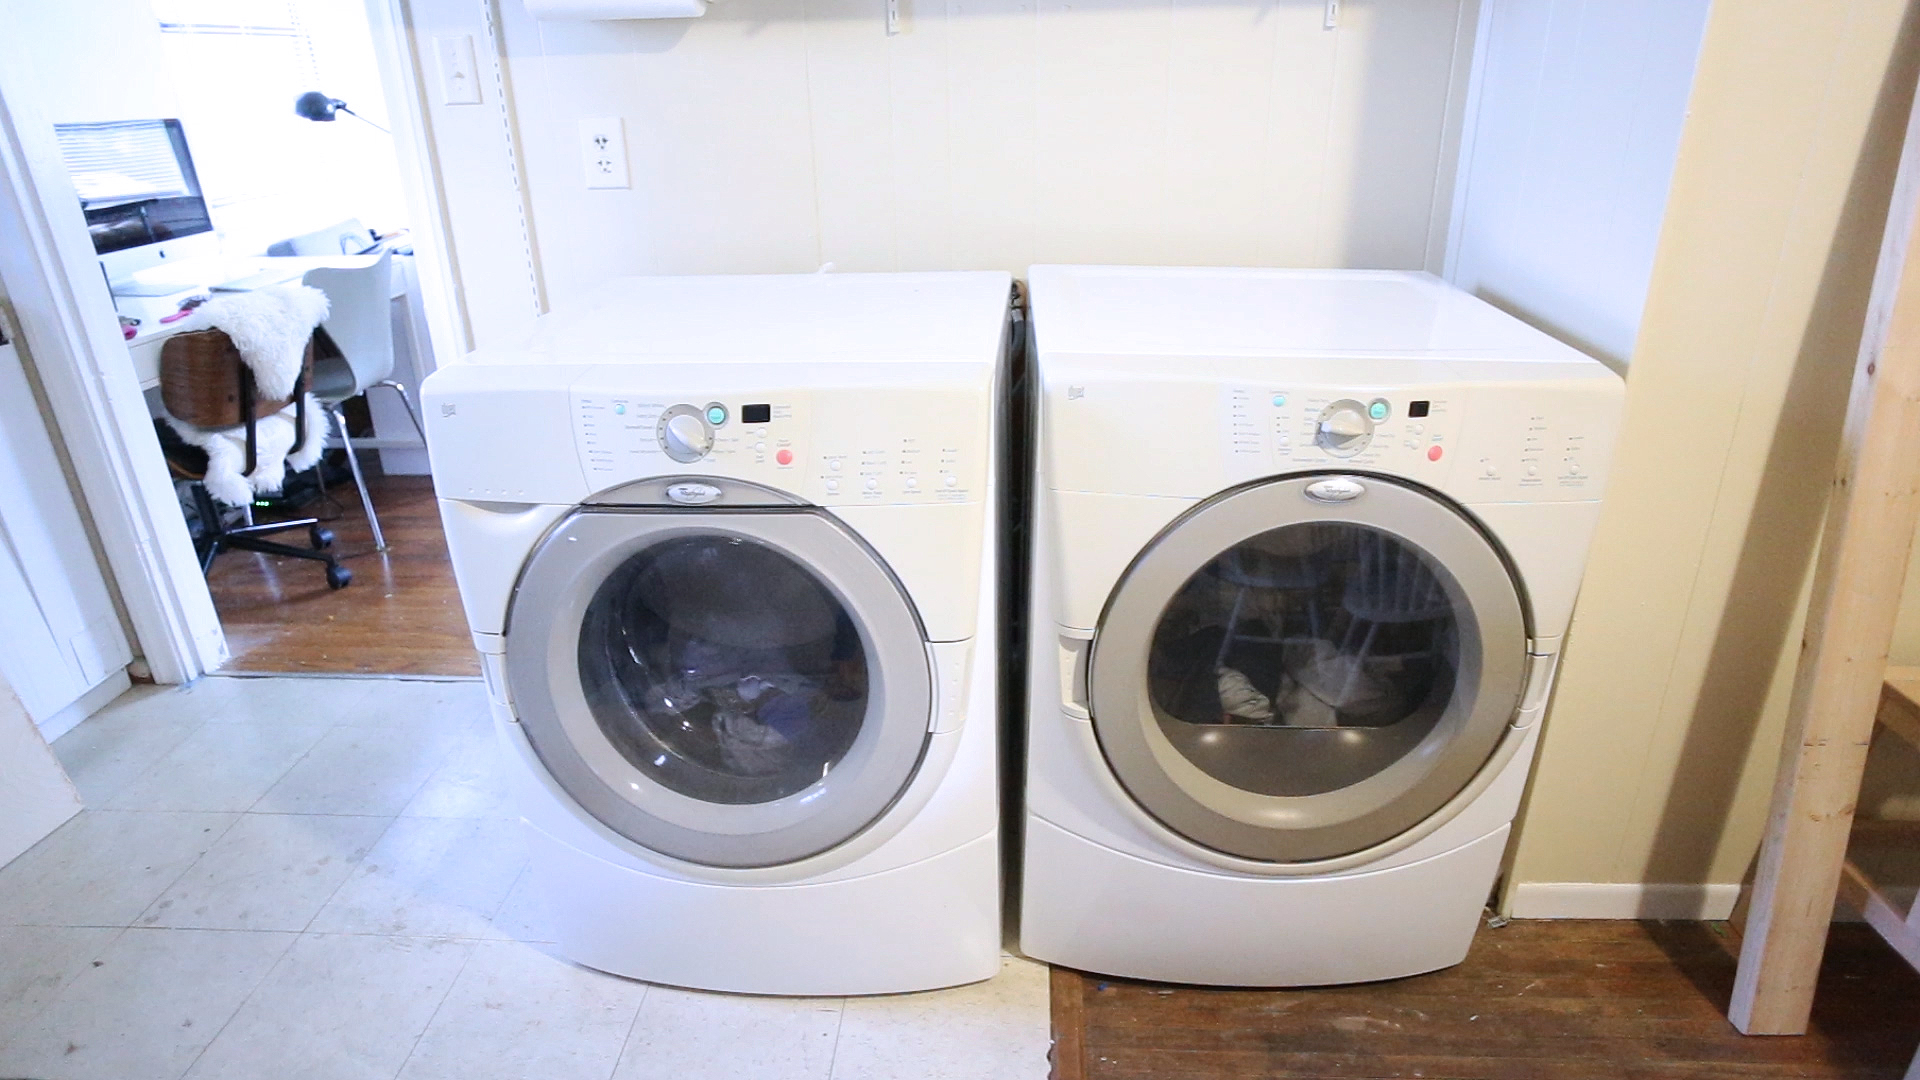
I’m not sure what previous tenants had done, but with the limited kitchen counter space, I immediately imagined the space with a front loading washer and dryer and a big waterfall countertop. 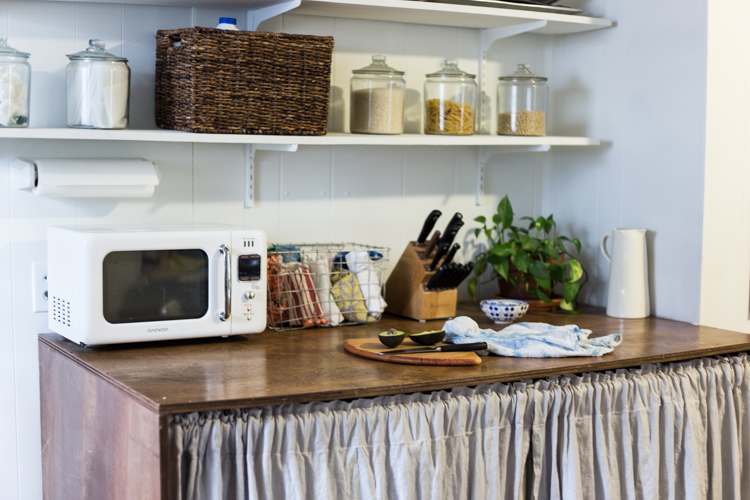
The project was really pretty simple. I used this great tutorial by Mandi at Vintage Revivals for the basic construction and idea. A couple adjustments I made were to only use one piece of nice plywood, rather than doubling it. We also made ours a little deeper so there was room for the curtain in front, and rather than adding brackets all the way around on the insides, we screwed the sides on through the tabletop.
All of the adjustments we made were to keep costs and effort lower, since this is a rental space and we may actually dissemble the whole thing when we leave, depending on whether the landlord wants to keep it or not.
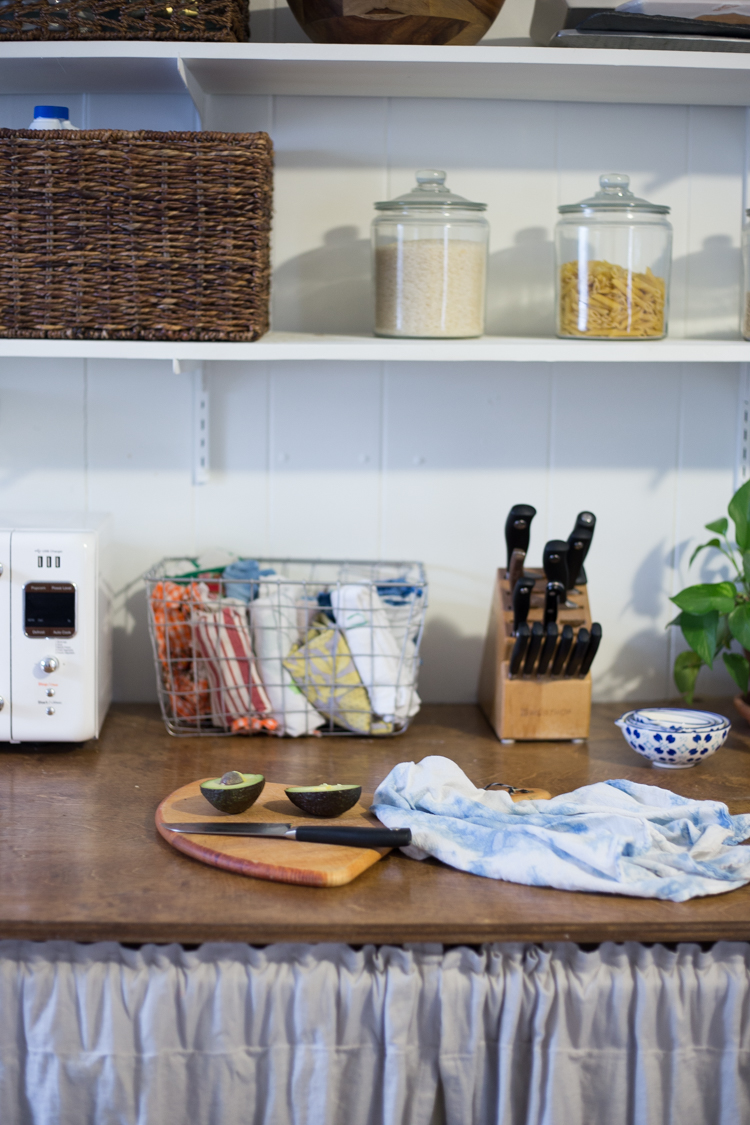
Sometimes I forget how easy it is to make a big impact on our home with a little time, energy, and creativity.
This washer dryer countertop took just a couple days to finish and cost about $60! I can’t imagine the kitchen without it (and really hope the landlord says to keep it up for the next tenants.)
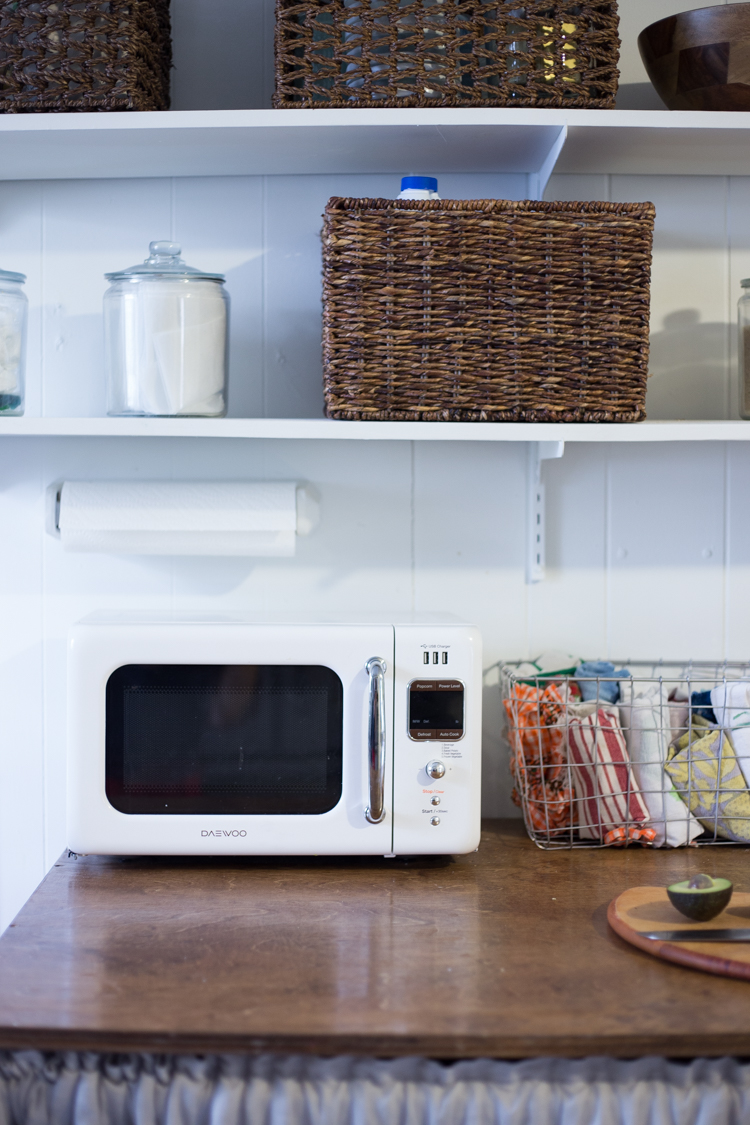
After several busy months, I finally edited it into a YouTube video about the project. Check it out and let me know what you think!

