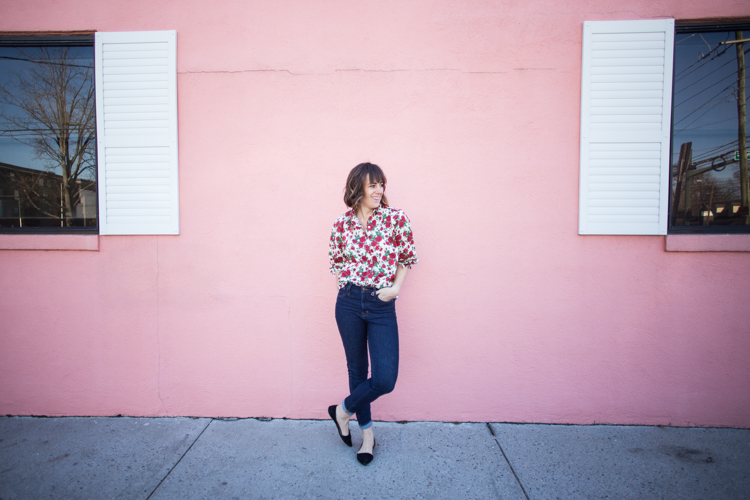
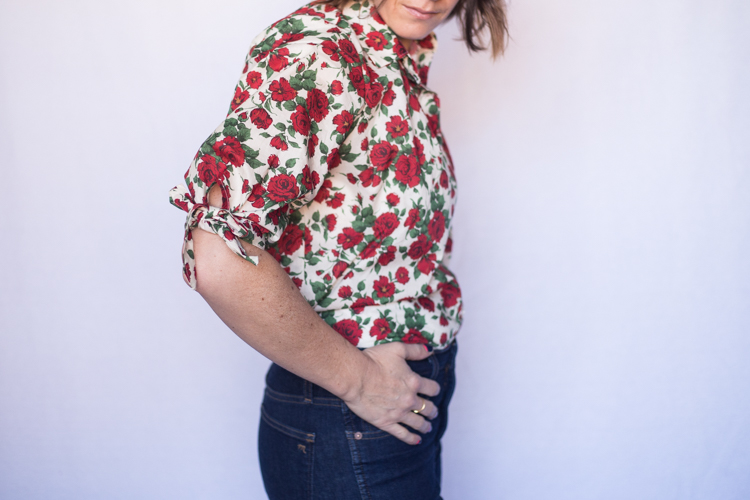
One of my goals for the year is to sew one fun project per month. A couple years ago, I would have laughed at this “challenge” because I was sewing daily as part of my more intensive sewing blogging and custom sewing shop. This rose print top was just the project to get some “sewjo” back, and now I’m more excited than ever to make some more stuff!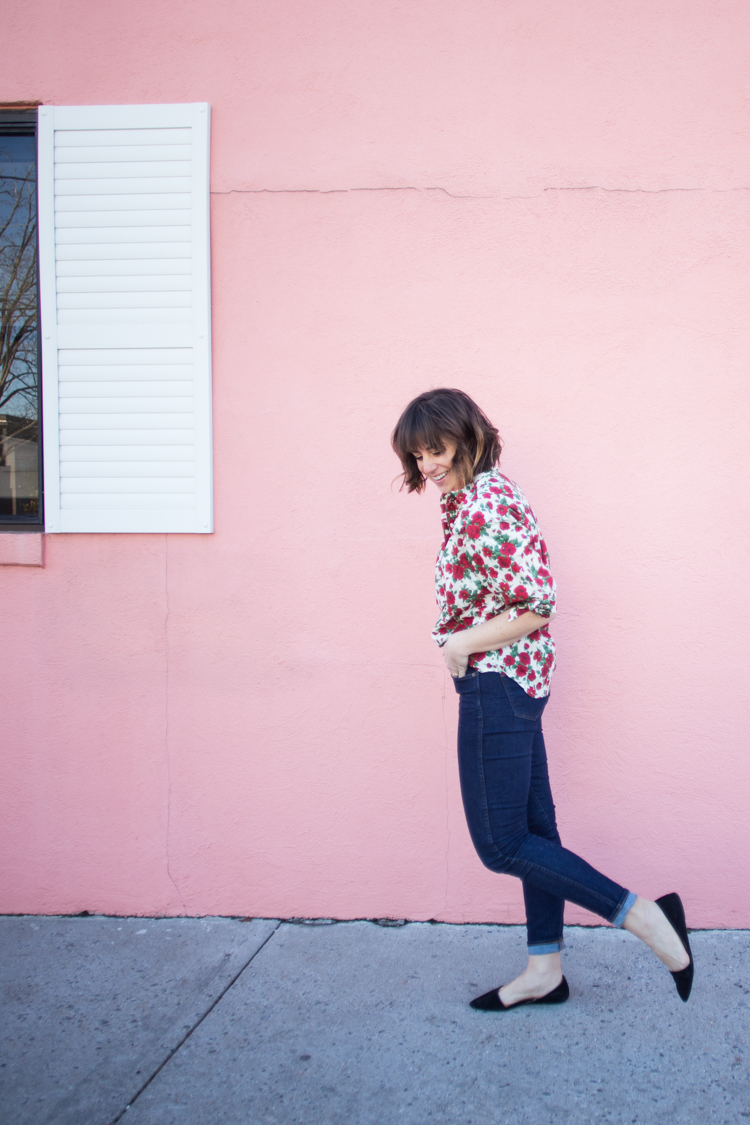
I learned to sew as an 8-year-old. My mom signed my sister and I up for after school classes, and I remember walking from the elementary to the basement of a lady a couple blocks away to practice using a sewing machine.
Once that short series of lessons was over, we were incentivized to sew for ourselves with the deal that for every 2 pieces of clothing we made to wear, my mom would buy one for us at the mall. For example, when I completed 2 tee shirts that were actually well made enough that I would wear them to school, I could choose one at GAP Kids (my favorite store back then) for her to buy.
It was excellent motivation to make things I would actually use, although I don’t remember how many I followed through on. I do remember making a little blue button-front dress with teacups on the fabric. It was my favorite.
Making custom, useful, and beautiful things from the time I was little ingrained this idea that I could make things myself, rather than always buying them. That idea has stayed with my my whole life, and encouraged so many of my creative pursuits.
In my early twenties, I started to sew custom tee shirts and sell them at the Salt Lake City farmer’s market. A year after I was married, I opened an Etsy shop where I sold a line of women’s apparel (while at the same time working as an RN Diabetes Educator).
From that Etsy shop, I began receiving custom orders, and sharing about them on my blog, which then morphed into a creative and sewing blog, along with some more family lifestyle. I have shared tens of sewing tutorials, refashions, and ideas over the last ten years (find them all here in the SEW category!), and am excited to share a few more intentionally this year.
Starting with the Roses are Red shirt!
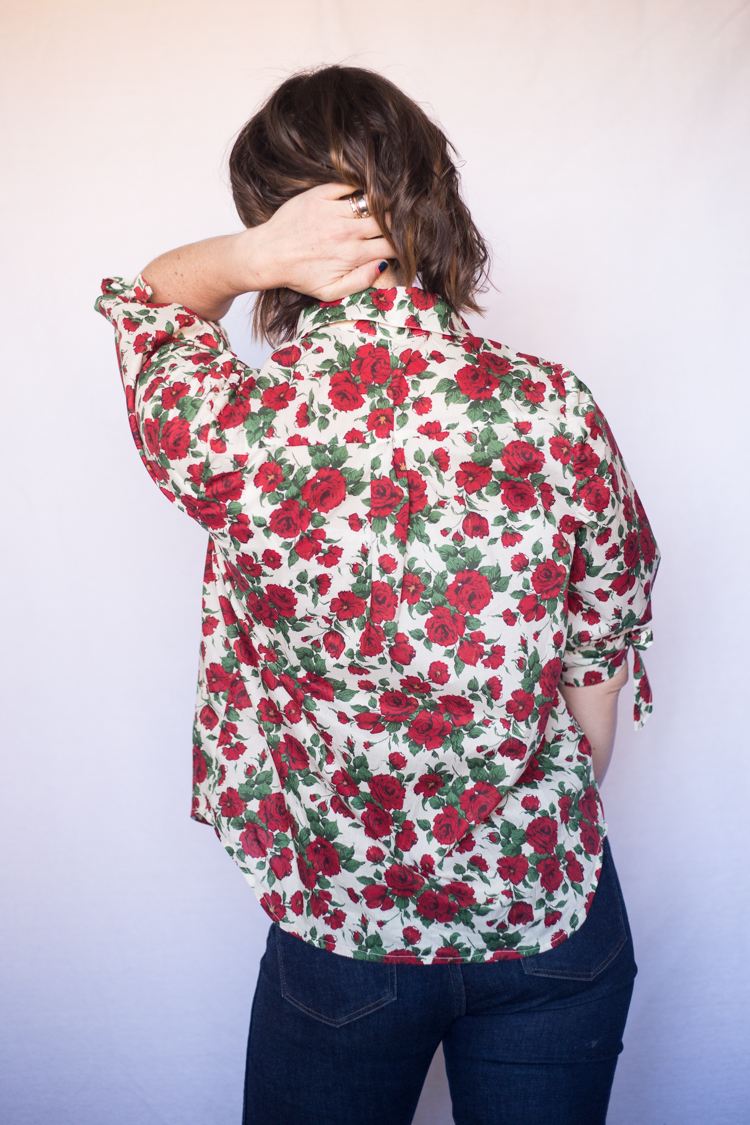
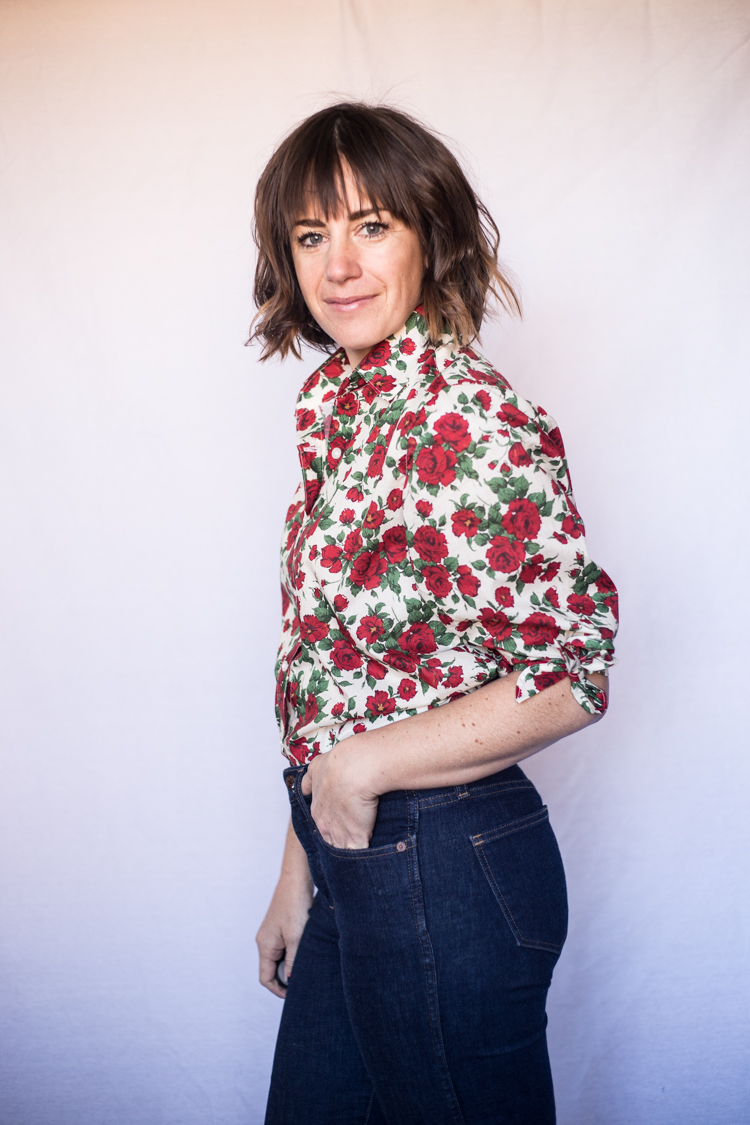
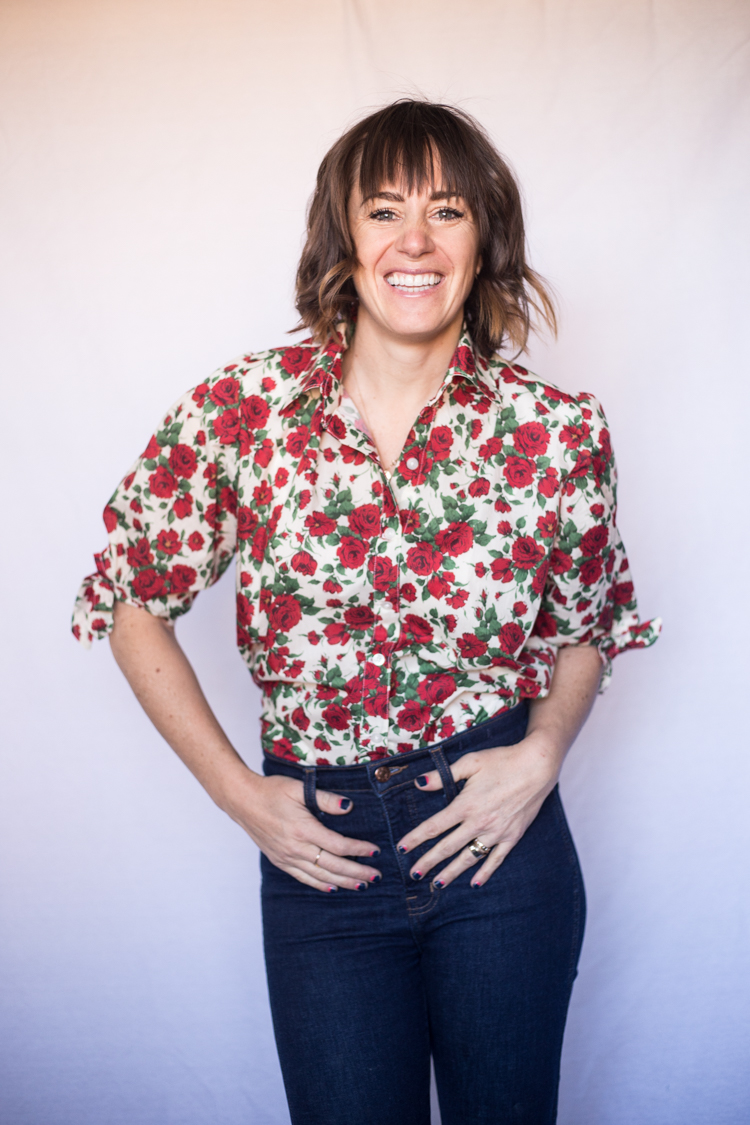
When I was in London in September, I visited Liberty of London. I had long been acquainted with their lines of gorgeous, high quality fabrics, and decided my souvenir for the trip would be a couple cuts from the store.
I wandered, touched, and oohed at all of the gorgeous prints. Then I settled into the Cotton Lawn section, where I knew the fabric would be light and smooth enough for some quality apparel.
I zoned in on this red rose print, partly because of the sentiment, I think, of being in London and the rose as the national flower of England. I also loved the boldness of the print, which is outside of my regular daily neutrals.
When I was deciding on a January project, I initially imagined making a big, leather weekender (that has been on my list for awhile) but I remembered this new rose fabric and realized it would be perfect to finish in time for Valentine’s Day and the month of reds and pinks, so it was decided!

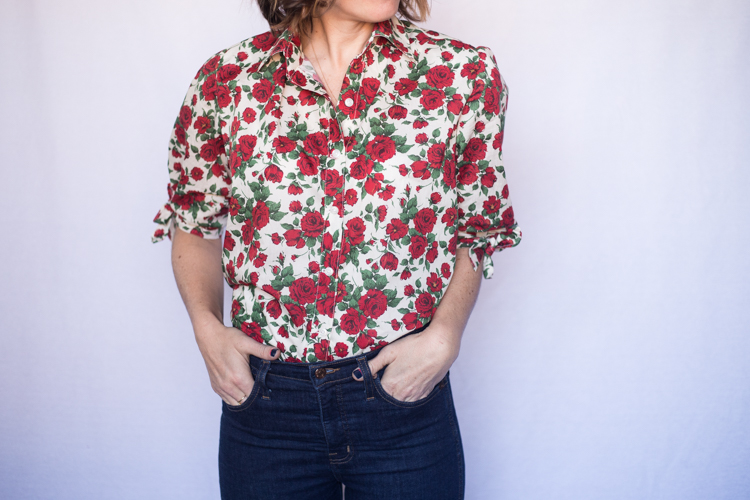
Before deciding on exactly what style of top to make, I did a little google search for “rose print tops.” I wanted to get a feel for how this busy print might look on a variety of styles of shirt. The top that stood out to me as something I would wear and love was this Alexander Wang cropped version.
I decided I loved the button front look, with the knots at the elbows for a fun design detail. The base button-up pattern I had used and loved is the Grainline Studios Archer, so I pulled that out to get working.
Because I had made the pattern before (including this tiger version, and this dress version), I figured it would be a pretty quick project. I cut a size 8, like I have before, which gives a roomier look that I like. I had just enough fabric to cut all of the pieces plus a couple long lengths to hack the sleeve variation.
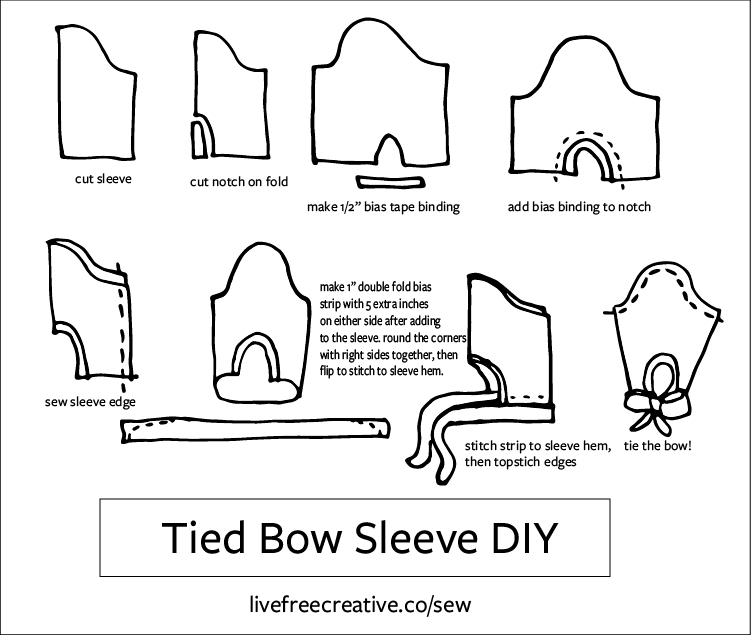
For the sleeves I cut the short-sleeve pattern, and then made a notch on the outside beneath the shoulder. I made some 1/2″ bias tape with scrap fabric, and added that to the curve of the cut-out. With long, 3″ strips, I made 1″ double fold bias tape, and used that for the ties, attaching it with loose ends at the elbow. The result is a fun, adjustable bow at each elbow.
I’ve included an illustration of the bow sleeve hack below in case you’re interested in giving it a try!


Other projects I look forward to in the next couple months are a leather weekender bag, a baby blessing gown for my new niece, and an Easter dress for Plum (with vests for the boys, probably too.)
If you’re new around here, you may like these sewing-related posts:
- My Sewing Coat Closet
- How to Sew a Leather Jacket
- Draft and Sew Your Own Leggings
- Five Summer Dresses to Sew for Yourself
- The Cutest Garden Gnome Costume Ever

