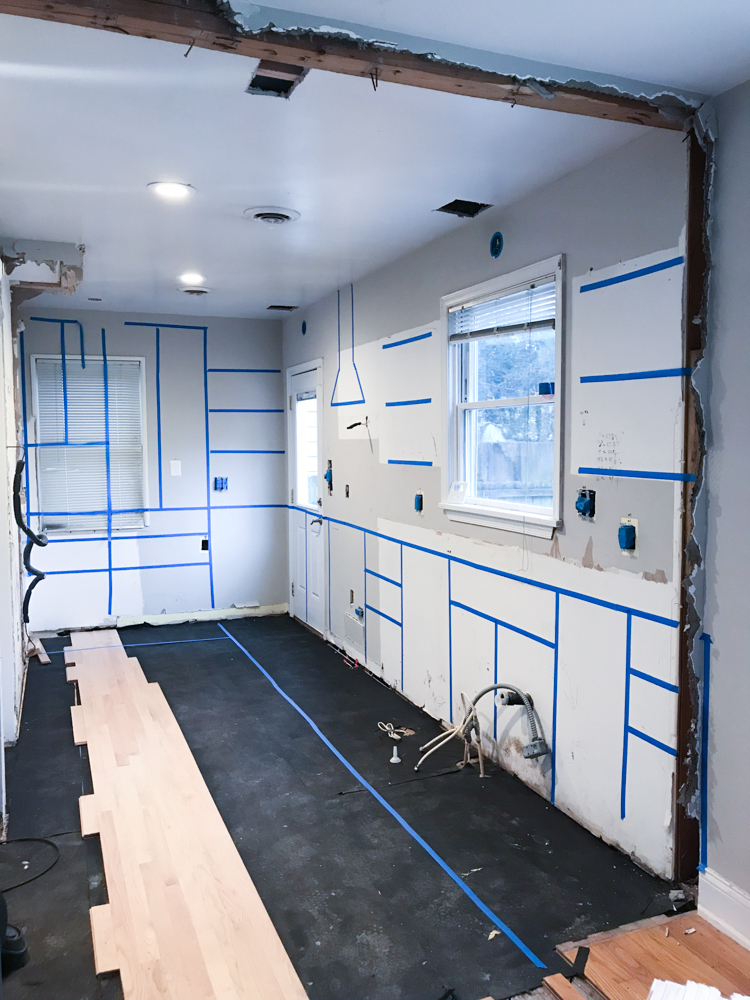
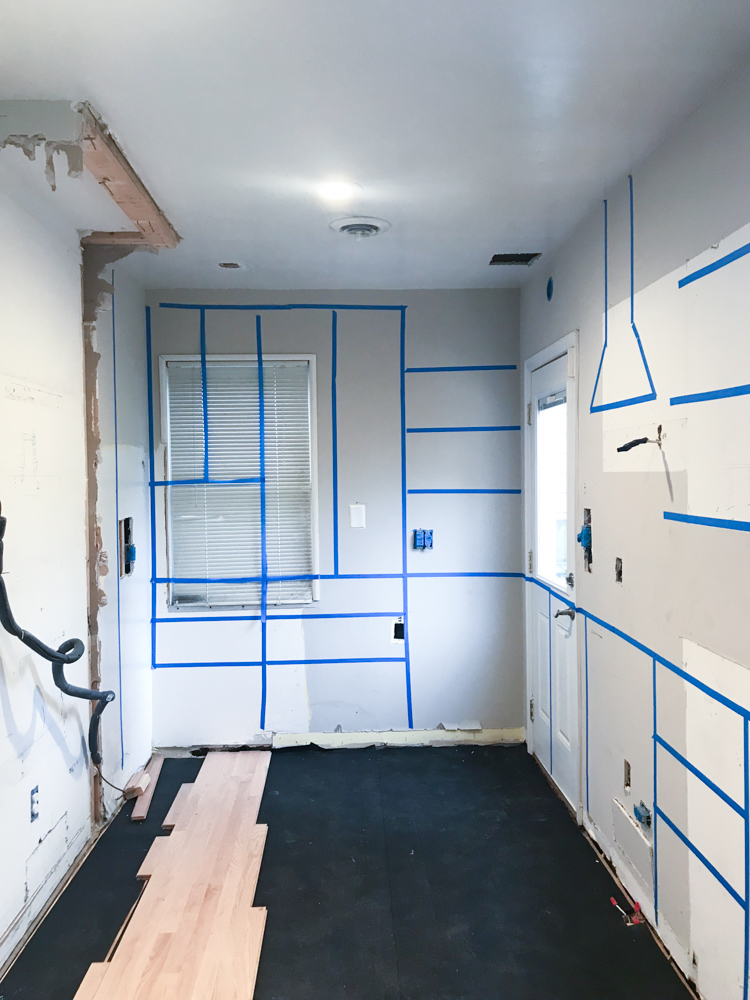
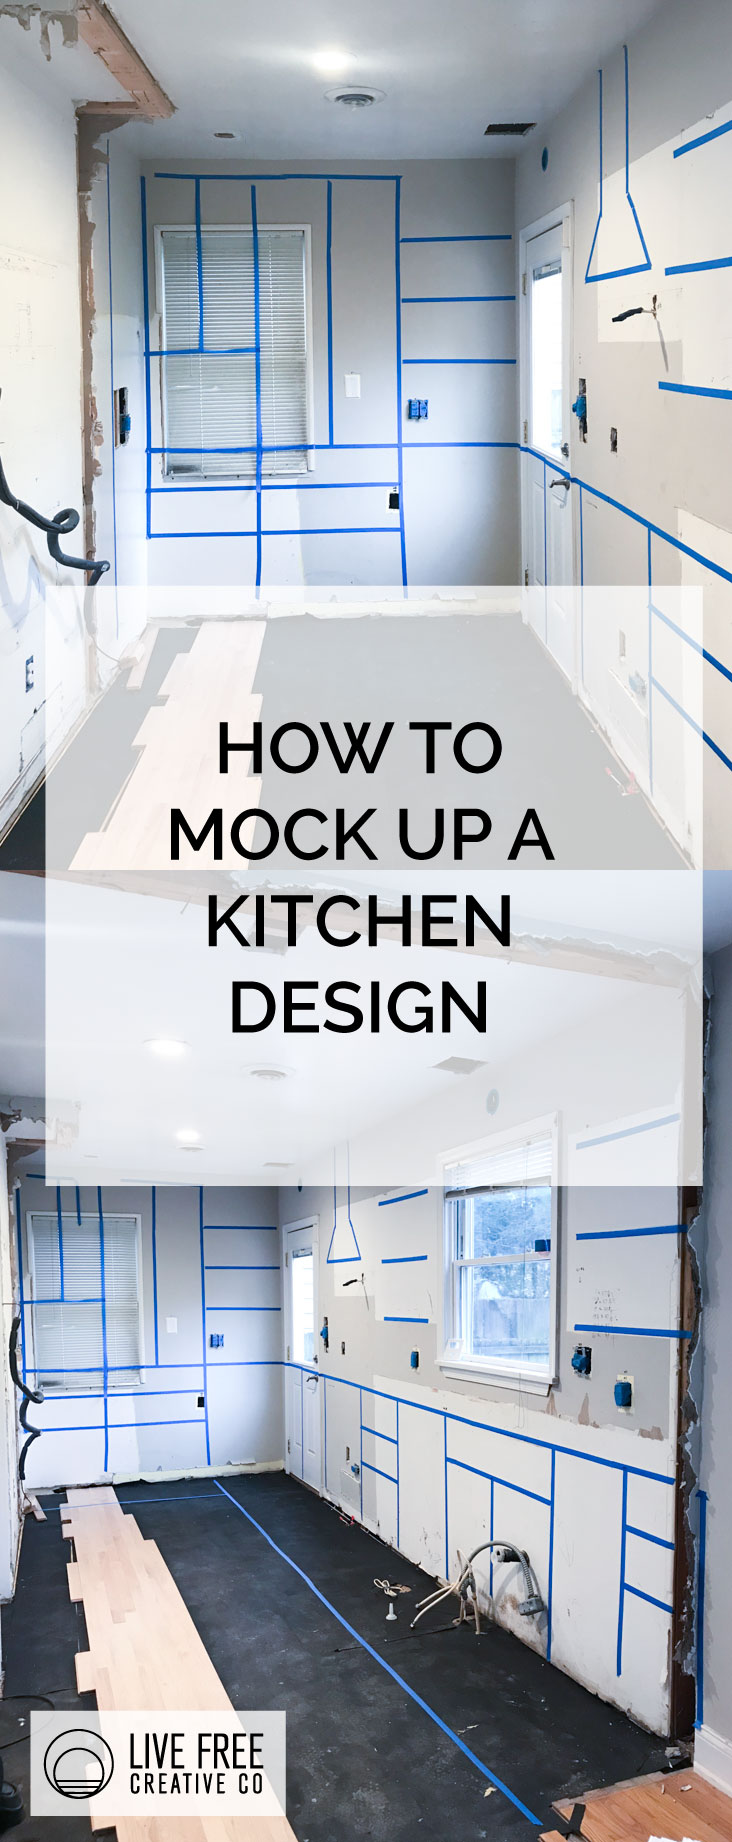
It is so important to be able to see design in real space when working on a remodel project. Knowing how to easily mock up a kitchen design on the walls with painter’s tape will allow you to see the spacing, and get a feel for the functionality of the kitchen.
Initial Design
Initially, I designed this kitchen on the computers at IKEA, knowing that I wanted to use IKEA cabinets. Their design tool is really slick, if you use it in the store. It can be accessed from home, but is pretty slow and sluggish when used remotely.
When I went to work on the kitchen design, I took the basic measurements of the room, with windows, doors, and the location of the previous appliances, so I knew where the plumbing would be. I knew we would keep the basic layout beneath the window with lower cabinets, sink, dishwasher, and range all on that one wall. We did want to move the refrigerator, and make more space by removing the current pantry.
Using the design tool I was able to get a good feel for where the basic appliances would go, I was able to make space for a new pantry system, and add cabinets for cleaning supplies on the side of the fridge. I planned on floating upper shelves both because we love open shelving, and because in such a small kitchen they will add so much to the open feel.
After designing the whole thing on the computer, I needed to get all of that design out onto the walls to be able to continue making decisions. My mom recommended that I mock up the kitchen design with painter’s tape to be able to visualize everything.
Mock Up with Painter’s Tape
It was so easy to use the measurements from the paper design to tape up the design. I wish I had done it sooner! I measured the counter height, and added a long piece of tape across what will be the entire counter. Then, measuring the width of each cabinet, I was able to add the different drawers, cupboards, and appliances.
I took it a step further and even added the hood and the floating shelves to be able to see all of the different upper elements in the kitchen.
We noticed we had added an electrical outlet right above what will be the gas range, and have to call back the electrician to move it. We also were able to decide on the right length of floating shelves to best fit on the wall.
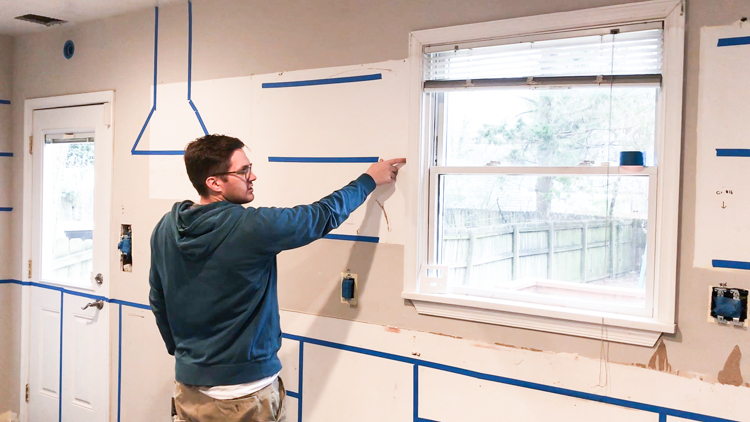
Whew! A remodel is a ton of work, and so much fun. I am loving the whole process. And now that the kitchen “feels” like a real kitchen with all of my taped-up cabinetry and appliances, I enjoy being at the house even more. It’s all coming together!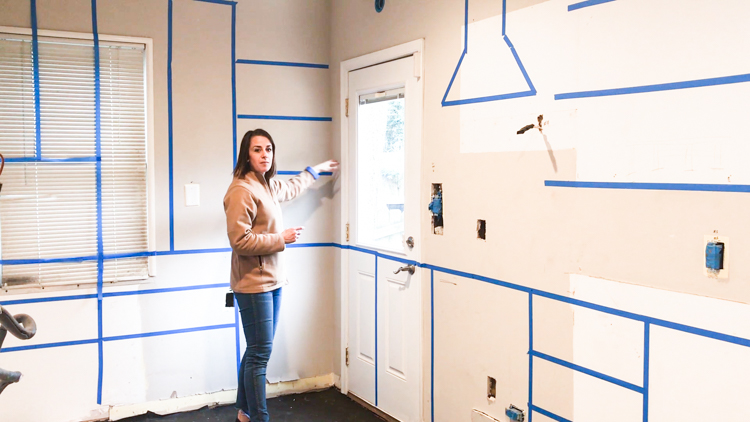
xo Miranda

