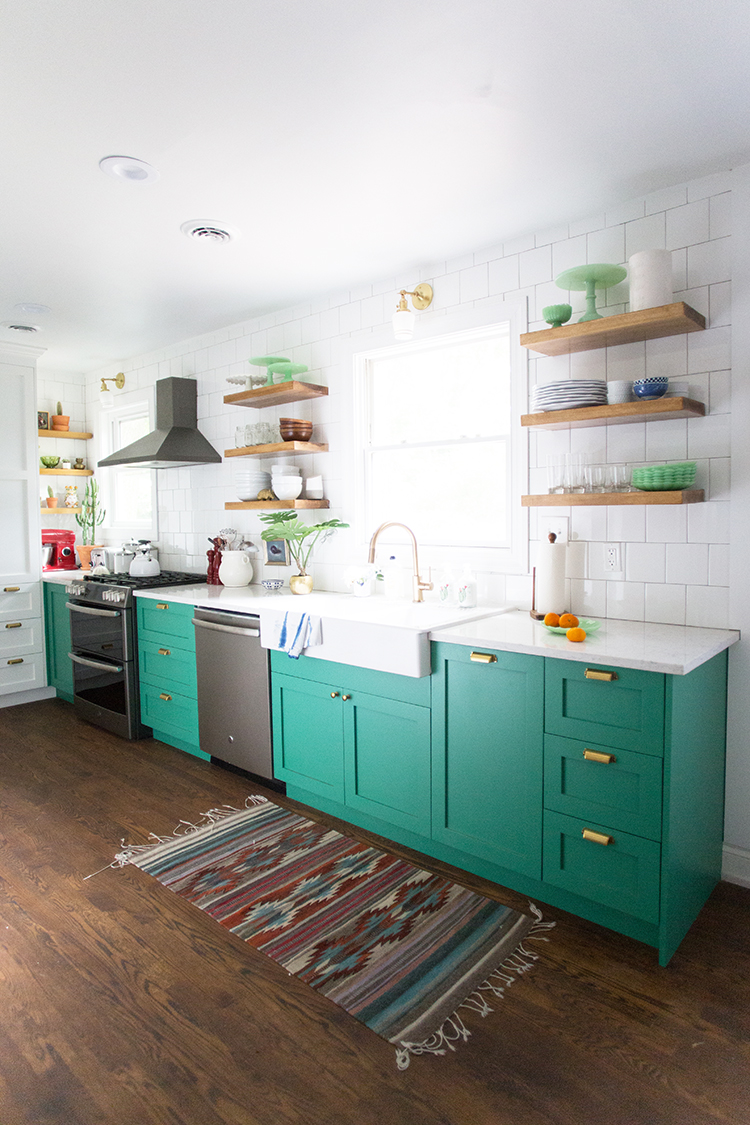
One important part of our renovation was deciding what jobs we could do ourselves, and what we wanted to hire out. I am a very adventurous DIYer, and knew the more I could do, the more money we could save for other house projects. So, even though I wasn’t exactly sure how to paint kitchen cabinets, I have painted enough other things, I wanted to do it myself and save the $1600 that it would have cost to hire a painter. The cabinets turned out amazing, and I am so excited to share the process so you can paint your own kitchen cabinets too!
I reached out to Sherwin-Williams to partner with me on this post, because I am obsessed with their paints and colors (I’ve been using Sherwin-Williams Emerald paints almost exclusively for a few years). Also, because they are one of the companies most trusted by professional painters, and one way to get a professional look on a DIY job is to use the materials the pros use.
Choosing Color
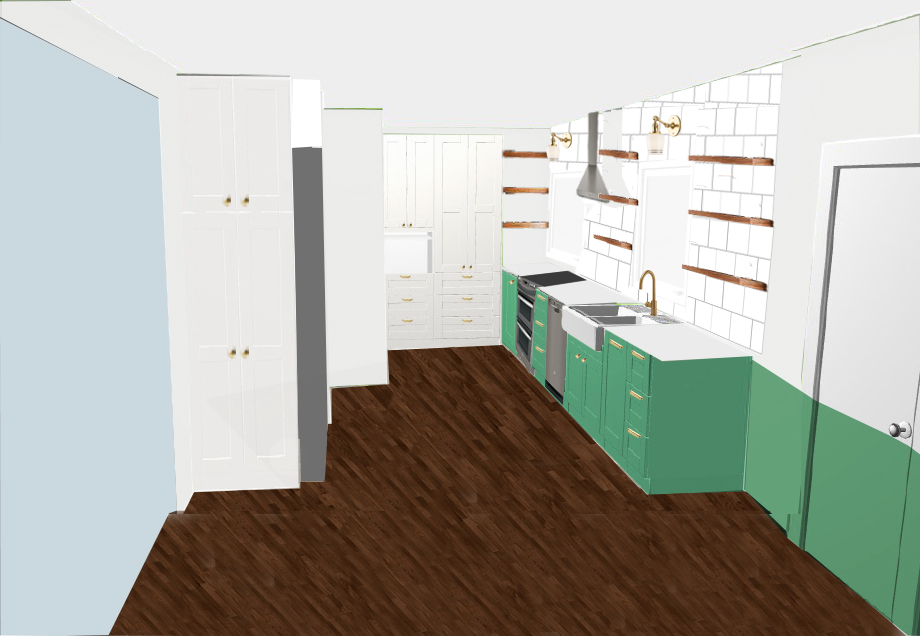
Since we were doing a full renovation on the kitchen, our cabinets were new. The boxes are from Ikea, and we ordered custom wooden doors from Semihandmade. One of the door finish options is called the “DIY Shaker Style” which means the doors come as raw, unfinished wood so they can be easily DIYed.
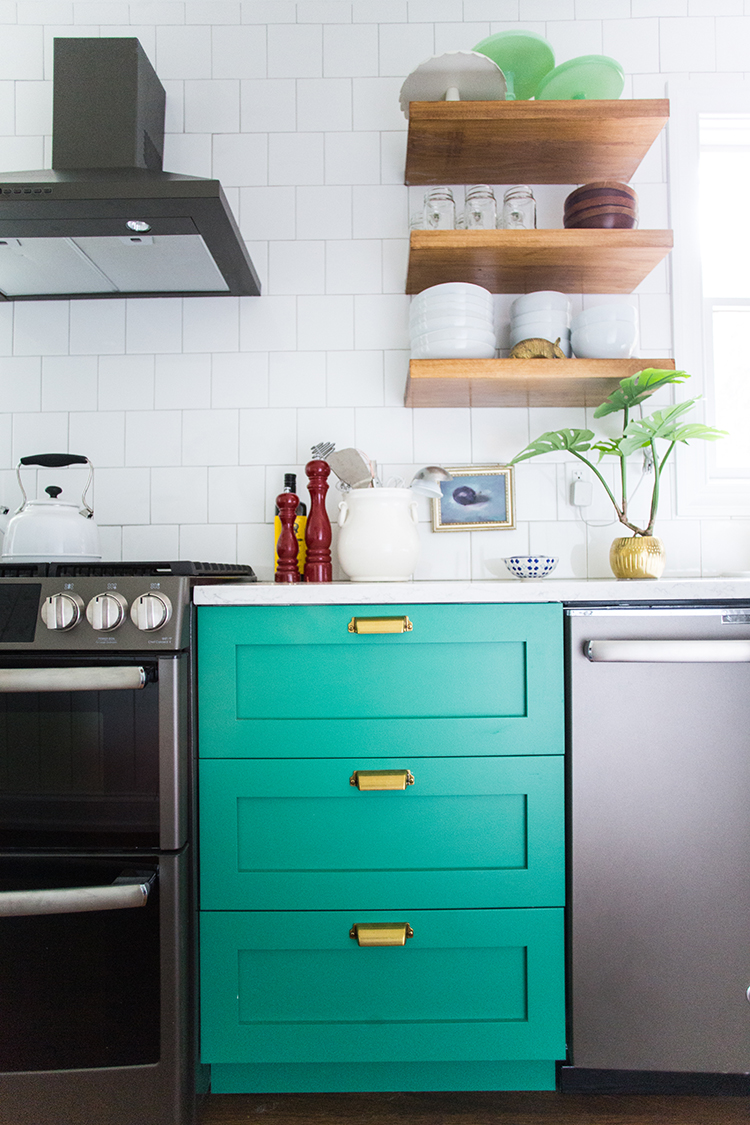
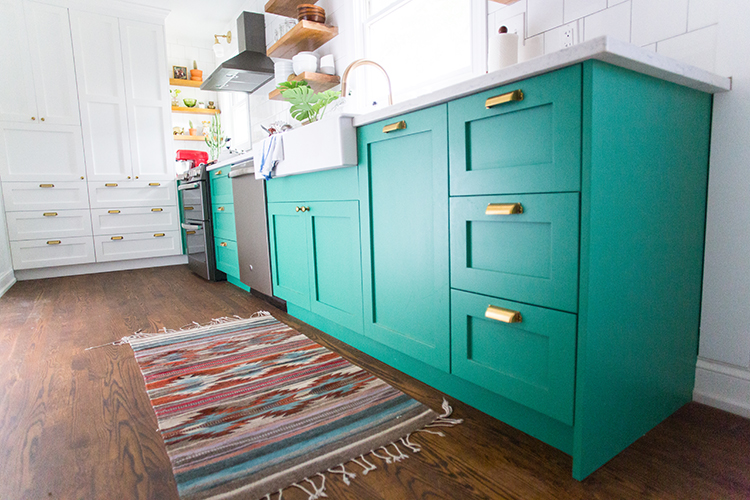
I really wanted a big impact in our small kitchen, and had been dreaming of colorful cabinets. I imagined I would choose a more grey green, soft, subtle color for the lower cabinets, but when I was flipping through the Sherwin-Williams color fan, a bright green/blue jumped out at me. Alexandrite SW 0060 is one of the historic paint colors, and it reminded me of my recent trip to Europe, the patina on old copper, and generally felt like a happy, alive and somewhat different color. I loved it!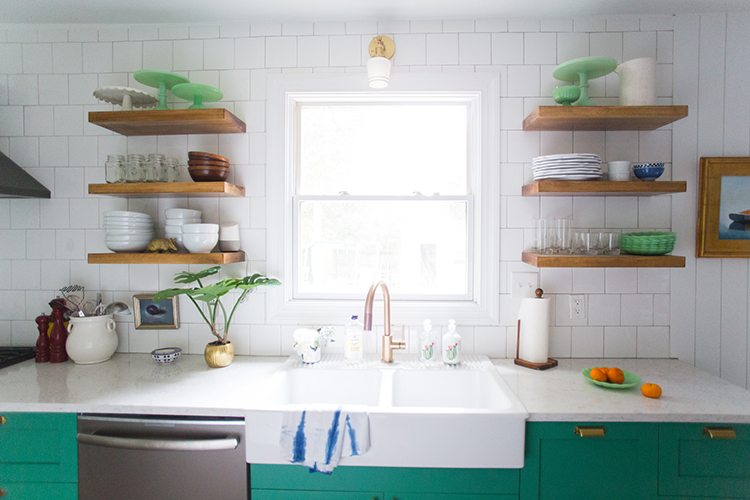
Wood Preparation
Because my cabinet doors were new and unfinished, my first step of preparation was the priming with Sherwin-Williams ProBlock Primer. If you are painting old cabinets, you may have some steps prior to priming.
If you cabinets are already painted, you could either strip all of the paint off and then sand to smooth or sand to smooth and then paint over the top. You’ll get better results going down to the real wood first, but if the cabinets aren’t real wood, or if for some reason you don’t want to invest all of the time to do a bigger job, you can sand them and then paint over the top of the current paint.
For stained, sealed cabinets, you should remove the shiny finish and sand to smooth. Once the cabinets are prepared, to paint, you can begin gathering supplies for painting.
Gathering Supplies and Setting Up
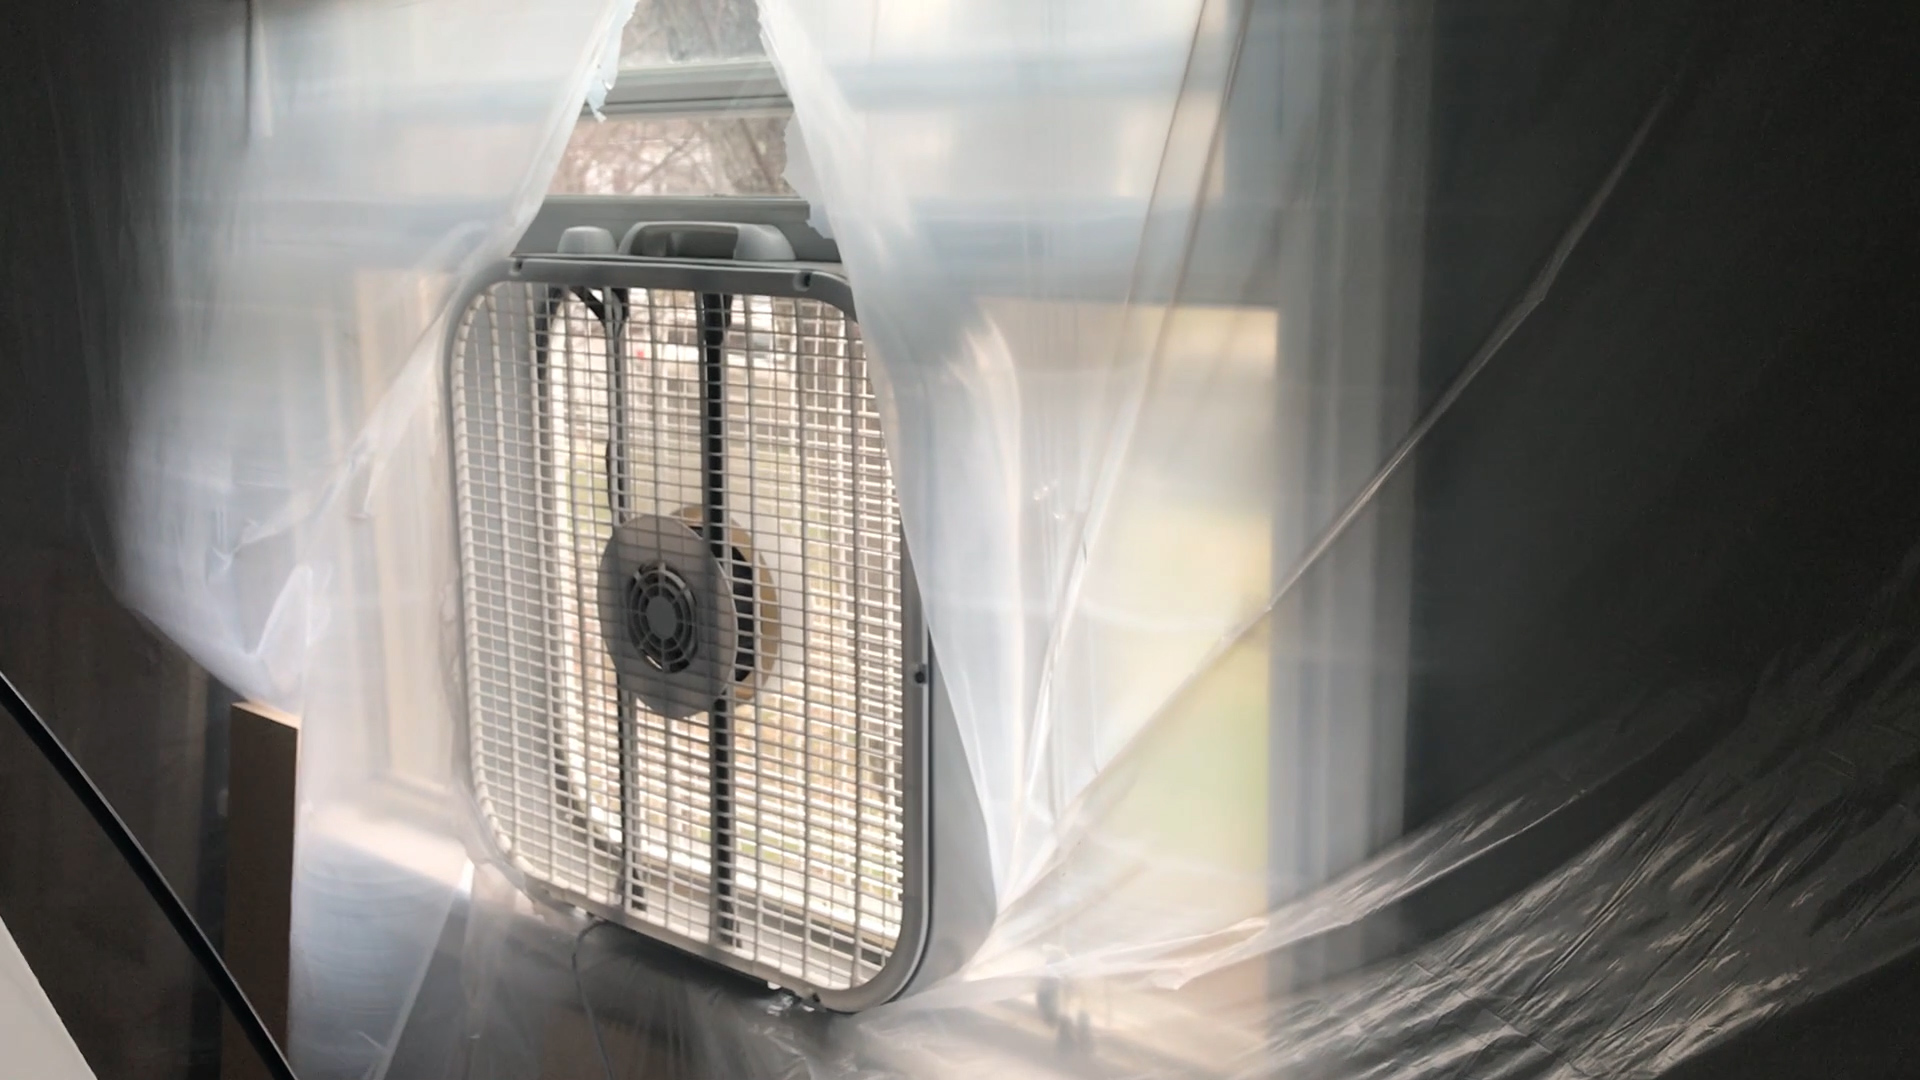
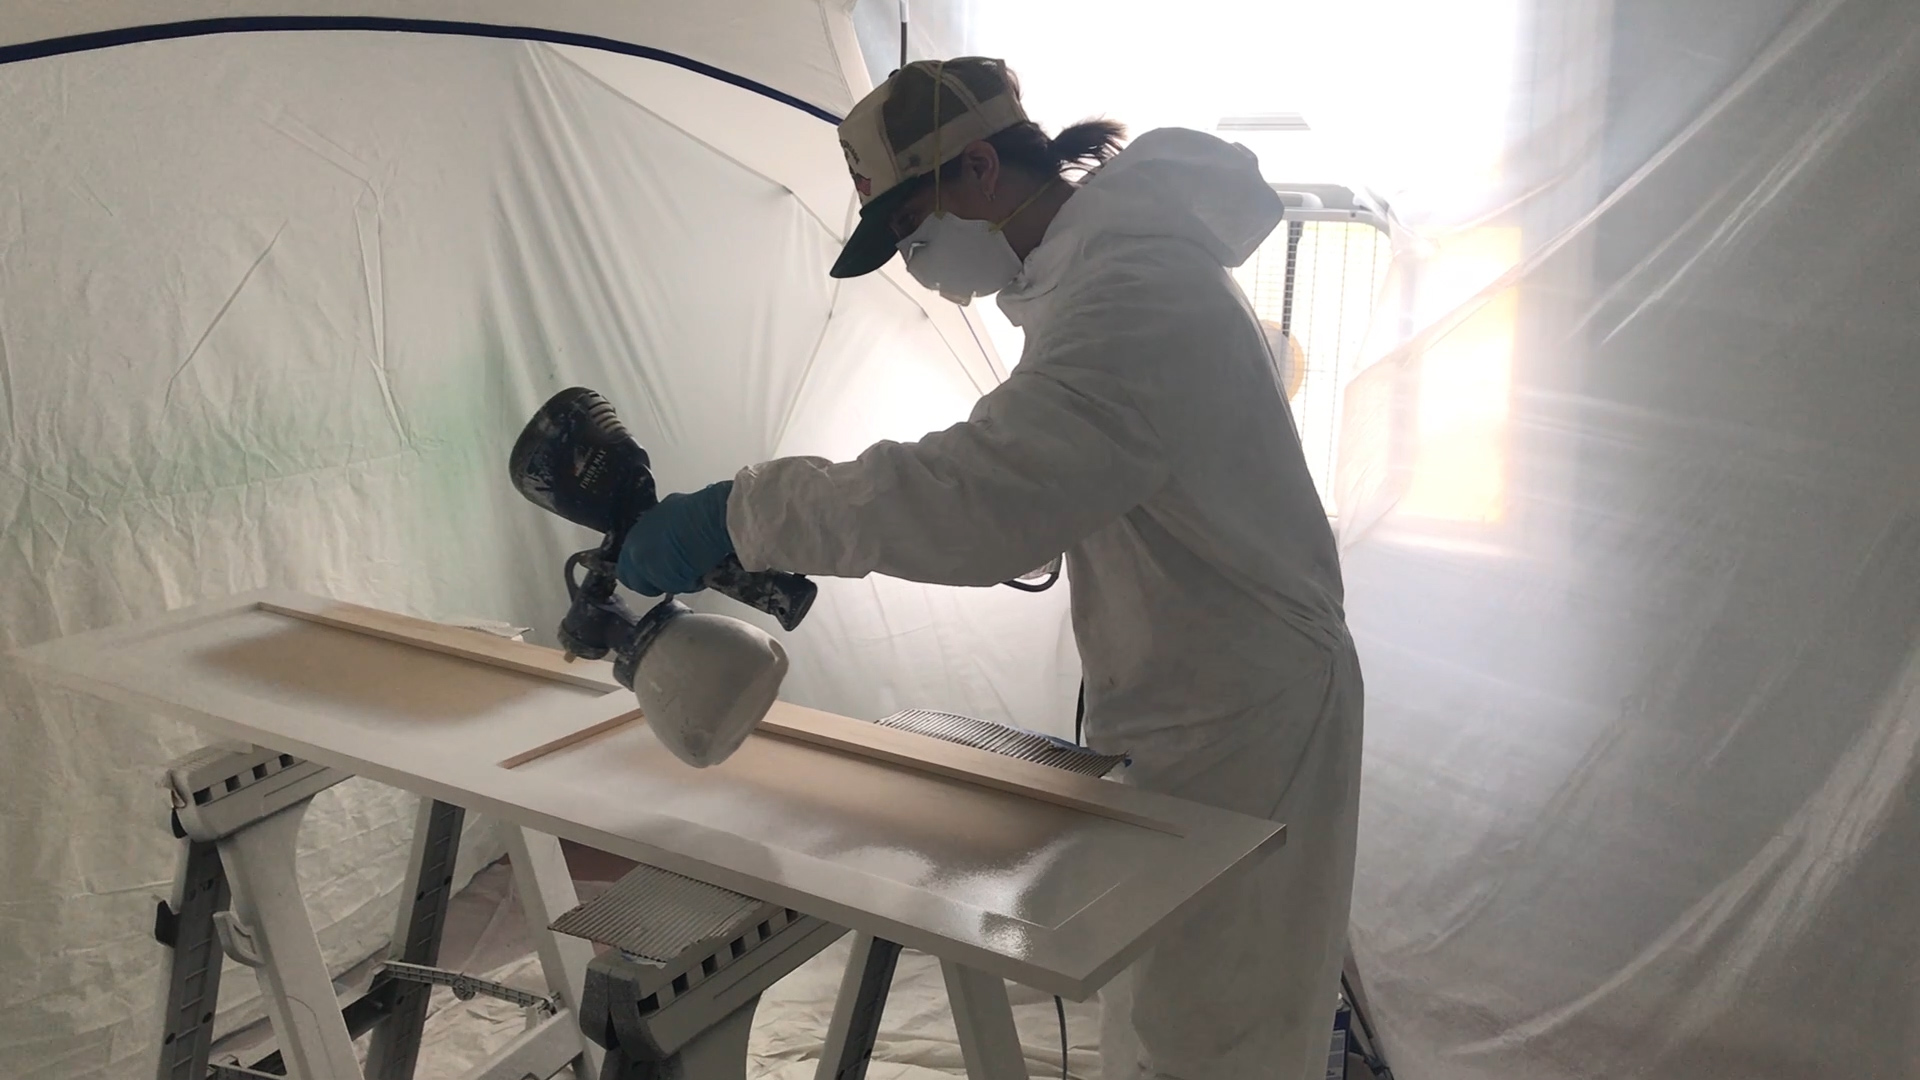
To paint you cabinets with a paint sprayer, like I did, you will need a room for painting. This can be a garage, shed, or bedroom converted into a painting area. I used a bedroom, and prepared it by taping plastic sheeting up on all of the walls, covering the floor, and putting a fan in the window to create good air ventilation. I also used a spray shelter for the smaller cabinets, to keep my overspray at a minimum.
Rather than painting with regular interior paint, I sprayed the cabinets first with Pro-Block oil based primer. It sinks into the wood, and creates a lasting bond to the top coats.
I then used two coats of Emerald Urethane Trim Enamel on the cabinet doors. The first coat for even, basic coverage and the second coat to deepen and solidify the colors and create a super hard and durable finish.
I choose Matte as my finish for the cabinets, because I didn’t want them shiny, I wanted a little leeway in case my job wasn’t absolutely perfect, and because the Sherwin-Williams Emerald Flat and Matte paints are still super washable. Perfect for a kitchen.
In addition to a room for painting, you will also need space to lay all of the cabinet doors flat while they dry. I have a very small kitchen and I still needed about 2 rooms for drying. You could reduce the space requirements by painting in waves, but I preferred to do all of each coat at a time.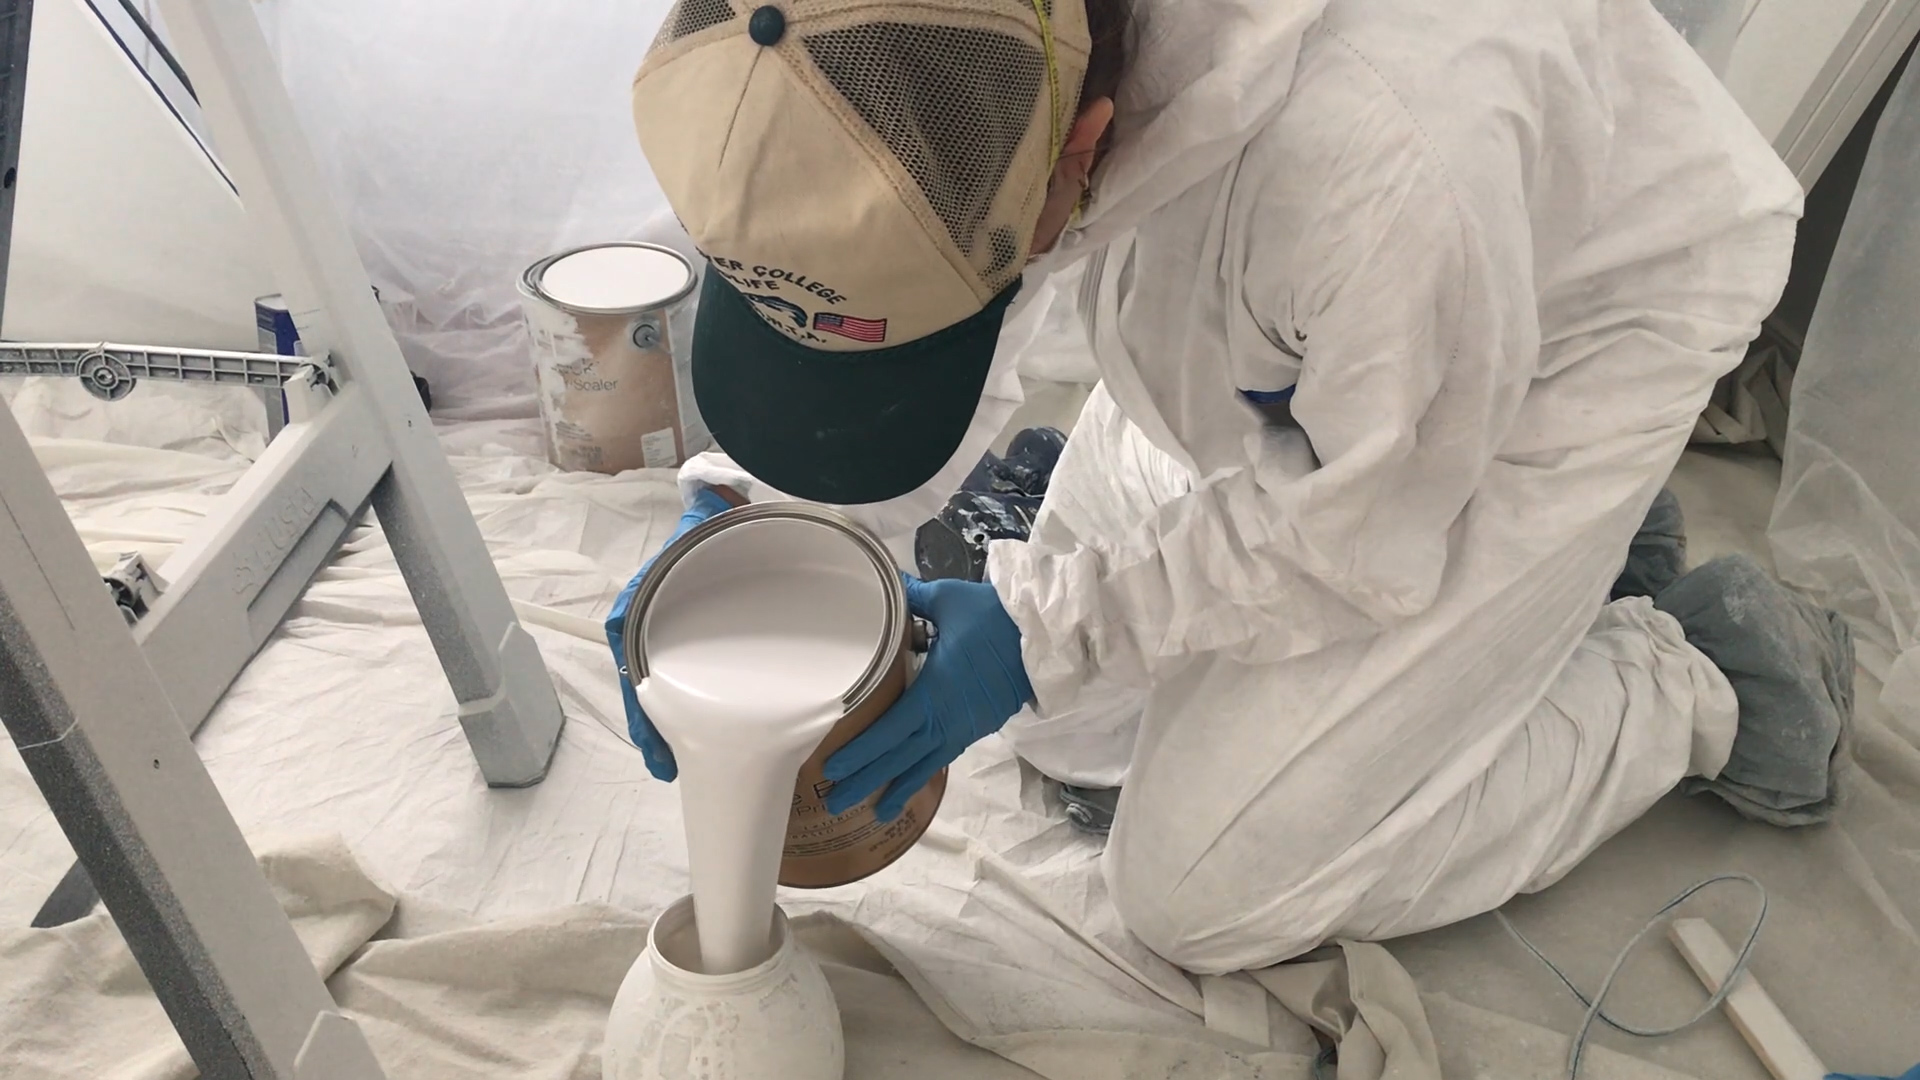
Plastic sheeting and drop cloth
Sherwin-Williams Pro-Block Primer
Sherwin-Williams Emerald Enamel in the colors of choice
Saw Horses to elevate cabinet doors for painting
I screwed a couple small screws through a piece of 2×4 and then screwed them onto the tops of my sawhorses with the points of the screws facing up. This made it possible to balance the cabinet doors on the 4 small points, and not risk getting the backside of each cabinet messy with the overspray that ends up on the sawhorses as you paint.
Painting, Drying, and Sanding
Okay, you’ve gathered supplies, set up shop, pulled on your painting clothes, put on a great playlist or podcast, and now you are ready to paint.
The order for painting kitchen cabinets with a paint sprayer for best effect is:
- Prime 4 sides and the back of the doors
- 8 hrs dry time
- Prime the 1 front side of the doors
- 8 hrs dry time
- sand and clean
- Paint 4 sides and the back of the doors with coat 1
- 8 hrs dry time
- Paint front side of the doors with coat 1
- 8 hrs dry time
- Sand and clean as needed
- Paint 4 sides and the back of the doors with coat 2
- 8 hrs dry time
- Paint the front of the doors with coat 2
- 8 hrs dry time
- Celebrate, take a nap, eat cake, and admire your beautiful work!
I spread the painting out over about 4-5 days and would paint in the morning, evening, then the following morning and eventing and so on. I listened to 3 full audio books, a handful of great podcasts, and of course some awesome pop music to keep me awake and jamming.
Using the sprayer, I would paint the outside edge, then the inside edge on each side, then come back and do solid strokes across the top. I would then carefully move the cabinet door into a drying room, and move onto the next.
The primer was all white, so at that first stage I didn’t do any dividing of the cabinets. The primer went on pretty smooth, and dried nicely, but there were still a few areas that I wanted to sand, as well as doing a light sand on the whole surface prior to painting the enamel.
Each of the painting sessions took about 2 hours to get through all of the cabinets. Basically, I took a week to live in my painting clothes, and spend most of my morning and evening painting. When it was all finished, it was so worth the work and time! The cabinets turned out beautifully, and the installation team didn’t have any idea they hadn’t been painted by a professional painter!
Installation
If at all possible, wait 2-3 days between finishing painting and installation of the cabinets. The paint will continue to dry, smooth out, and cure for a while, depending on the temperature and conditions inside the house/garage.
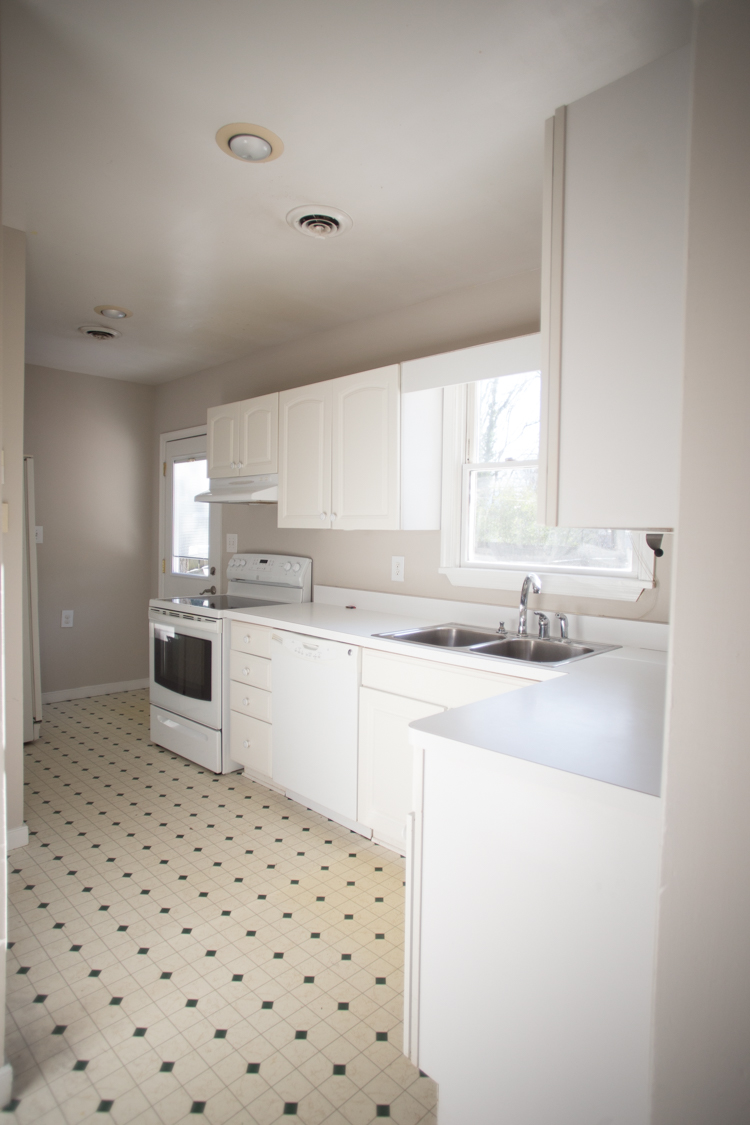
Before/After
So, what do you think? We took this kitchen from drab to fab with a little creativity, design, lots of work, and some happy, green Sherwin-Williams paint.
Tell me, would you paint your own kitchen cabinets? If so, what color would be your first choice?
This post was created in partnership with Sherwin-Williams. All opinions and ideas are my own.

