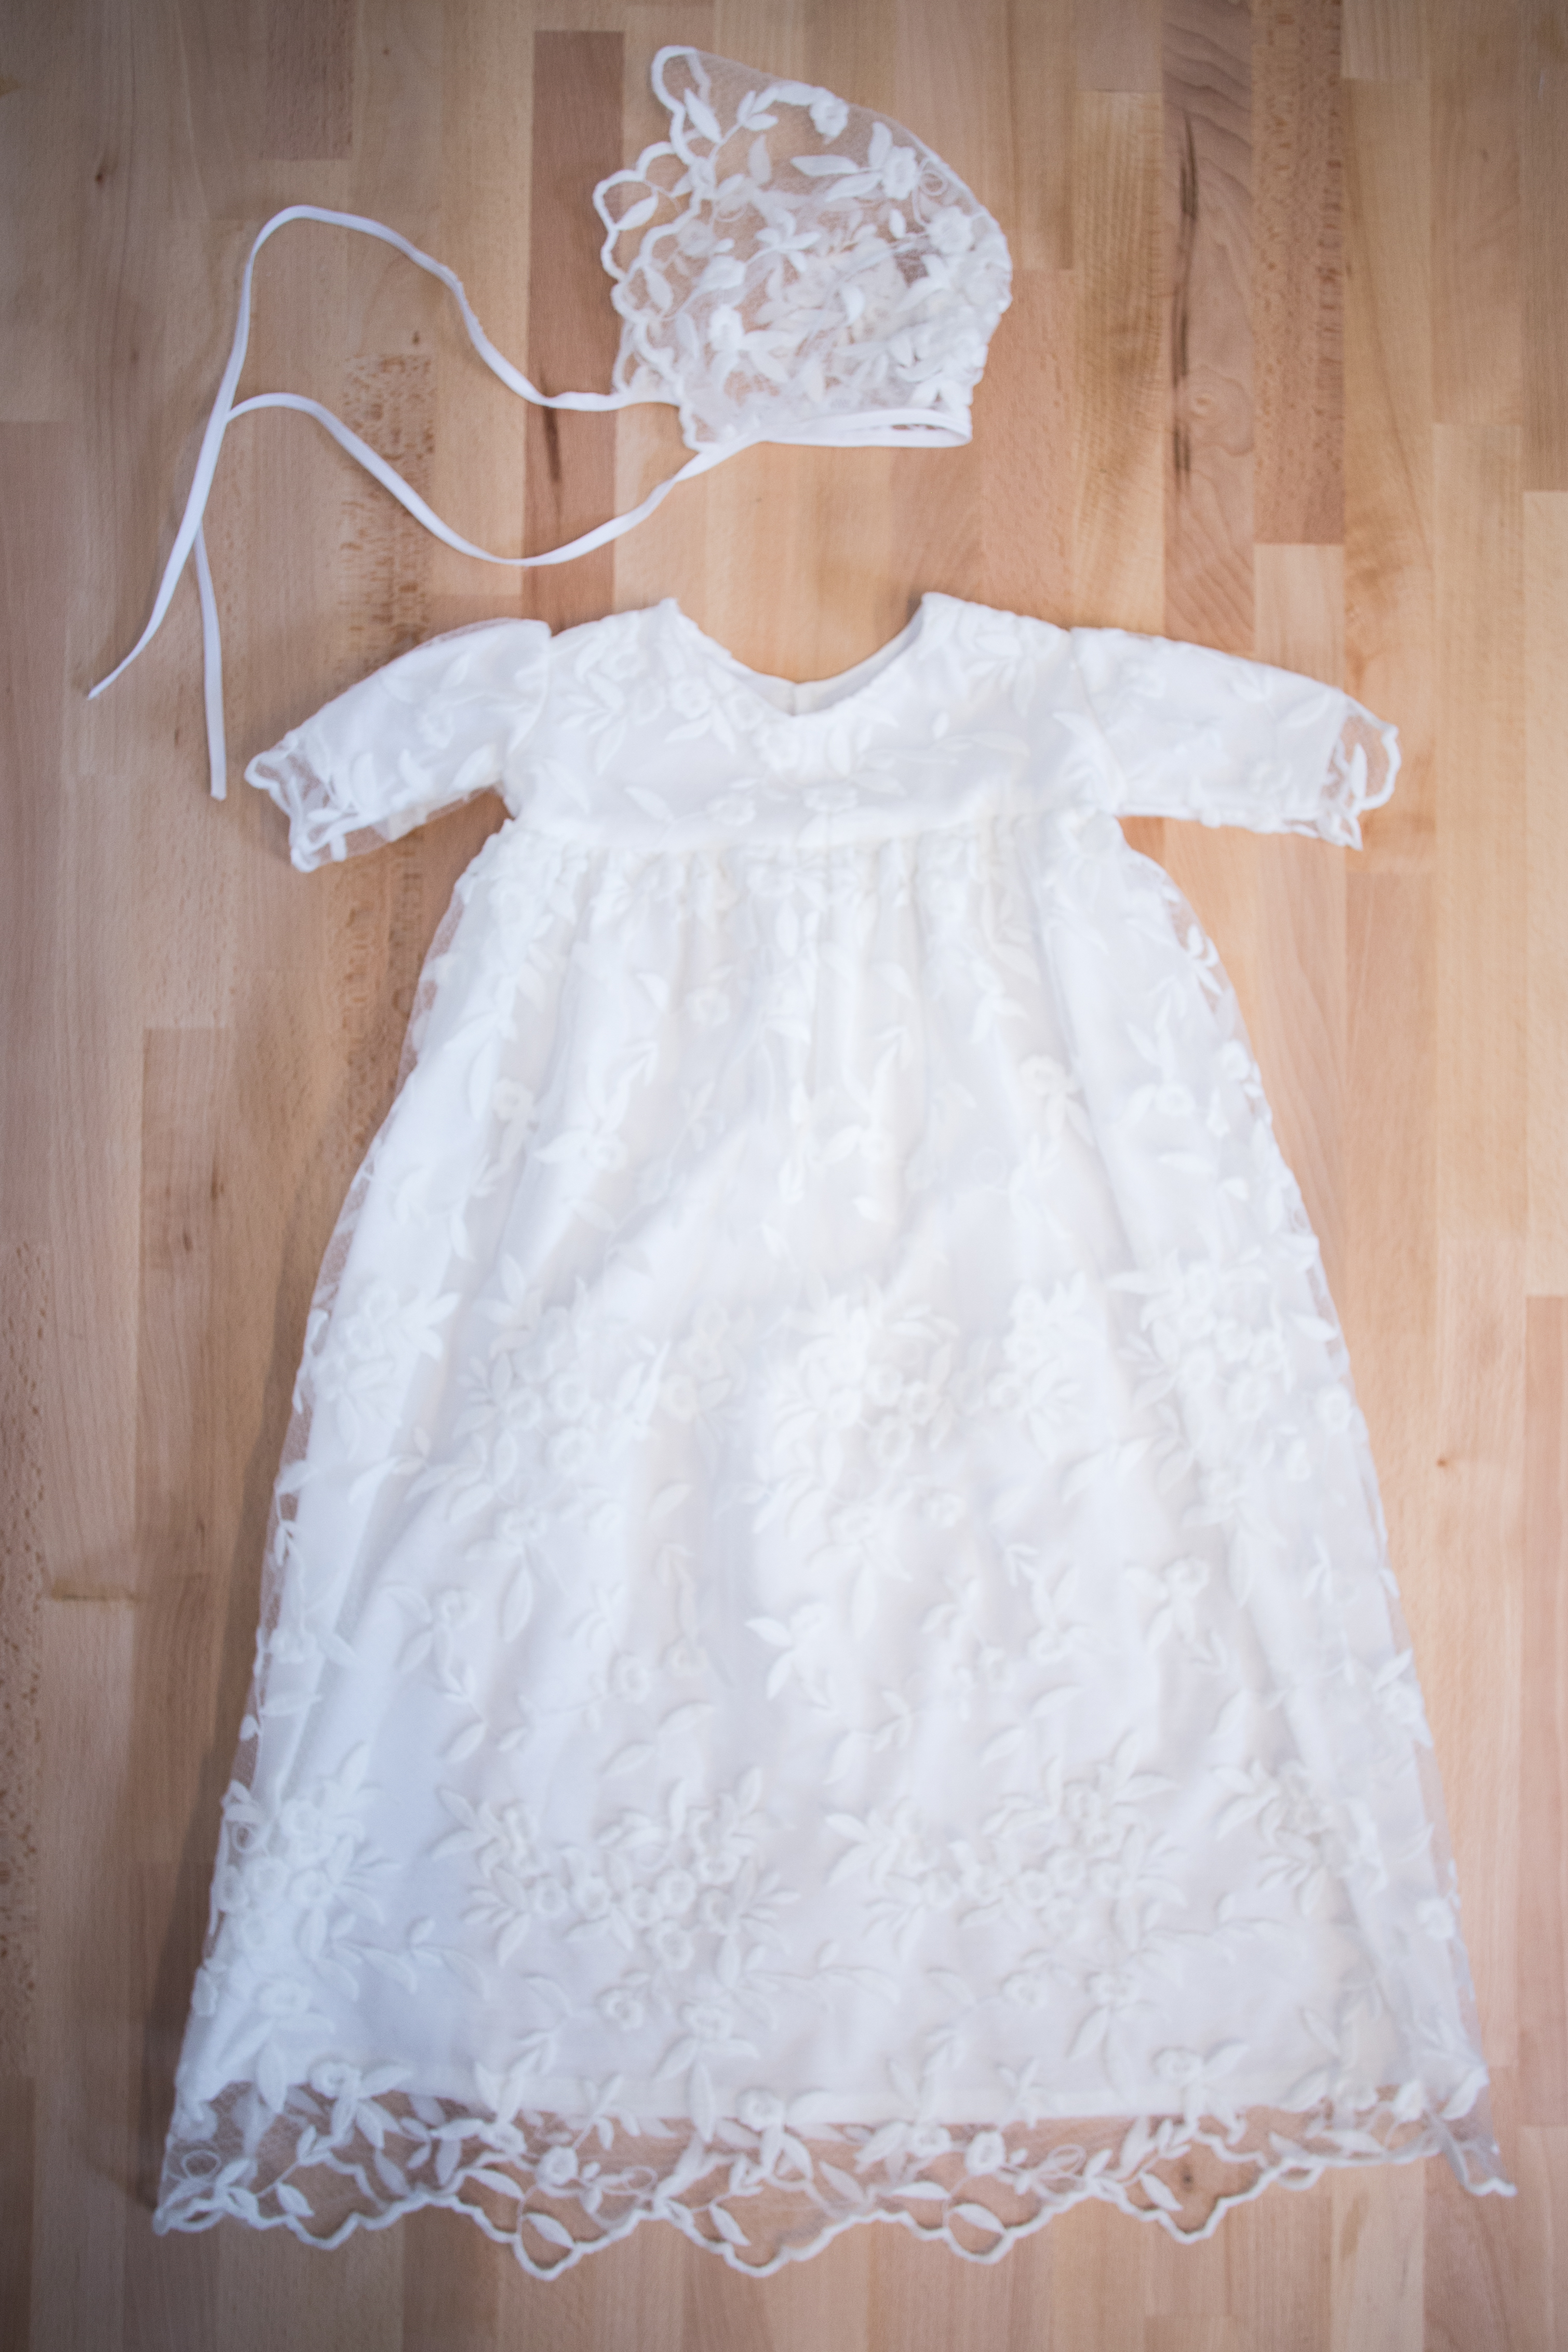
Rosie’s Blessing Dress
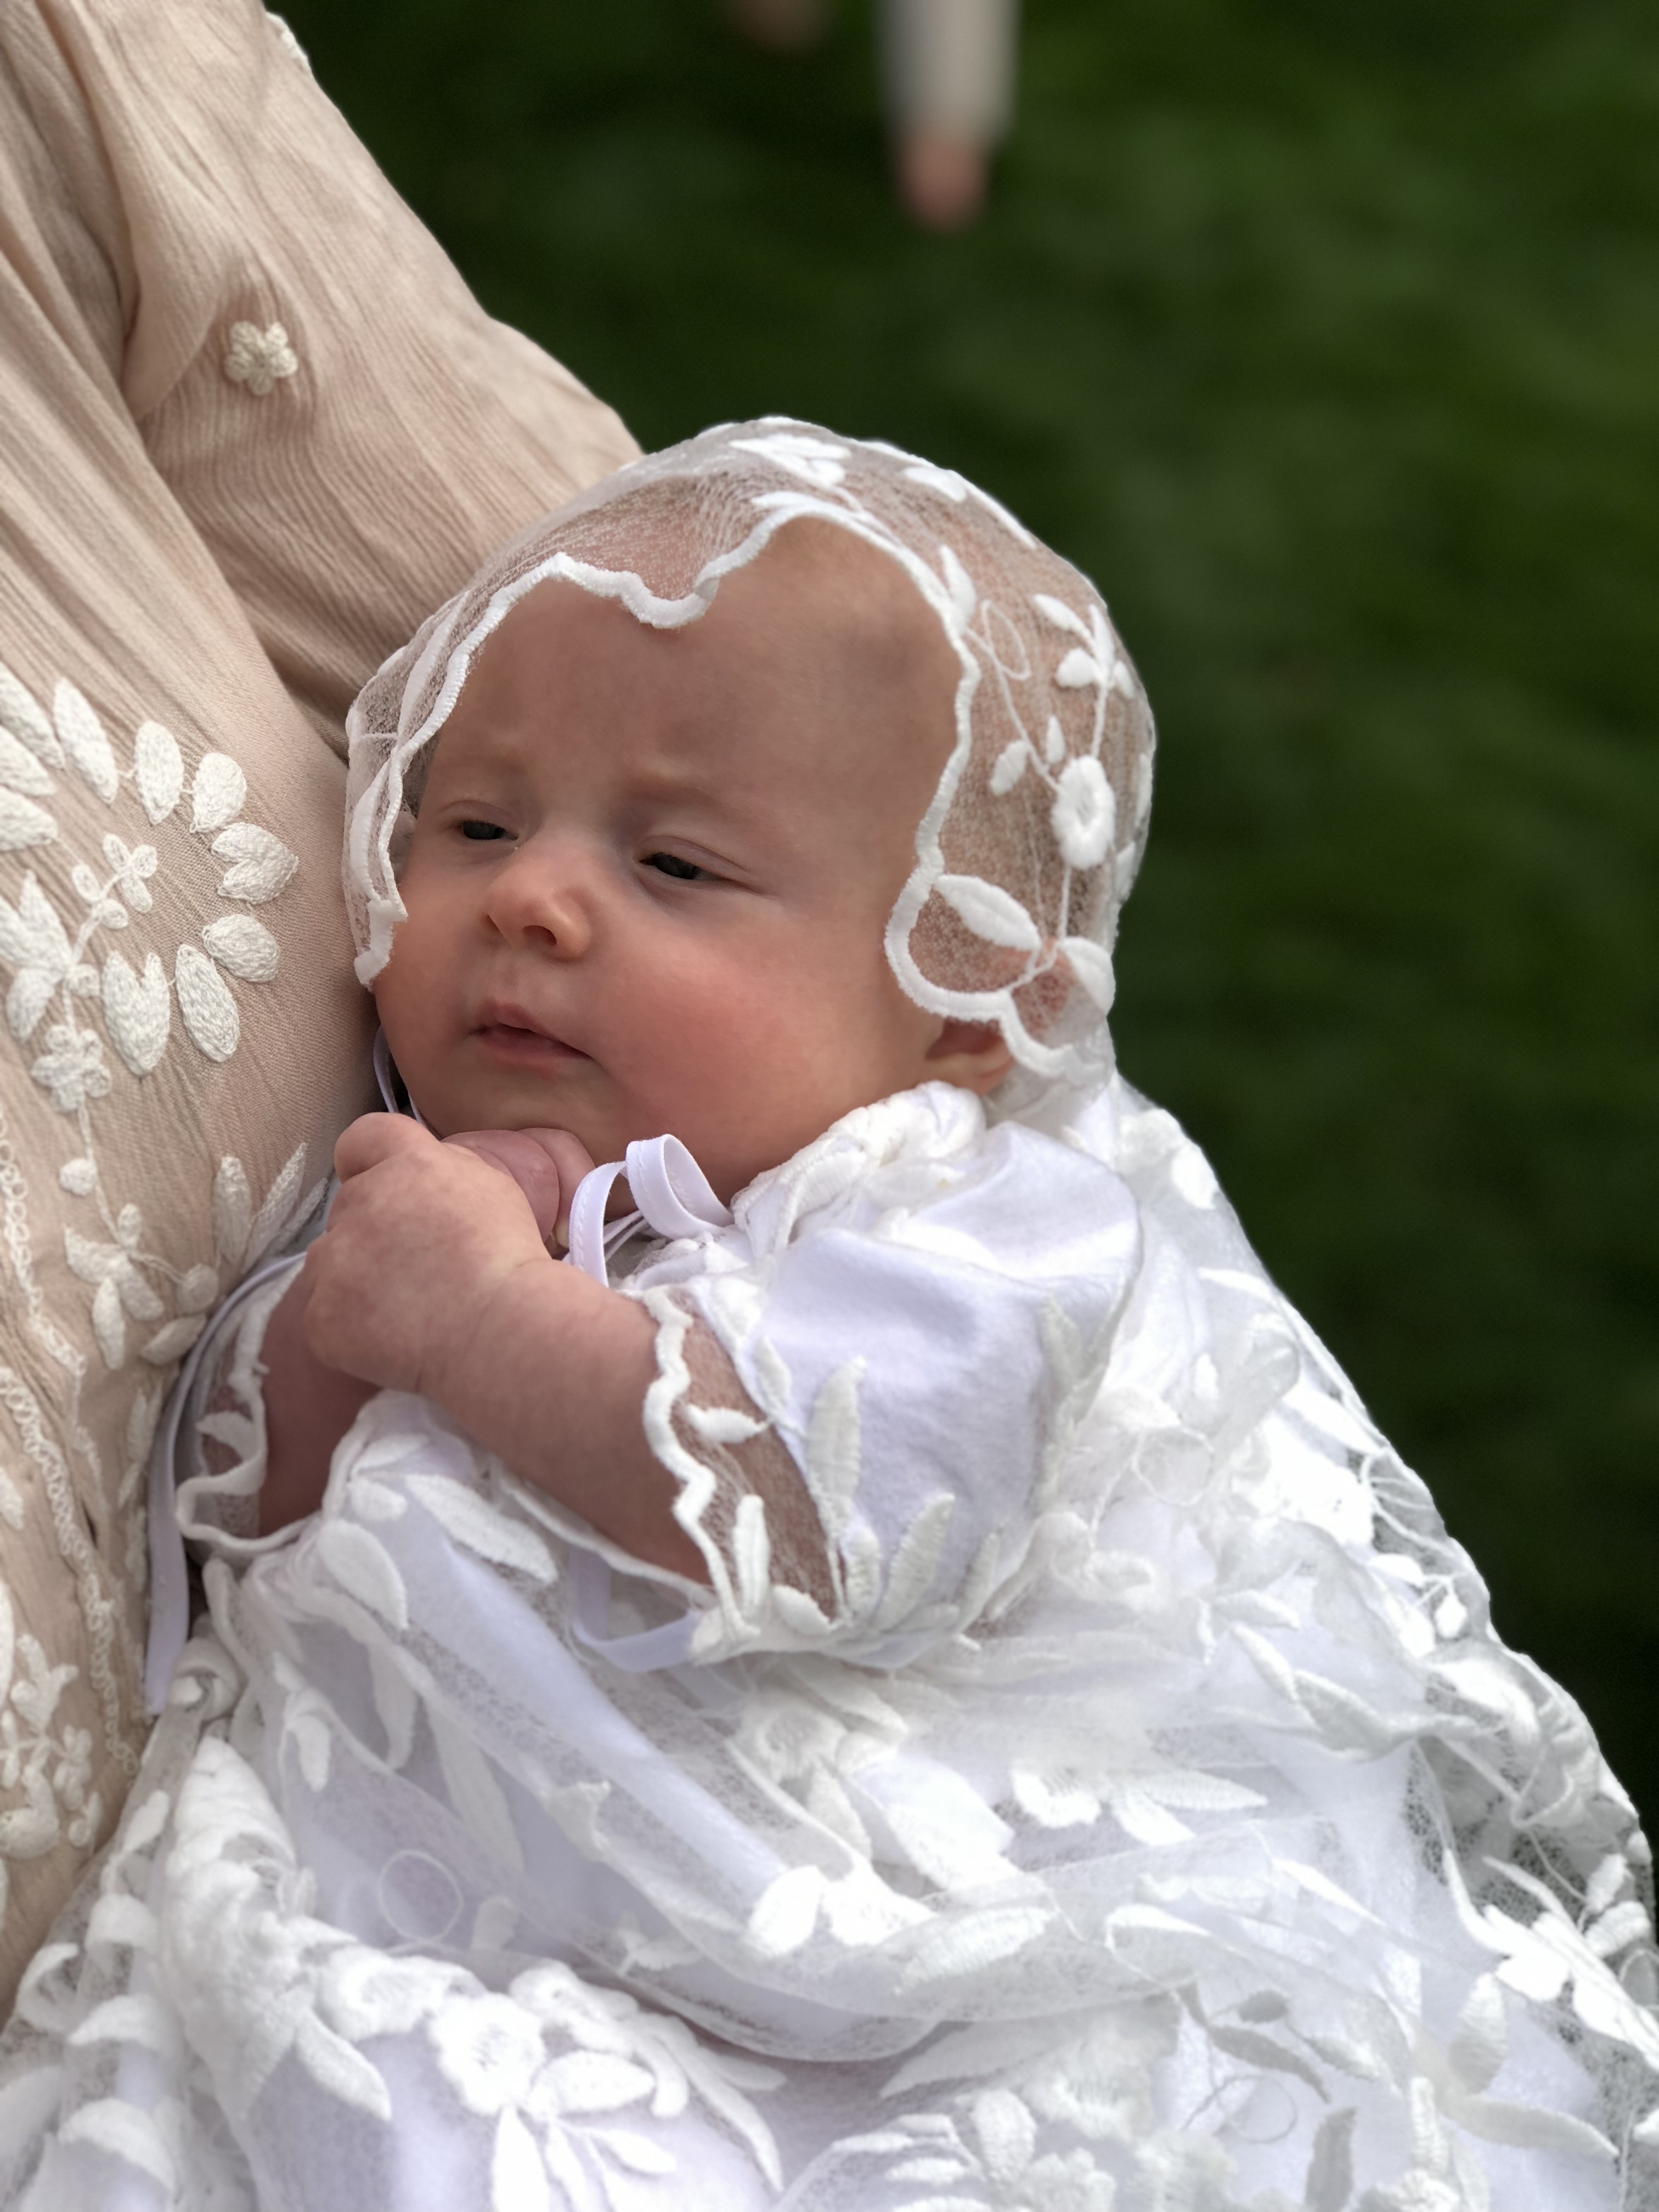
Sewing teeny, tiny perfect gowns has been one of my favorite projects as a mother, friend, and aunt. When my sister-in-law had her first daughter a couple months ago, I reached out to ask if I could make her a custom blessing dress. Her mom sent me a couple ideas of christening gowns and dresses she had seen and liked, then I mashed them up into my own custom design. 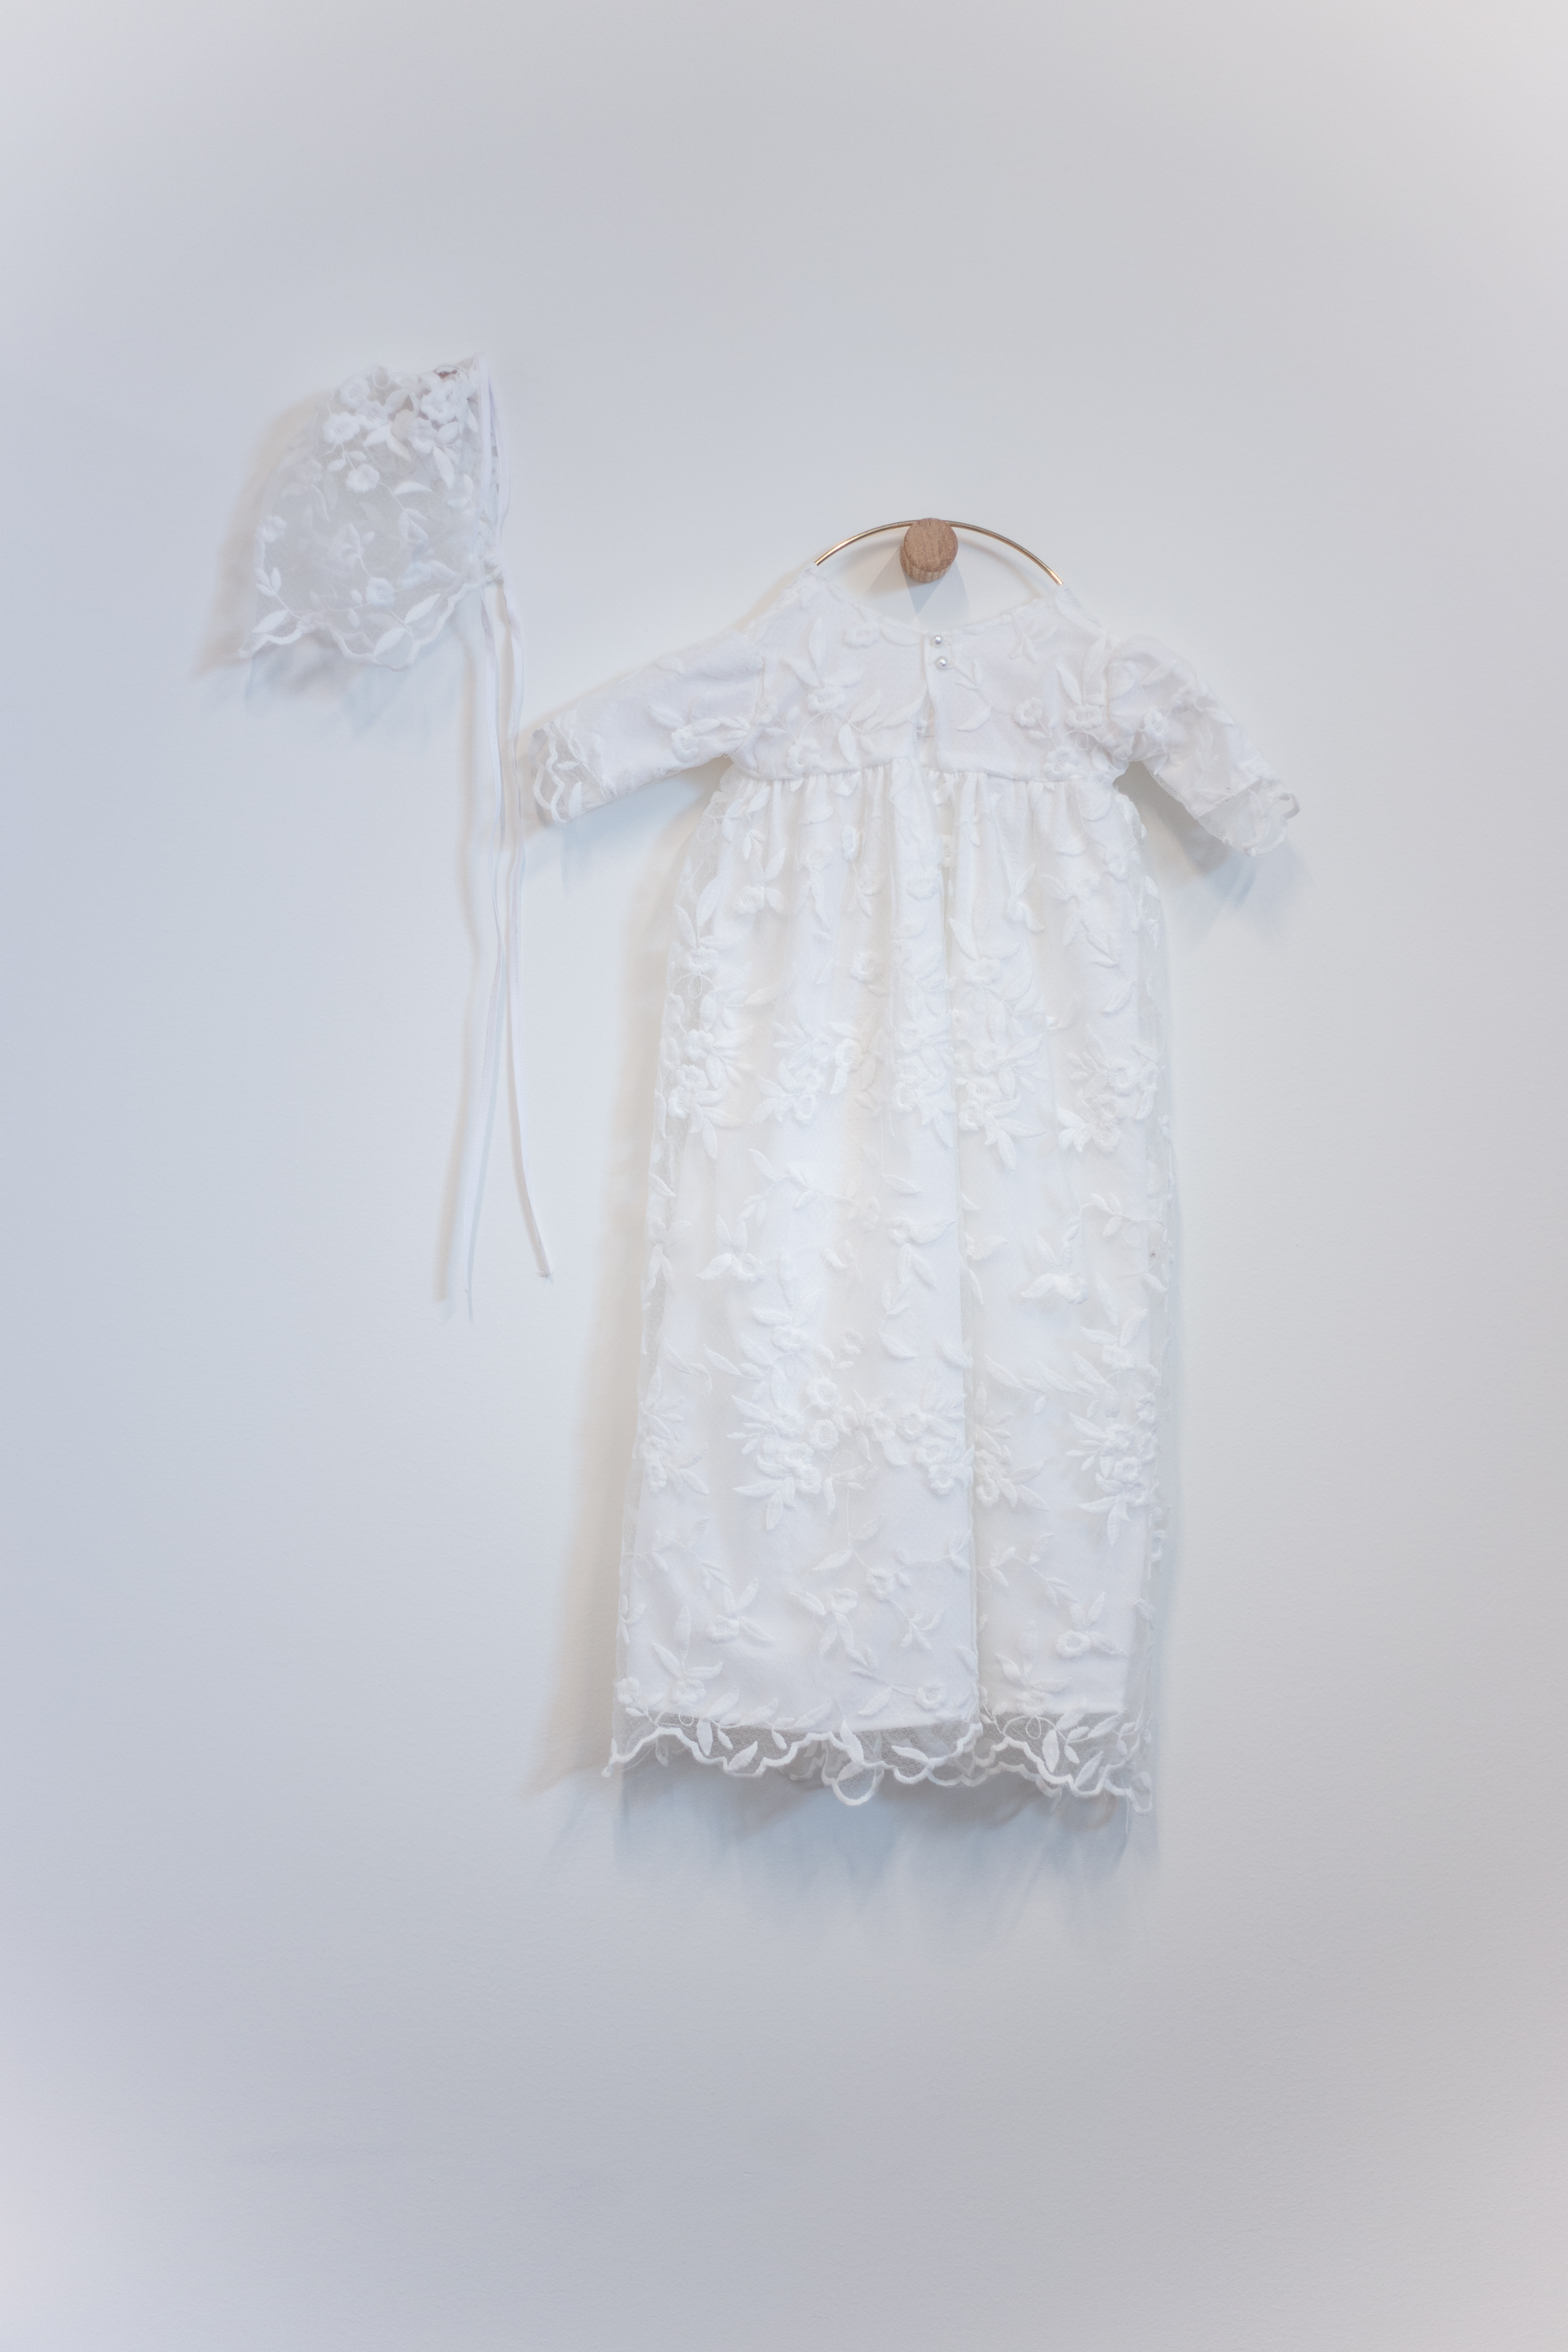
I haven’t been sewing a whole lot lately, with many, many other projects fulfilling my creative bucket (renovating and designing our home, recording my weekly podcast, teaching workshops). Taking on this. special blessing dress meant I had a reason to dust off my machine.
The Lace
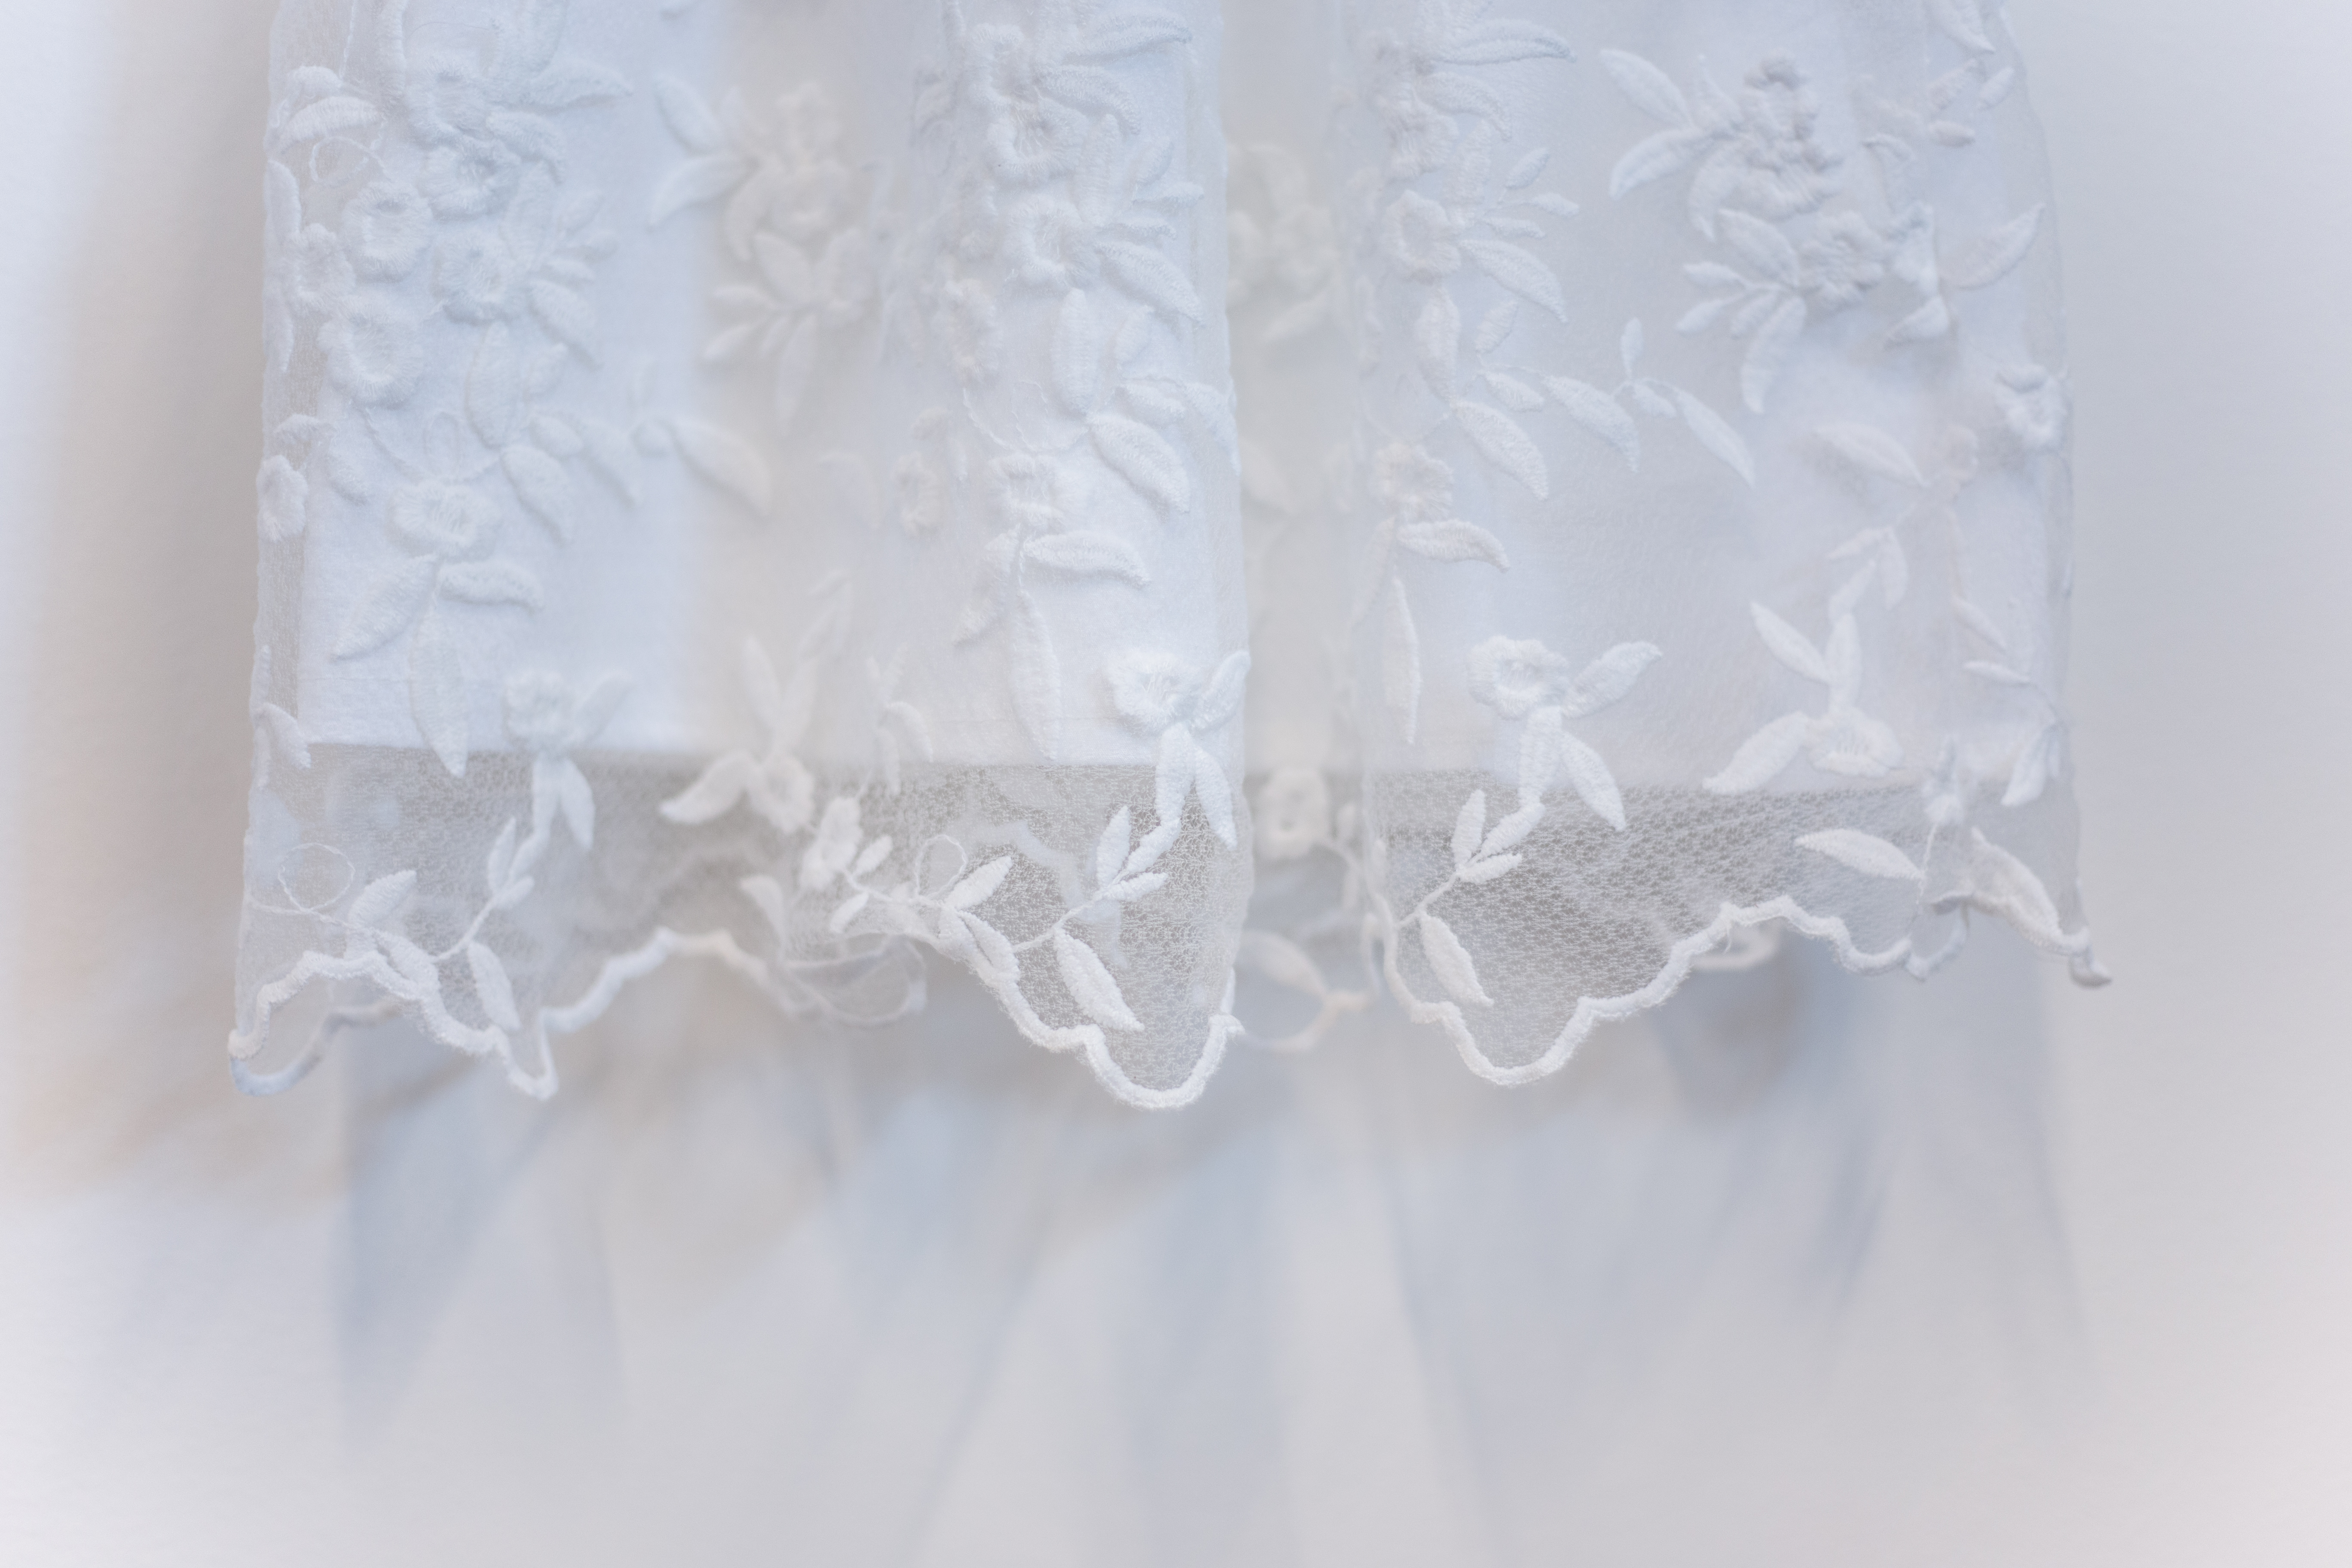
For the fabric, I was lucky to find a local shop that is stocked ceiling to floor with apparel fabric. I felt like I was wandering into a dream! There was a whole wall of bridal lace. All different types and designs. This gorgeous, lightweight lace had scalloped edges along both selvedges, which meant I could take advantage of them for the skirt, sleeve, and bonnet hemlines. Gosh it’s pretty!
The Pattern
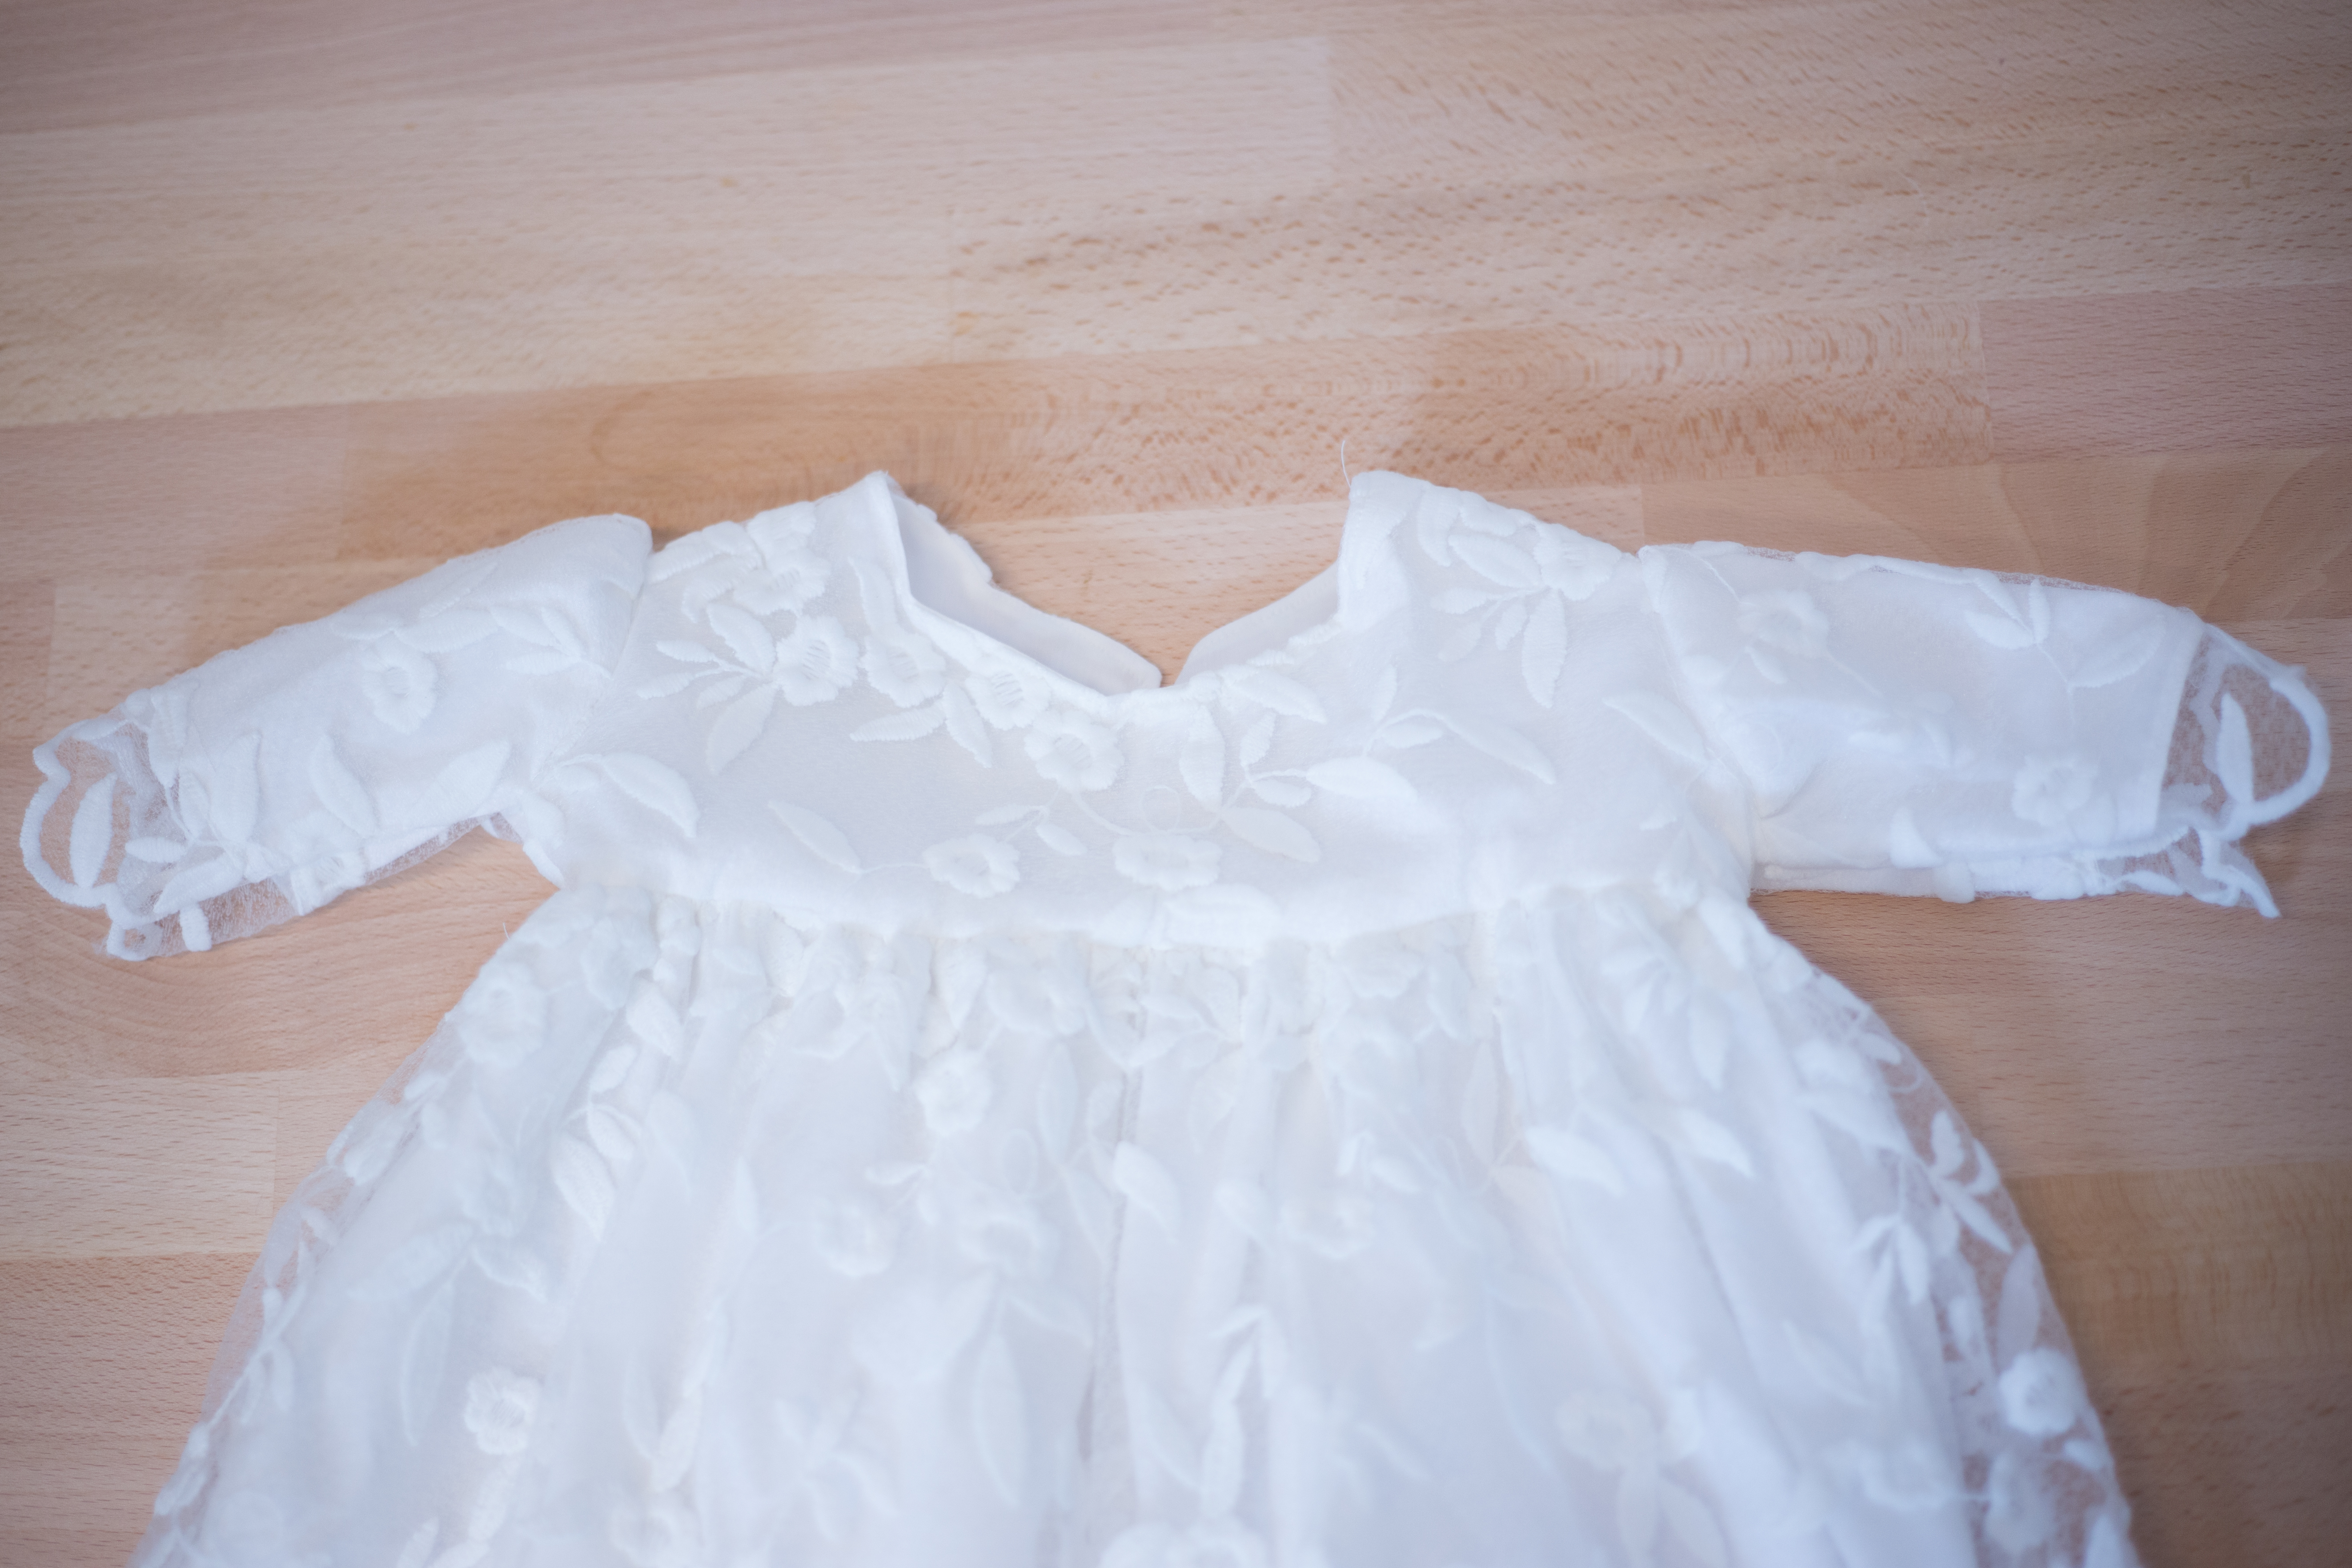
I have made several infant dresses, so I have a little stash of baby bodice blocks ready to go, sleeves and all. At that point, all I have to change is the skirt style and sleeve length. On this dress, I chose to do a long, gathered skirt, and elbow-length sleeves because of the cold.
If you don’t have a pattern, but want to make something similar, I suggest using a fairly loose-fitting onesie and making a rub-off of the upper bodice and sleeves. You can follow the instructions in this post. If you begin with a onesie, which is a stretch fabric, add 1/2″ ease to each of the edges once you finish tracing the pattern to give the baby some room to breathe.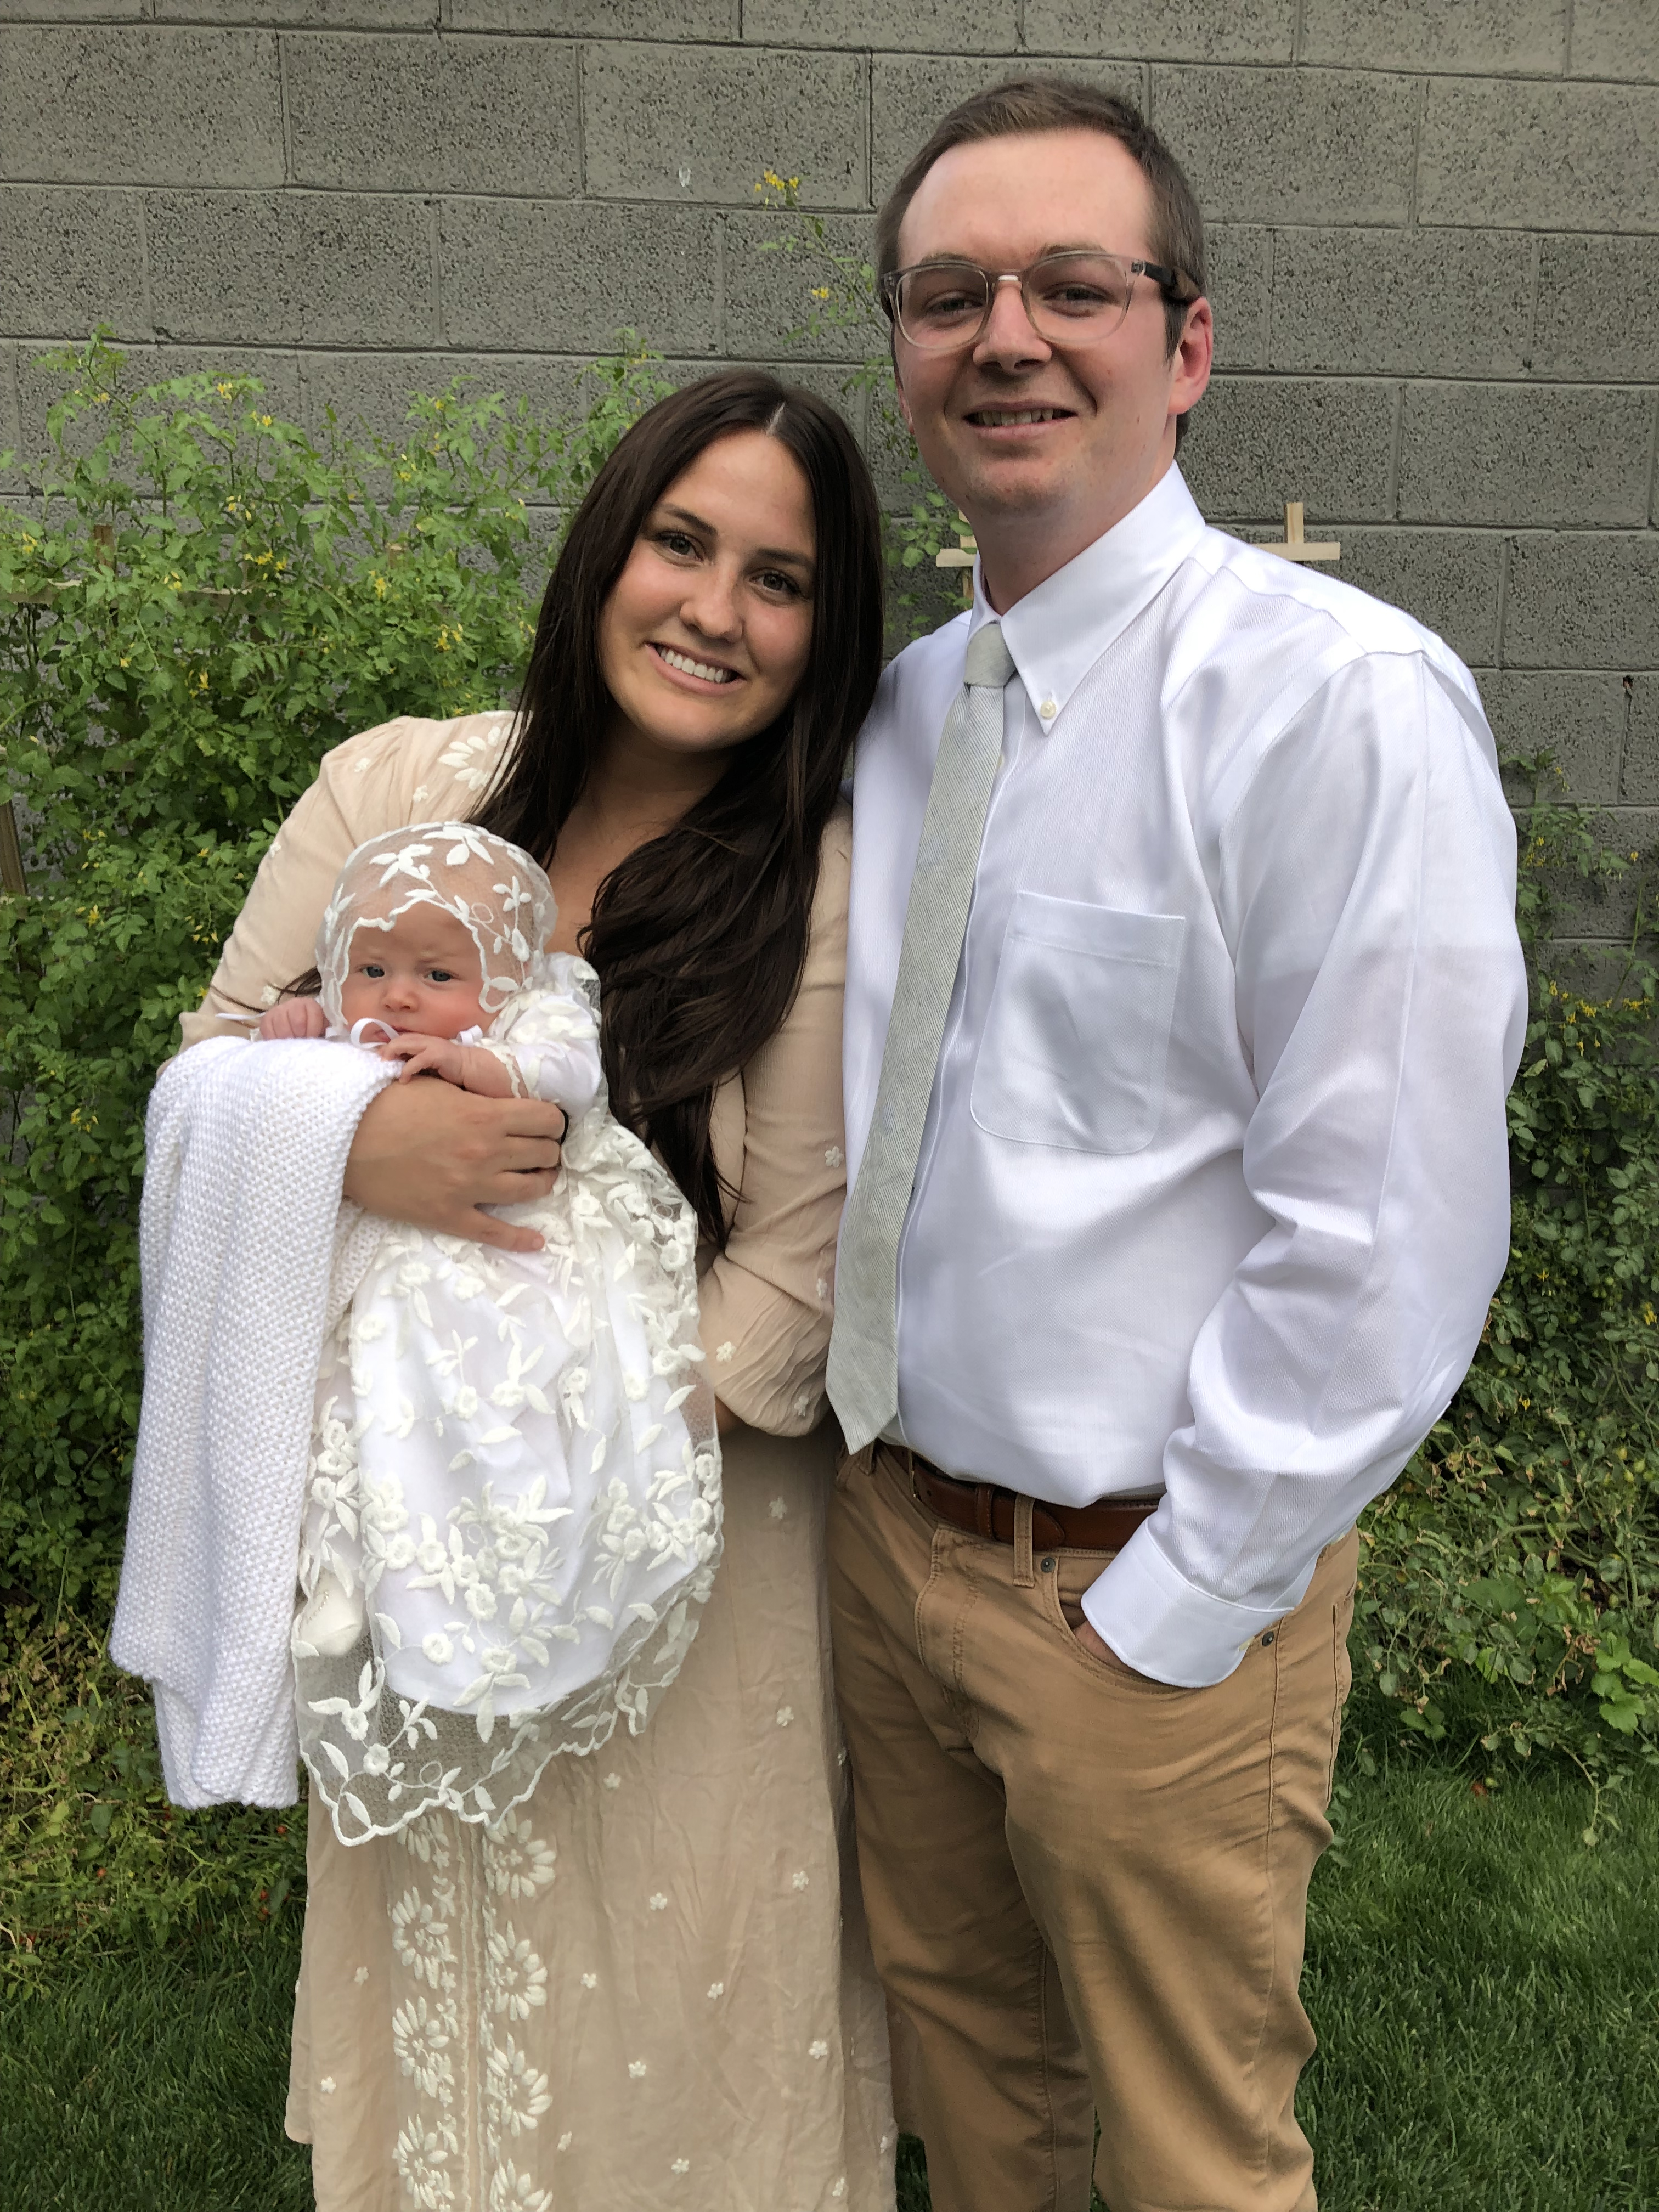
Lace Blessing Dress DIY Instructions
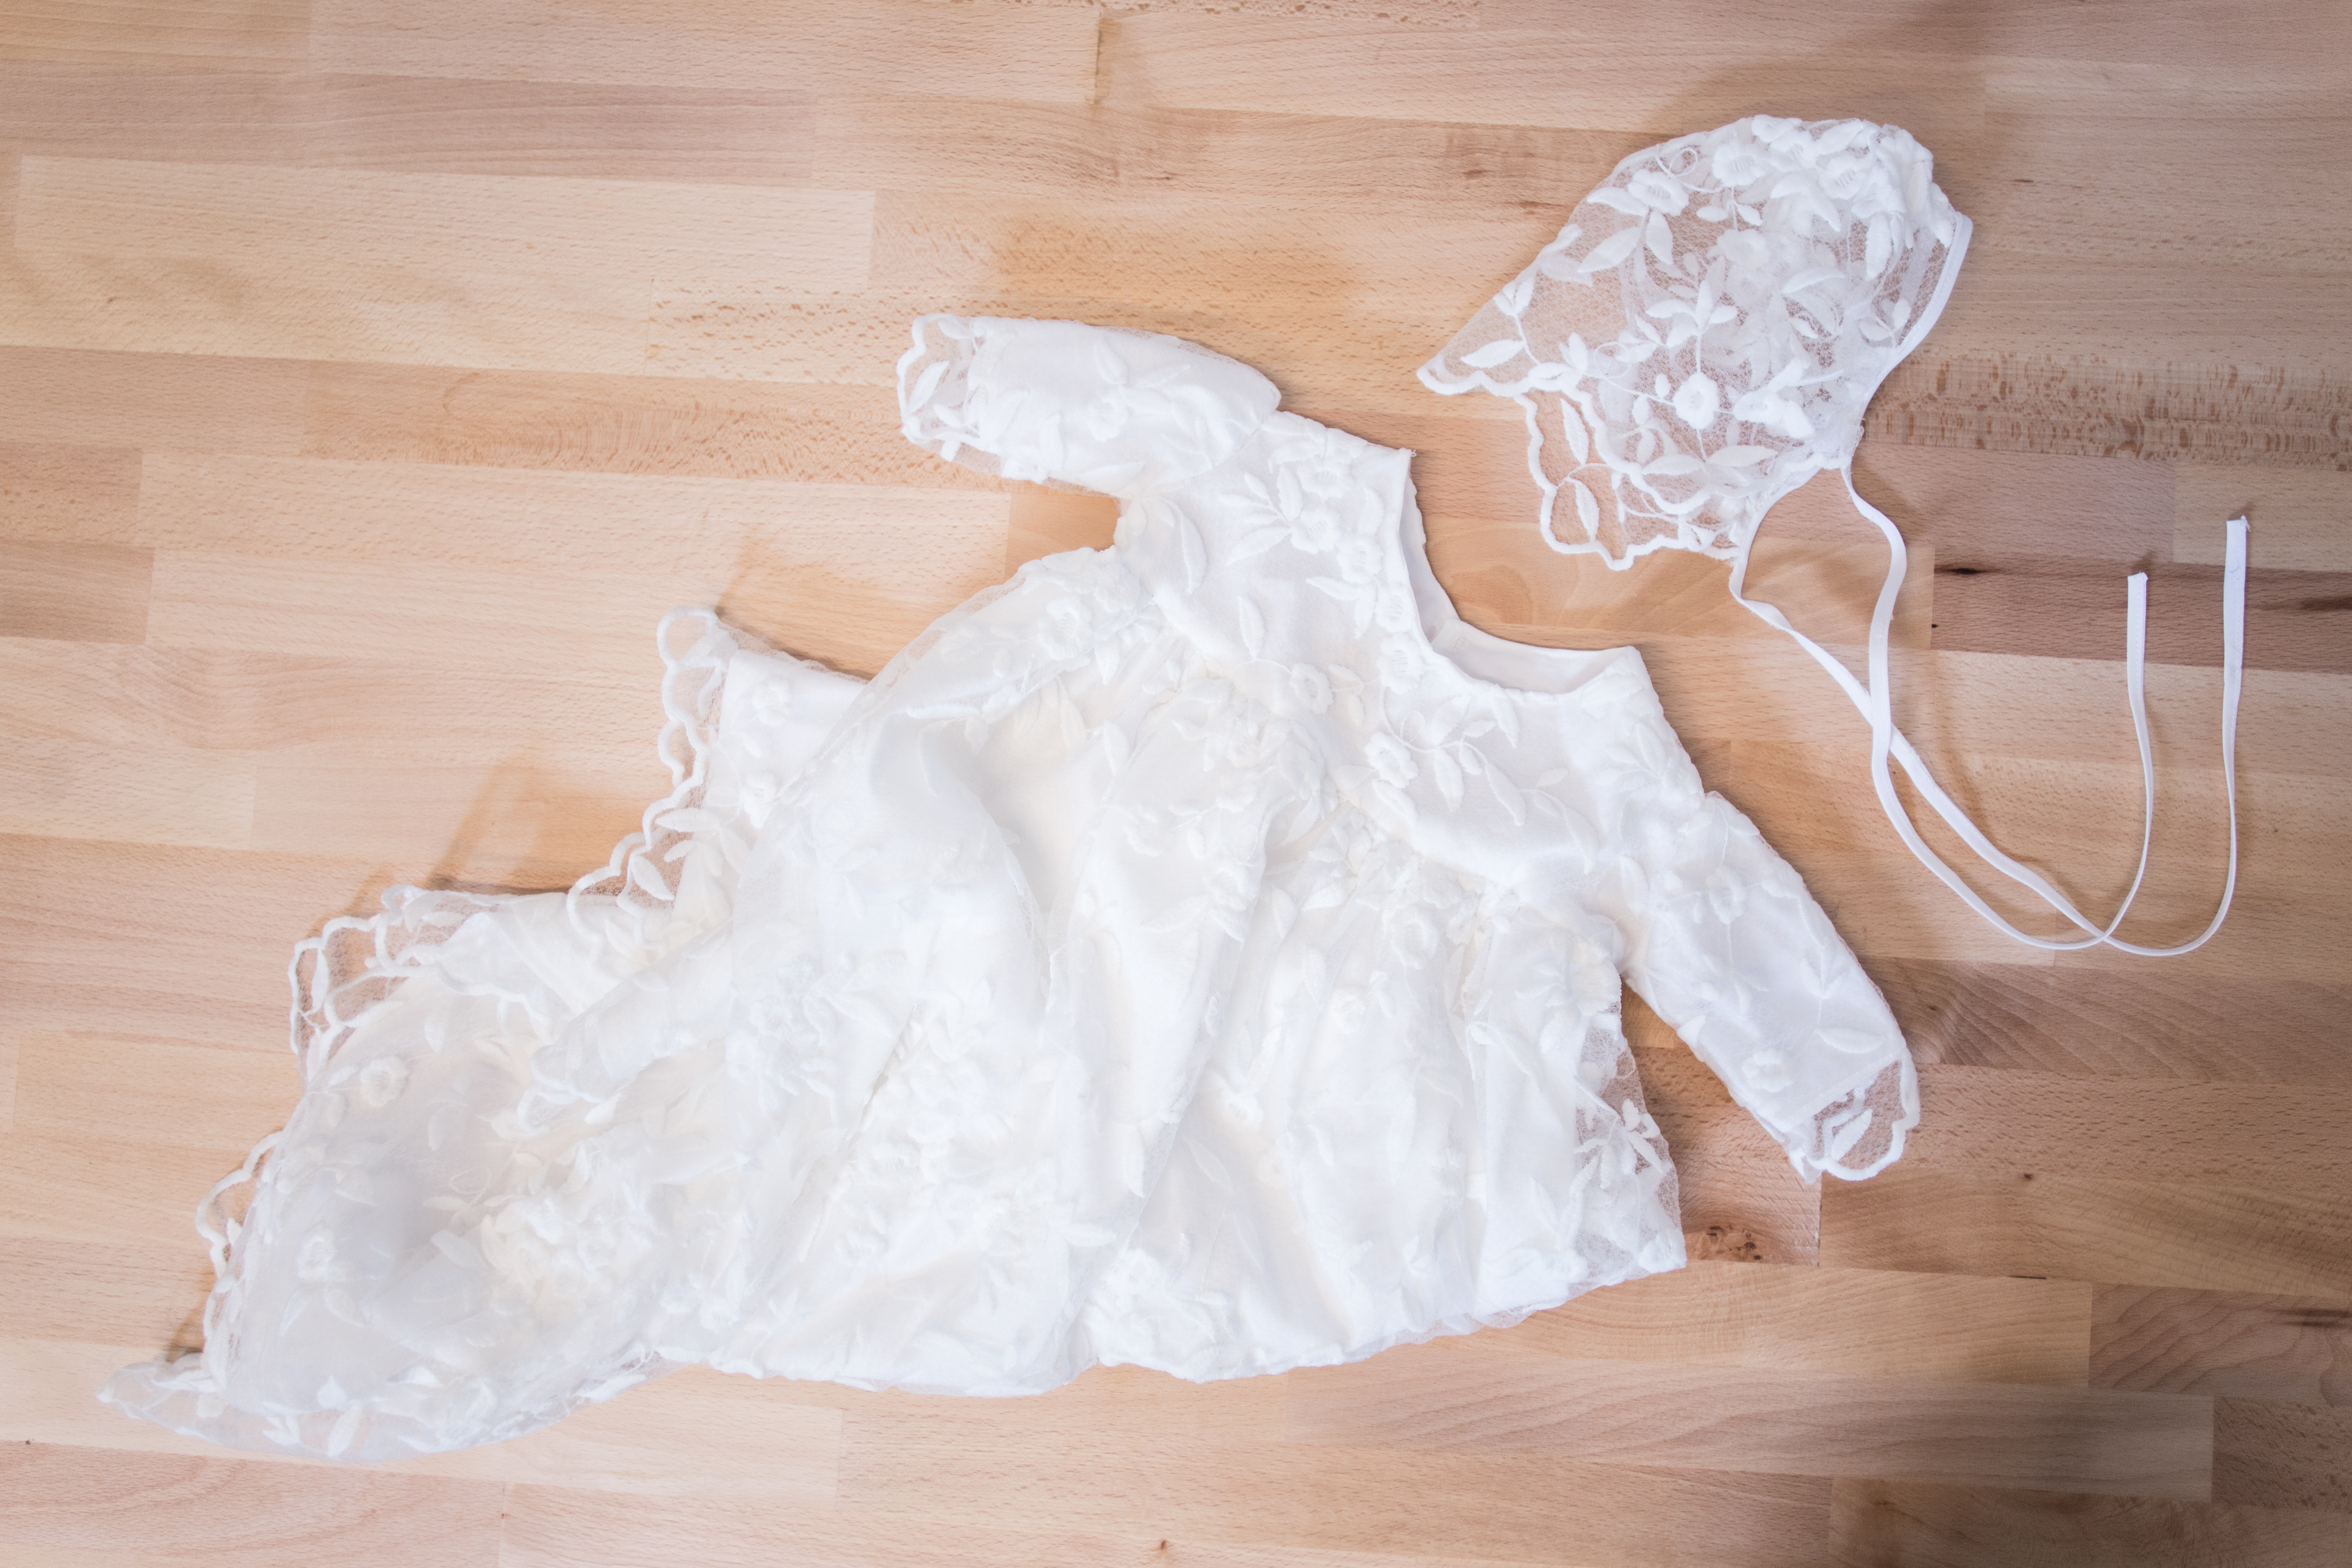
I want to walk through the steps in case someone would like to make a similar dress. This lace dress is lined with a combed cotton. I cut the pattern pieces the same, except on the sleeves and skirt, where I left room for the lining to be shorter than the scalloped edge.
1. Cut out your pieces.
Using your traced pattern, cut each of the pieces out. You should have a front and and back bodice, two sleeves, and two skirt pieces. Each piece is cut in lace and in lining.
2. Stitch the lace neckline to the lining.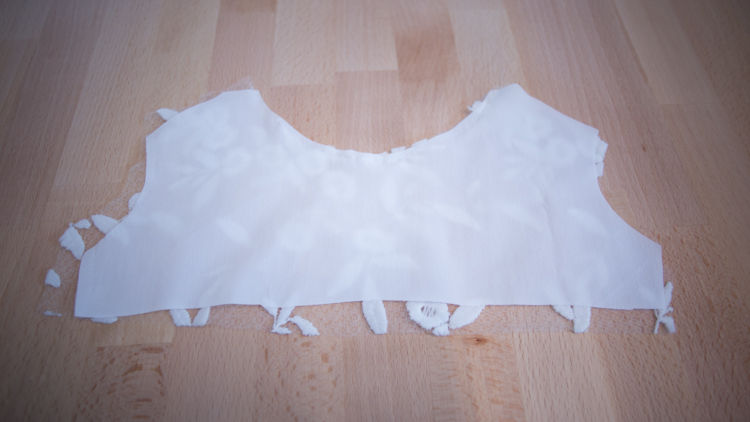 We start construction here on the neckline, where I sew the lining to the lace. Once it is turned and pressed, topstitch along the neckline on both front and back bodice pieces.
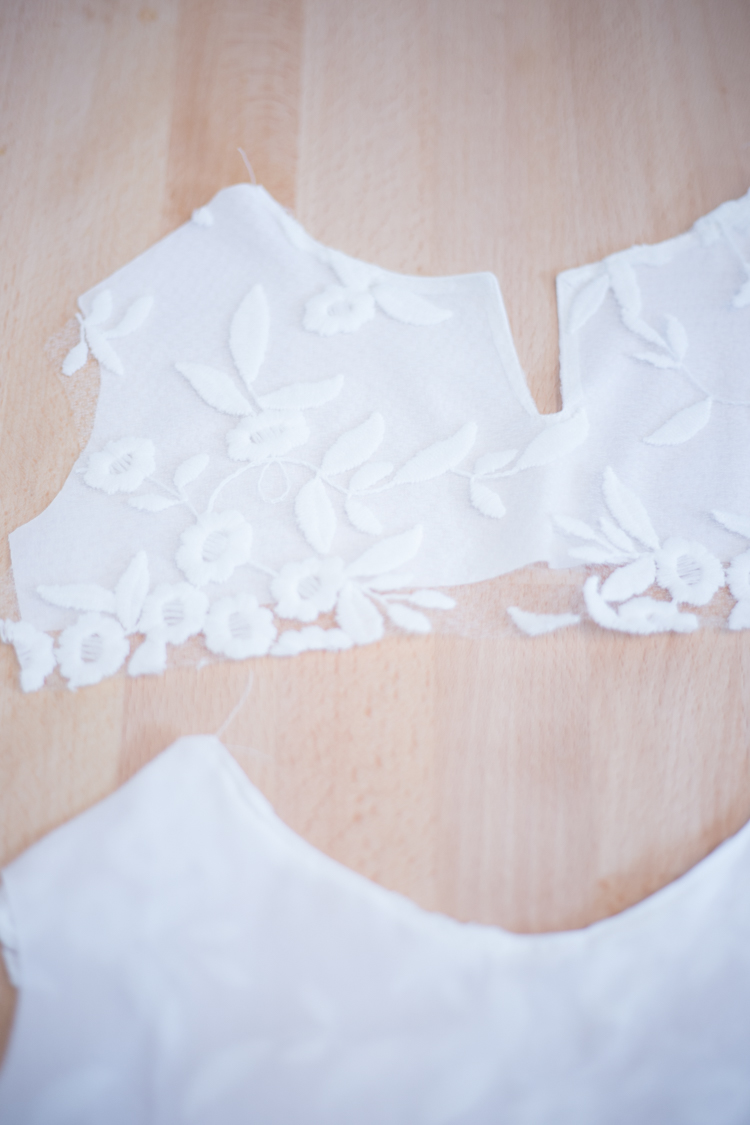
I made a notch along the back bodice, to accommodate small pearl buttons, and so the dress would fit over a giant baby head. Another option is to add some elastic to the neckline to make the dress pull easily over.
3. Stitch the shoulders together.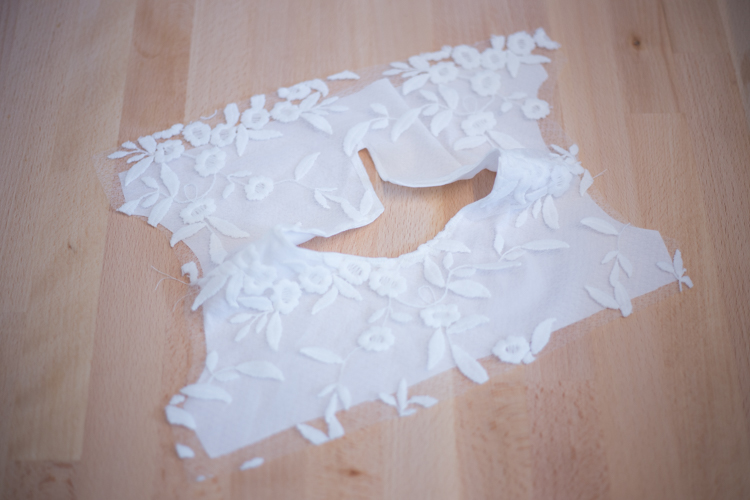 Once the neckline is all topstitched, open the pieces back up and put right sides together to stitch the shoulder seams. When you are finished the stitching should be within the fold of the bodice lining.
4. Sew in sleeves.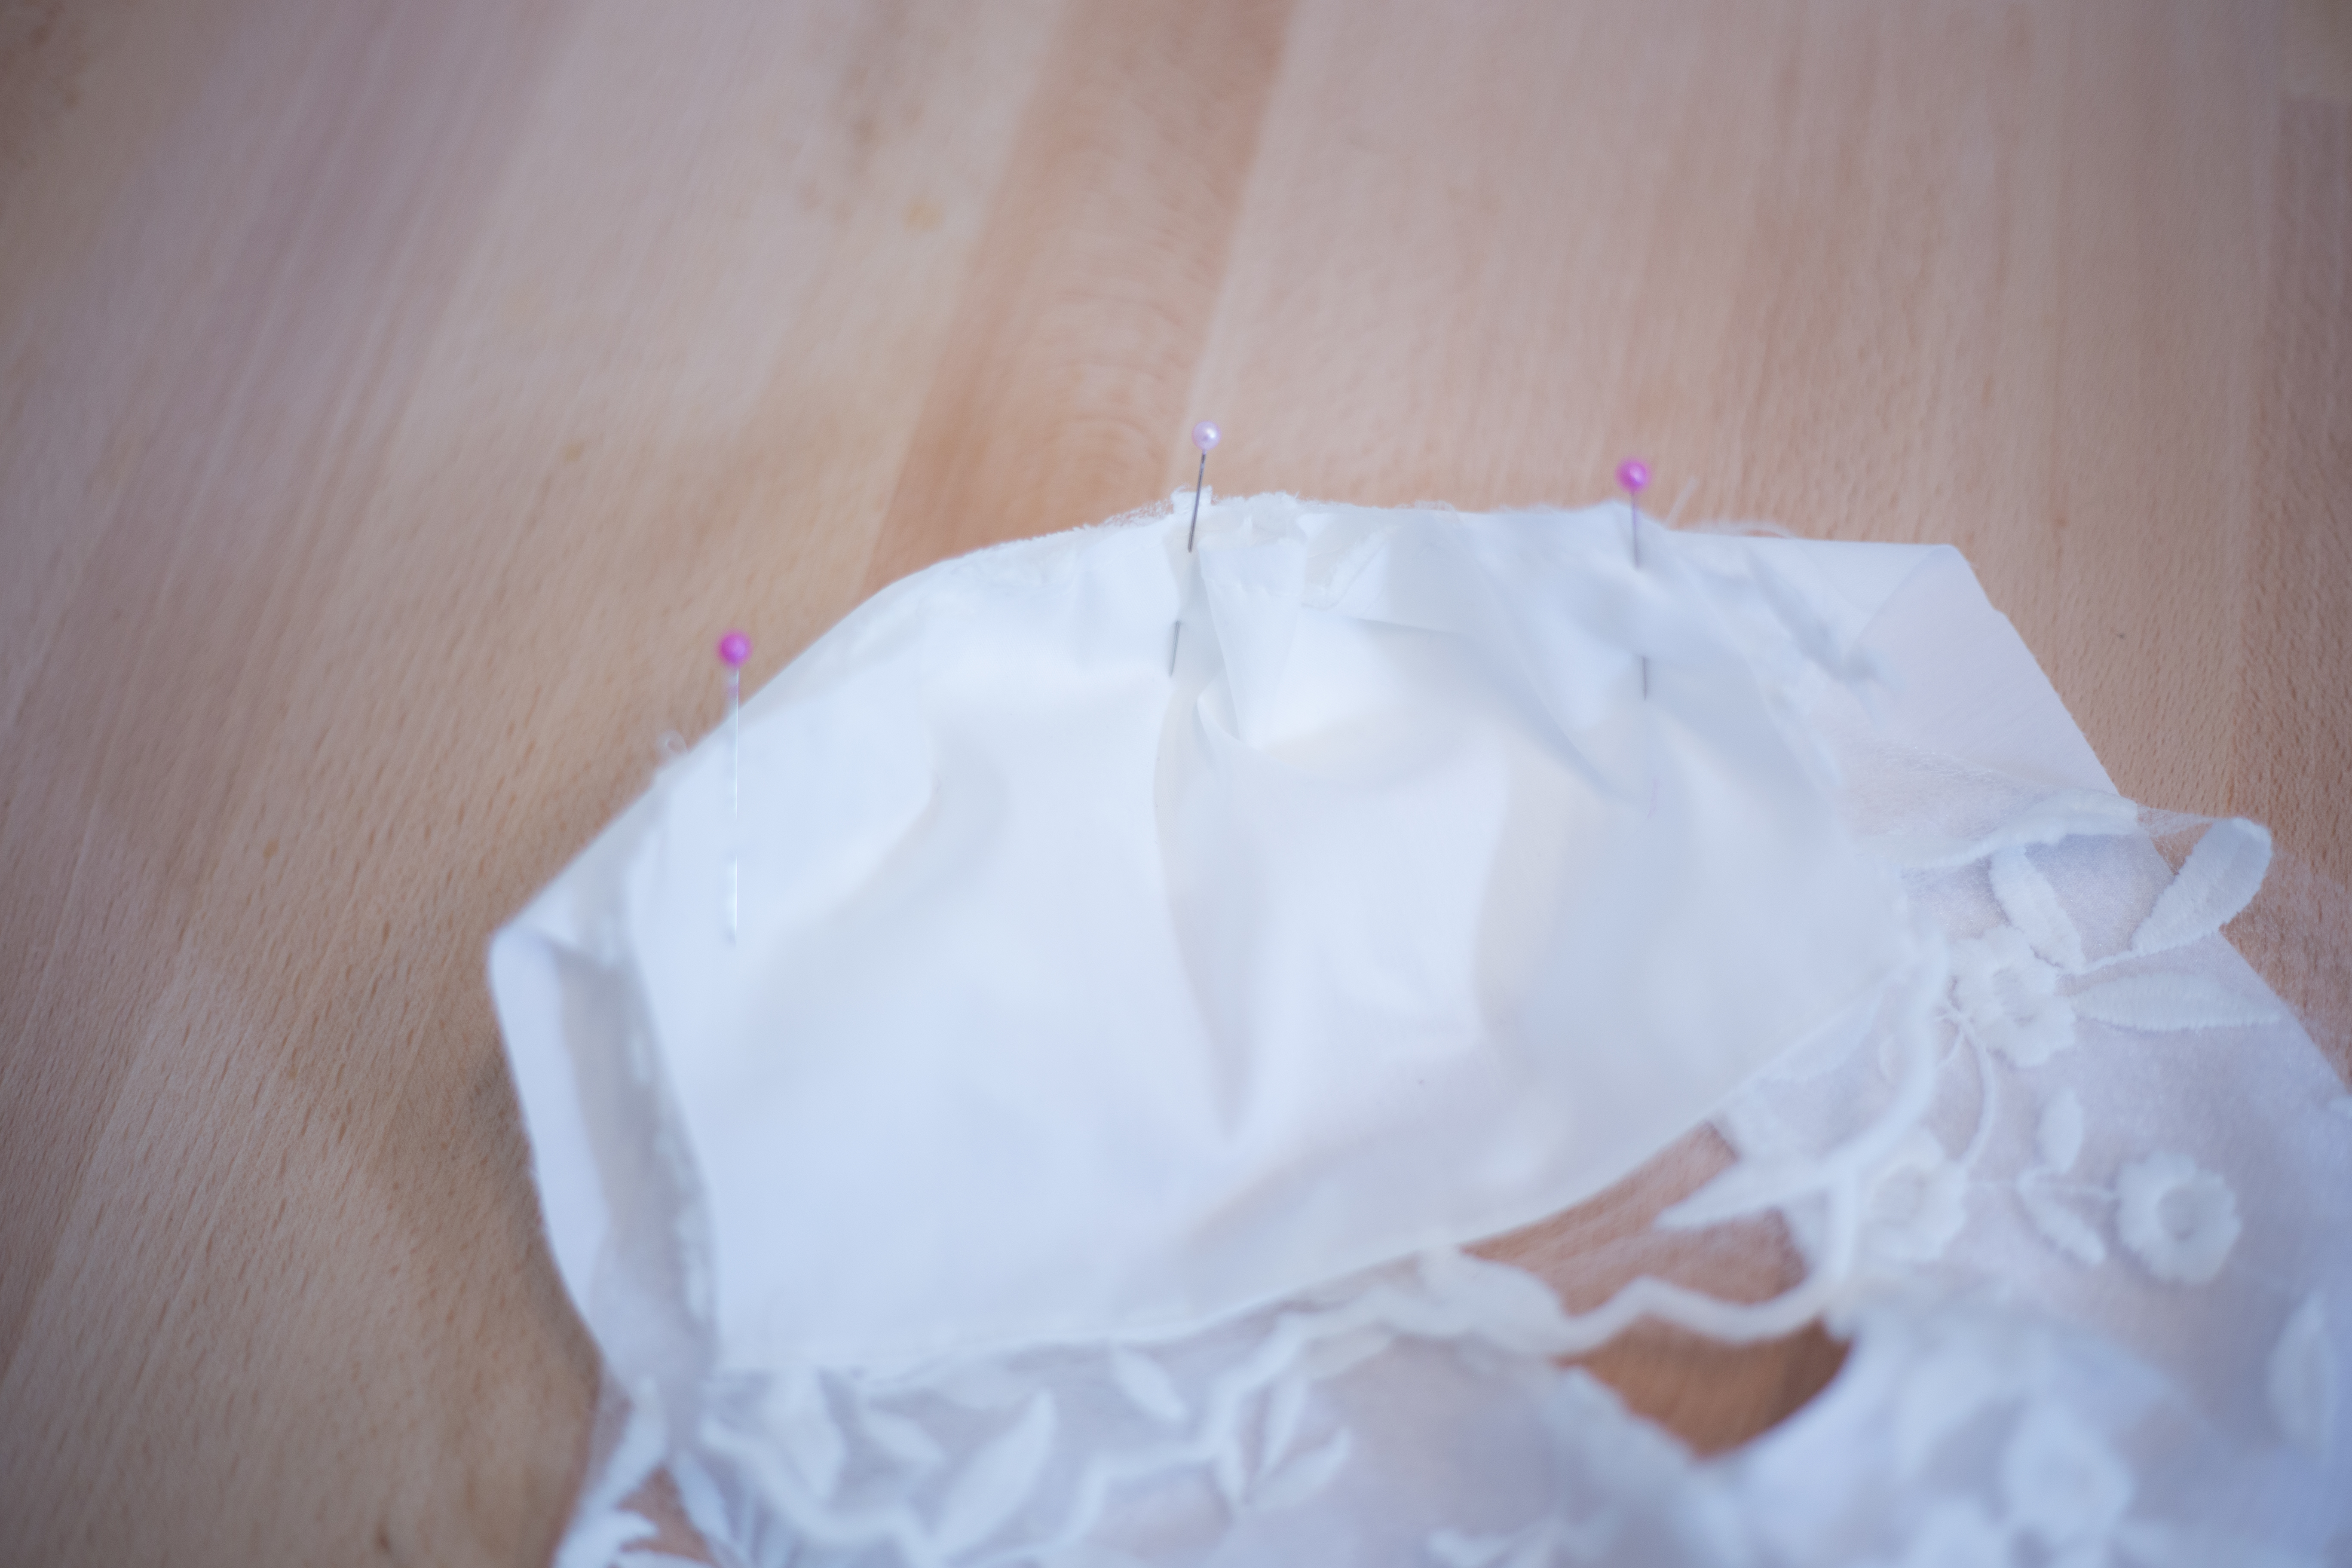 Turn a quick 1/2 hem along the bottom of the lining fabric, then baste the sleeve curve lining and lace. Pin the sleeve right sides together to the shoulder gathering as needed, and stitch along the curve.
Repeat on the other sleeve.
5. Sew the side seams.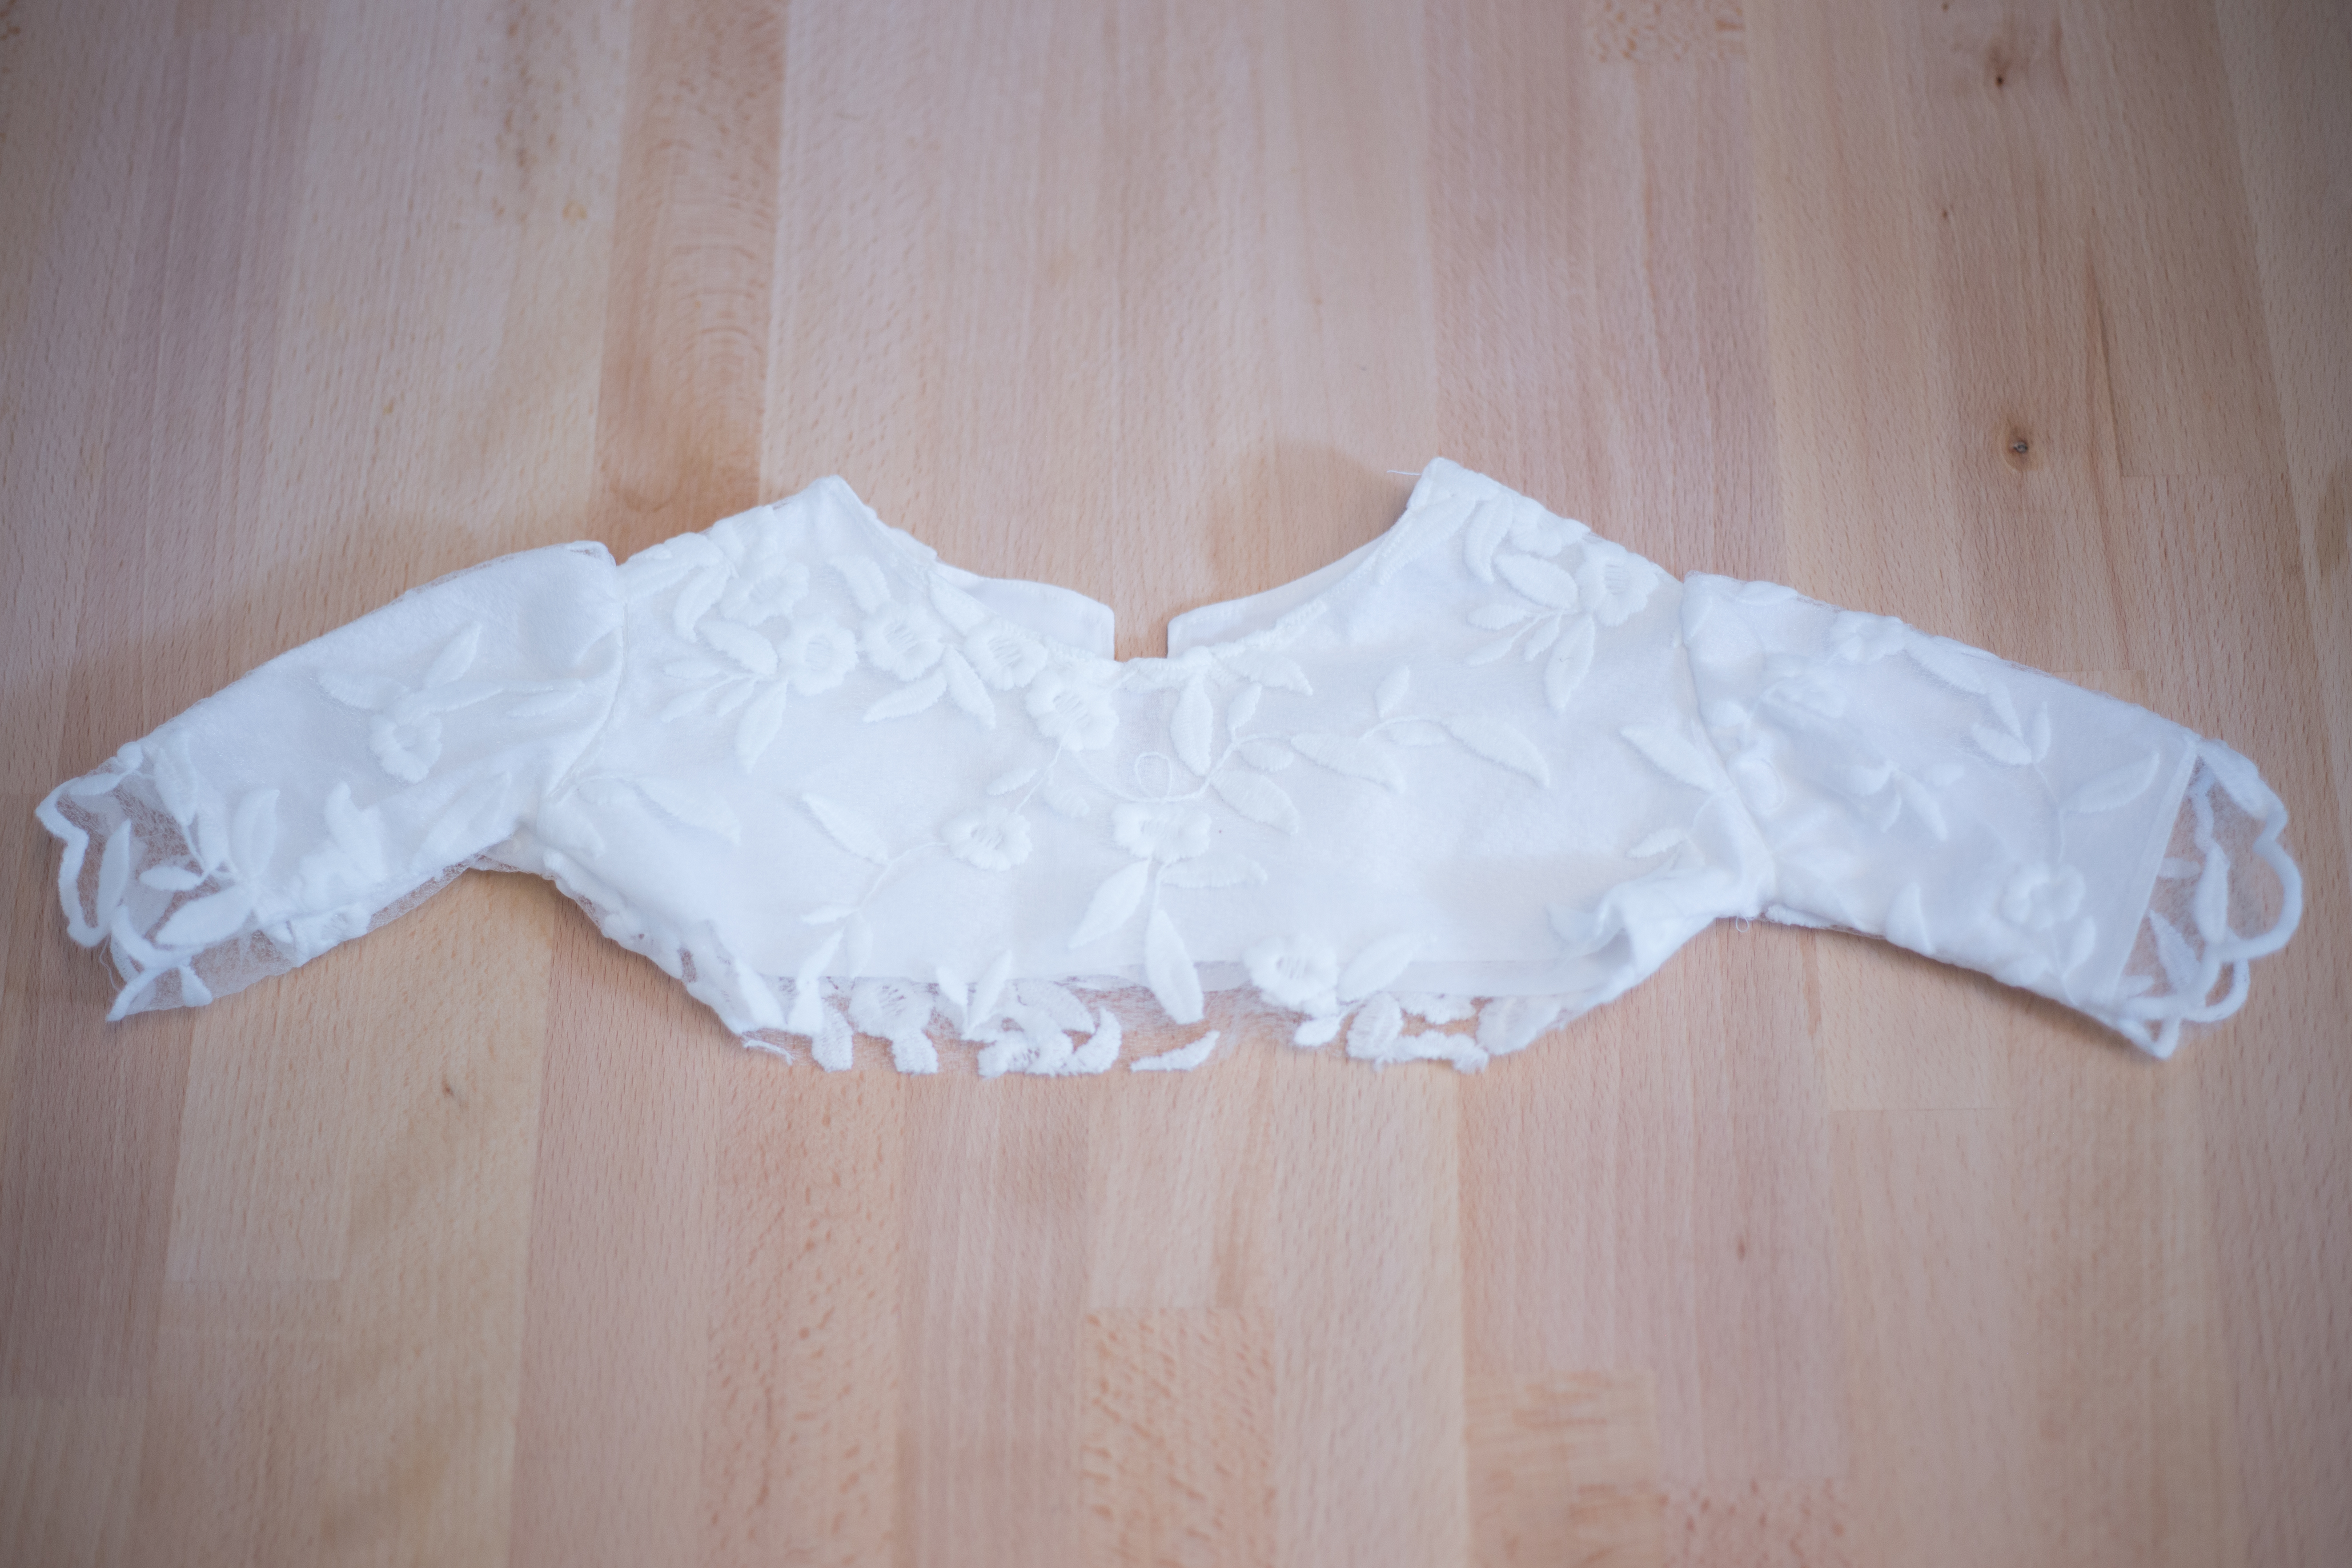 Starting at the sleeve hem, stitch the sleeve seam, through the armpit, and down the side of the bodice in one long seam. Repeat on the other side, then turn and press gently.
6. Hem skirt lining.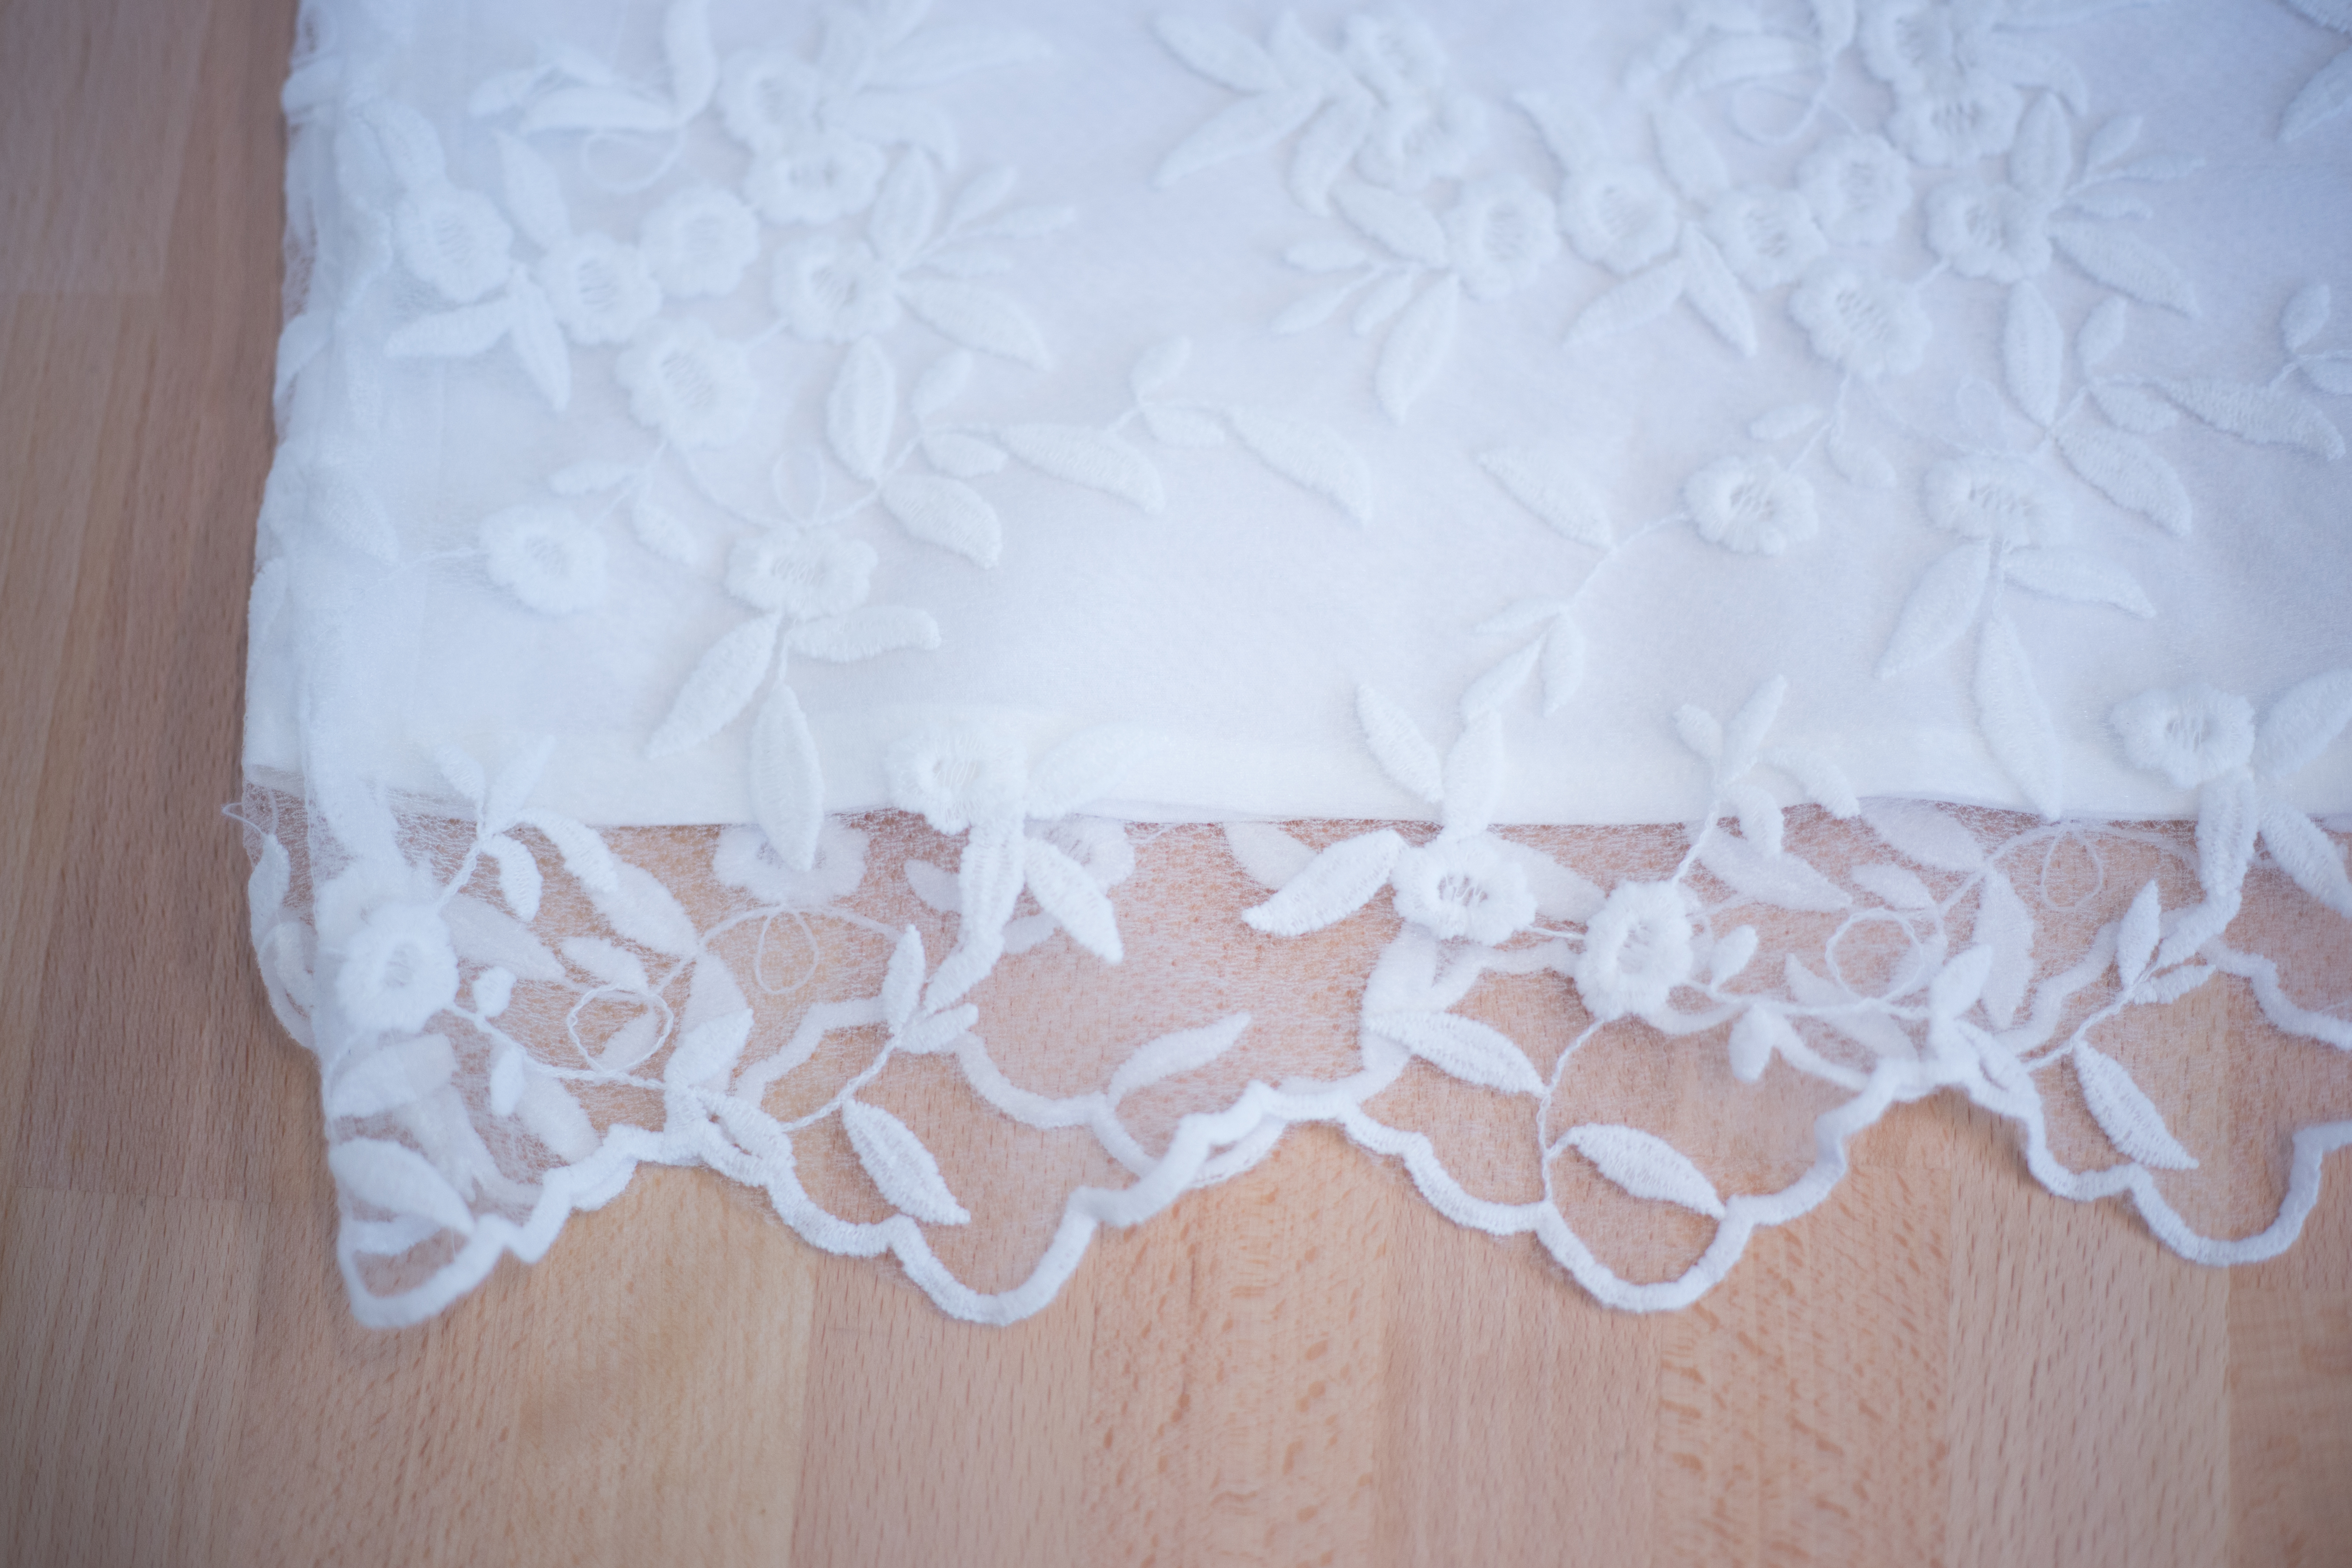 Sew along the side seams of the skirt, both on the lace and the lining fabric. Hem the lining of the skirt to show off the beautiful scallops of the lace. You can choose however long you would like the blessing gown. I love them a little dramatic and draping.
7. Gather and add the skirt.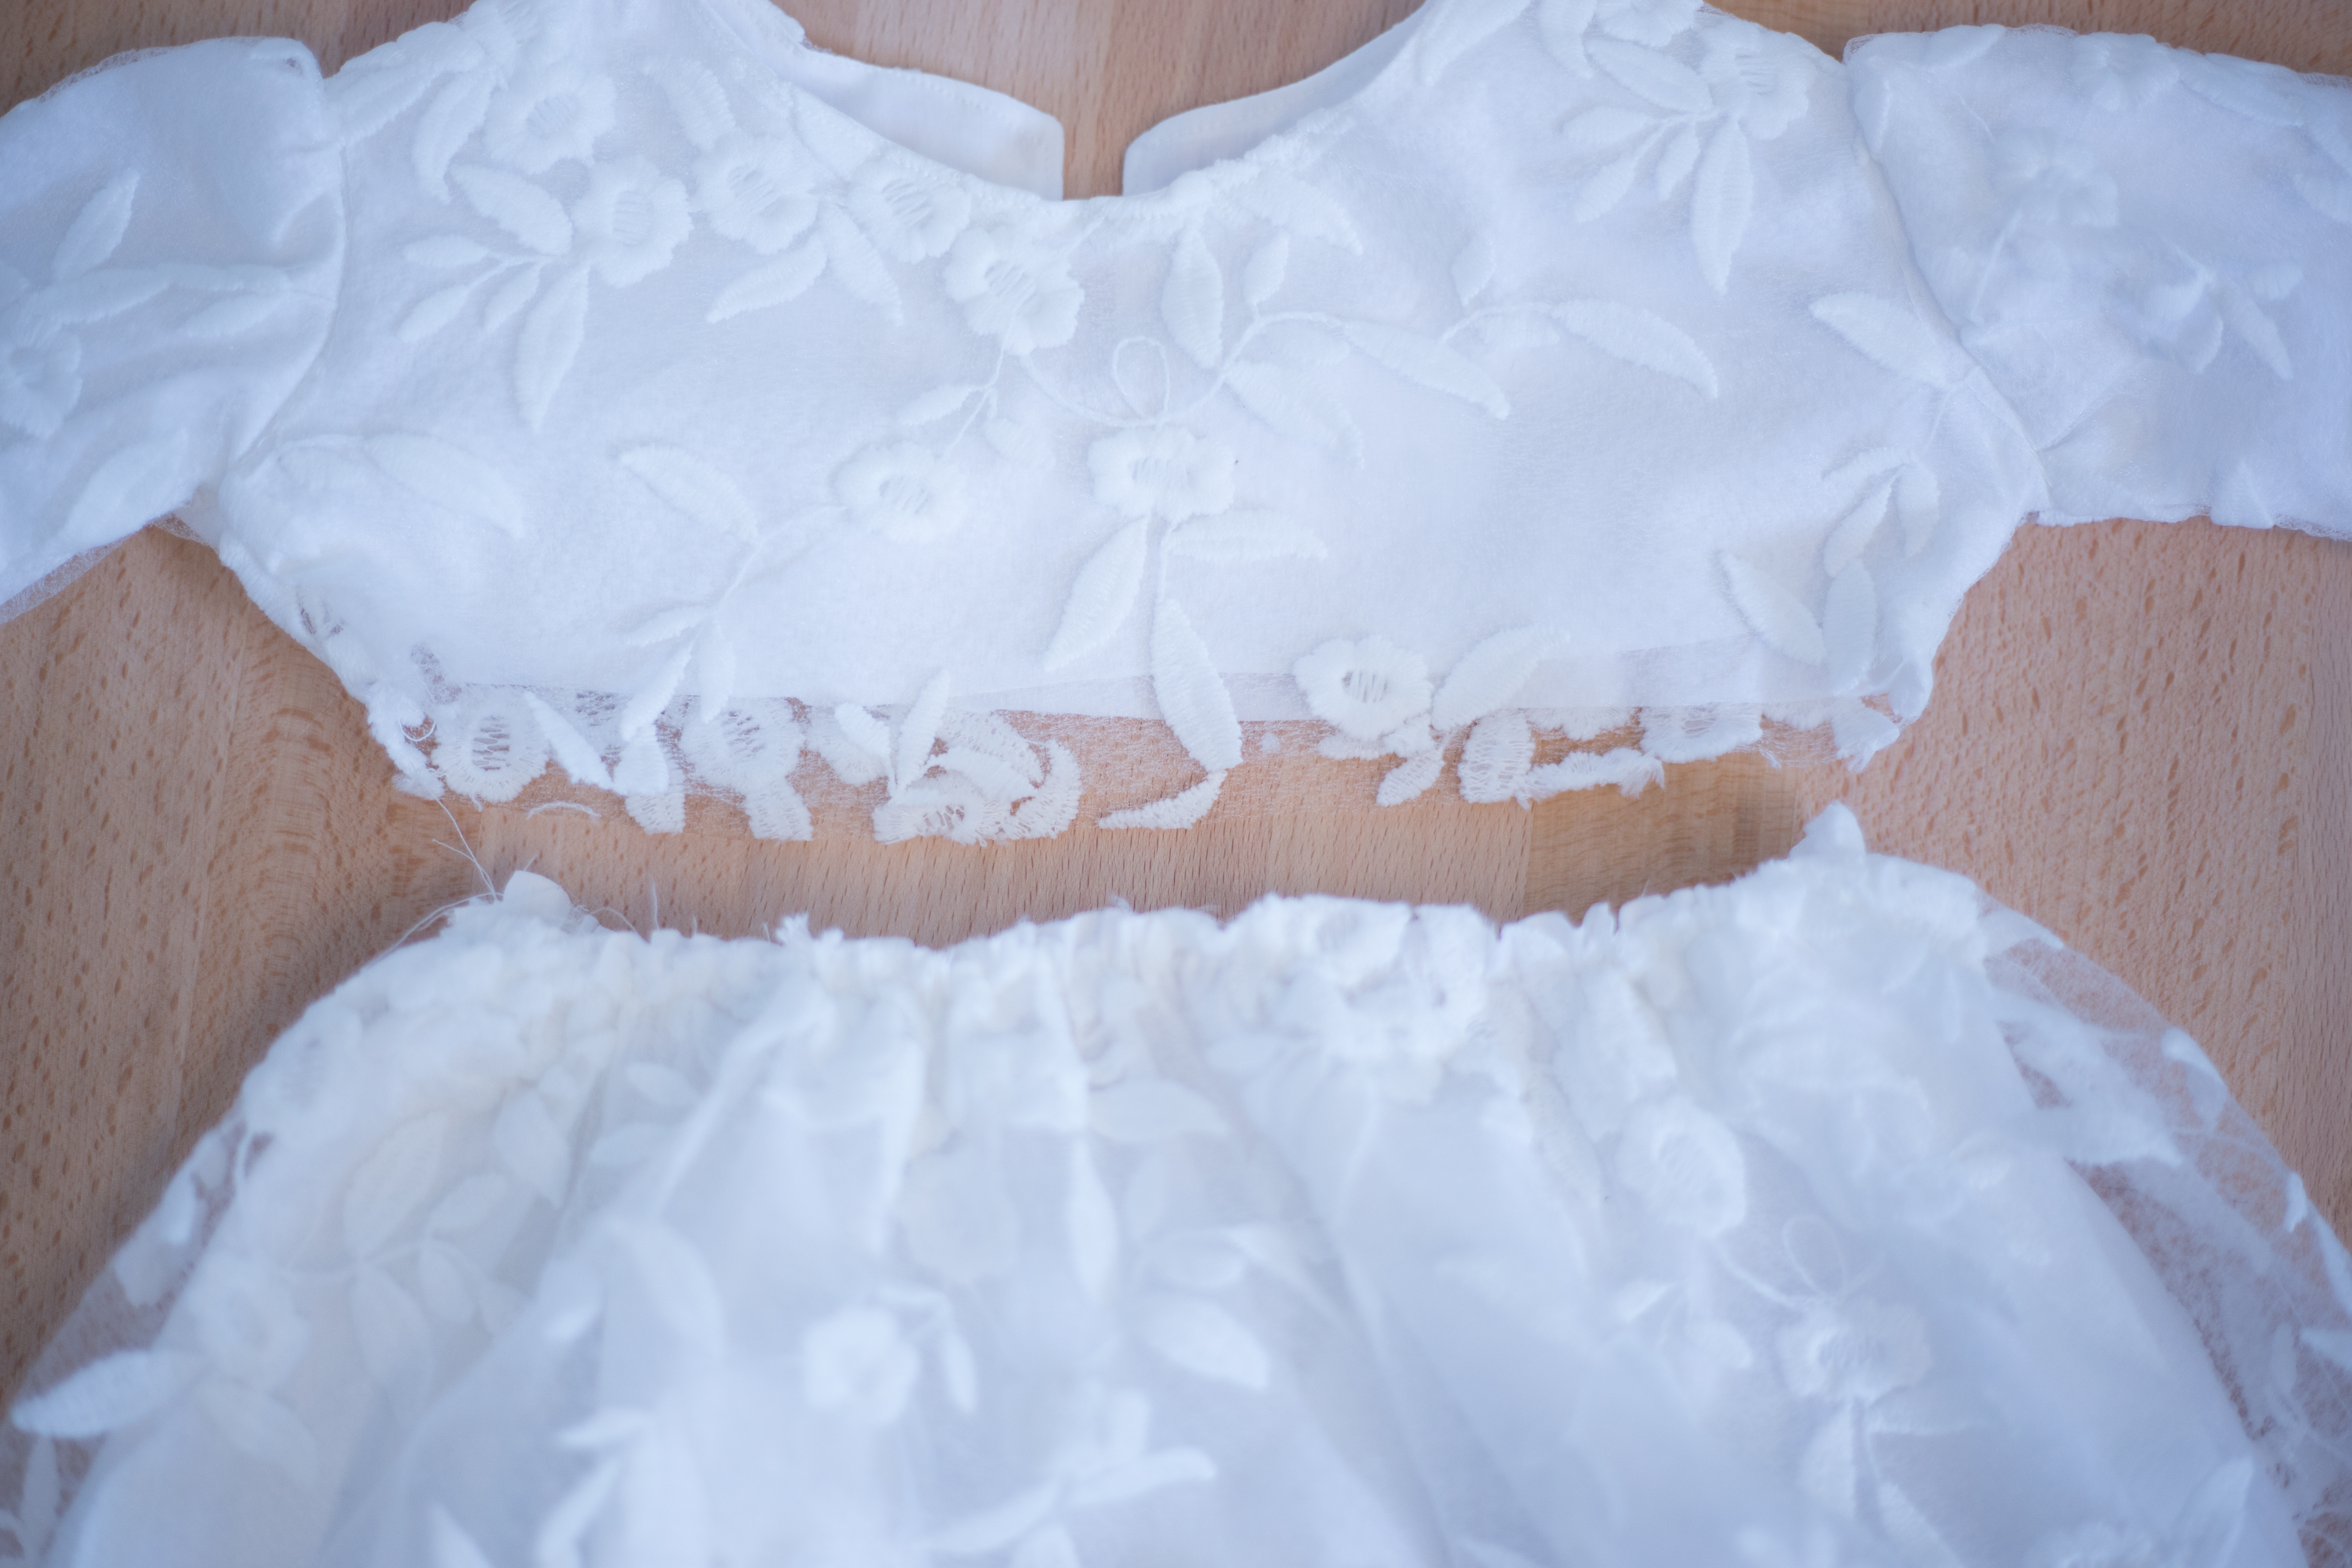 Run a couple lines of basting stitches through the waistline of the skirt, gather it evenly to fit the bodice, and sew in place with right sides together.
8. Sew on buttons.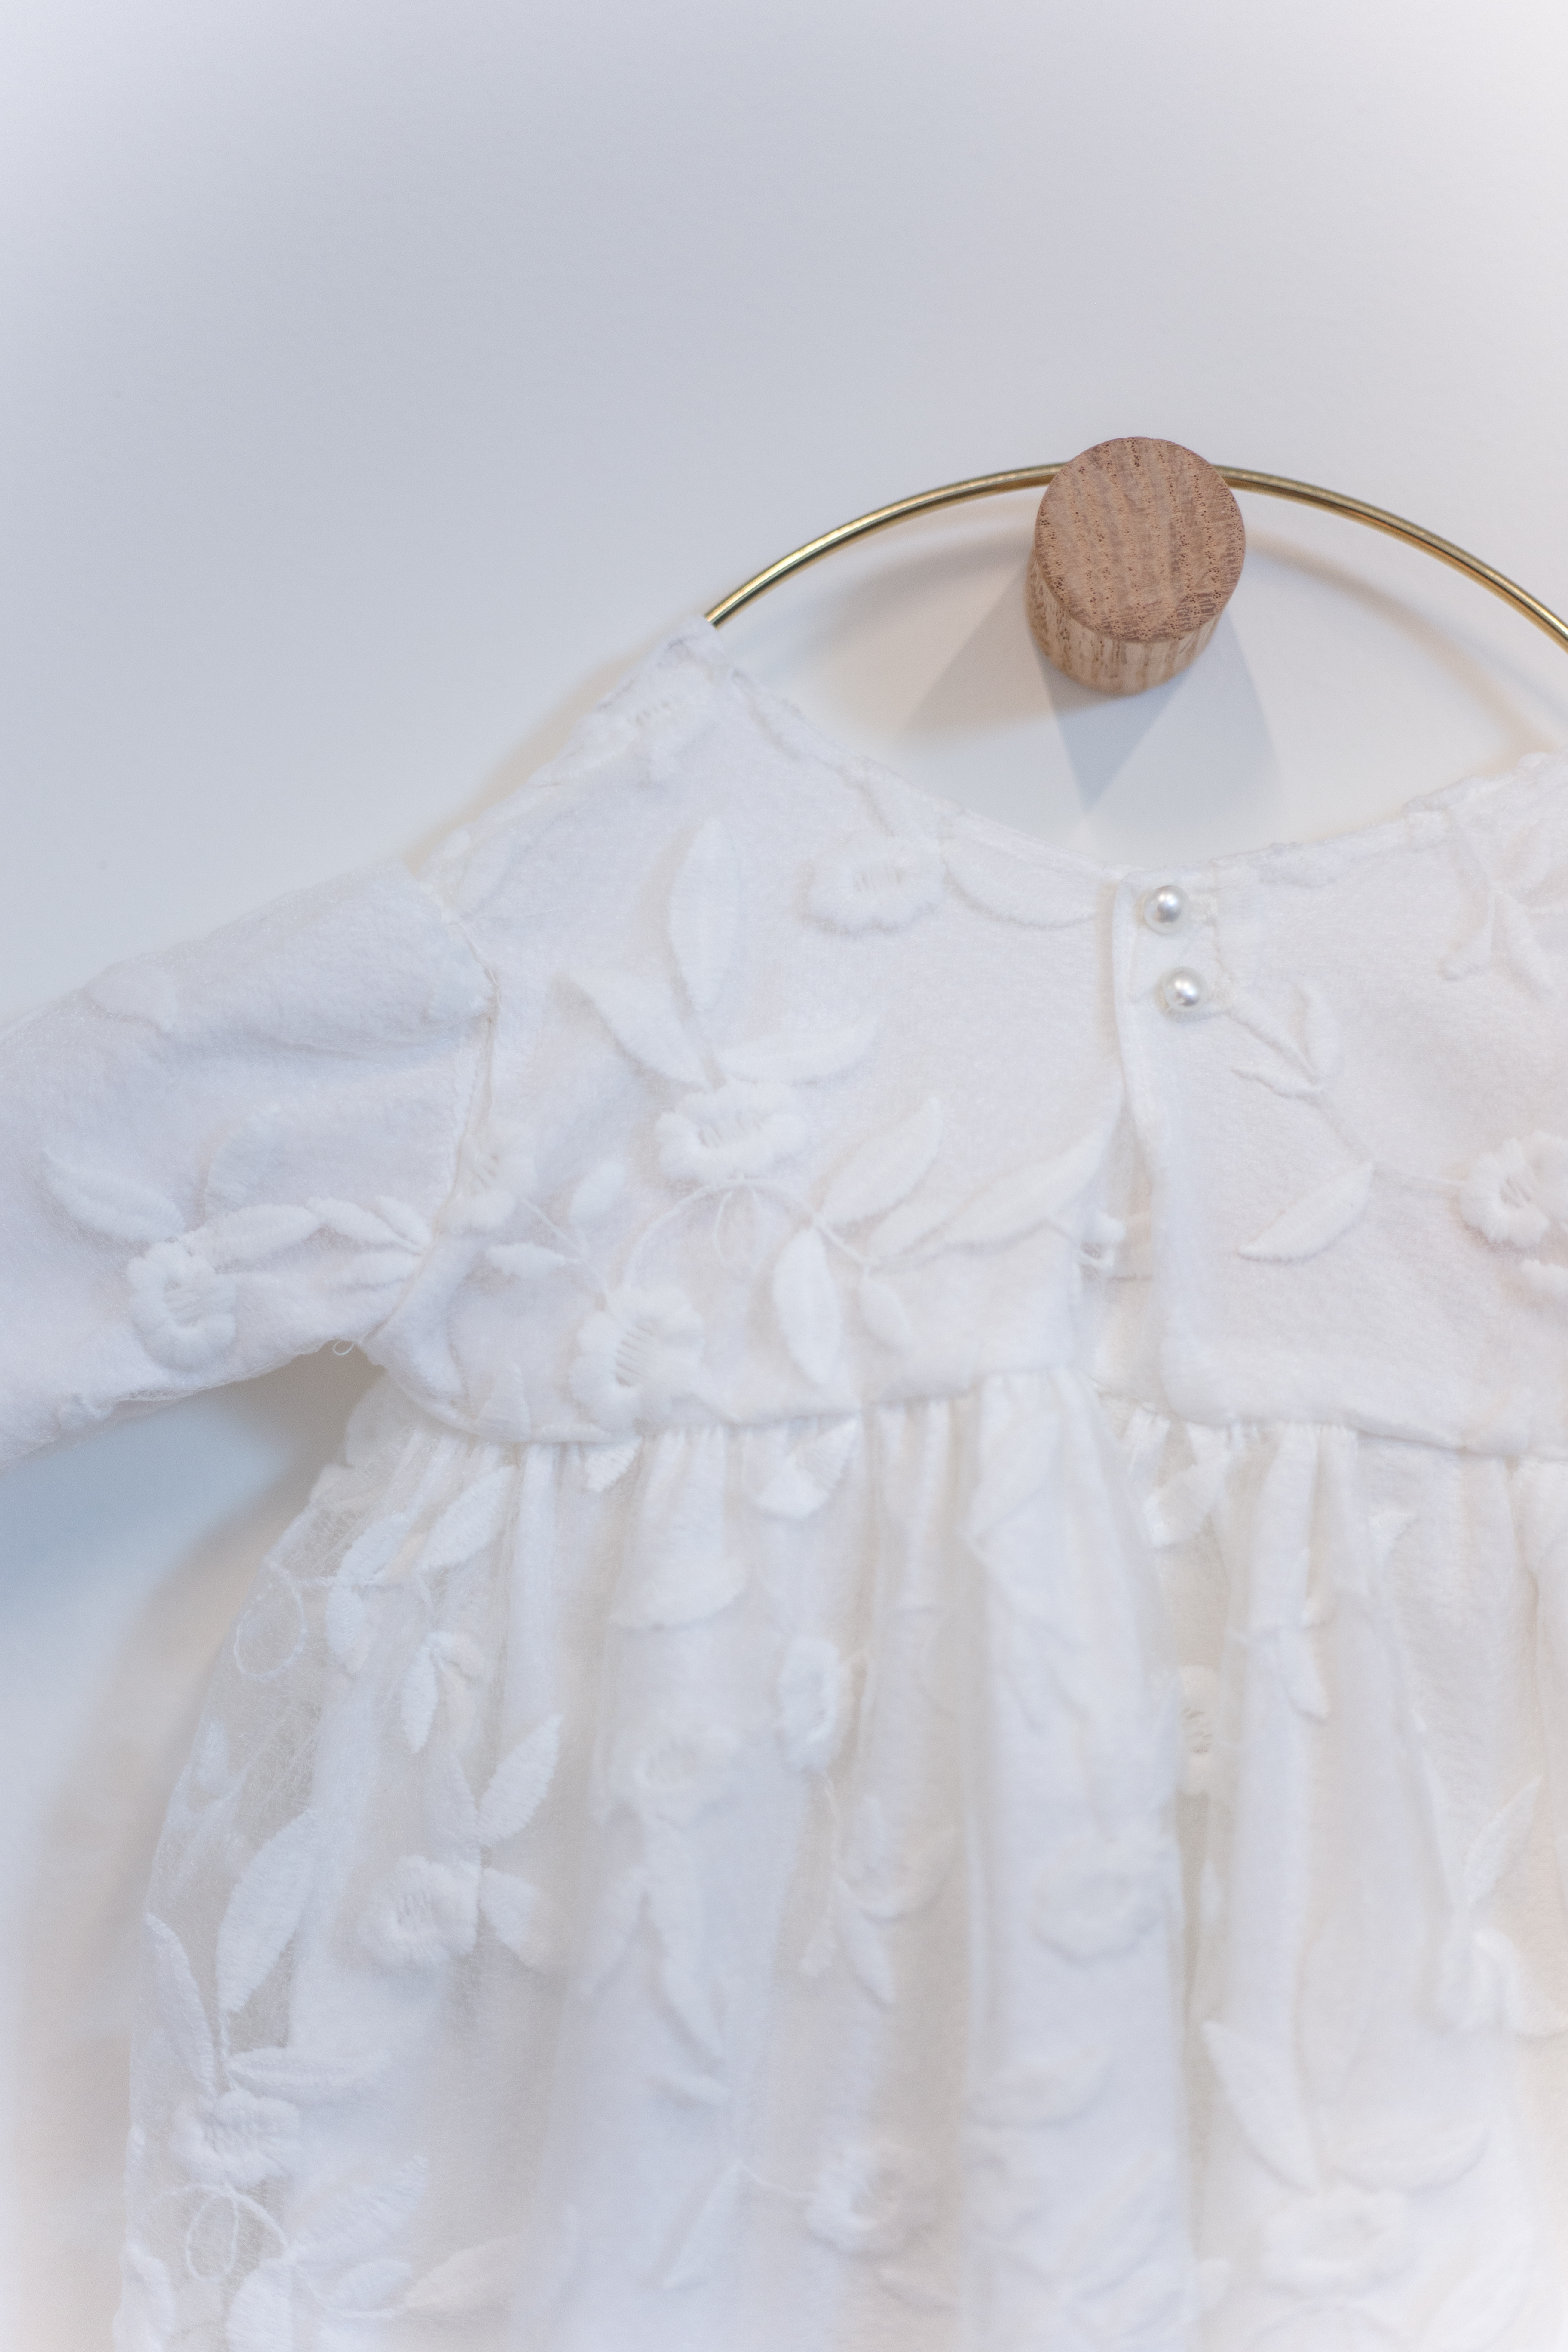 Now all you need are the buttons and any other details you want to add!
In other post I will share the details and DIY of the unlined lace bonnet, which was so beautiful.
I hope you get a chance so sew something lovely soon like I could for sweet baby Rosie.