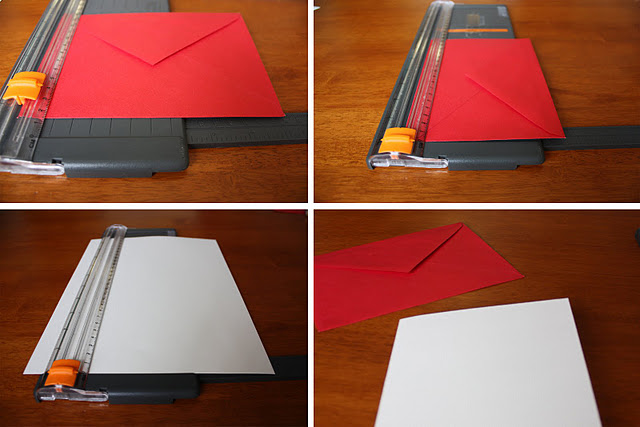
Gather your supplies. We’re going to make an easy peasy pop-up card. This one is for my little sister Amelia, who turns 21 TODAY! Happy Birthday!!
You’ll need:
Card stock and an envelope
scissors and/or a paper cutter
glue
colored paper or postcards or a magazine image…whatever is going to “pop!”
pens to write your card or embellish
Step 1. Measure your envelope and cut the card stock to fit when folded in half. You can chose a vertical or horizontal card.

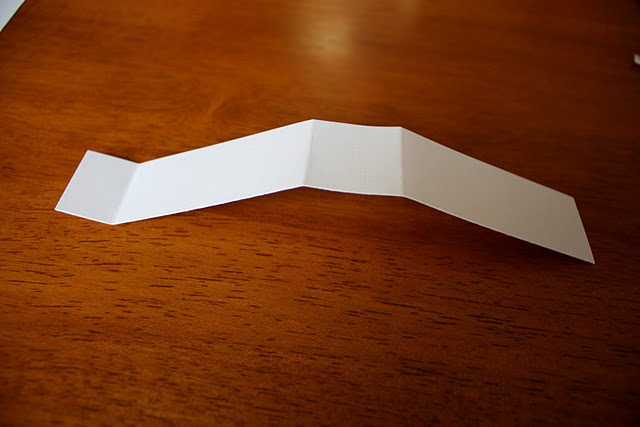
Step 2. Using the extra paper (or another piece ), cut a strip to fold, making a square in the corner of your card. See image below.

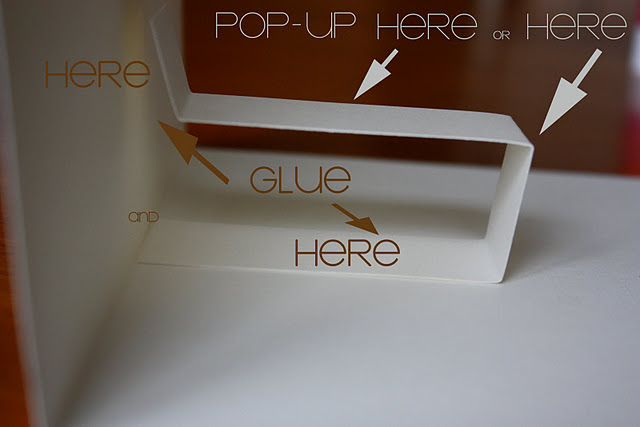
Step 3. Make sure that this piece of paper fits well into the inside folded corner of your card. You will be glueing it on both sides of the card, and the pop-up can be glued to either of the open sides. Here you get to chose how far you would like it to pop out from the card and adjust the height of the fold. I am using a vertical card, and want the pop up to hover in the middle of the page, so I will glue it to the far right side of that long piece. Get it? I could also use this horizontally and glue the pop up to that shorter end on the right.

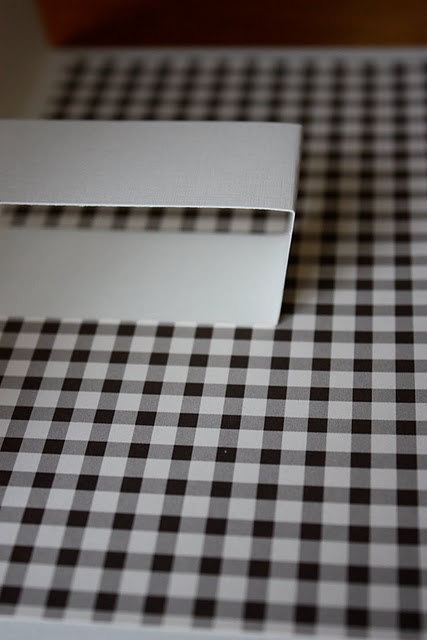
Step 4. This step is optional. If you would like a background paper behind the pop up, you’ll want to choose it now and make sure it fits. Then, cut a slit in it for the folded strip to slide in.

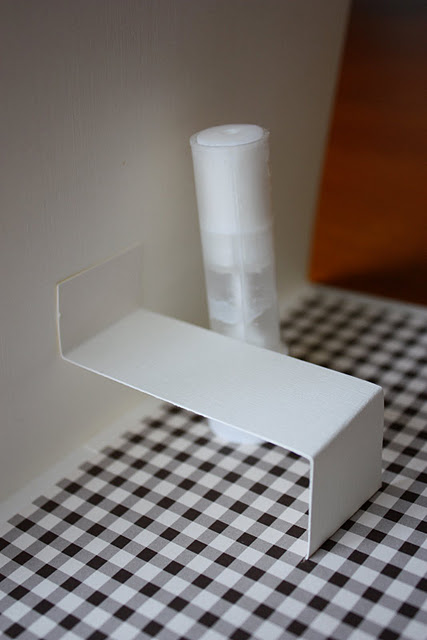
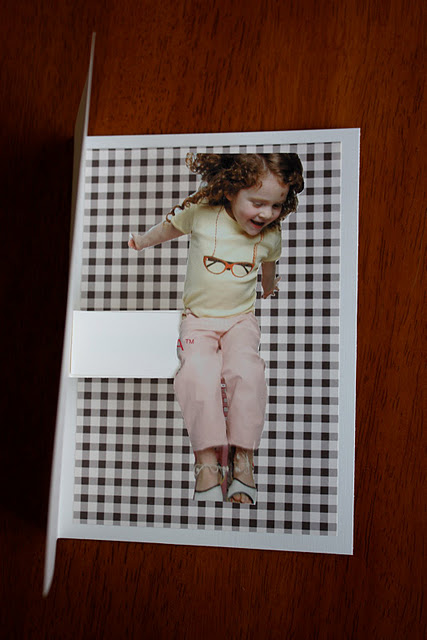
Step 5. Now glue. See how I’ve covered up the folded end that is glued underneath the paper? Now this piece will fold down flat when the card is shut, and POP UP when the card is open!

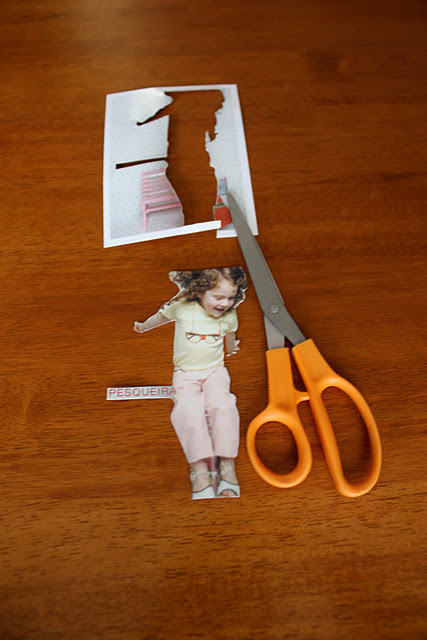
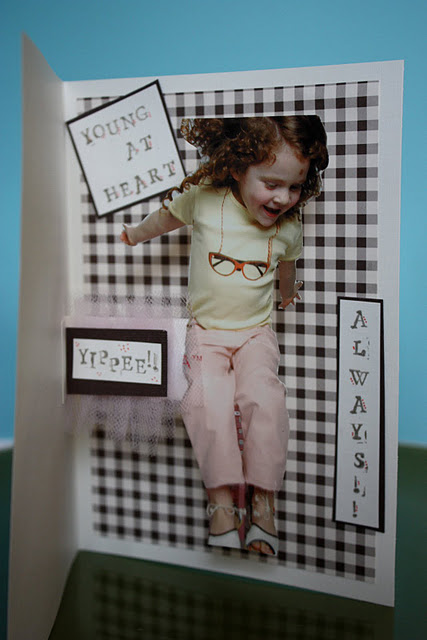
Step 6. Choose what you want to POP and cut it out. I’m using this post card of a darling little girl jumping off of a bench. She looks super happy! You can make something (see the cake we made of paper HERE) or use a photo or a magazine image.

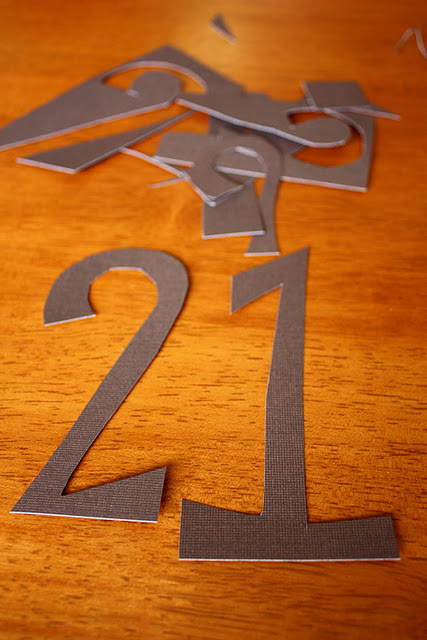
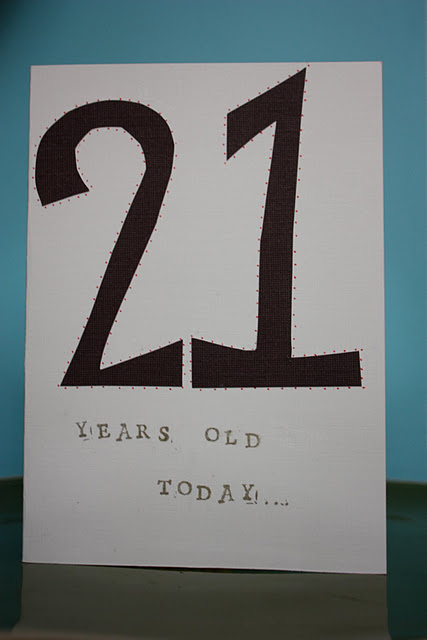
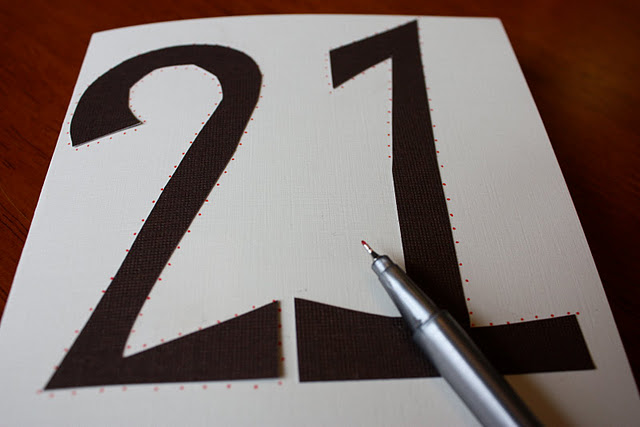
Step 8. Now, you get creative here. Decide what you want on the front of the card. I cut these big numbers out of card stock for the front of mine.

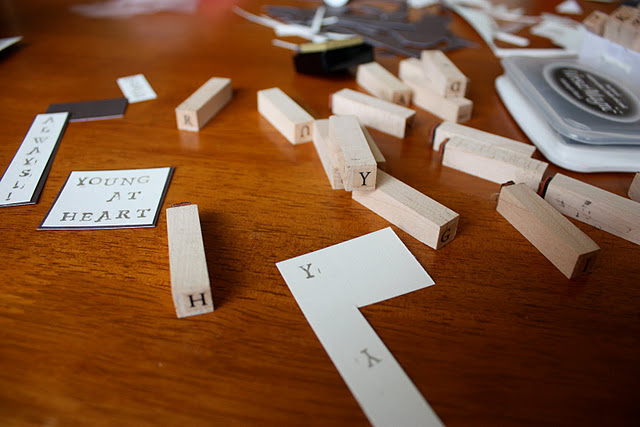
Step 9. Choose a message for the inside. You can hand-write, print, cut out, or stamp. I stamped some words then backed them in the same card stock as the numbers.

Step 10. Glue and embellish. Make sure you’ve said what you want to say! It’s fun to us a little humor or have something unexpected. Pop-ups are in themselves, quite unexpected! And easier that you thought, huh?
“POP!” Wow! So fun! I use a little pink tulle to embellish under the “Yippee!” It adds a fourth dimension, don’t you think?

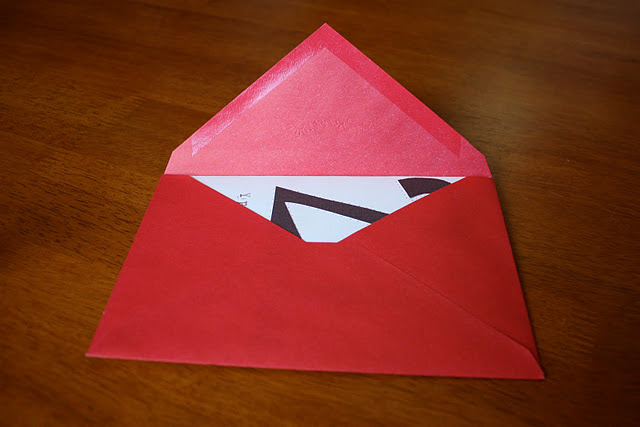
You’re almost done. Just one final (and vital) step, though for some reason this can be the hardest!! Put card in envelope and SEND!!!
It’s on it’s way, Hannah, I love you!


