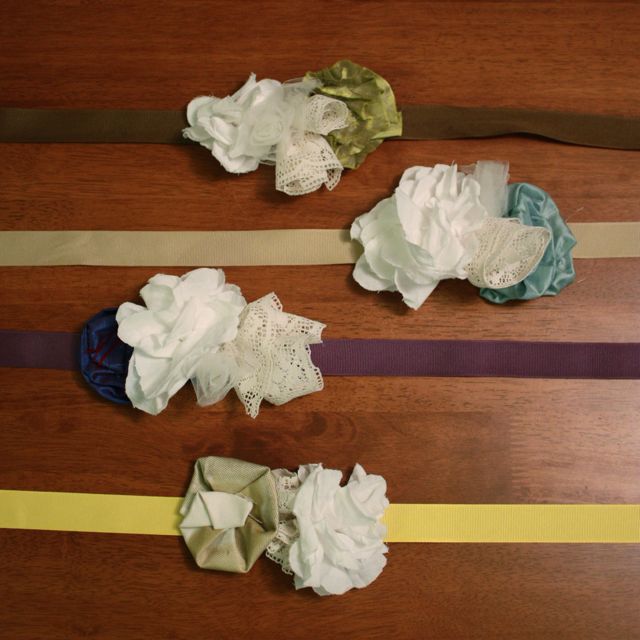
After a friend was inspired by something like this a few months ago, we got together for a hilariously unsuccessful craft night (she decided she isn’t really all that crafty). The conversation was great, and I ended up finishing a “Bloom Belt” made of scraps from the craft closet (the brown belt on top). I have worn it more than a few times since, and love it.
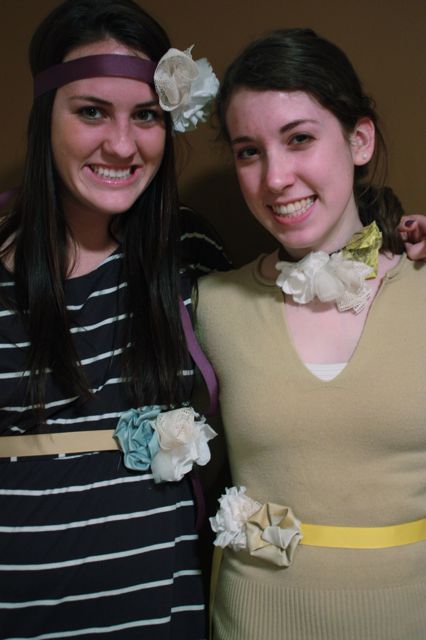
Enter Rachel (my sis-in-law) and Megan (my cousin-in-law). Friday night we put the wee one to bed and then welcomed spring with a craft slumber party. I decided since we were going to make Bloom Belts again, I would take advantage of the creative process to make a tutorial. Maybe your craft night will be a great success!!
You will need:
2 yards grosgrain ribbon for each belt
one or two different color fabric scraps
tulle scraps
lace scraps
a 1″x6″ scrap of felt
a hot glue gun with glue sticks
BLOOM #1: LAYERS OF RUFFLES
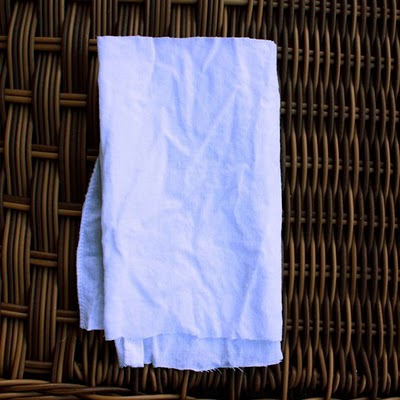
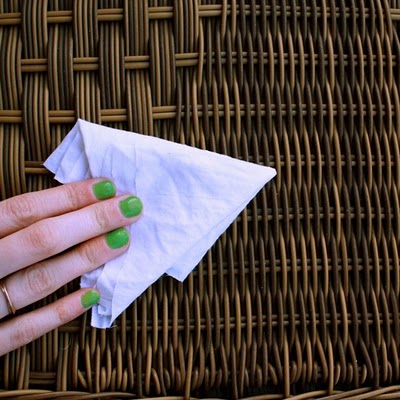
1. fold a scrap of fabric in half, then in half again
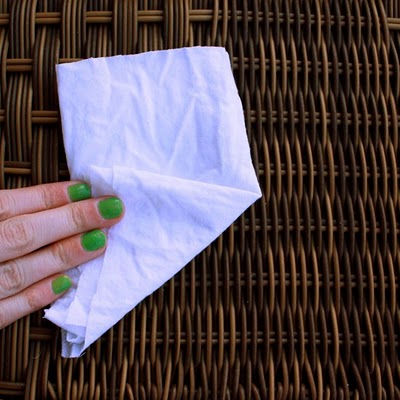
2. Fold one corner over the top at a diagonal
3. Fold the opposite corner in ad a diagonal behind. The folds should be on either end of a relatively even triangle
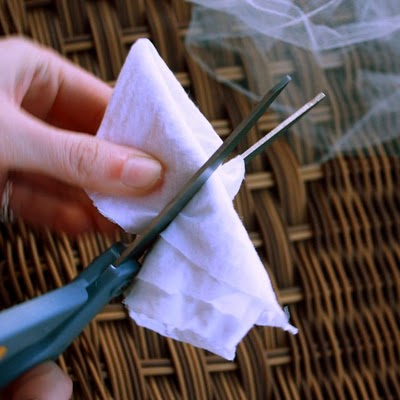
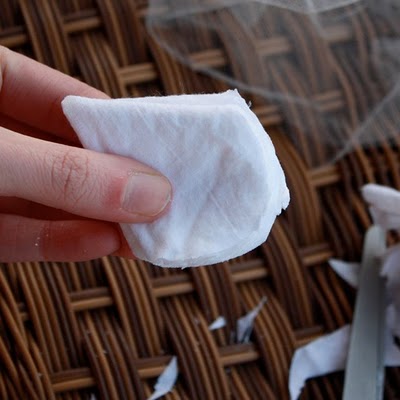
4. Cut the wide end of the fabric in a half circle
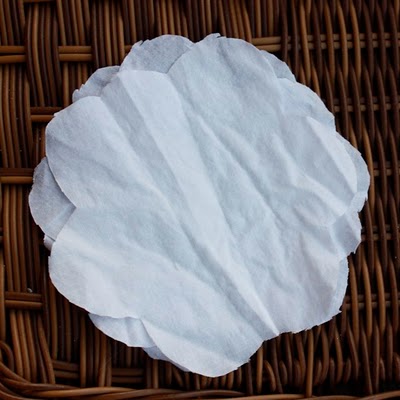
5. Your fabric should look like a tear drop.
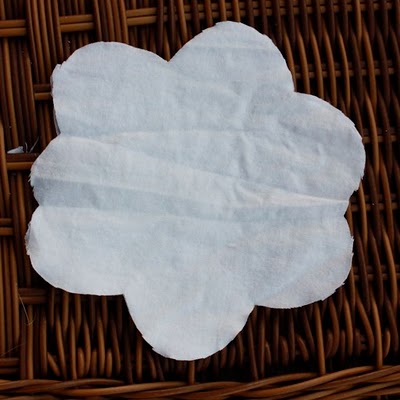
6. When unfolded, you should have several layers in the same flower shape
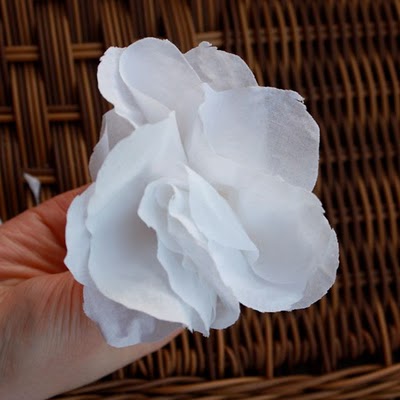
7. Turn each layer so that every other layer is off center and the petals all show through
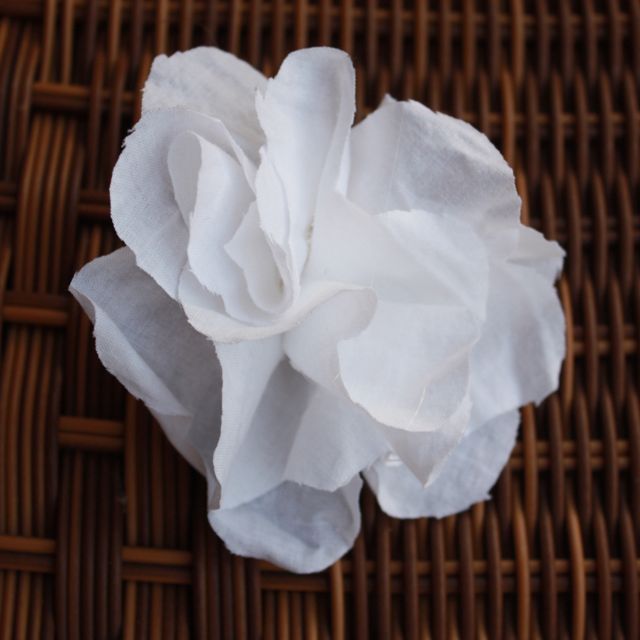
8. When you pinch together the bottom, you’ll see layers and layers of ruffles!
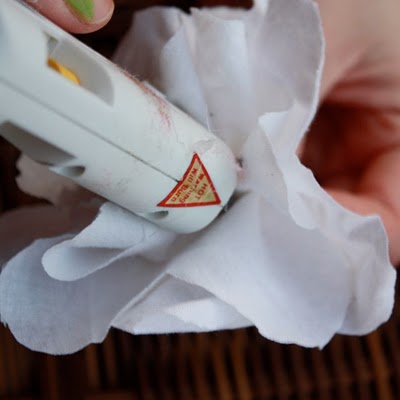
9. While holding onto the bottom, stick the glue gun down in between the layers and leave dots of glue in a few place to hold it together…Voila!
BLOOM #2: SPIRAL OF TULLE
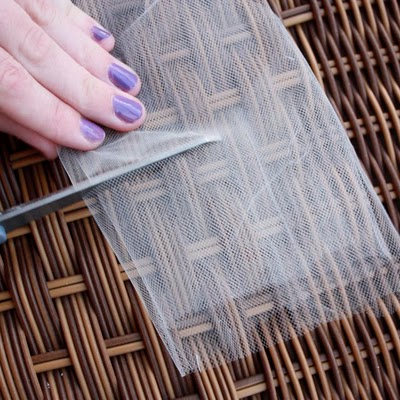
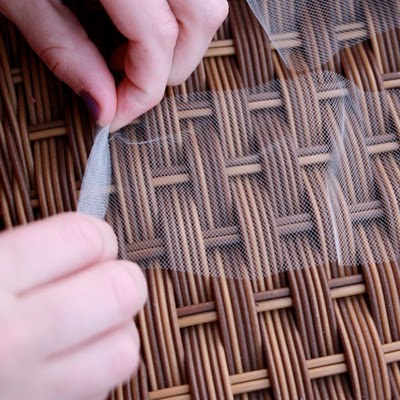
1. Fold your tulle (just to make cutting faster) and cut a 3-4″ strip
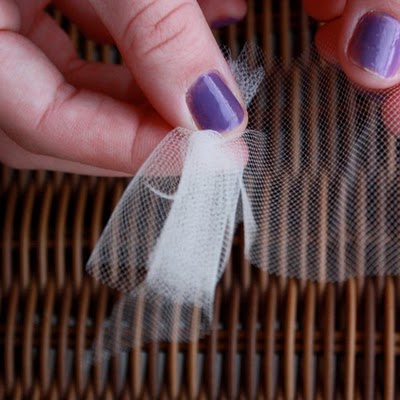
2. Begin at one end and roll the strip up into a spiral, pinching one end so it doesn’t unravel
3. Begin with a tight roll, then as you get close to the end of the strip let the tulle stick out from the center a bit by rolling slightly diagonally
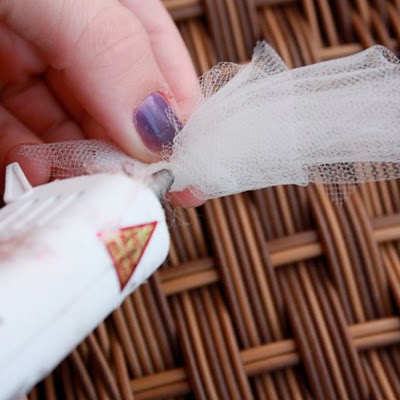
4. Glue the end together where you were pinching, it doesn’t look pretty yet;)
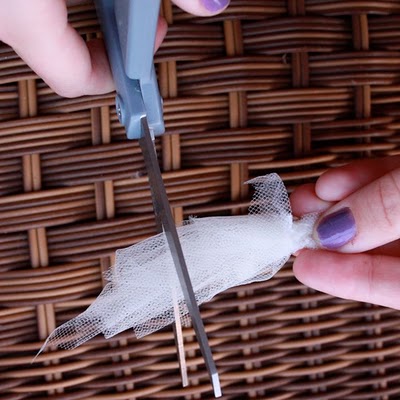
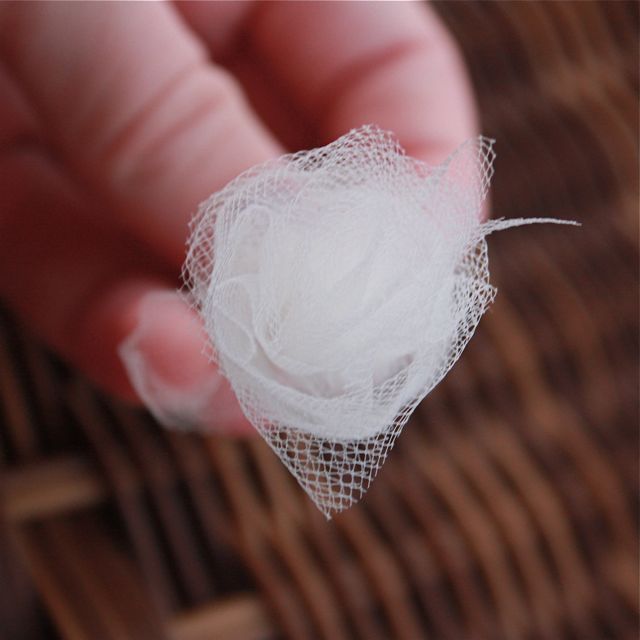
5. Now, cut the uneven top of at about 2-2″…Voila!
BLOOM #3: EASY AND LACEY
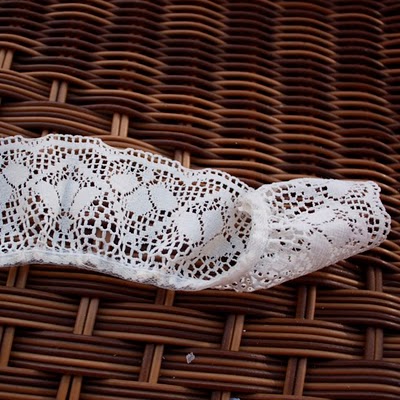
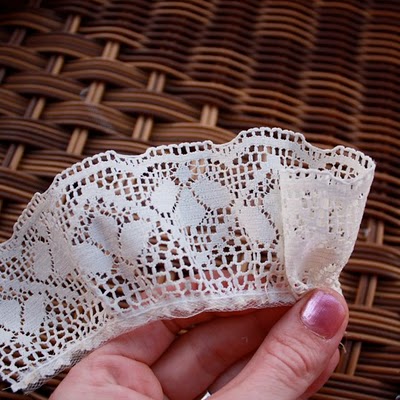
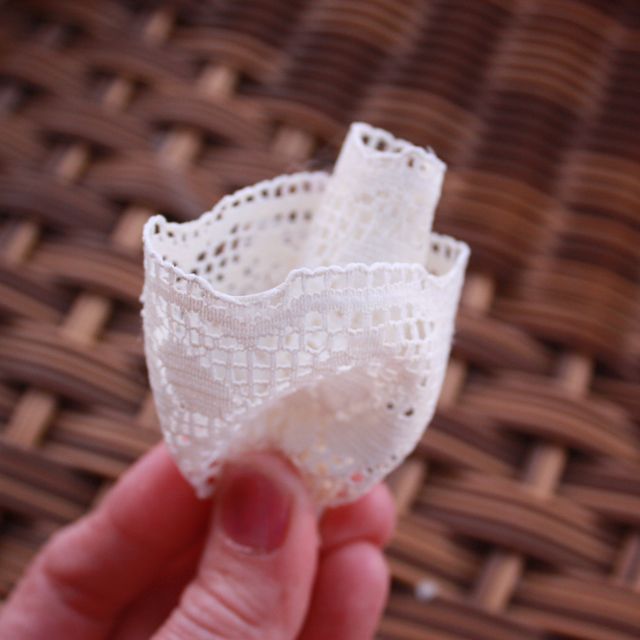
1. Grab your scrap of lace
2. Start at one end and roll into a spiral and apply hot glue to the pinched end…Voila!
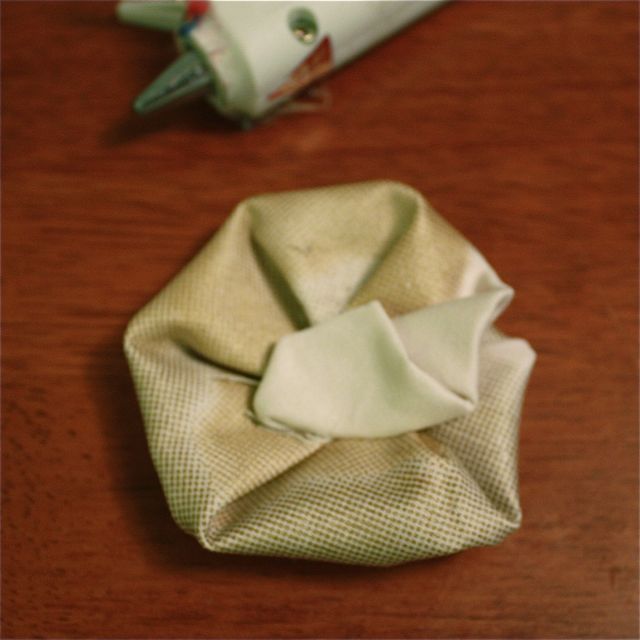
BLOOM #4: PINWHEEL PETALS
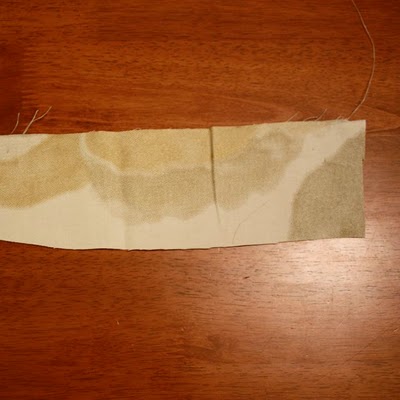
1. Begin with a 2-3″ wide and 10-12″ long scrap of fabric
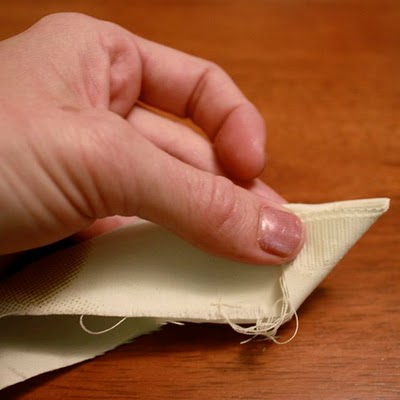
2. Fold it in half lengthwise (to get the frayed ends together) then fold one end down on the diagonal like a flag
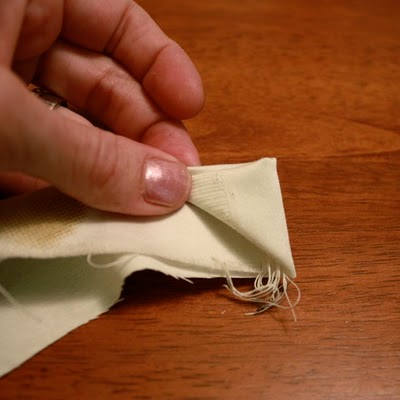
3. Fold this end one more time on the diagonal to tuck the frayed ends inside
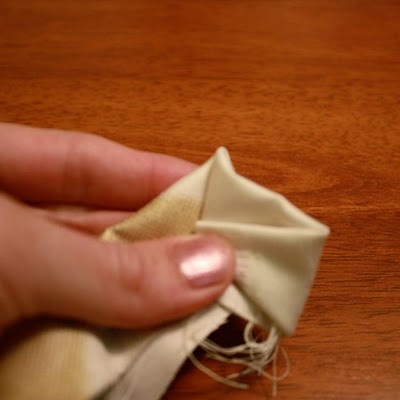
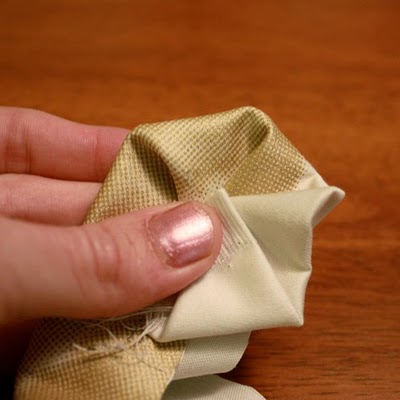
4. Holding the folded end in one hand, rotate the fabric clockwise and pinch a fold of fabric behind the center on the diagonal (like a pinwheel)
5. Continue to move the fabric clockwise, making a pinwheel fold on fabric behind the center about every inch
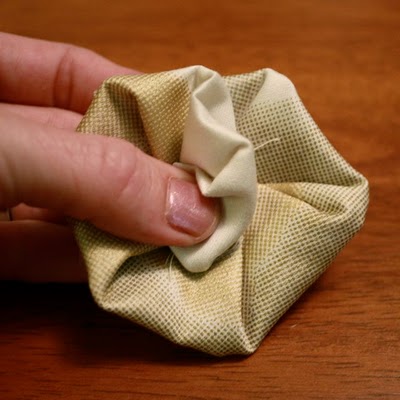
6. You should have enough fabric to make at least one full circle of folds
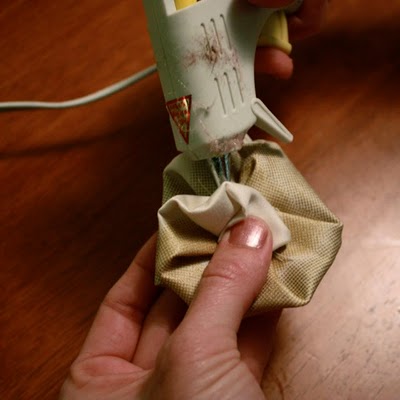
7. With the glue gun, apply little dots of glue in the folds to hold the flower together…Voila!
PUTTING IT ALL TOGETHER
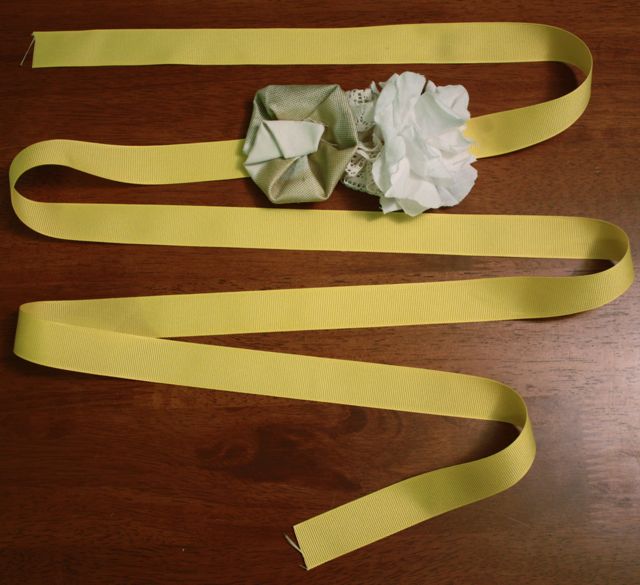
Before gluing the blooms to the belt, you may want to lay them out side by side to determine the best order…once you figure that out, proceed.
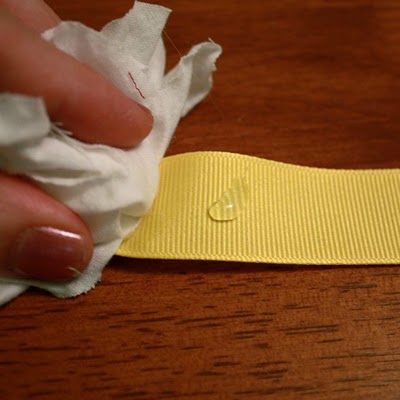
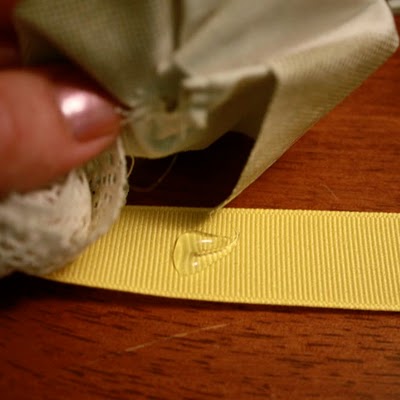
1. Put a dot of hot glue onto the ribbon about 1/3 of the way from one end and stick the first flower down
2. Repeat with the remaining flowers
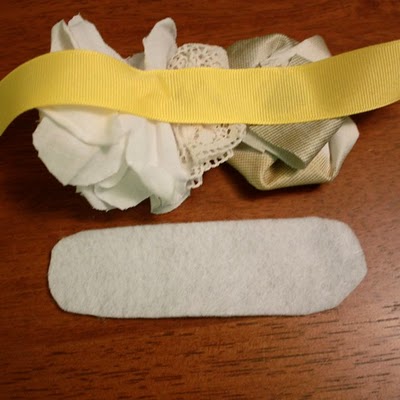
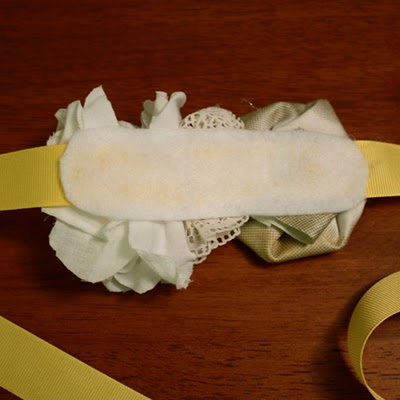
3. Cut your scrap of felt to fit behind the flowers without hanging out
4. Hot glue the felt onto the ribbon, and some of the backs of the flowers for added stability (we wouldn’t want you to loose a bloom on the dance floor!)
Voila!
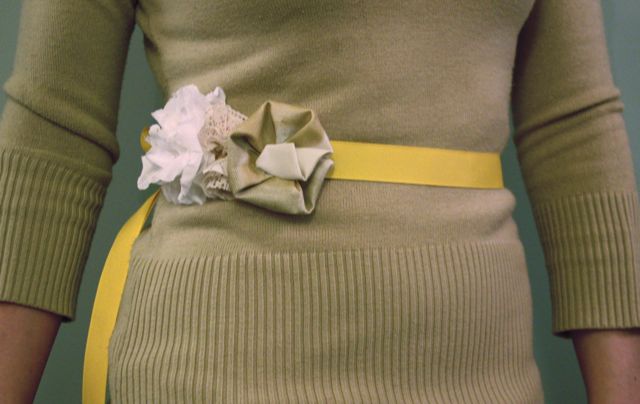
Wear as belt…
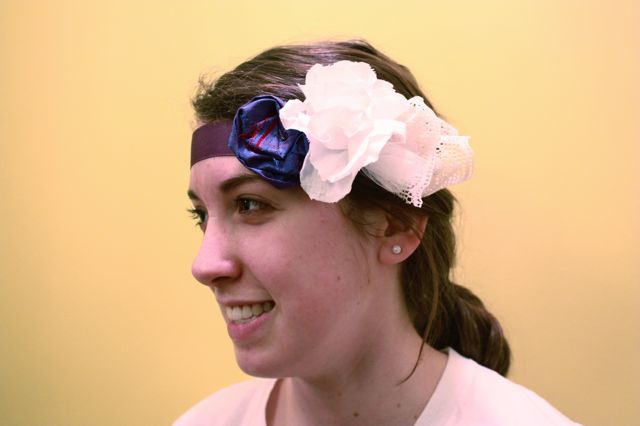
…tie on as a headband…
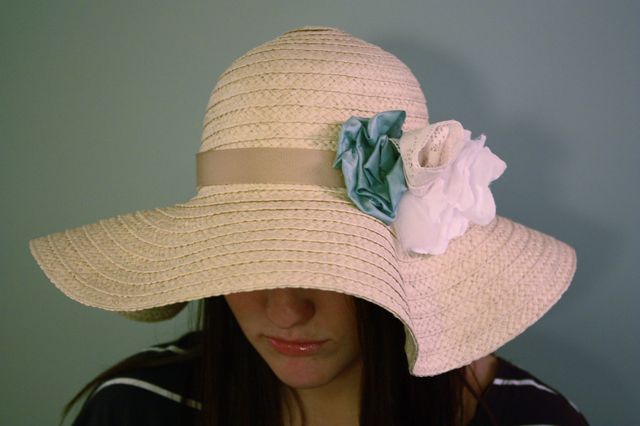
…adorn your new beach hat…
…the world is your flower belt making oyster.

