Okay, here it is. A free pattern and detailed tutorial for a darling and simple (like 15 minutes!) Bib…or Ridiculously Long Bib, if you choose. The pattern is a PDF that you can print directly onto 8.5″x11″ paper. I made mine on card stock so I can use it over and over. Get ready for happy laps! Free Bib Pattern HERE.
You’ll need two fabrics for the bib. I use one comfy microfiber fabric from the nursery section of JoAnns, and then just use whatever cotton scraps I have around…today looks like Marimekko Poukama Green Tie Die. You’ll need at least 9″x12″ for a normal length bib or 9″x19″ for the RL Bib.
Step One: CUT.
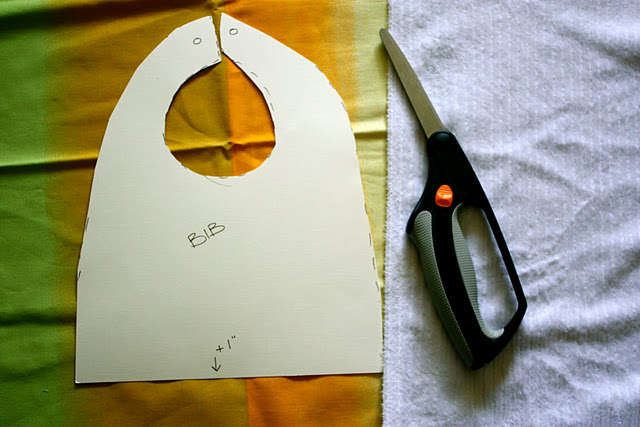
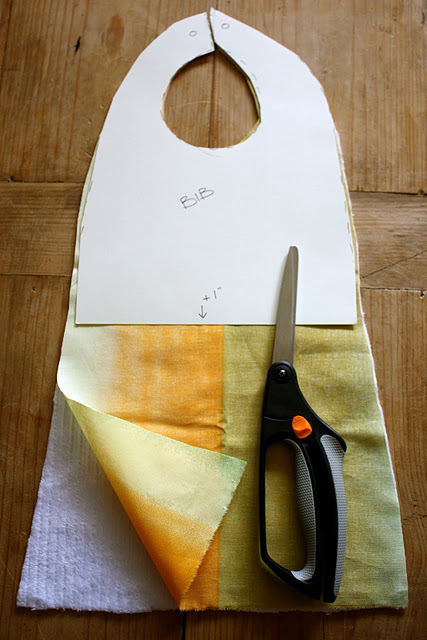
I am slightly lazy very efficient, and I don’t use pins for cutting this type of quick project. You can if you want to! The pattern only uses one sheet of paper, so if you want a regular length, you’ll need to measure 1 more inch on the bottom. For a RL Bib, like seen here, you’ll add 8″. I also slightly widened the bottom of this one (to about 12″) and really like it. So, knock yourself out with possibilities. I place both fabrics right side together before cutting them both at once. That way I’m all ready to sew.
Step Two: SEW.
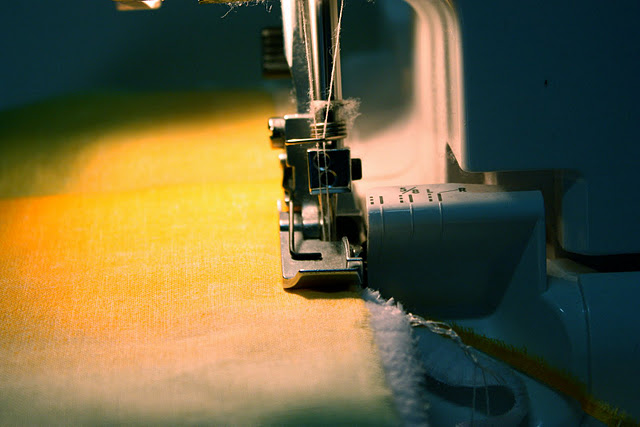
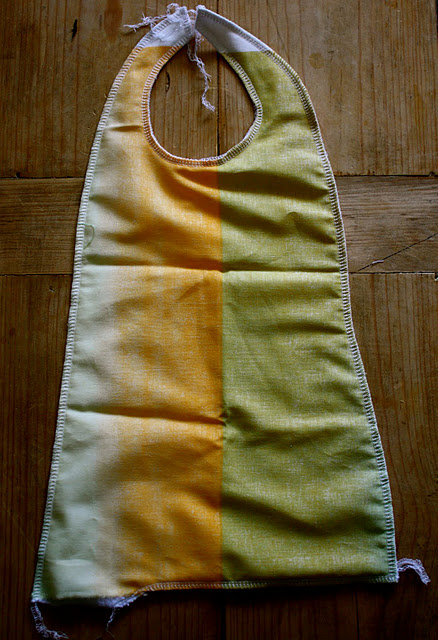
I use my serger, but you go ahead and use whatever you have to stitch all the way around the edge, with about a 1/4″ seam, leaving 3″ open along the flat side of the bottom.
See that little hole down in the bottom left corner? That’s what you use to pull the bib right side out!
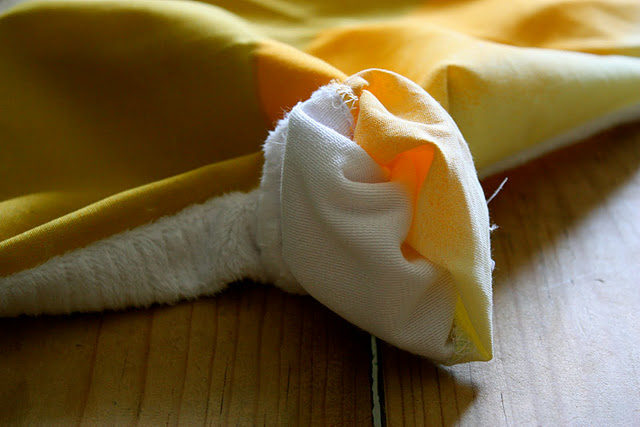
Step Three: PULL THE BIB RIGHT SIDE OUT
Pretty self-explanatory. I did have to use my scissors (closed) to turn the very ends of the bib right side out.
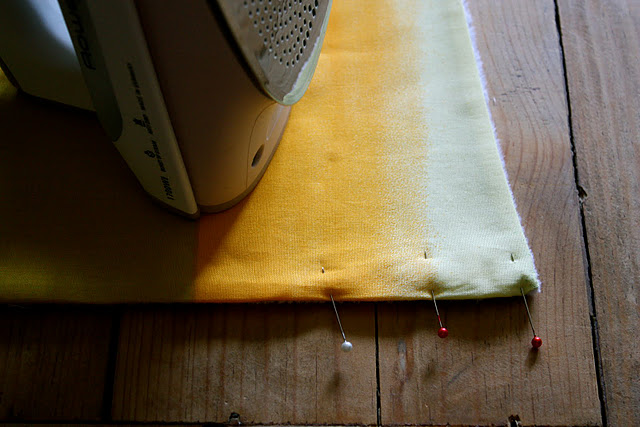
Step Four: PIN AND IRON
Now that the bib is right side out, you need to close up that hole. Simply tuck the edges of the fabric under the same 1/4″ and stick a couple pins in place. This is also when I iron the whole bib, stretching the seams out to their max, so the finished piece lays flat.
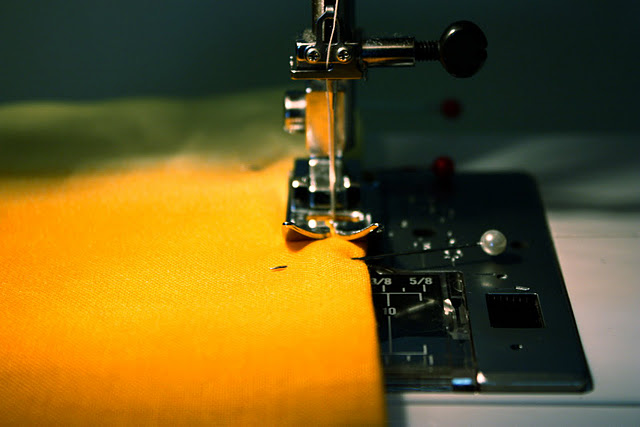
Step Four: SEW
Now you’re going to sew that same 1/4″ seam all the way around the bib again! On the right side this time. You should be really good at going around that neck hole this time!
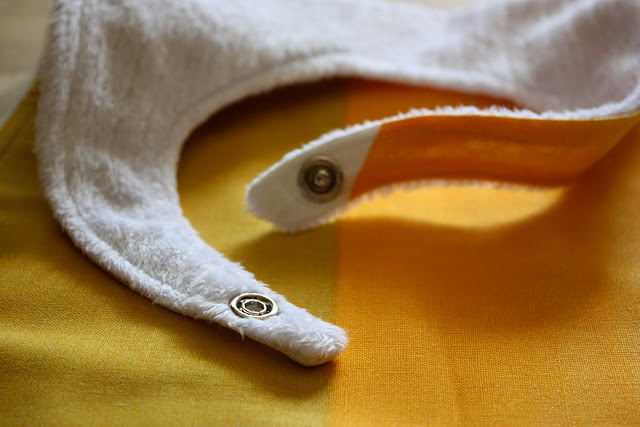
At this point you’ve got yourself an almost finished Ridiculously Long Bib. The only thing missing is the snap, which we’ll presently attach.
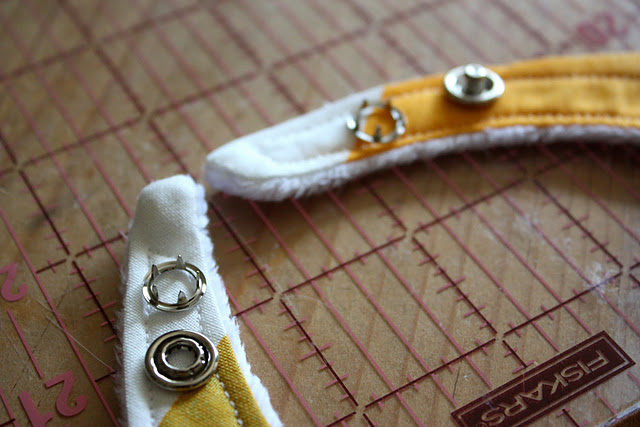
Step Five: ATTACH SNAP
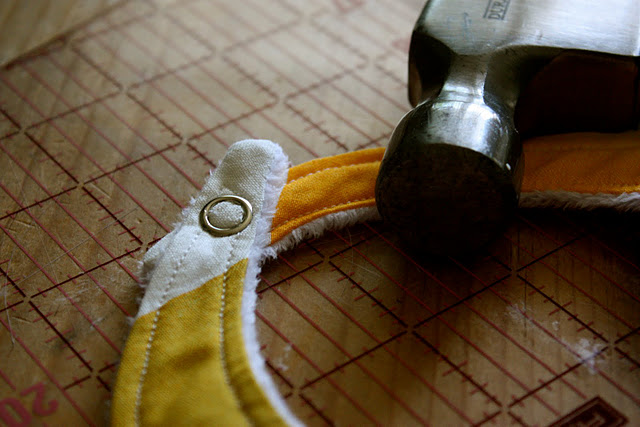
The snaps come in packs of 10 or so, they’ll be with the notions in the fabric store. They also sell a little snap clamper thing, but I just use the hammer. I am, after all, the daughter of a contractor;) The instructions are on the package and very easy to understand. I’d have taken a picture for you, but I needed both hands!
It may be a tiny bit tough to line up the snaps through the double layers of fabric, but after one (or maybe three) tries, you’ll get it.
And there we are. Finished just in time to hear the young one rousing from his nap. And what do you know? It’s lunch time!
You can see that with a child like mine, the Ridiculously Long Bib has become necessary. I’m working on a way to attach the end of it actually up to the bottom of his tray, so it really really functions as a catch all. I’ll keep you posted on that one!
Happy sewing, eating and mommy-ing!

