First of all, let me welcome all new readers visiting from Four Flights of Fancy. I hope you find a cozy place here and stay awhile:) For those of you regulars, I am guest posting today over on my new friend Andrea‘s blog. You should check her out. She’s a stylish mama with lots of fun ideas.
Now, on to the napkins:
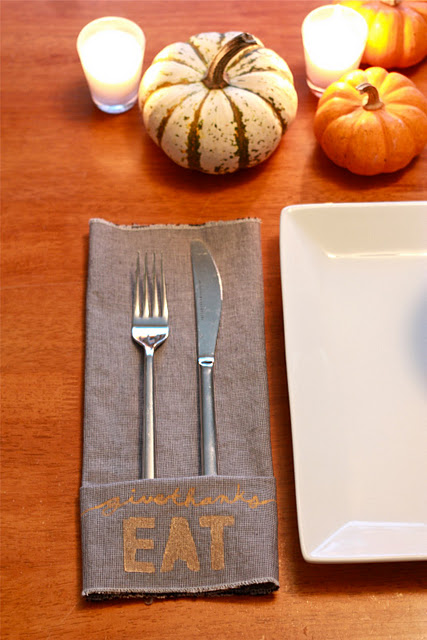
I am sort of hosting Thanksgiving this year. Dave’s whole family is coming in town, and we’re going to spend the weekend at a little house on the water in Annapolis. I’ve been allowed the fun opportunity to planning the Thanksgiving menu, and create the table settings. From the moment I knew I’d be handling decor, I was sure I wanted to create these fun napkins for the meal. There is something wonderful about linen napkins, and adding some simple golden words makes these extra special.
“give thanks, EAT” sort of sums up Thanksgiving for me. I love taking time to remember all of my many blessings and all I have to be thankful for. And I love food. What a perfect holiday.
This is a simple project, but requires a few steps.
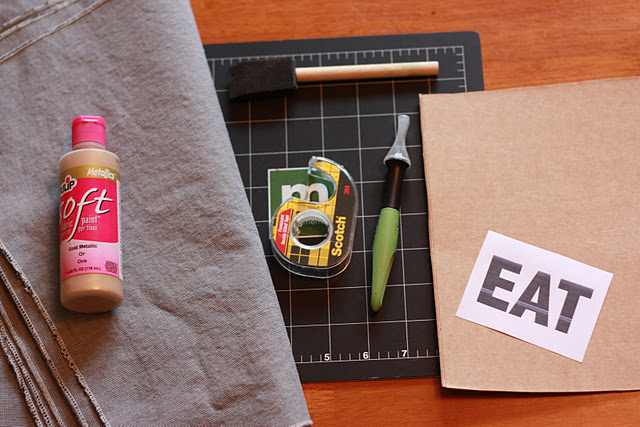
As far as materials, I used:
Fabric napkins (I made mine, but you can get inexpensive ones here)
Cardboard (from a cereal box)
The word ‘EAT’ printed on paper (I used Abadi MT Condensed Extra Bold, 150pt)
Exacto knife
Double stick tape
Gold fabric paint
sponge brush
Gold fabric pen (not pictured. I knew I forgot something!)
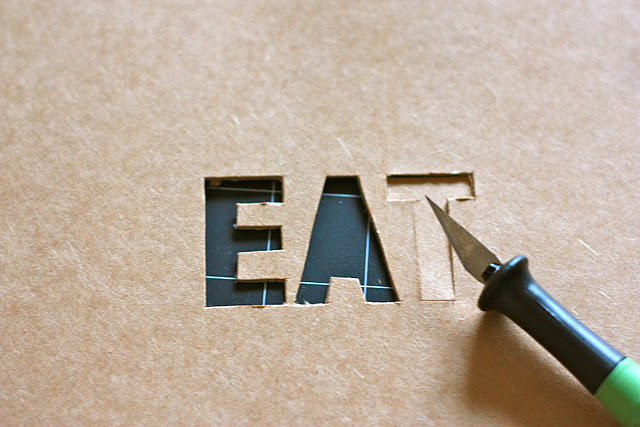
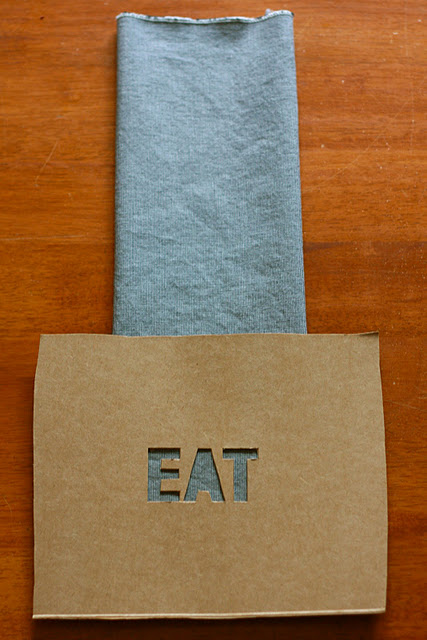
For the word EAT, I made a stencil not unlike I would have using freezer paper, but with 12 napkins to paint, I wanted to make sure it was reusable, rather than cutting the stencil out a dozen times. I came up with a simple alternative using the cardboard with double stick tape on the back, so that the edges stay put while you paint (over and over!)
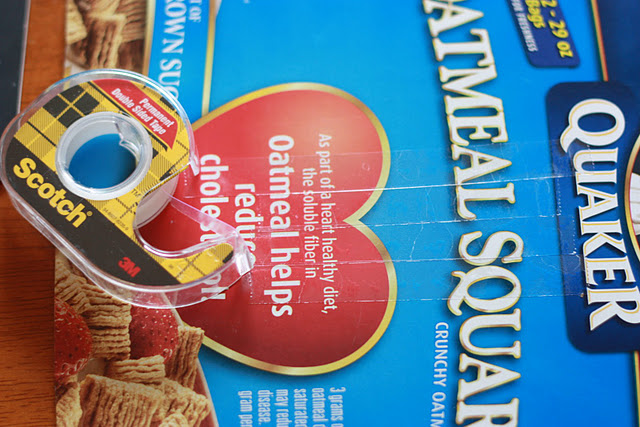
Before cutting my stencil, I stuck the tape to the back of my cardboard. It took a few rows to cover the area of the stencil.
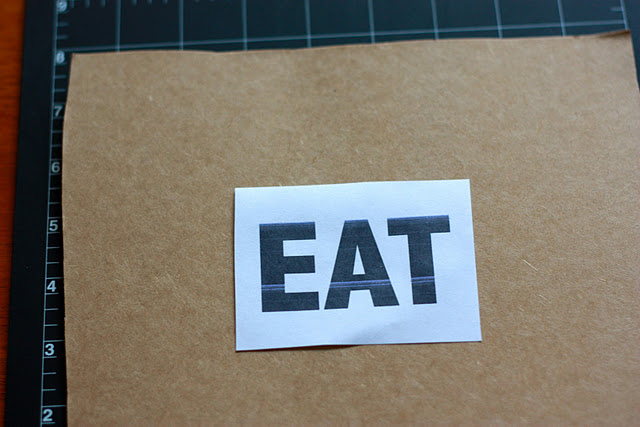
Then I flipped the cardboard over and used a tiny piece of tape to secure my word for cutting.
I first cut around each letter with the printed paper on top as a guide. Then, I removed the paper to allow me to get the fine details in the corners. Once it was cut, I removed the letters and got ready to paint!
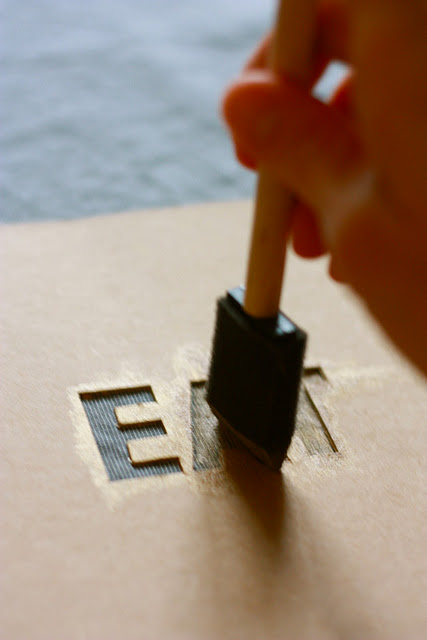
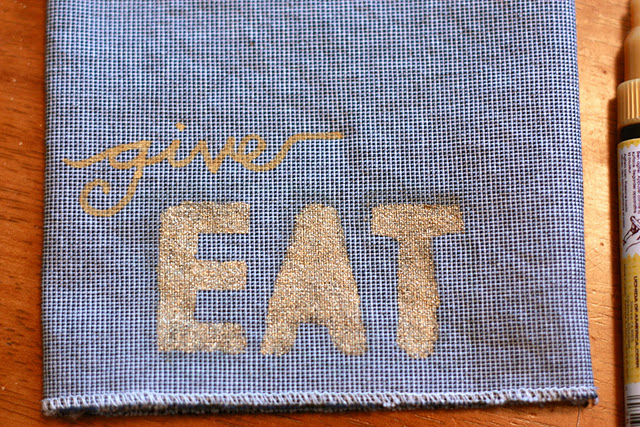
I folded the napkin in thirds, and centered the EAT stencil about 1/4″ from the bottom of the napkin. I pressed down around the letters to ensure a good stick, then began to paint.
I wasn’t looking for complete perfection, but didn’t want huge variation, either. I found if I kept the sponge brush pretty vertical as I dabbed the paint, I stayed within the stencil edge.
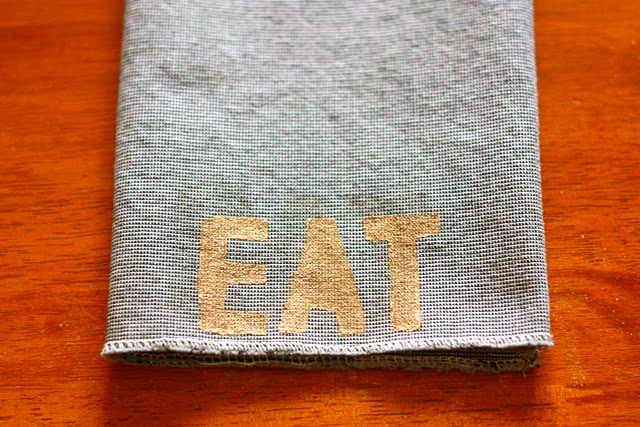
I love the glittery gold. So festive.
Once removed, the stencil looks pretty clean! I let it dry and moved on to the next eleven napkins. The cardboard stencil held up marvelously through all of the linens! I think I’ll be using this stencil method again sometime!
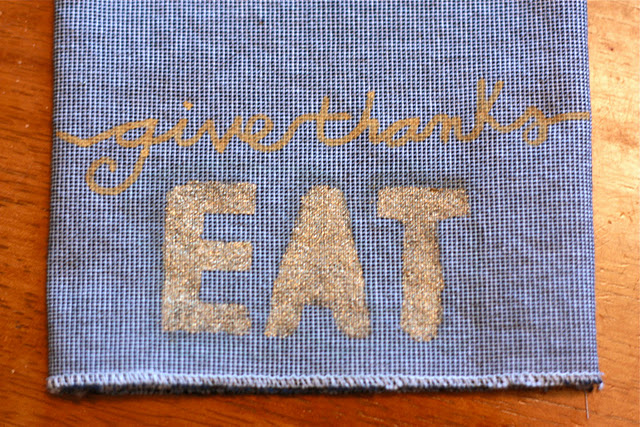
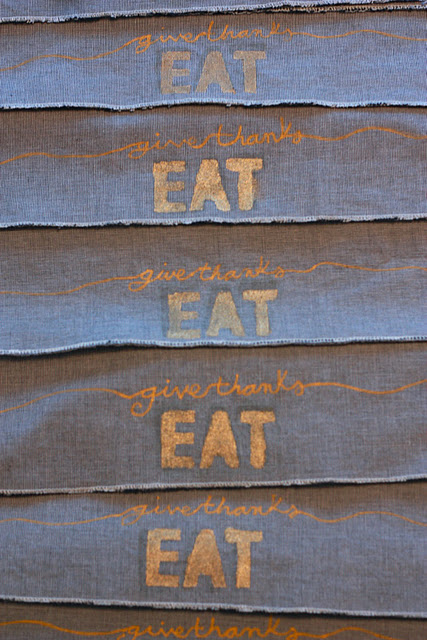
Next I added the words “give thanks” above the stencil. I wanted to have a relaxed, hand-written lettering, so I practiced on paper a few times then went for it!
At first, I started on the fold, wrote the “give”, then the “thanks” extending to the other fold. then I crossed the ‘t’ with the end of the ‘e’ so the words stayed connected.
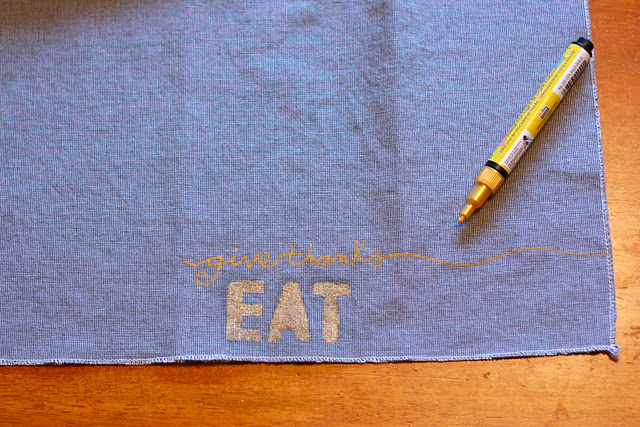
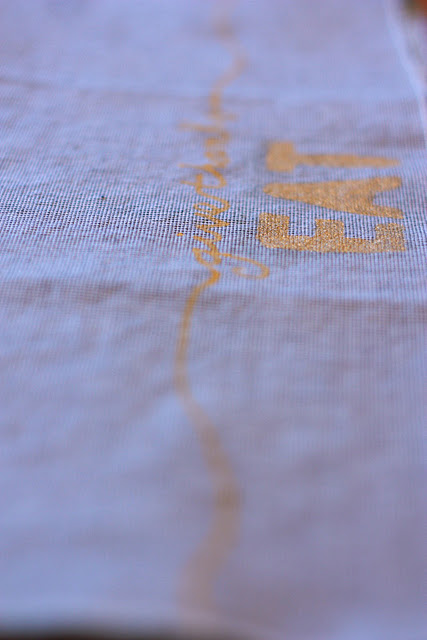
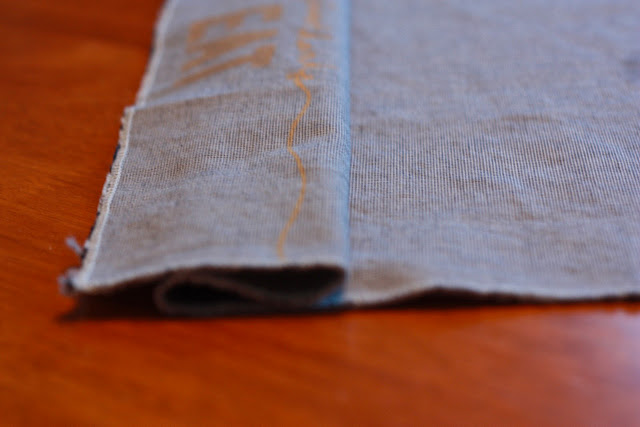
Once I had centered the “give thanks”, I opened up the napkin and continued the hand drawn line to each edge.
Pretty great, right?
Then I did the same on the rest of the linens. Whew. Almost done! To make sure the paint stays through washings (they are napkins, after all!) I need to iron over the paint to heat set it.
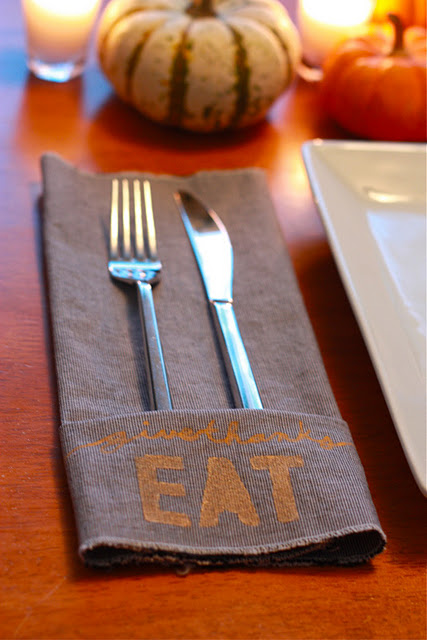
The last step is folding to hold the flatware. I made one fold just above the words, then back again to create a pocket.
Lastly, I folded the sides back under into thirds, and slid in the silverware.
I love how they turned out. The gold is pretty subtle on the blue and white linen, but adds the perfect personal touch.
I have a couple more Thanksgiving table diy projects up my sleeve that I’ll be posting next week, so be excited!
Thank you Andrea for letting me share this idea with your readers, too!

