 Last week I made Plum a Tote Bag Romper, and I fell totally in love with the style. The simple boxy shape, shoulder tie straps, and drop-crotch legs makes it easy fitting, comfy, and really shows off a cute fabric. And because not all loveable fabric comes pre-made into tote bags for us to hack into rompers, I want to share a Boxy Baby Romper DIY from scratch. No tote bag in sight. And this version has snaps at the crotch for easier diaper changes. High five!
My incredible talented friend Caroline, of the blog, shop and design studio Sew Caroline (this girl does it all!), has released another fantastic fabric collection, Happy Home. Last year I made this fun pleated maxi skirt with her Gleeful line. This time around I used the Window View Desert print for this boxy baby romper, and love it so much. The tiny design is subtle, with beautiful coral, red, yellow, and pinks. The fabric hand is super soft, tightly woven, and really high quality. I’m a fan.
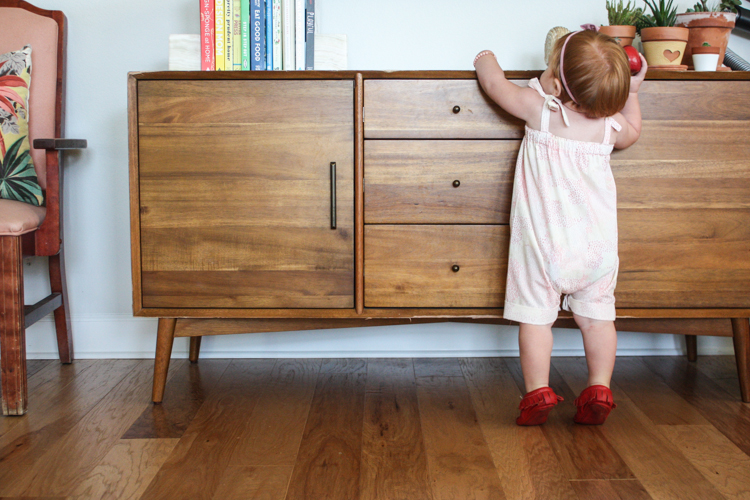
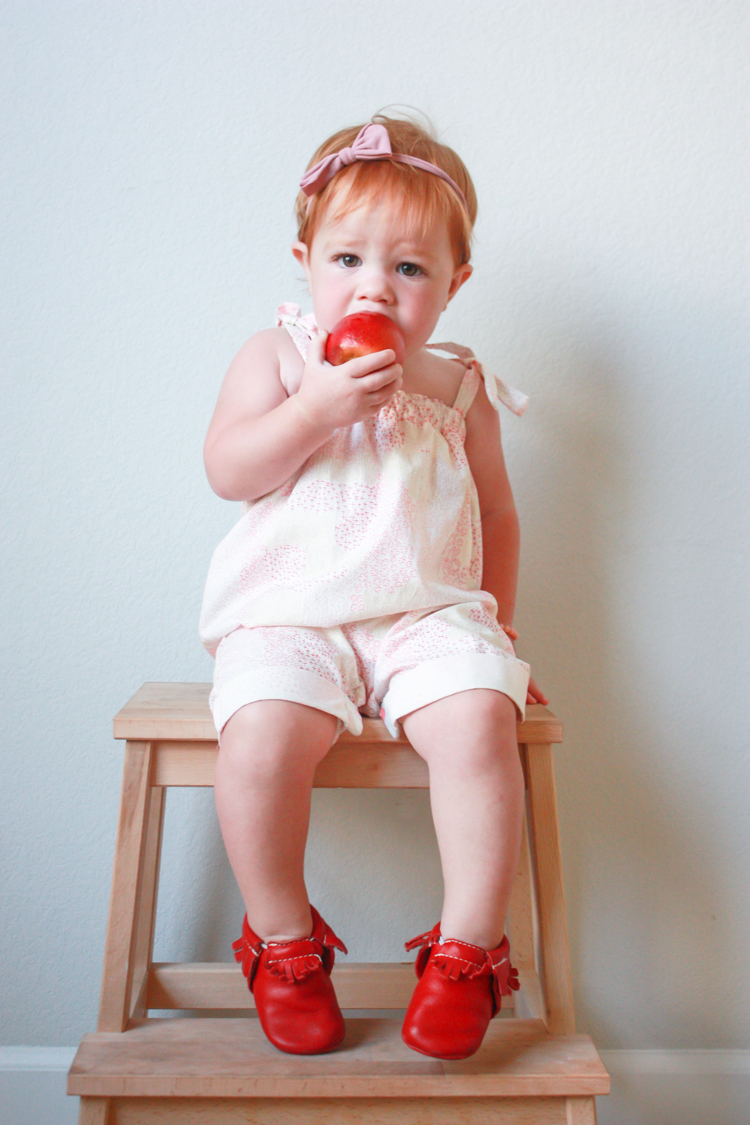 Have you ever tried to photograph an 18 month old? It’s no picnic. This one moves non stop, and it was pretty funny trying to catch her for these shots. The apple kept her entertained for a few minutes. Then I had the boys take turns putting one jelly bean at a time onto the console table then run from the frame so I could try to snap one clear picture! Ha! It’s WAY easier to sew this romper than to photograph it.
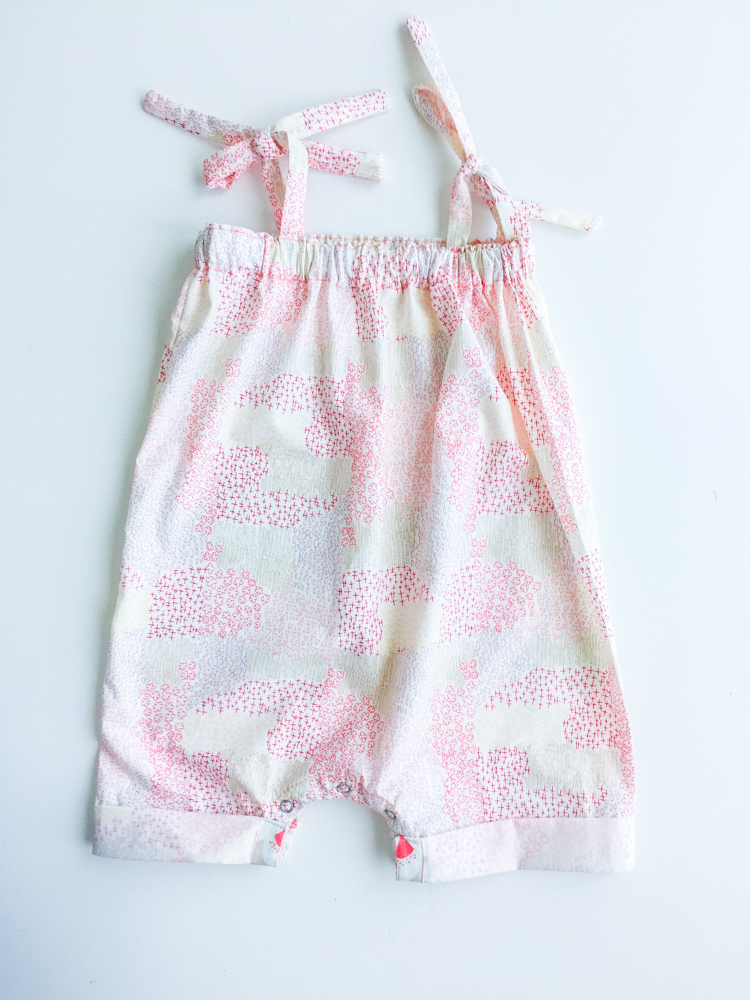
 The pattern here is really simple. It’s one big box, folded in half, with an arch for the crotch and straps added. A little elastic at the top keeps it up and comfortable, and really the shape makes it quite forgiving! Adding snaps to the legs adds some steps, but you could easily skip them and just zip the two sides together down there like I did with the Tote Bag Romper. Are you ready to make one? Let’s get started!You’ll need:
1 yard (or less) of fabric
20 or so inches of elastic
5 snaps
5×5″ of medium weight interfacing
iron-in seam tape
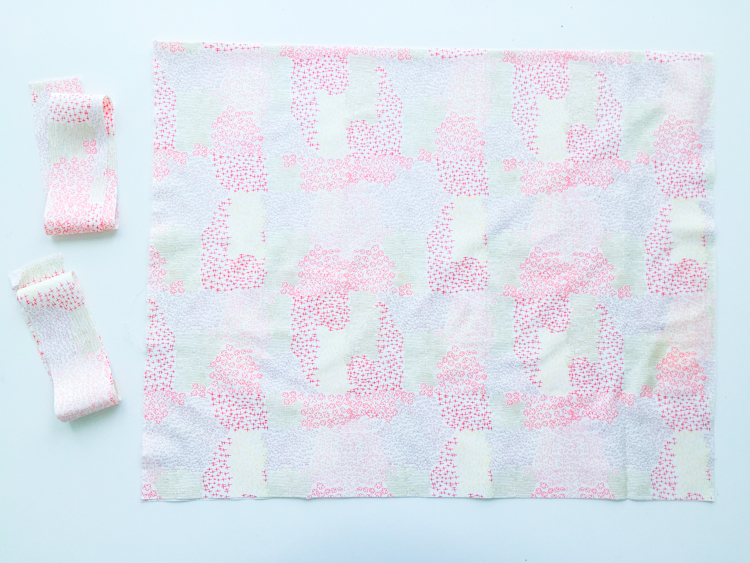 To begin, you’ll want to grab a couple measurements from your child, or from a well-fitting tee shirt and shorts. Measure around the chest circumference, and from the shoulder to the bottom of the knee cap. Cut your fabric width 1.5x the chest circumference, and add 3″ to your height measurement for the height. For example, Plum is 21″ around the chest, and 18″ from shoulder to knee, so my fabric is 32″ long and 21″ tall. Then cut four straps 2″ wide and about 12″ long each. You’ll be able to trim them to the length you want later.
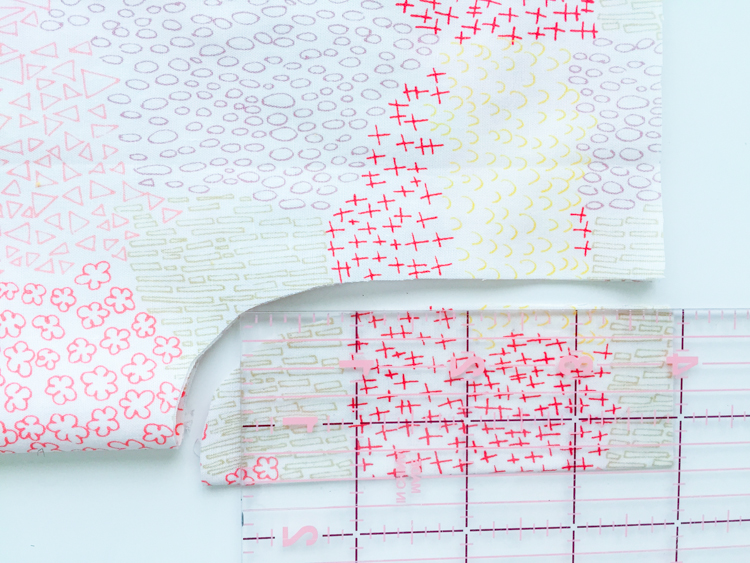 For the crotch, I folded the fabric in half , then in half again. The romper only has one side seam, so when it’s in half it’s laying flat, and one more half finds the center. Then I took off an arch 1.5″ wide and 4″ tall to make the legs. Since this is a drop-crotch, it doesn’t need to be an exact science, so for smaller sizes, take off a less, and for larger, a little more.
If you decided to not worry about the snaps, then jump down a few shots to the straps. You’ll just sew around your crotch with right sides together. If you want to add snaps, read on.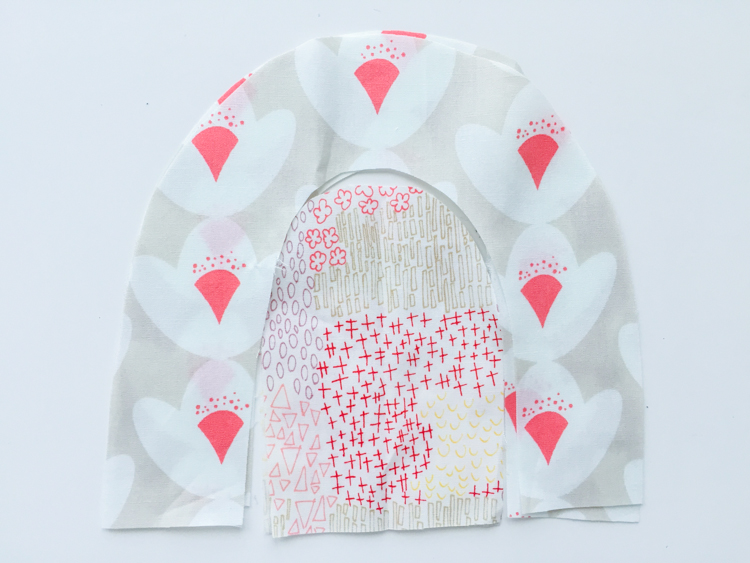 Okay, stick with me. Use the cut-out from your crotch arch and use it as a pattern to cut a rainbow shaped arch about 1″ taller and wider. This will be the facing for the snaps, so that they are reinforced. You need three of these.
 On the front, line up the facing with the arch of the pants and stitch around with right sides together.
 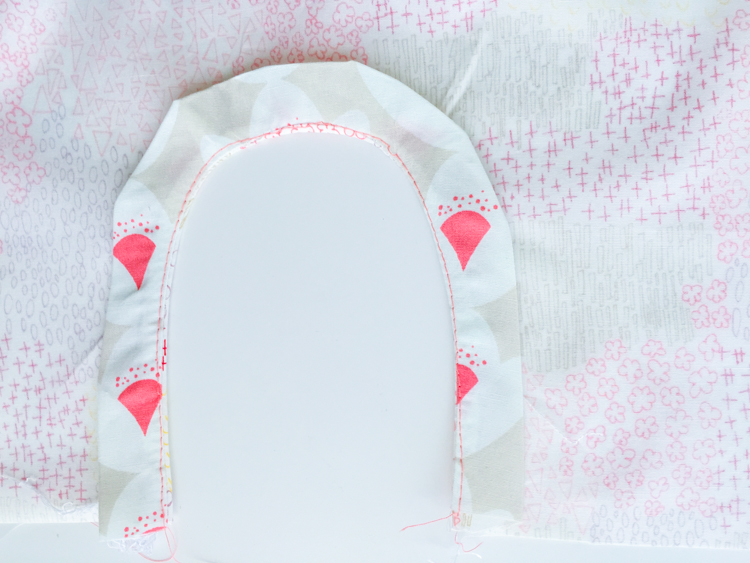 Fold the facing up inside, press, then fold the raw edges under and press again. Around the curve you’ll be tucking extra fabric under to make it smooth, but you should be able to get a pretty flat and even arch to stitch down.
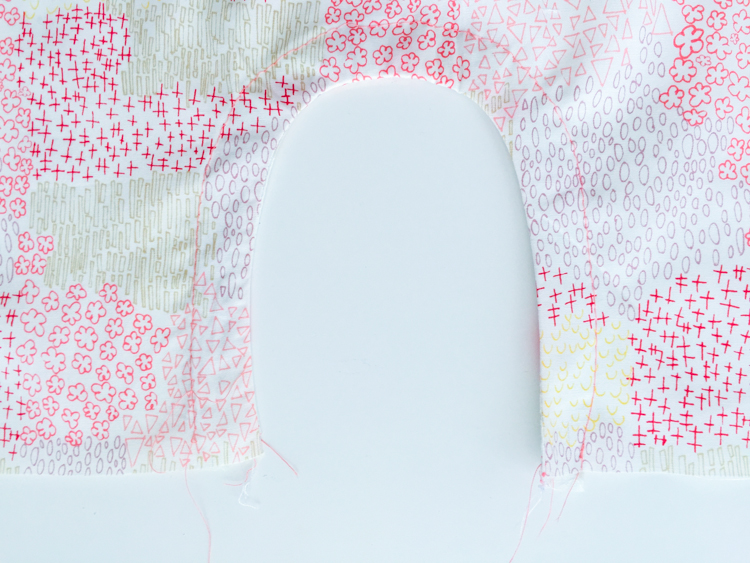 Stitch around the edge of the facing so you have a reinforced arch on the front of the romper.
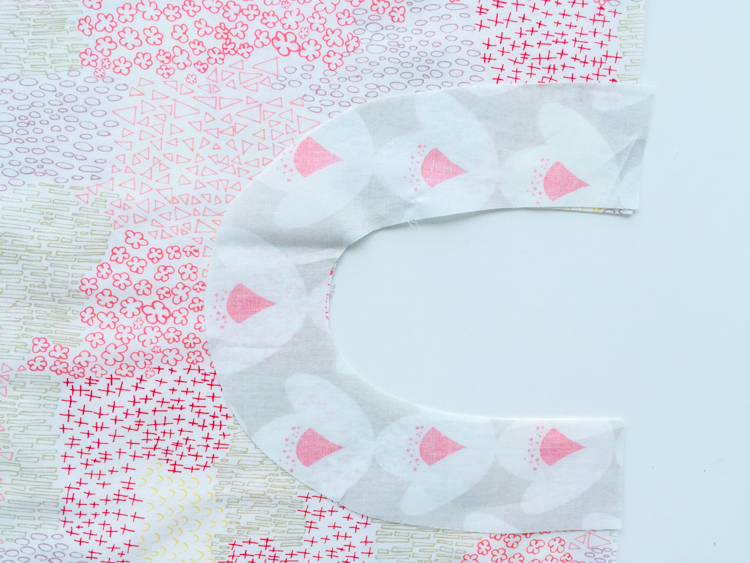
 For the back, you’re going to make a reverse reinforcement, that sticks out off of the pants, and folds up to meet the facing of the front. Put the right sides together of the remaining two rainbow arches and stitch around the outside edge. When you flip it right side out, you should have something like above. Cut a piece of interfacing to fit inside the fold here, and tuck it in.
 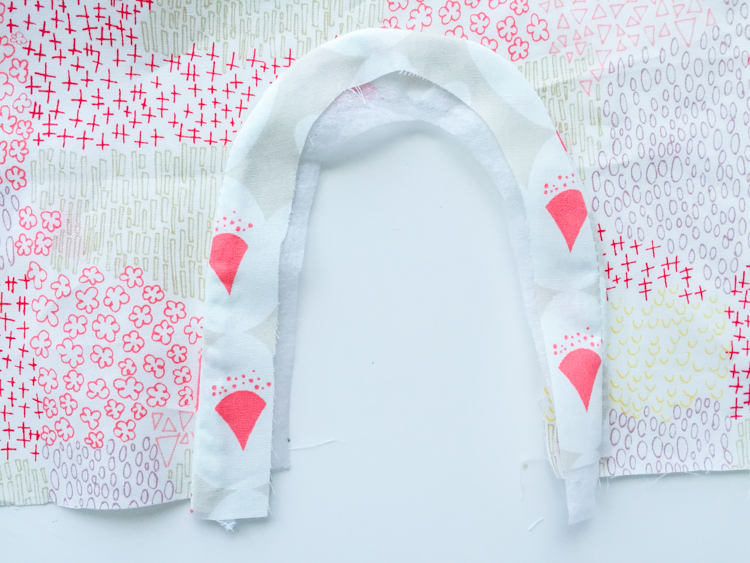 Line up the raw edge of this rainbow piece with the arch of the back of the romper with right sides together and stitch around the edge.
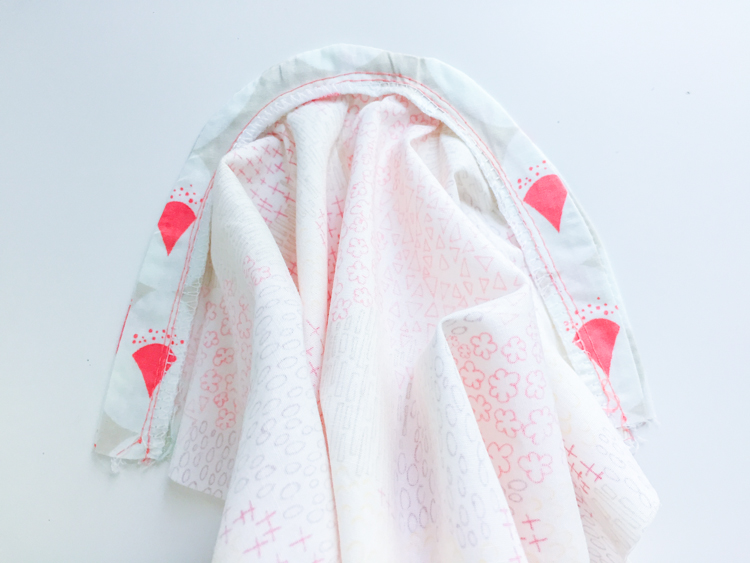 When you fold it down flat, the rest of the romper gathers together, but when it’s folded up on the inside of the romper, where it will meet the facing, it should sit nicely.
 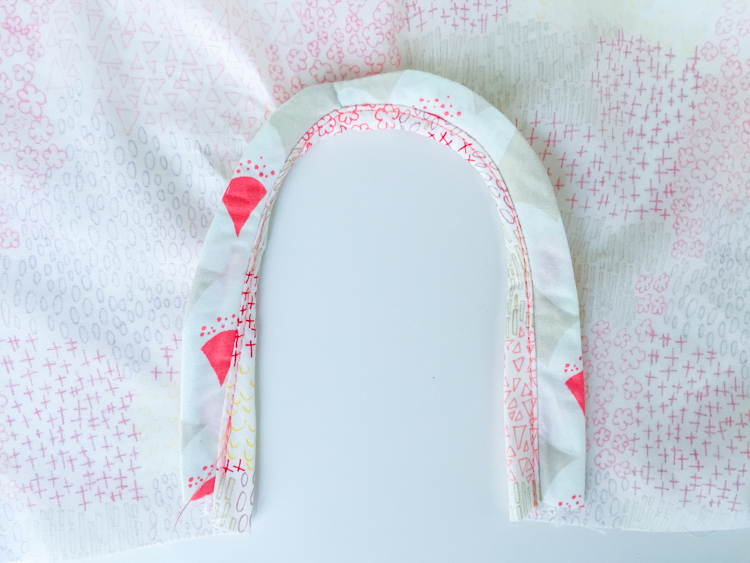 Press the back rainbow arch flat on the inside of the romper.
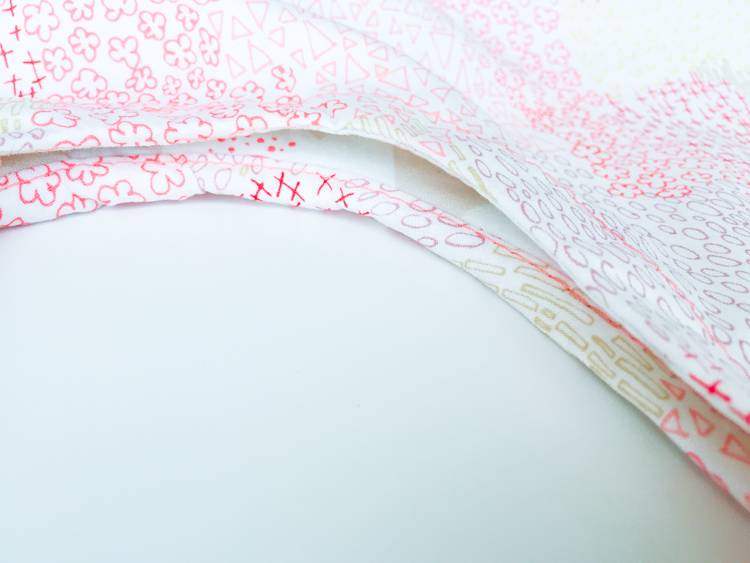 Now you should have a reinforced front and a reinforced flap in the back that will be perfect for adding snaps!
 Next, stitch each of the straps with right sides together down the long edge, then across one end.
 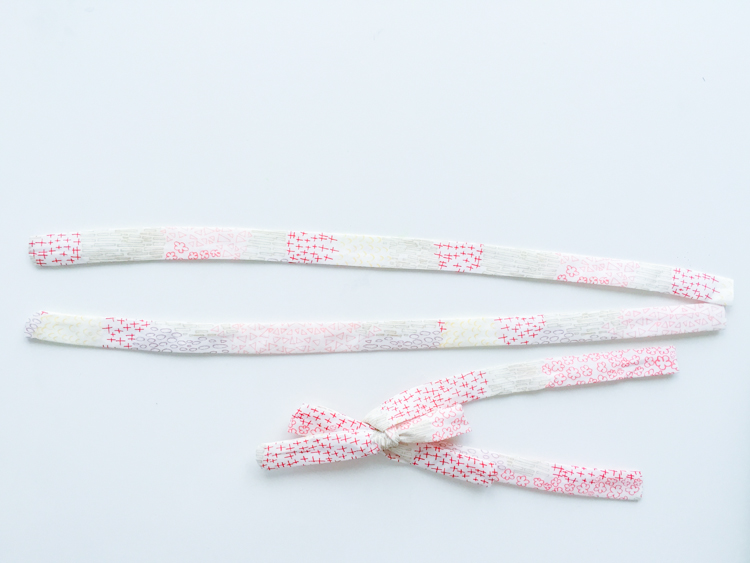 Turn them each right side out and press flat. I like to tie my straps into a bow, then measure about 4″ and cut off the rest. You can leave them longer or cut them short enough for knots. It’s up to you!
Next, fold the long top edge of the romper under 1/4″ then 1″ and press flat with an iron. We’ll use the folds as guides on the next steps.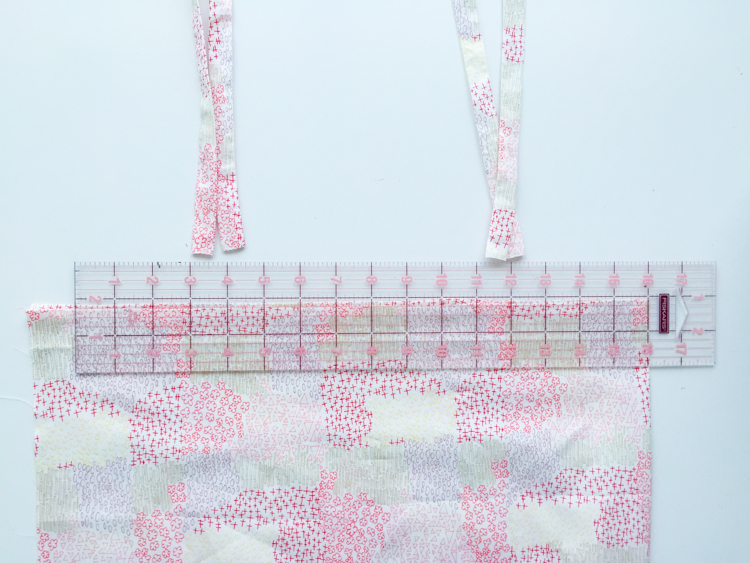 I loved the way the tote bag was constructed, so I’ve mimicked it here, adding the straps and making the casing in one swoop. So, with the romper laying flat, one side folded (we haven’t sewn the single side seam, yet) measure an even couple inches from either side, leaving the 1/5″ seam allowance on the raw edge accounted for.
 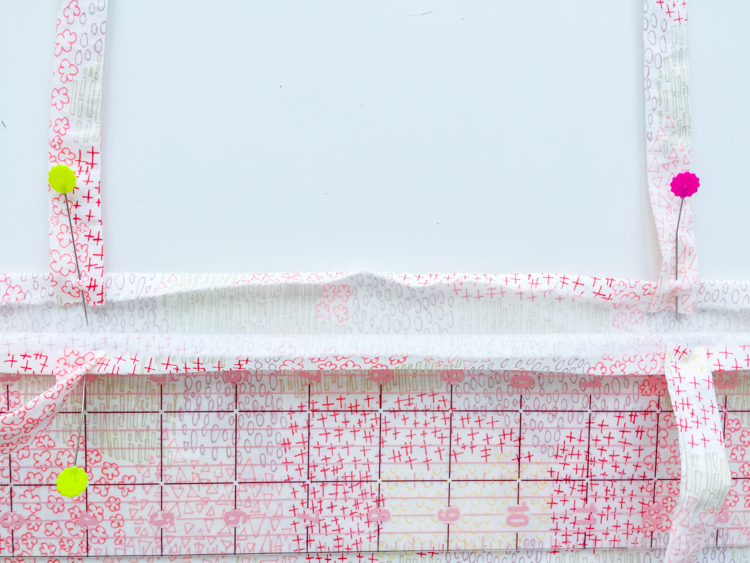 Pin the straps to the 1/4″ pressed fold that you made, and then fold them down the 1″. When we sew the bottom of the casing, it will catch the straps, too. NOW, sew down the side seam of the romper and press.
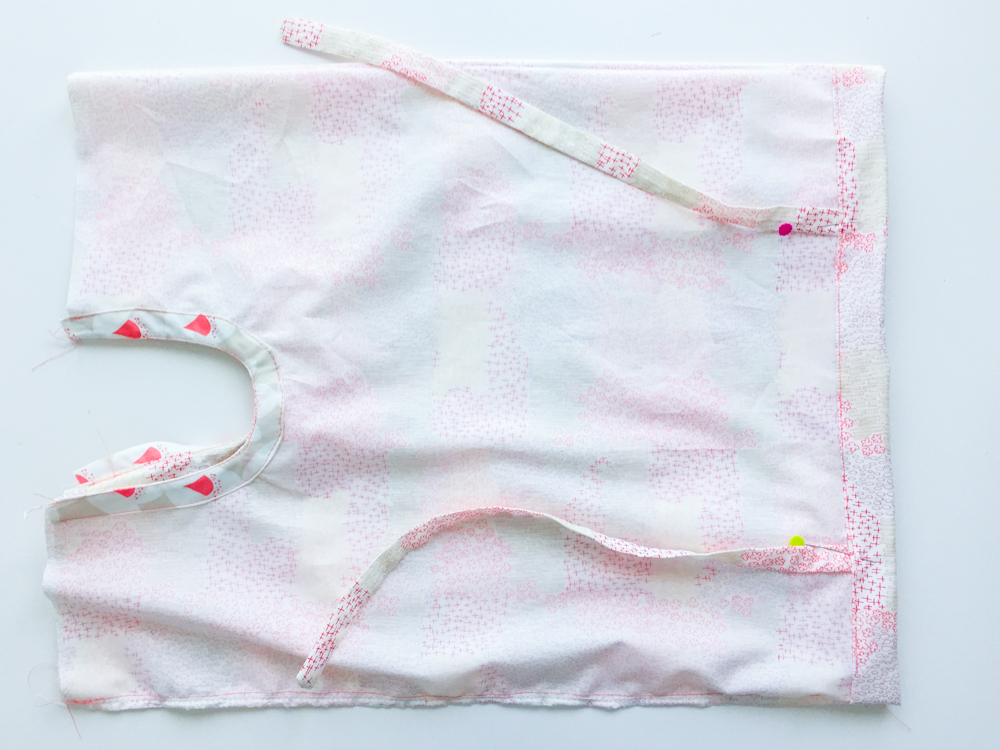 Next, sew around the bottom of the casing, leaving 1″ open for threading the elastic through. The straps will be sewn into this step, but will be facing the wrong direction.
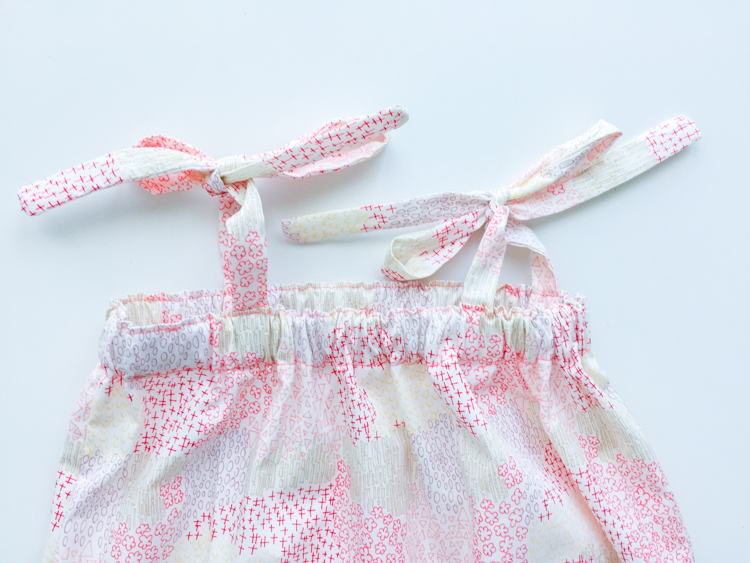
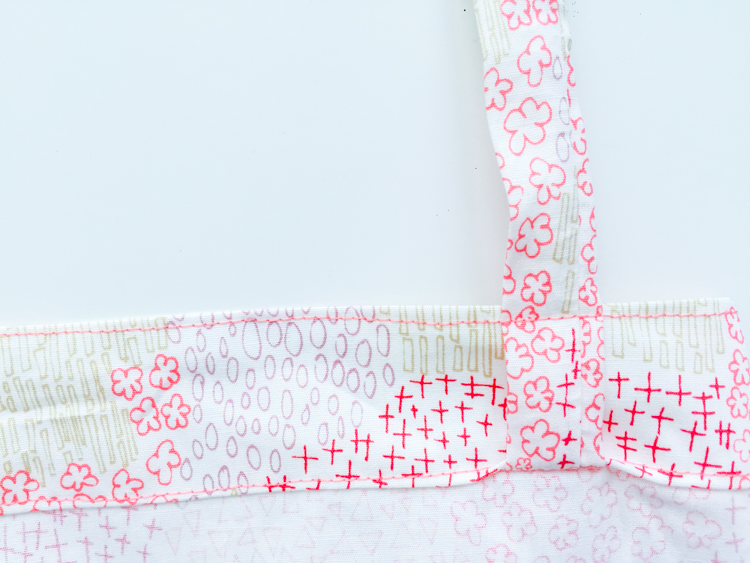 Now fold the straps up to the top of the romper, and stitch around the top edge of the bodice, catching each of the straps and stitching them into place.
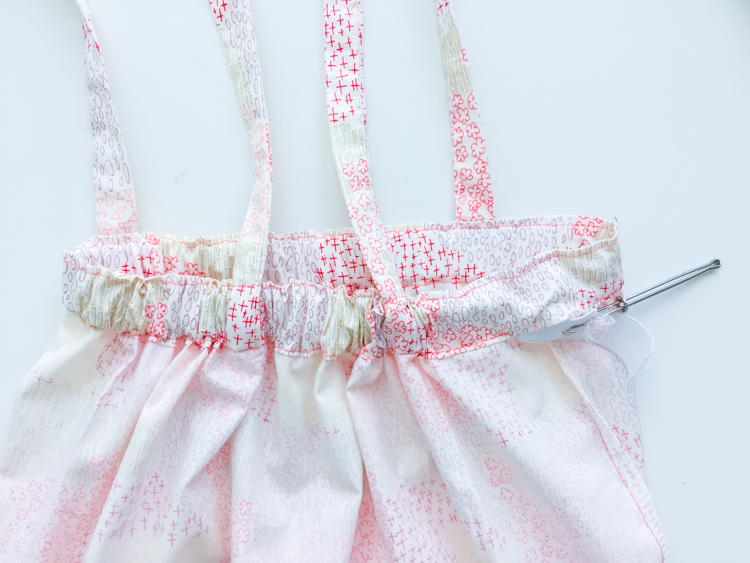 Cut your elastic to your child’s chest measurement, then thread it through the casing, stitch together the elastic, then close the hole.
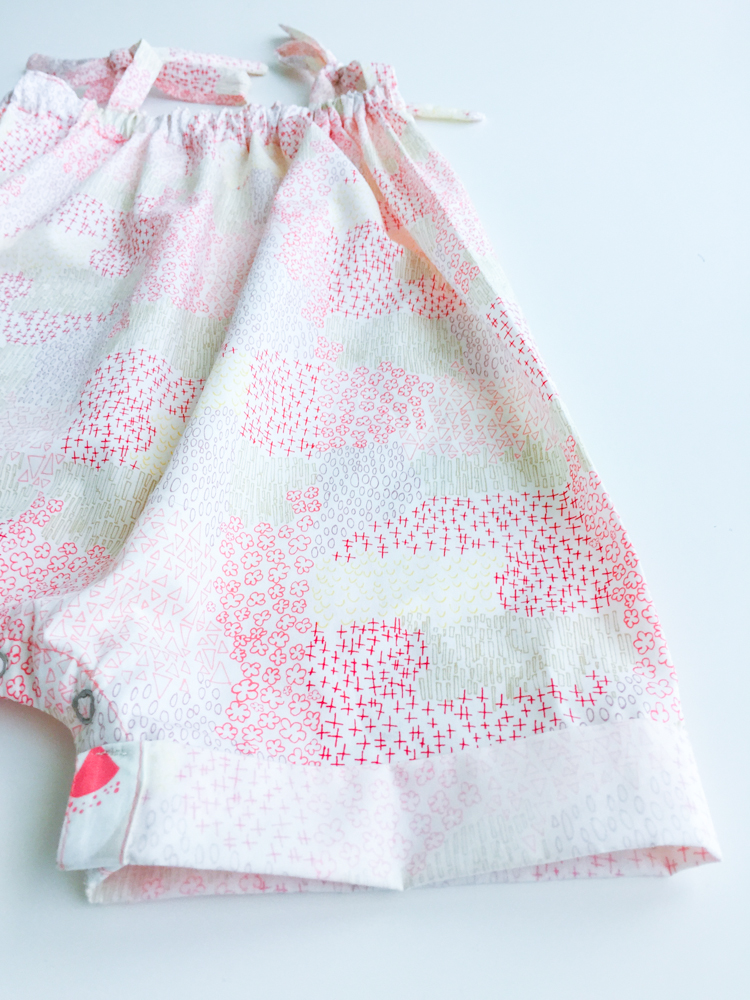
 Almost there! The top looks like a romper! If you omitted snaps, all you have to do is cuff the legs and you’re done.
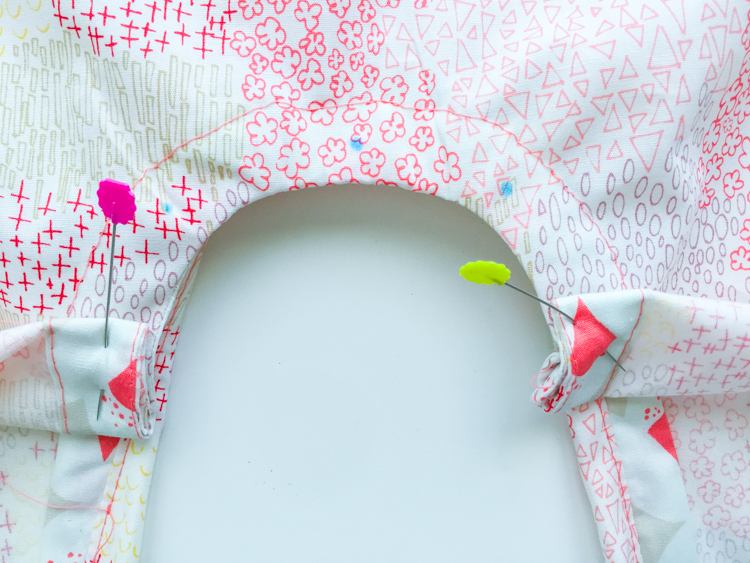 To add snaps, first fold each of the legs up 1″ then 1″ again for the cuff. You can vary those lengths depending on how wide you want them. Mark the center, then half way between the center and each cuff, then beneath each cuff. These are your snap placements.
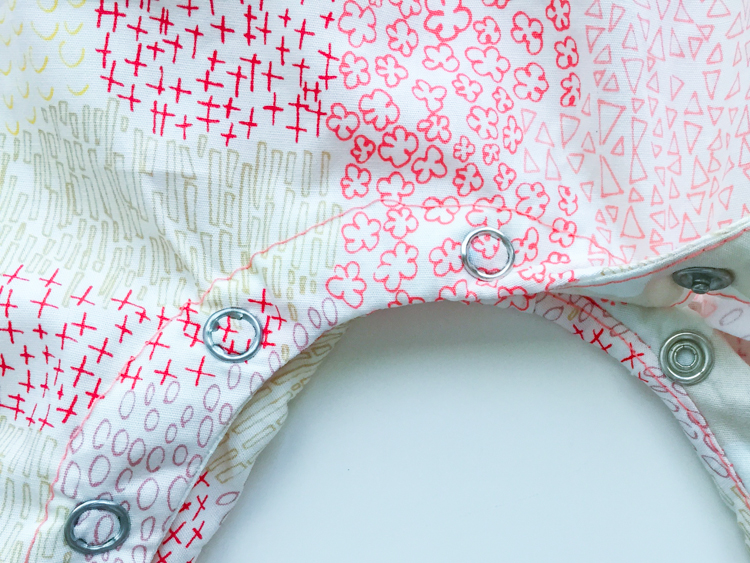 Use a snap setter to place the snaps into the facing on the front, and through the reinforced flap in the back. On the cuff, the front snap will be hidden by the cuff when you’re down, but the back snap will be placed ON the fold of the cuff where it meets the front (pictured below).
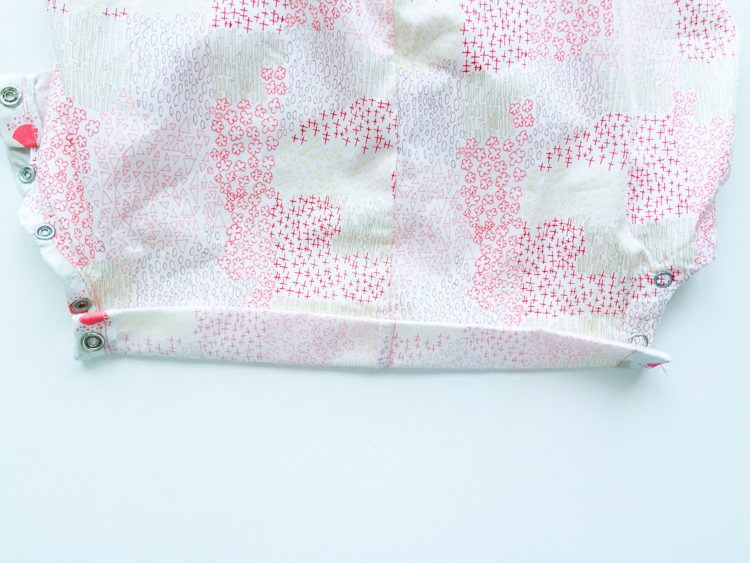 Iron the cuff into place. Make sure your snaps line up correctly. (I learned the hard way it’s not super easy to take them out if you mess up!)
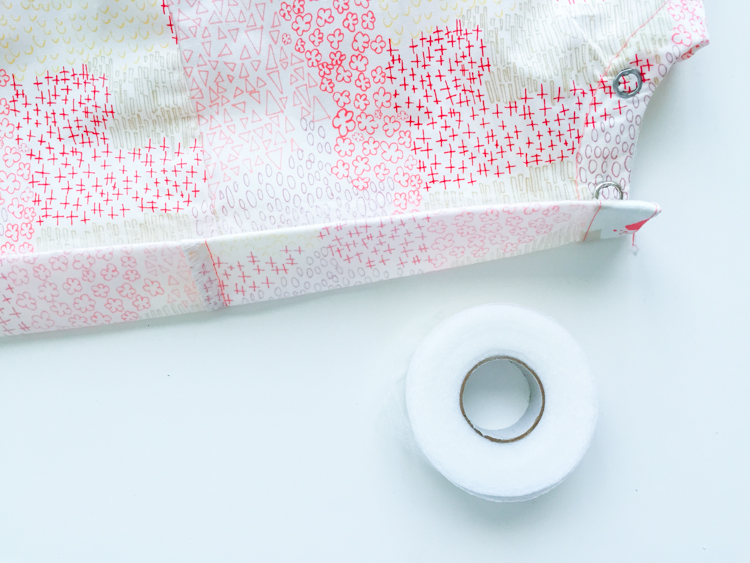 Use some iron in seam tape to press the cuff into place. This way you can tack the ends and the center, and don’t have to topstitch the whole thing, so it looks more casual.
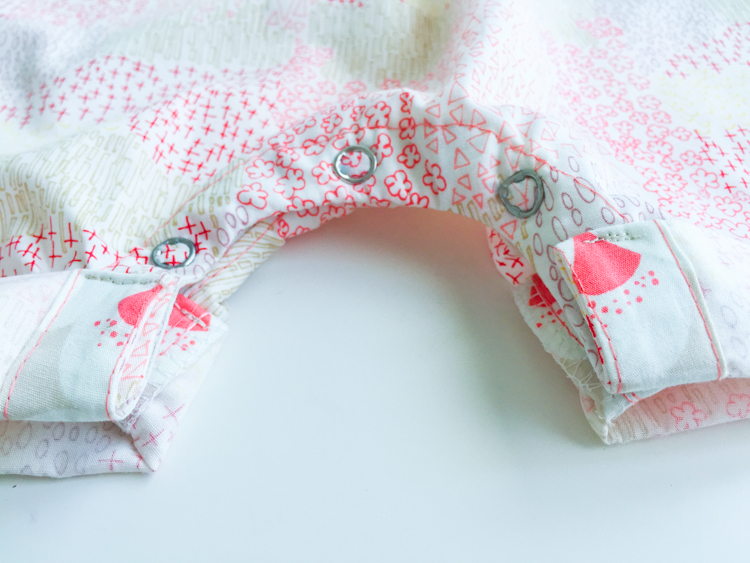 Stitch down the edges and center of the cuff with about 1/2″ of stitching, and you’re done!
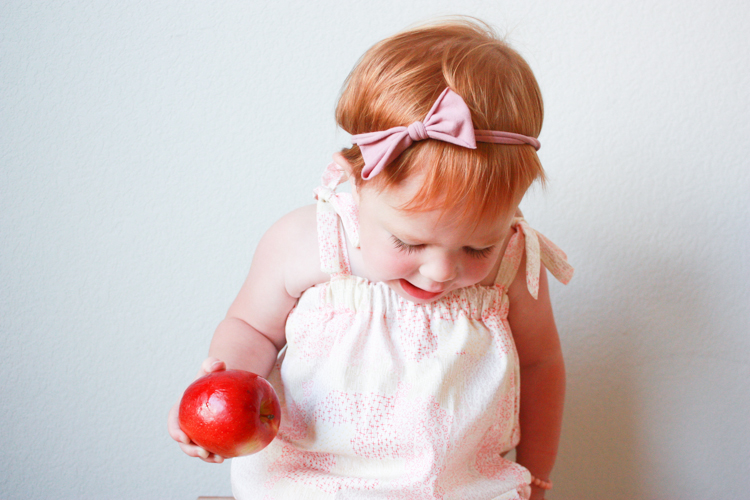
 Super darling boxy baby romper, with easy to open snaps, in the most amazing Happy Home fabric!
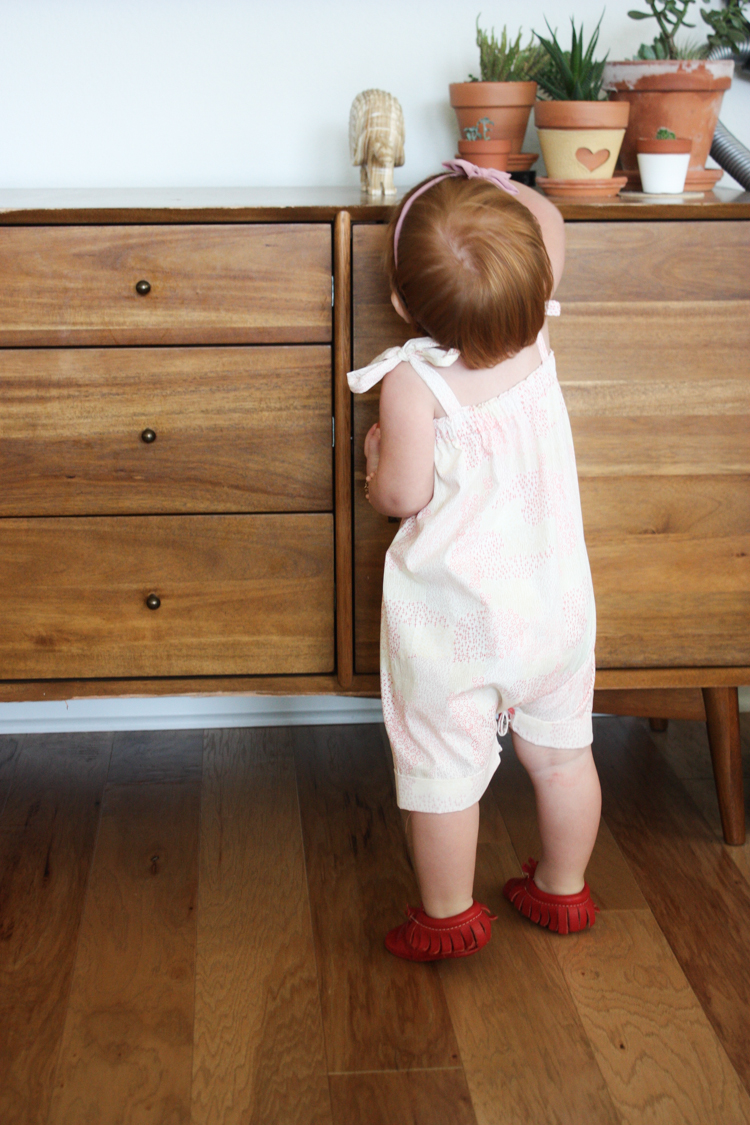 Plum loves it as much as she loves jelly beans!
 I’m honored to be joining some really great, creative seamstresses as part of the Happy Home Blog Hop. Check out each of their projects this week and next for more ways to use this fun new fabric line!
7/13/15 – Adrianna at Hey June Handmade
7/14/15 – Jenn at A Jennuine Life
7/15/15 – Miranda at One Little Minute
7/16/15 – Melissa at Melly Sews
7/17/15 – Thuy at My Paper Pinwheel
7/20/15 – Kate at See Kate Sew
7/21/15 – Abbey at Sew Charleston
7/22/15 – Erin at Sewbon
7/23/15 – Bev at Flamingo Toes
7/24/15 – Dana at Dana Made it

