As there was only one sewing machine (and because what is Valentines Day without sugar cookies!) I whipped up a batch using my new cutters. I used THIS recipe for the cookies and THIS for the royal icing. Before anyone came I prepared the cookies by flooding them with a base of color so the decorations would be less time consuming. A few friends asked how, so I thought I’d share:
1. Make sure your cookies are cooled all the way.
2. Prepare the royal icing…you want it to be thick enough that as you mix you can see the ripples from the mixer stay on the surface for 4-5 seconds. This thicker icing will be your border and the detail for the decorating. So, go ahead and divide it into bowls and make it whatever color you want.
3. Separate about 2/3 of the thicker icing into a pastry bag (or a ziplock that you can cut the very tip off) and set aside for a second.
4. Mix water, a few drops at a time, into the remaining 1/3 of icing. Continue to add water until the icing is thin enough that the ripples remain on the surface for less that 1-2 seconds. Put this, thin icing into a pastry bag.
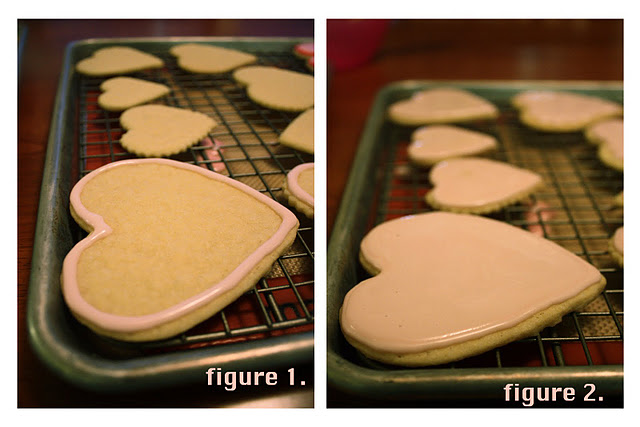
5. Using your thick icing, make a border all the way around the cookies (see figure 1.) Everything within this border will be flooded with icing. I like to wait a few minutes to make sure the border is pretty stiff.
6. Using your thin icing, slowly trace around the inside of the border, moving in a circle or zig-zag pattern until most of the cookie is covered. You can use a toothpick to move the thin frosting into the very corners and to even out the layer. This frosting will now harden into a smooth, shiny background for decorating (see figure 2.)
7. Wait for the base to dry before using your thick icing to add details to the surface.
Note: you can use different colors for the thick border and the flooding icing it will dry as a border color: see “D” cookie below!

Everyone enjoyed adding their own love messages, creating designs and of course, eating these beauties. It was a fun, simple way to send home a “thank you!” to the hubbies who were watching all the kiddos (well, maybe watching them sleep, but still!) 

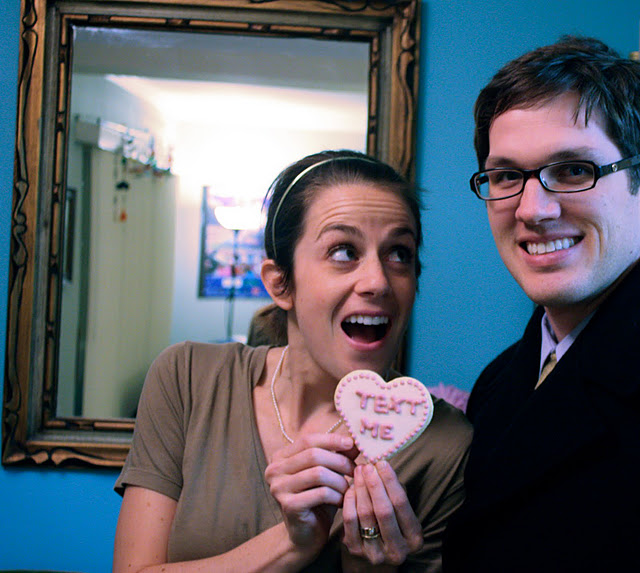
Right as we were finishing up, my sweetheart arrived. He loved the conversation heart I had just for him;)
(did you know the first time we hung-out was arranged via text? Gotta love dating in the 21st century!)
(did you know the first time we hung-out was arranged via text? Gotta love dating in the 21st century!)
EATING
/
Food Tips
/
HOLIDAYS
/
Tutorials
/
Valentines Day


