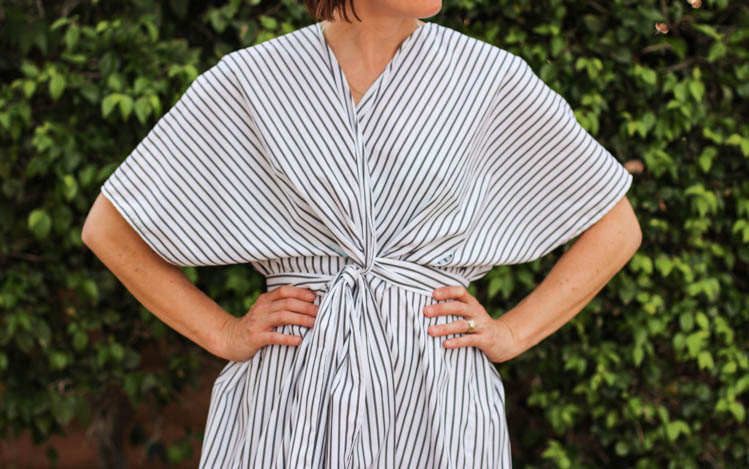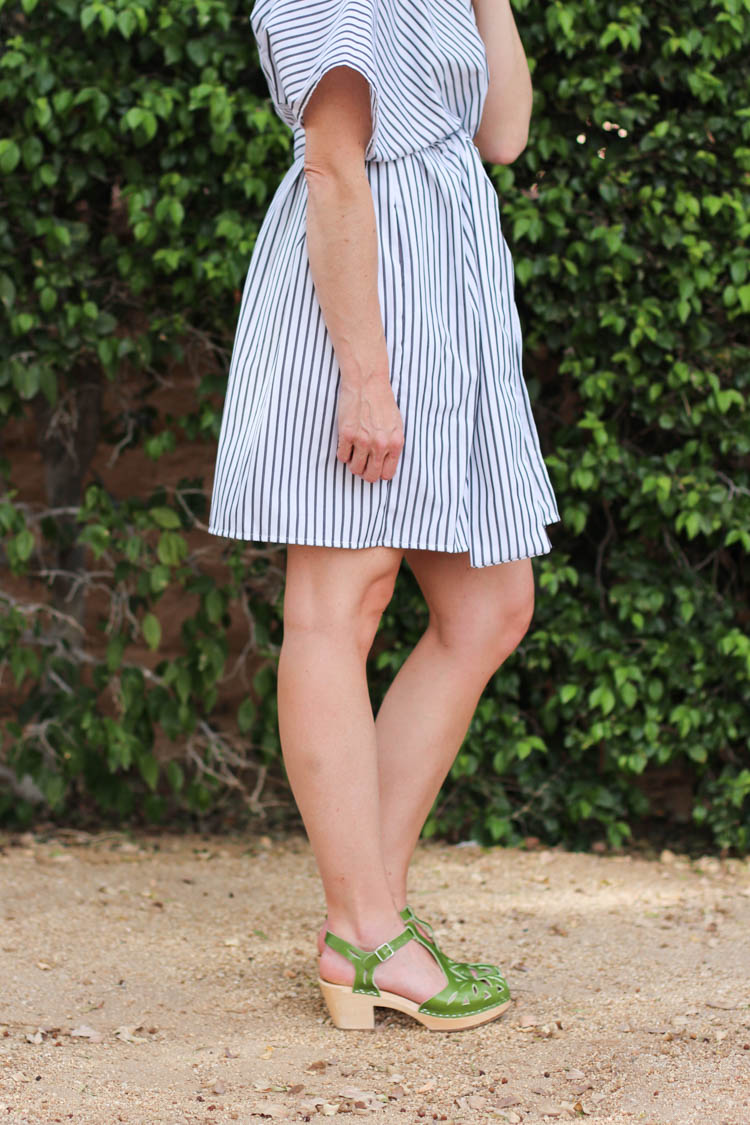
I intended to post this tutorial months and months ago, and somehow I missed it! One benefit of the delay is realizing that I still love and wear this simple cross front kimono all the time.


I love the simple lines, beautiful drape, and the easy way it fits. It feels like a cool, modern style and I have received compliments on it over and over again. I plan to have a piece like this in the shop soon, made from some beautiful hand-dyed indigo fabric.

It’s kind of fun to be sharing these kimono photos from a whole year ago and look basically the same. I think this is the longest I’ve ever maintained the same haircut, and I’m not getting tired of it yet. That’s a good sign.
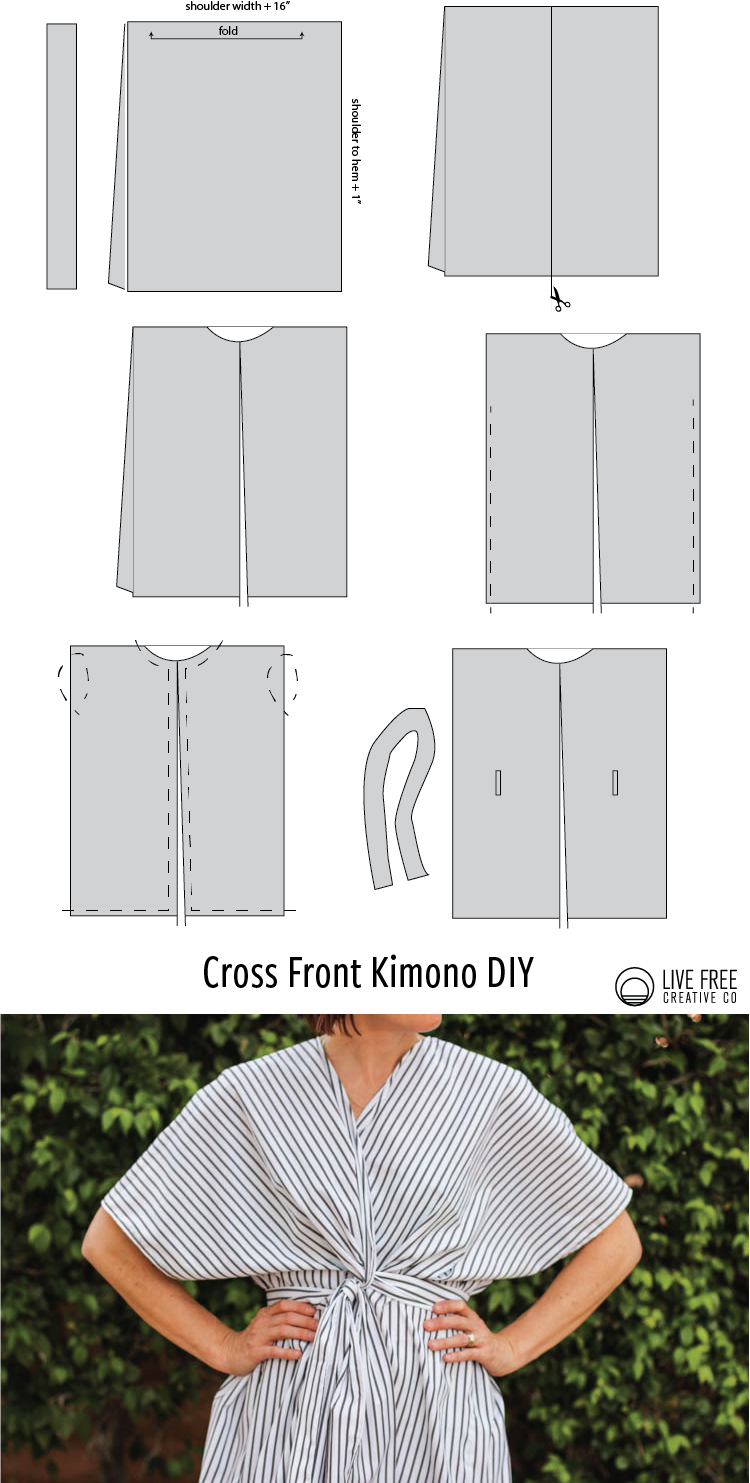
I’ve included an illustrated tutorial for the cross front kimono below. It is a pretty simple project and would be perfect to whip up for the upcoming spring break holidays. I’ll definitely be packing mine to Cuba, where I’ll be spending some time in March.
Grab your favorite lightweight fabric and get sewing! While you have the sewing bug, this post shares five other simple summer dresses to make for yourself this spring. Enjoy!

Cross Front Kimono DIY Instructions
Here’s what you need:
1.5 yards of lightweight fabric
scissors
a sewing machine
- Measure from shoulder to shoulder and add 16 inches to get the fabric width.
- Measure from shoulder to desired hem length and add 1 inch to get the fabric length. Multiply by two, so that the shoulder seam is on the fold.
- Cut a length of fabric 8 inches by 60 inches. Fold in half lengthwise and stitch along two edges, turn right side out. Stitch the open end closed, then press flat. This will be the belt piece.
- Lay the fabric flat, folded at the shoulder.
- Cut the top layer in the center from hem to fold.
- Cut a neck hole about 3 inches deep and 6 inches wide.
- Measure down about 8 inches from the shoulder fold and begin stitching the side seams with a half inch seam allowance.
- Turn all of the edges and the sleeve holes under 1/4 inch, and another 1/4 then stitch in place. This finishes all of the edges.
- Turn the kimono right side out and measure down from the shoulder to the natural waist and mark that height.
- Measure in about 4 inches from each side seam at the natural waist and stitch two vertical button holes about 1 1/2 inches in length.
- Cut open the button holes, thread belt through from the inside to the outside. Cross front over and tie belt into a knot for the loose back style.
- For the criss cross tight style, put belt on the outside, cross the front, thread the belt ends through the belt loops on the outside and tie into a knot.


