Confession: I’ve never bought a Christmas ornament! Each one I have was either given to me by a friends, made my my kids, or exchanged in a DIY ornament swap. I’ve participated in two separate swaps in the past, the first I made these paper reminder busts and the second I created mini sugar plum fairies (in honor of Baby Plum.) I was a little disappointed when no one hosted a swap last year–including myself. So I was thrilled to be asked to jump on board with a new, fun group of DIYers this year. These swaps are so fun, because in addition to sending and receiving handmade ornaments, we each share the full tutorial for how the ornament was made on our individual blogs. You can click through the links above for the past swap DIY’s, and at the end of this post I’ll share the list for this year so you can be inspired and find one or a few new ideas for yourself!
This year, my assigned ornament recipient was cute Laurel at A Bubbly Life. She recently announced on Instagram that they added a new puppy to their family, and I wanted to make an ornament that would commemorate this fun Christmas for them! Plus, in my experience, pet owners can be a little bit obsessively in love with their pet children, so a DIY Custom Pet Christmas Ornament seemed like a really useful and fun idea to share.
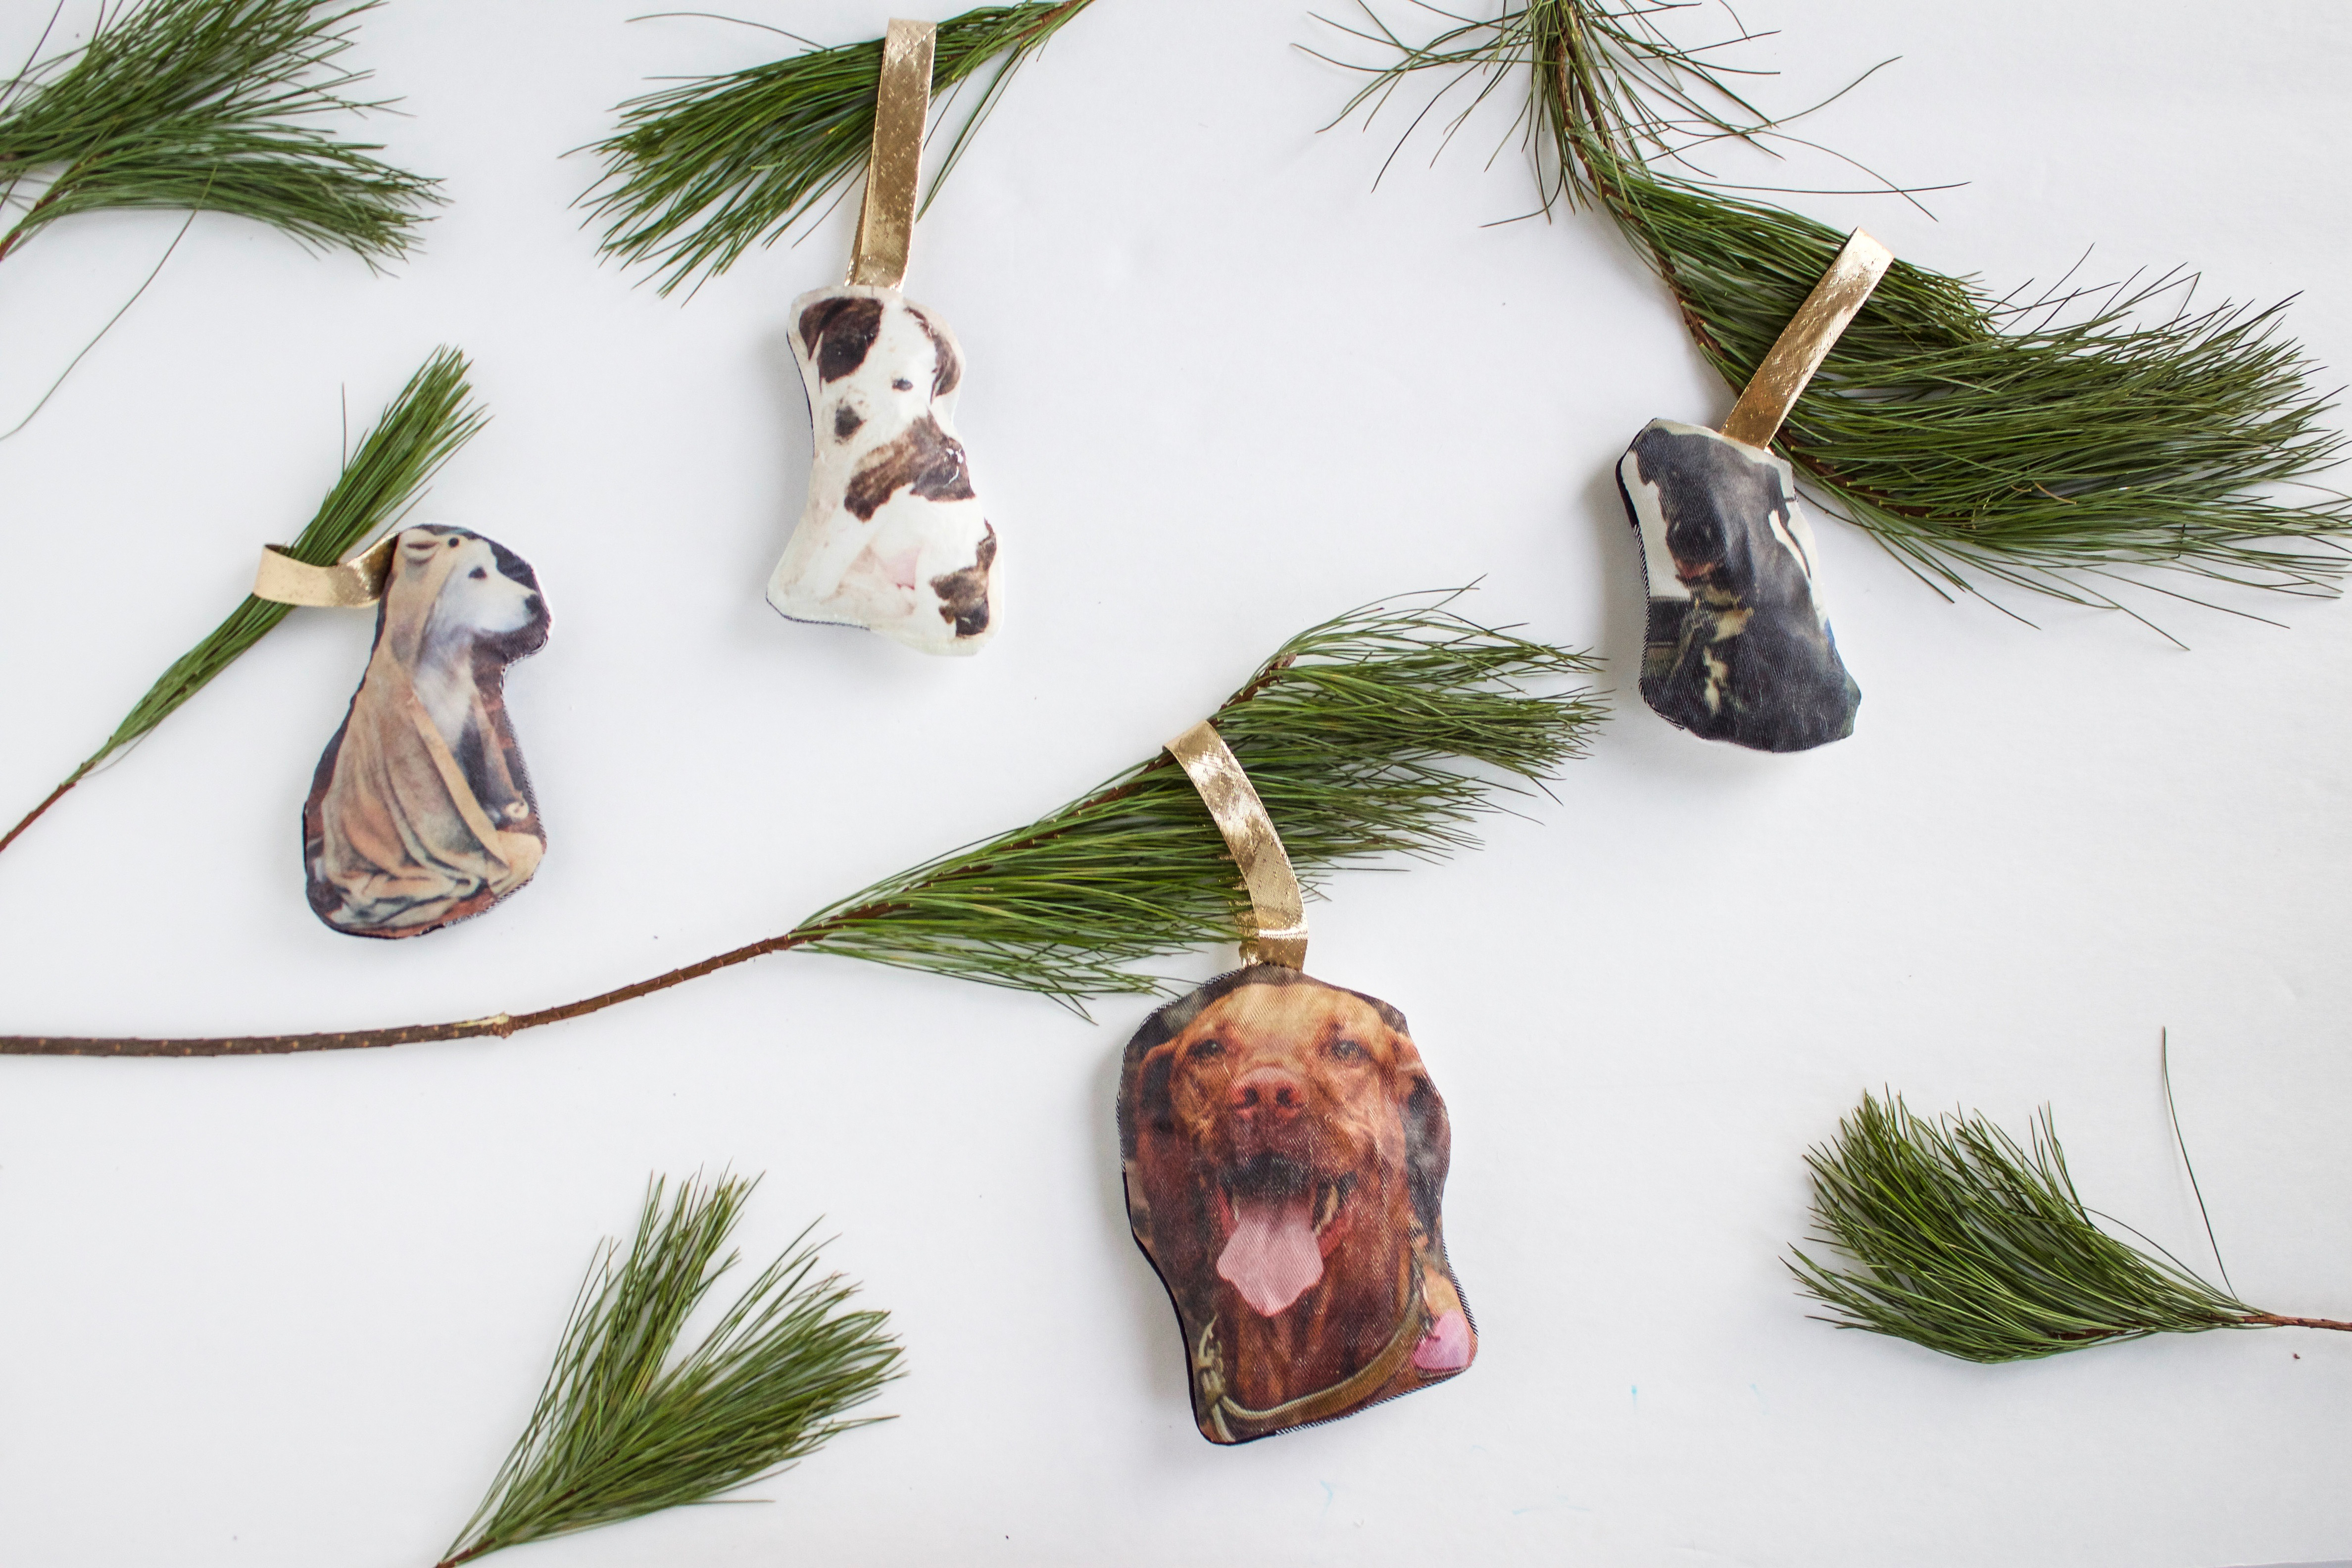 I pulled the screen shot of Laurel’s puppy from Instagram, as well as a few more darling pups I know. With a little iron-transfer paper, and some simple stitching these photographs become darling mini-plush pet ornaments. The project takes about 20 minutes, and will be loved forever! Let’s get started!
You’ll need:
iron on transfer paper
gold double fold bias tape
white cotton for the image side
patterned cotton for the back
a handful of batting
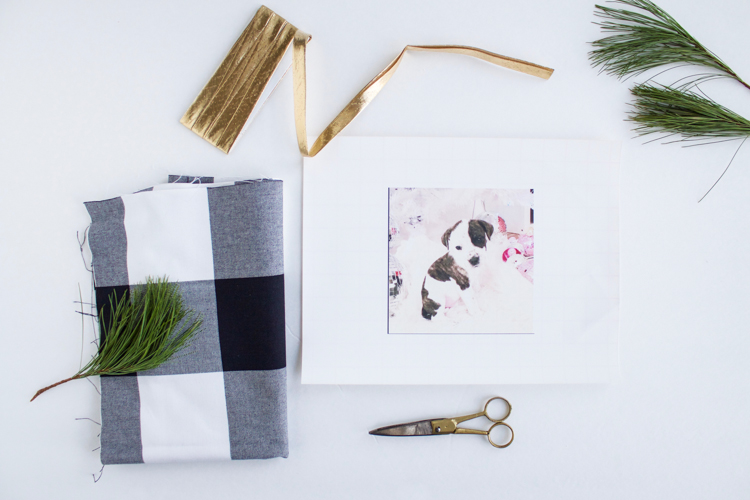 1. Capture the image you’d like to use of the pet. Either full body shots or full face shots look the best. And the less leggy curves, the better. A dog sitting is a perfect position photograph.
2. Print the photo onto the iron-transfer paper, following the instructions on the package. Because there aren’t words on pets, you won’t need to worry about mirror imaging the photo.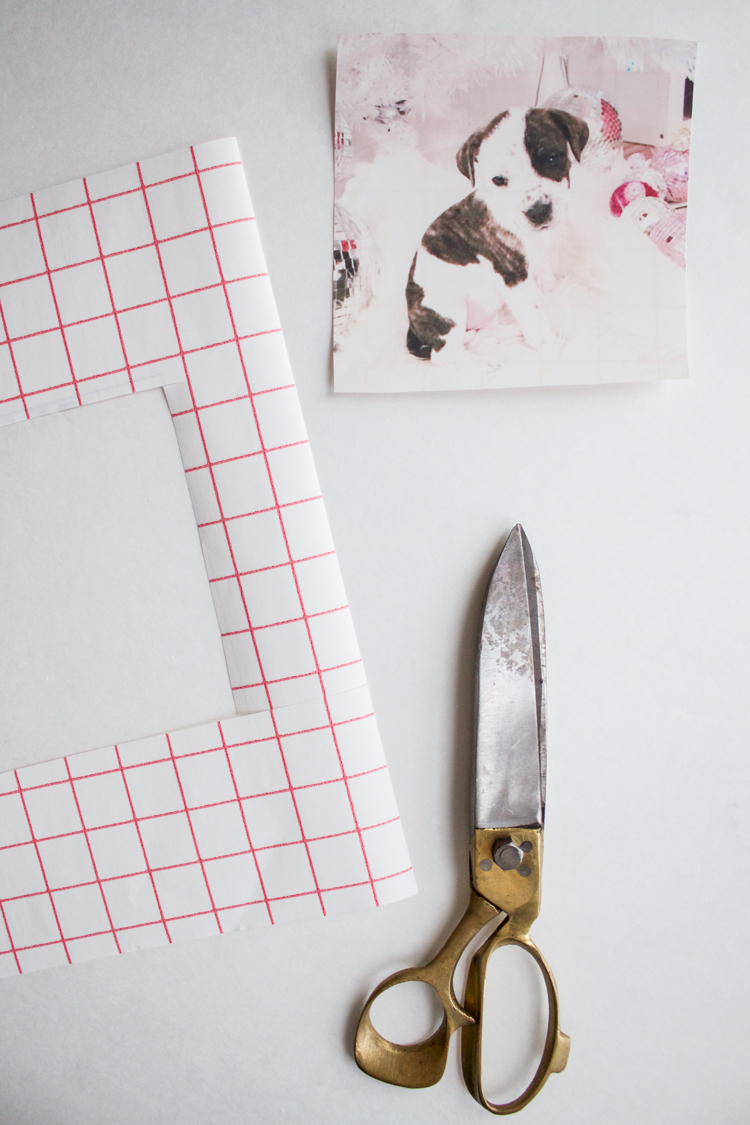 3. Cut out a square around the image, leaving plenty of space around the curves of the body. It’s much easier to work with a larger image to begin.
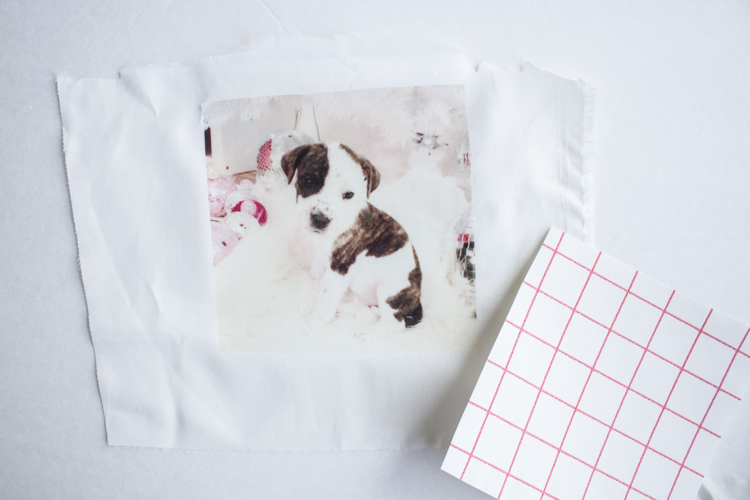 4. Iron the transfer onto the plain white cotton, following the instructions on the package. In my experience, the backing paper peels of cleaner if it has cooled down.
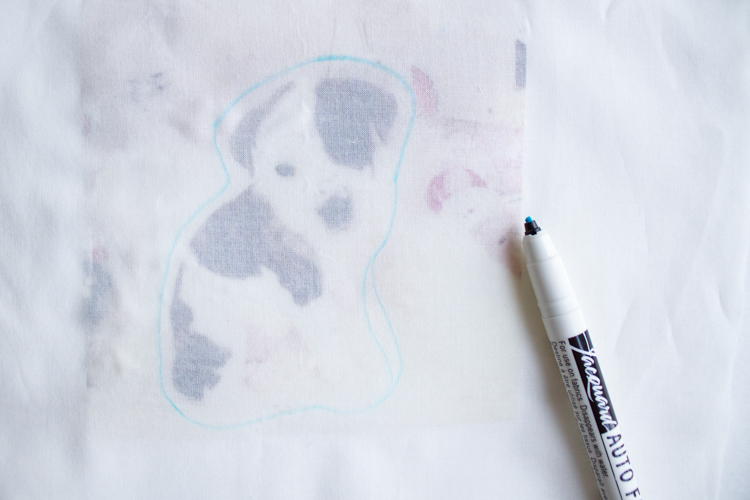 5. Hold the fabric with the image up against a lit window so you can see clearly through to trace around the edge of the pet. Leave about 1/4″ from the pet body itself so that you’re sure not to cut anything off when you sew on this line.
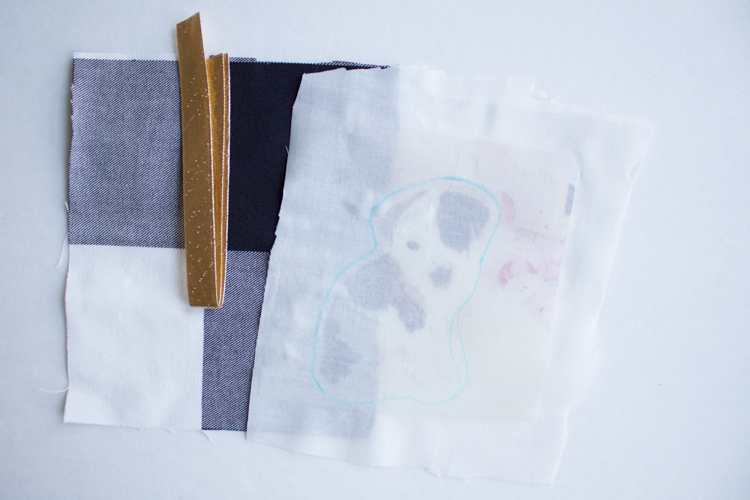 6. Cut a length of 6″ of the bias tape, and a piece of the patterned fabric big enough to fit easily behind the image. Layer the backing, a loop of the bias tape, and the face-down image into a sandwich to sew.
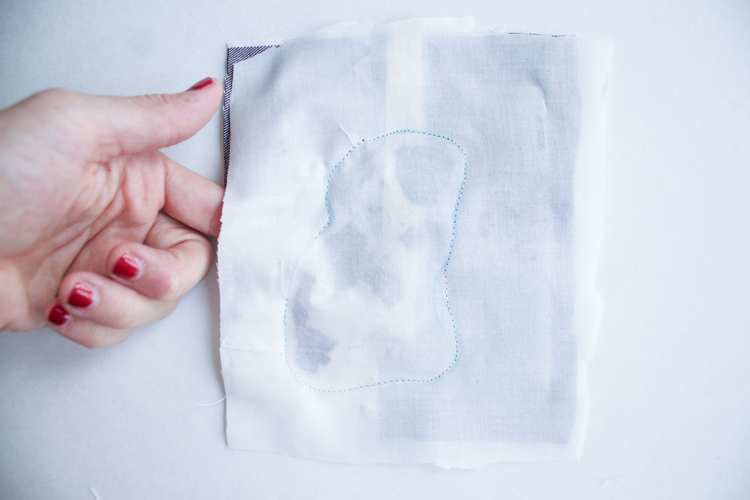 7. Sew around the edge of the image, on the line you drew. Leave about 1.5″ open to be able to turn the ornament right side out.
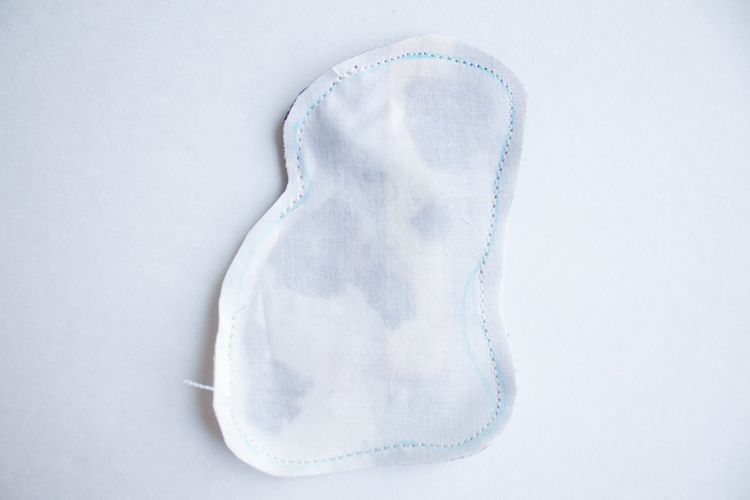 8. Trim to about 1/4″ edge of the stitch line, then cut little notches around the curves.
 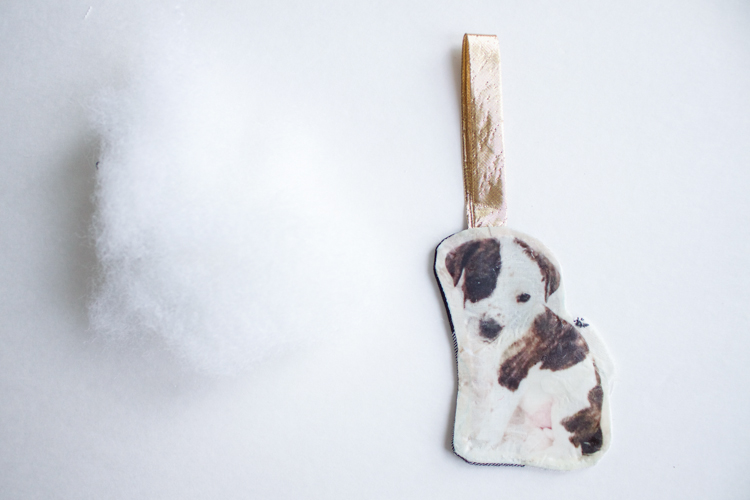 9. Use a turning tool (this tool seriously changed my life!) or chopstick to turn the ornament right side out. The iron-on is a little stiff, so be careful as you turn it. It might take a little more effort than you expect. Stuff batting through the hole until the ornament has a little bit of dimension. I liked them still very soft and fairly flat, just with a little plumpness.
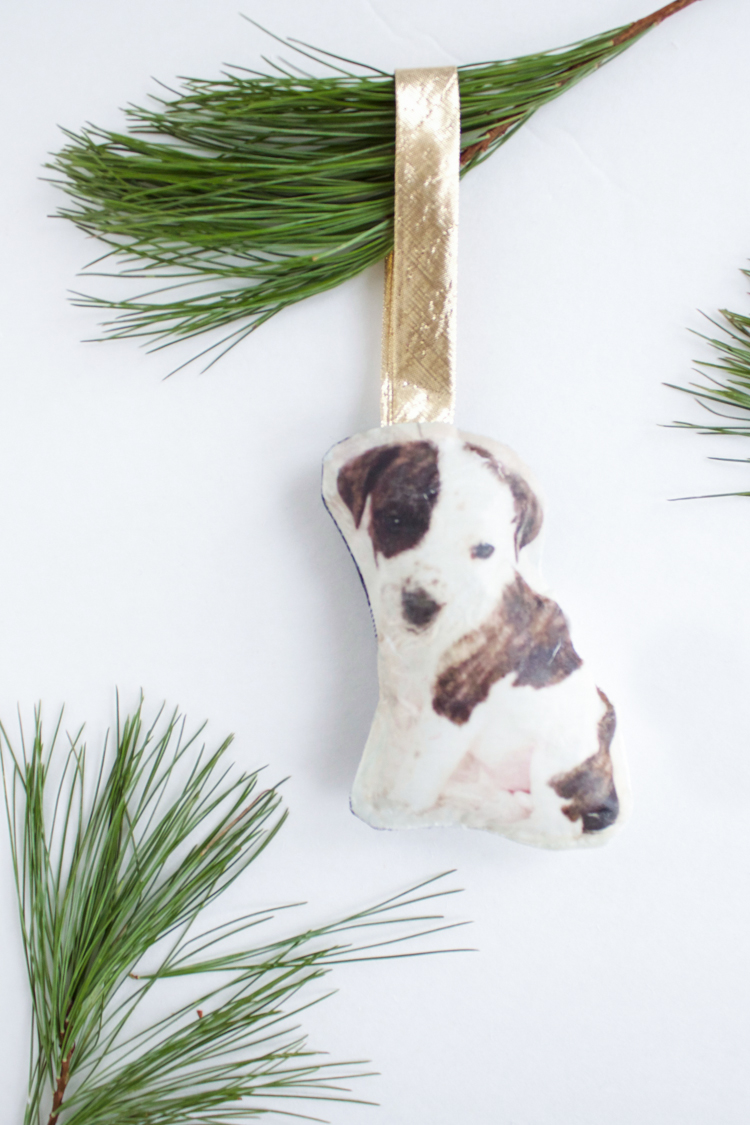 10. Hand stitch the hole closed, and hang on the tree!
 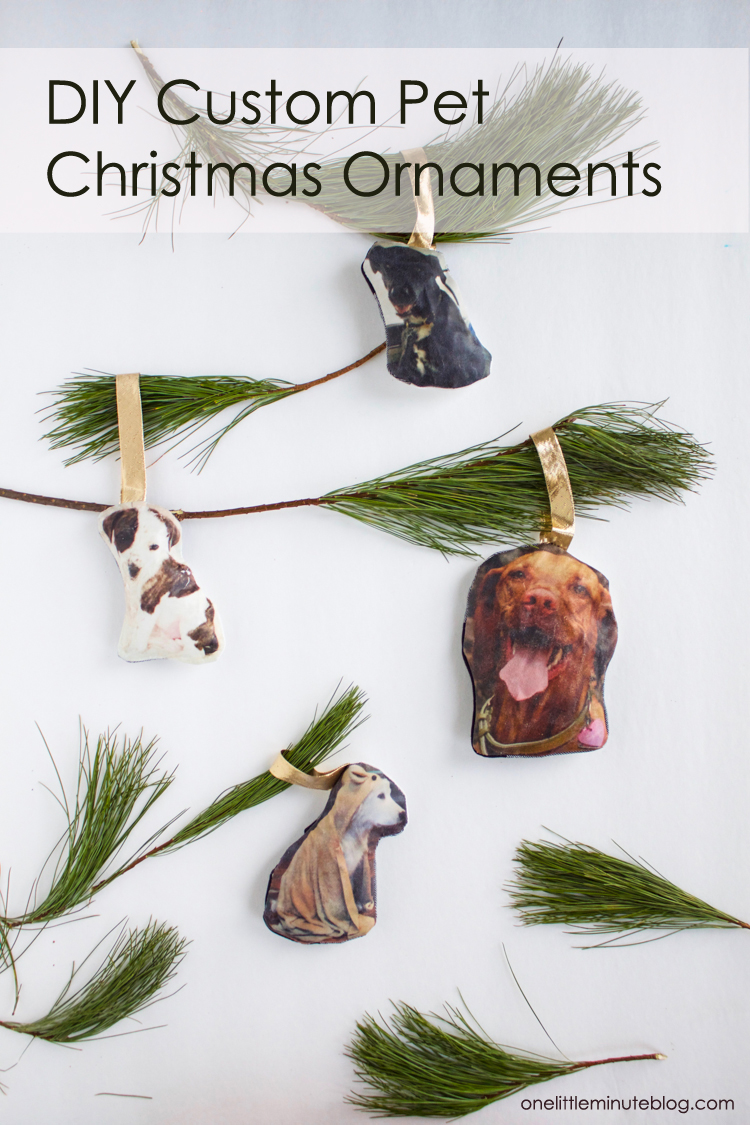 I love the way these turned out! They are the perfect gift for the pet-lovers on your list. This same technique could also be used to make ornaments of kids, or sport teams, or any type of favorite. Happy Sewing!
My swap partners from this exchange were the darling Liz and Sam of The Pretty Life Girls. They made me two really fantastic hand-painted ornaments that have a cool, ceramics feel. I love them! Find the DIY one their blog today!
Also, check out each of the other blogs involved for more DIY ornament goodness:

