Buttons are adorable on kids, but even after sewing for ten years– making everything from a wedding dress to a leather jacket— they’re still not my favorite detail to sew.
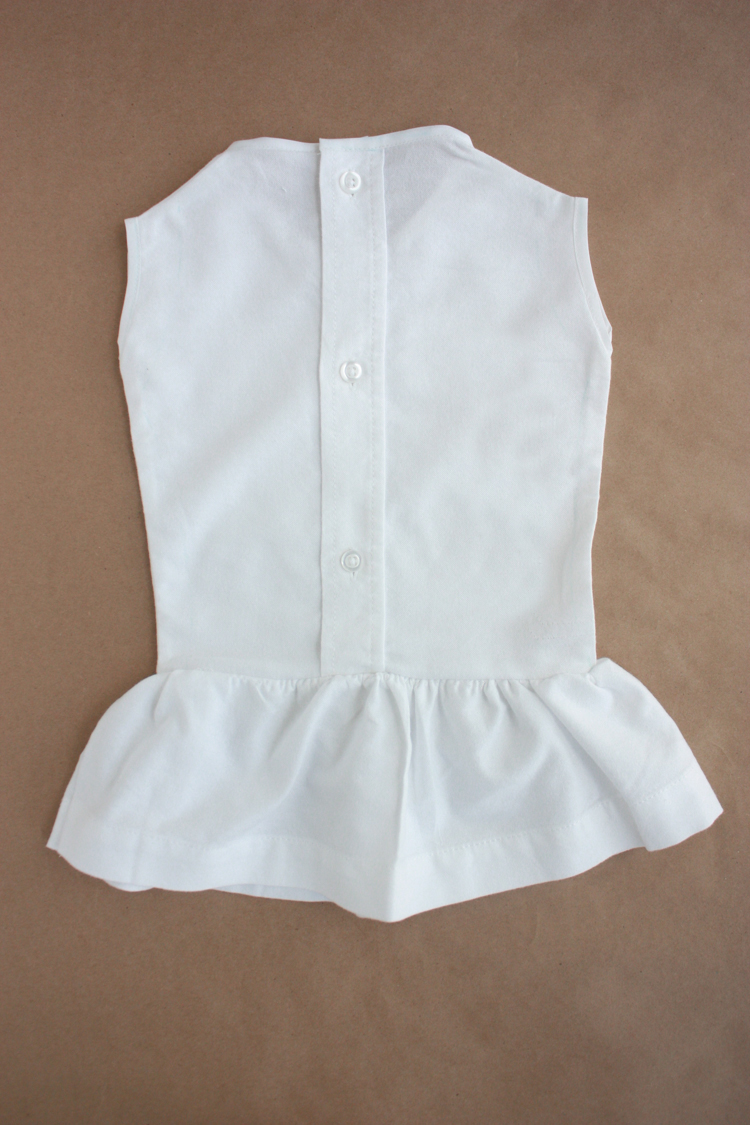
 This simple project uses the existing button placket on a men’s button up shirt and flips it to the back of a darling little drop-waist baby dress. (Because the internet always needs another way to refashion a button-up shirt into something different! Ha!) I love this super simple DIY Button Back Baby Dress for a perfect baby gift, or for Plum!
 I love white clothing on babies, but it always seems a little tricky in reality because of the messiness factor that accompanies the little ones. My kids were all spitters, slimers, and droolers as babies, so I felt like I kept them bibbed or in patterned clothing most of the time. Until I discovered how easy it was to keep whites clean with a convenient, on-the-go stain removal pen!
 This new Dreft Home Stain Pen is formulated to fight baby-specific stains, like spit-up, formula, and that crazy orange baby poop. A little instant spot-treatment during the day or when changing into PJ’s at the end of the night keeps the cute tiny outfits looking new (for the whole month or two that they fit.) I want to add one to every baby gift I give these days, because it’s a perfect diaper bag essential.
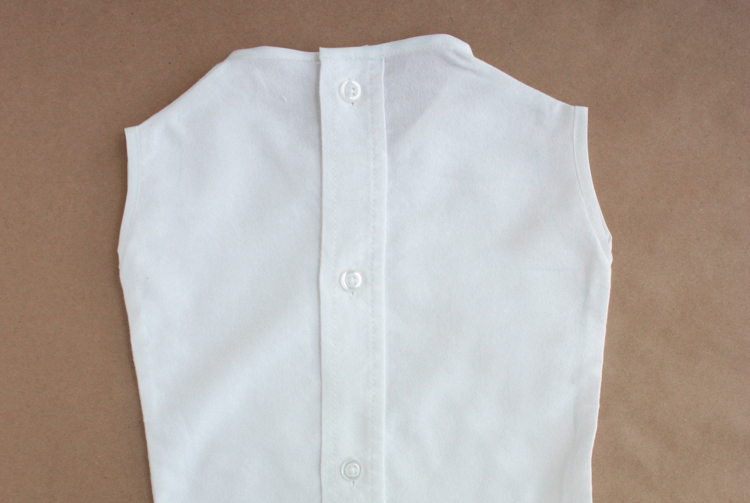
This cute DIY Button Back Dress starts with a plain Men’s button up shirt. I feel like they are really easy to find in white, and I adore the summer feel of a white dress. But really, you can make it with any pattern of button up you have on hand. Let’s get started.
You’ll need:
A large button up dress shirt (I used short sleeved to make the hem easy)
A baby onesie to trace as a pattern–really, this could be sized up to any size. Just use a good-fitting tee shirt as the starting point to trace the pattern!
1 yard of double fold bias tape, store bought or homemade
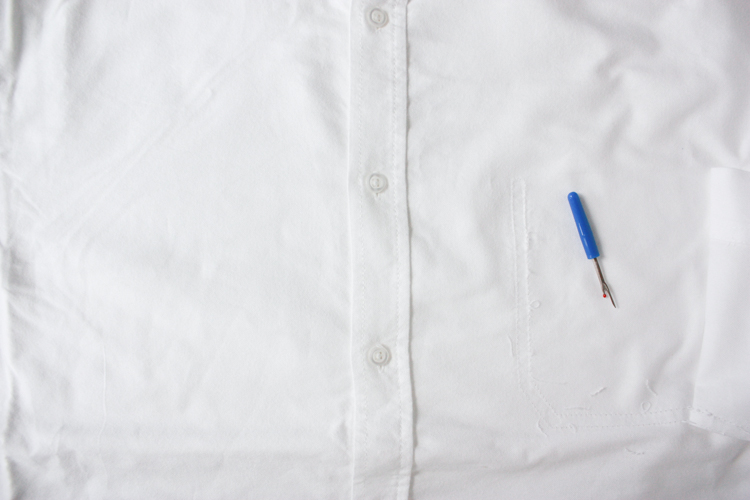 1) Carefully unpick the pocket from the front of the shirt.
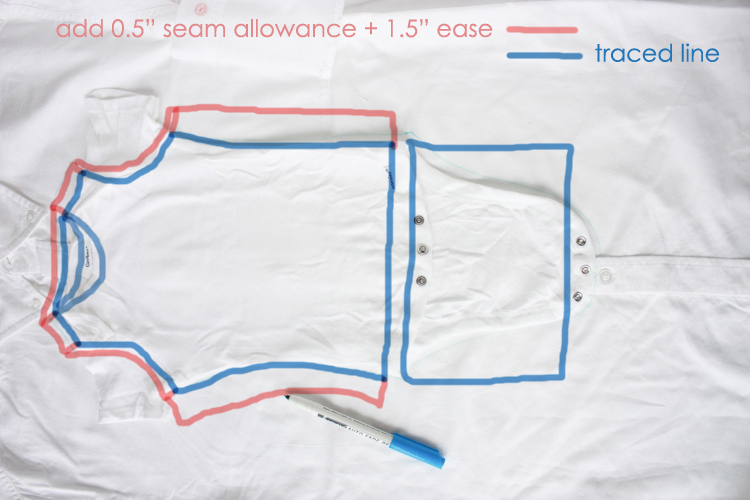
2) Lie the onesie on centered on top of the buttons and carefully trace around the seams. Add 0.5″ seam allowance to the shoulders, neck, and arm holes, and then add 1.5″ seam allowance+ease to the side seams (because onesies fit tightly!) From the front snaps to the back snaps is a good measurement of about how long to make the skirt piece. Trace the back of the neck hole on the button-side of the fabric (the back) and the front of the neck hole on the flat side of the fabric (the front). Cut around the two bodice pieces and make a note of the length you’ll want for the skirt to use later.
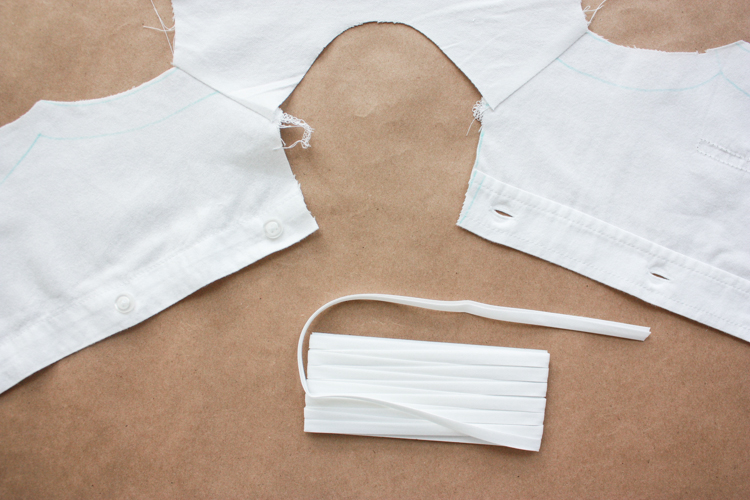 3) Sew together the shoulder seams, finish seam, and press flat4
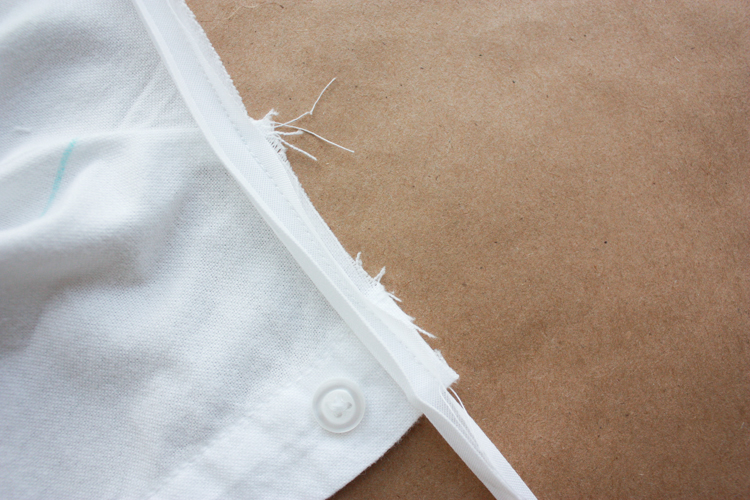 4) Open up a length of bias tape and stitch one side to the right side edge of the neck opening, leaving an inch hanging over on either edge.
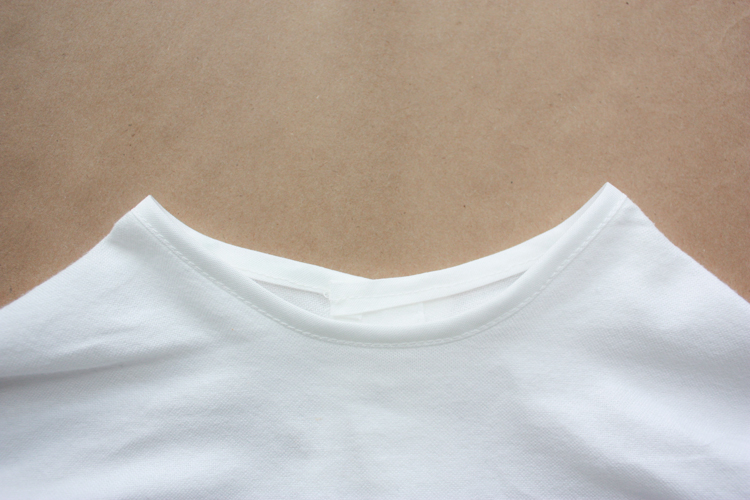 5) Fold those end pieces inside to make an edge even with the button casings, and then fold the bias tape along it’s natural fold lines to enclose the raw edges of the neck opening. Pin in place and top-stitch to finish the neck hole.
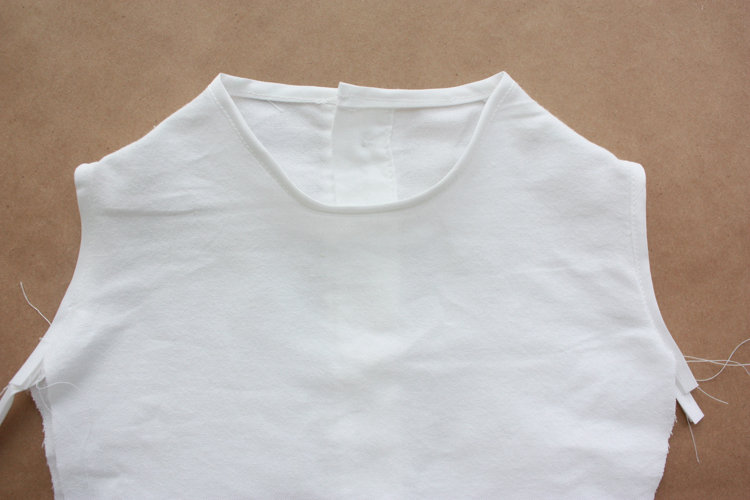 6) Repeat the steps for the neck opening on either arm hole to finish the edges. Then turn bodice right-sides together and stitch down either side seam.
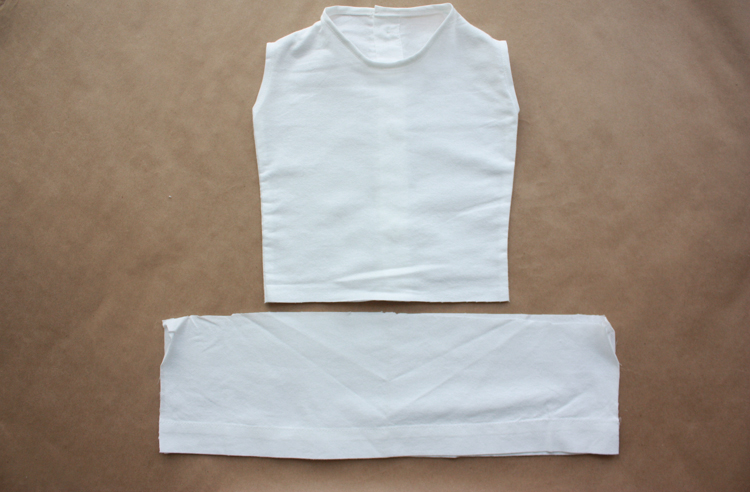 7) Next, cut your skirt fabric the length you measured above and 2 x the bodice width. I used the already hemmed edges of the shirt short sleeves for my skirt, so I didn’t need to add hem allowance. If you’re just cutting from the long sleeves, or another part of your shirt, add 1.5″ for hem allowance.
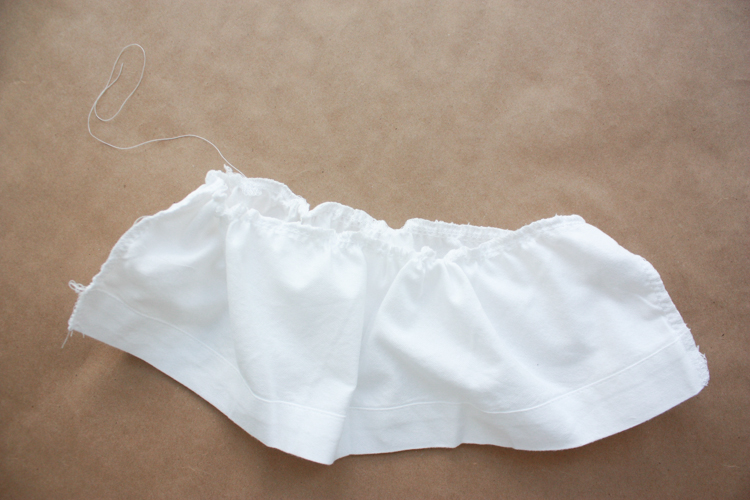 8) Stitch down the side seams of the skirt, then run a couple basting stitches through the top to gather it. (If you need to hem, now is a great time for that, too.)
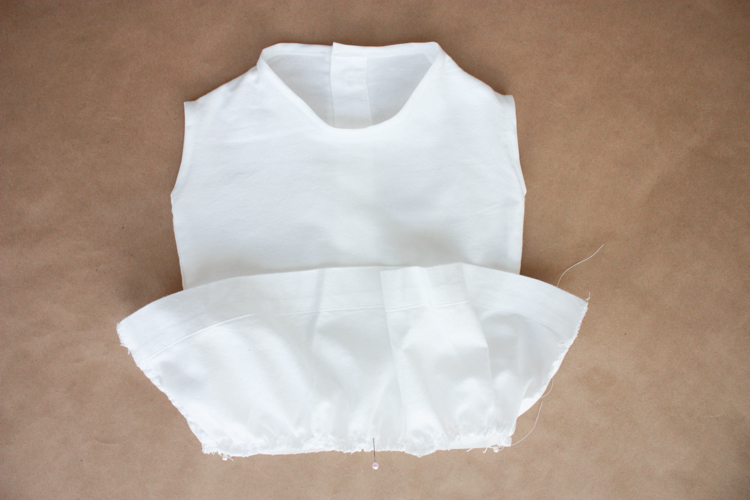 9) Match the side seams and pin the skirt in place, then stitch around the skirt to add it to the bodice, completing the dress!
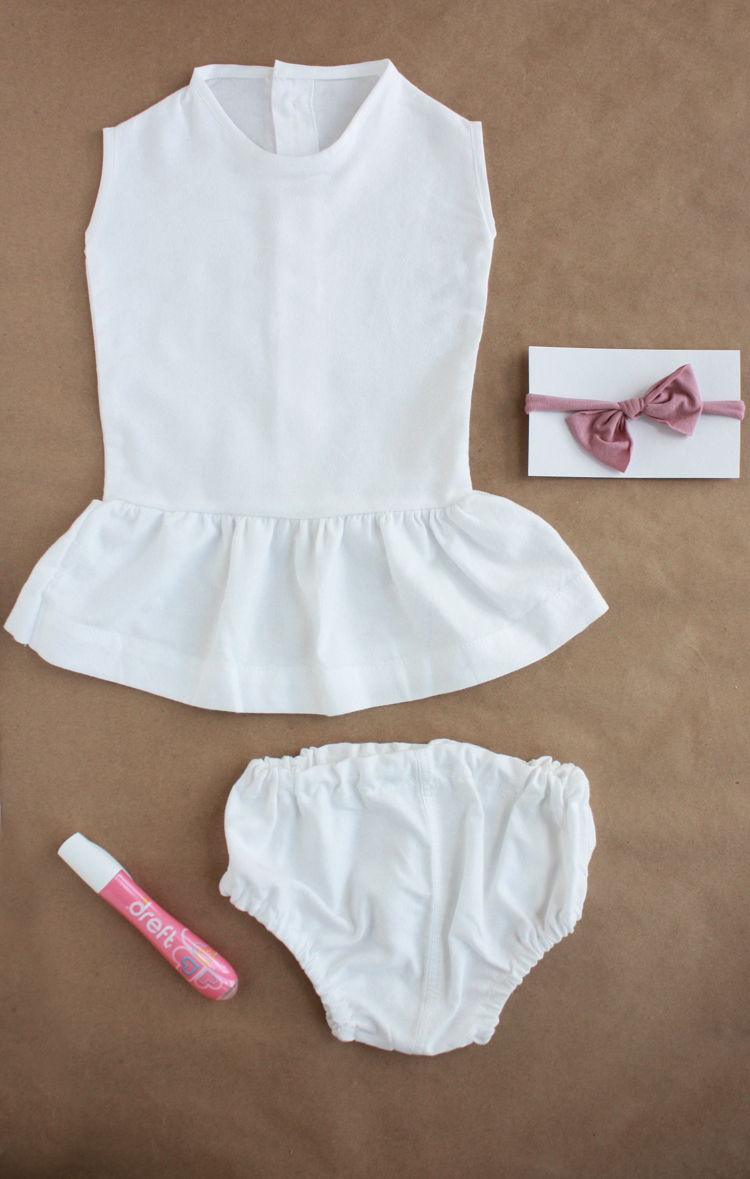 If you have some extra fabric, you could throw together a diaper cover, and a no-sew nylon bow to complete the outfit. And add a Dreft Home Stain Pen for mom!
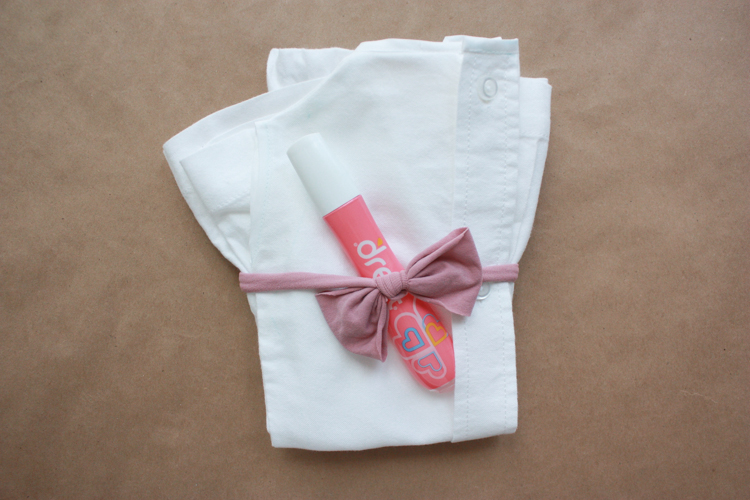 Put it all together for a simple, darling, thoughtful gift, or keep it for your own little one!
 This post was sponsored by Dreft Home as part of the Mom to Mom Advice campaign with KSW Media, but opinions and content are all my own. You can get a 50 cent off coupon to grab a Dreft Home Stain Remover Pen here.

