A couple weeks ago I was excited to participate in the Sewlebrity Crush series over at Family Ever After. Rachel was the host of the fun Sewvivor competition that you may remember me participating in back in the spring (I might have won…), and it was fun to interact with her again. She’s a doll with tons of energy and lots of great happenings on her blog. In case you missed my tutorial, I thought I’d repost it here for you to enjoy!
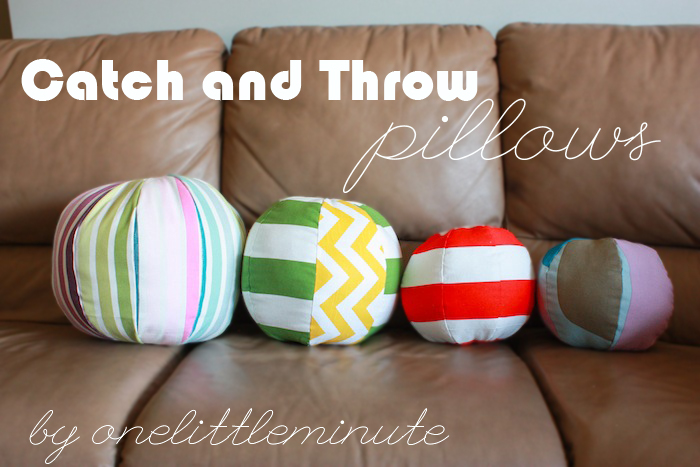
The first one I made was the red stripe, and I totally winged it (that’s sort of how I roll). I had a scrap of striped heavyweight Ikea cotton from when I recovered my son’s stroller, and I just cut it into eight football-shaped pieces and sewed them together. I was thrilled with how the it turned out, and thought this would be a great project to share. Well, it must have been beginners luck, because the next couple I attempted were pretty sorry-looking. Turns out the pattern pieces need to be a pretty specific shape to yield a relatively accurate sphere.
With a little trial and error (you’ll get to see some of the error:) I was able to create a pattern for a nice-sized ball pillow. I’ve provided it as a PDF download for you to use to make your own Catch and Throw Pillows!
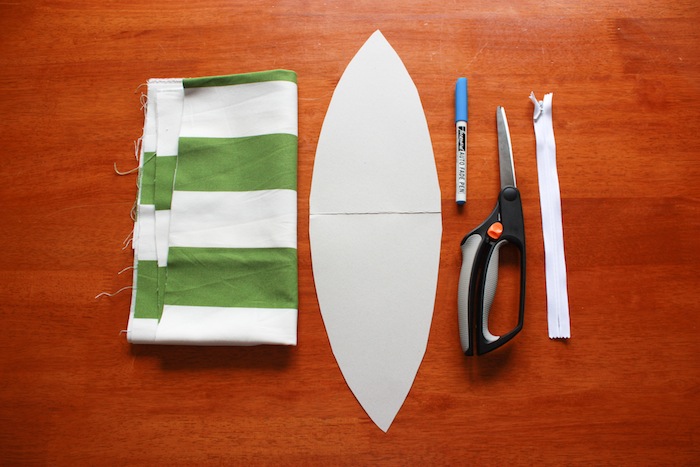
You’ll need:
The Catch and Throw Pillow Pattern PDF (Free Download!)
1/4 yard fabric
invisible zipper *optional
invisible ink pen **only if you’re using stripes
Before you begin, use the pattern to cut 7 pieces of your fabric. If you are using a stripe, make sure that the stripes line up evenly on each of the pieces, so they’ll line up around the pillow. Now we’re ready to begin,
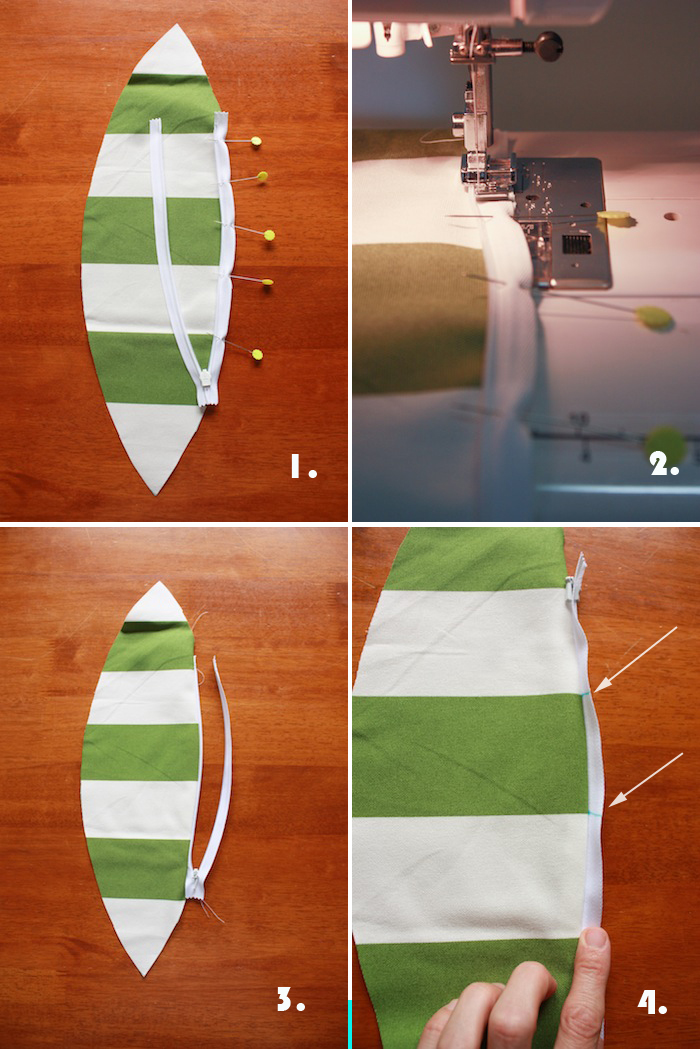
1. Press your invisible zipper so the teeth lay flat and pin it face down onto the side of one of your pattern pieces
2. Using your zipper foot, stitch as close to the teeth as possible, without stitching through them
3. Flip the zipper right side out, and press
4. If sewing with a stripe, zip the zipper and mark where the stripes start and end, so you can match them up on the next piece!
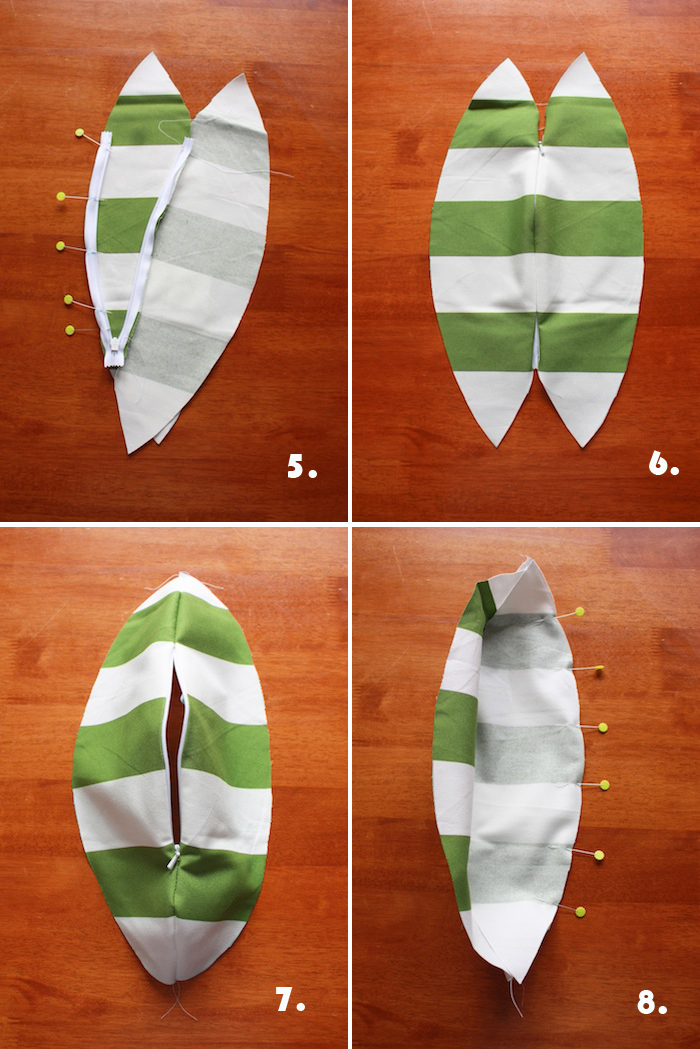
5. Lay the stitched piece and the zipper face down onto a new pattern piece. Pin the zipper along the edge as pictured
6. Stitch the zipper in place. Flip right side out and press
7. Match up the ends of the pieces right sides together, and still using the zipper foot, stitch the ends together, starting as close to the zipper teeth as possible and maintaining a 1/4″ seam allowance to the points. Yay! The hardest part is over! (if you don’t feel comfortable with a zipper, just skip these first steps. You can hand-stitch the ball together at the end!)
8. Add another pattern piece, and pin with right sides together
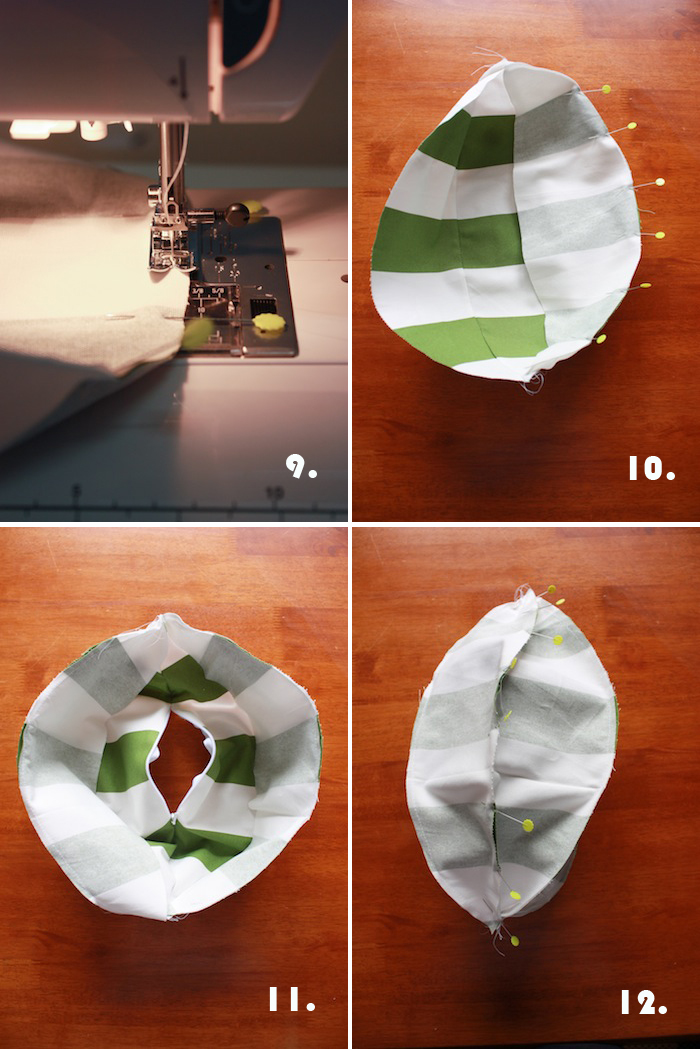
9. Stitch along the edge with a 1/4″ seam allowance
10. Continue adding pieces and stitching them on until all of the pieces are added
11. Make sure the zipper is un-zipped before stitching the last seam toether
12. Pin and stitch the final seam, then turn the pillow right side out through the zipper (if you didn’t add a zipper, leave 3″ in the center of the final seam undone, pull the pillow through that, then stuff and hand-stitch closed)
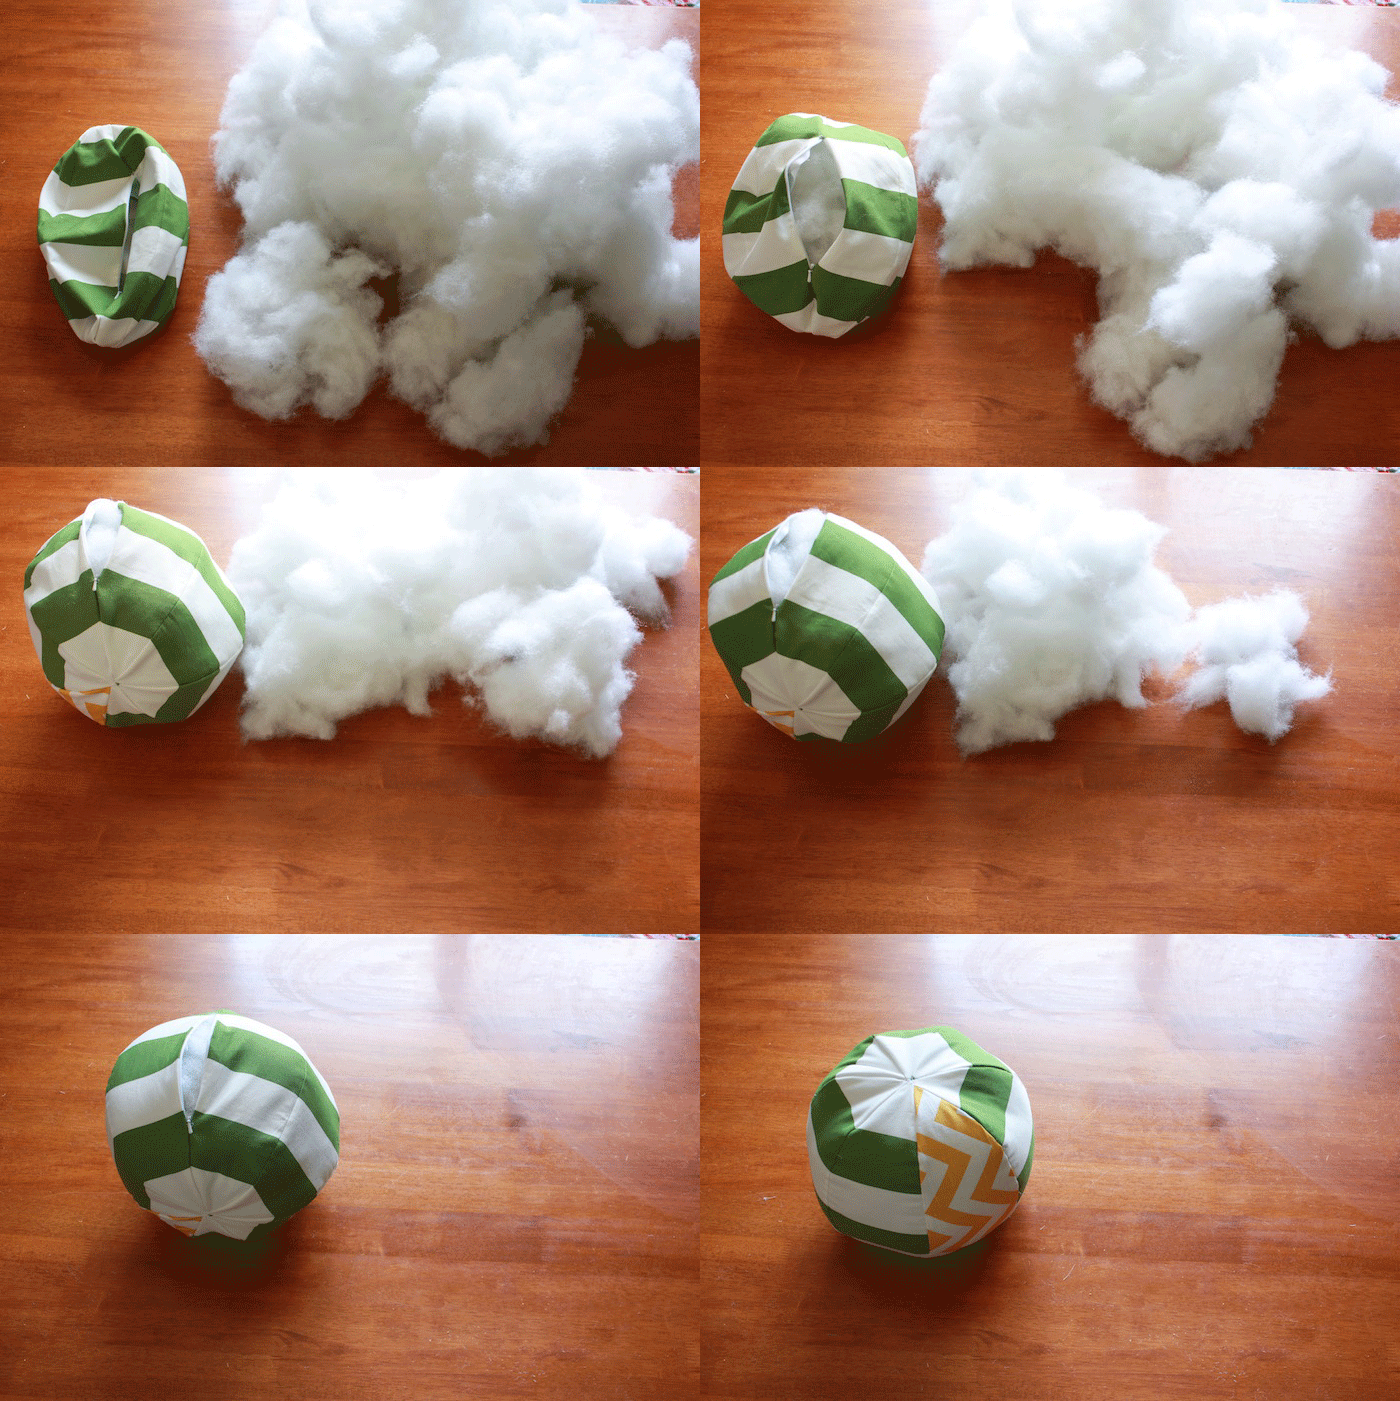
Finally, stuff the pillow through the zipper. Don’t underestimate the amount of filling you’ll need…mine took at least half of a bag!
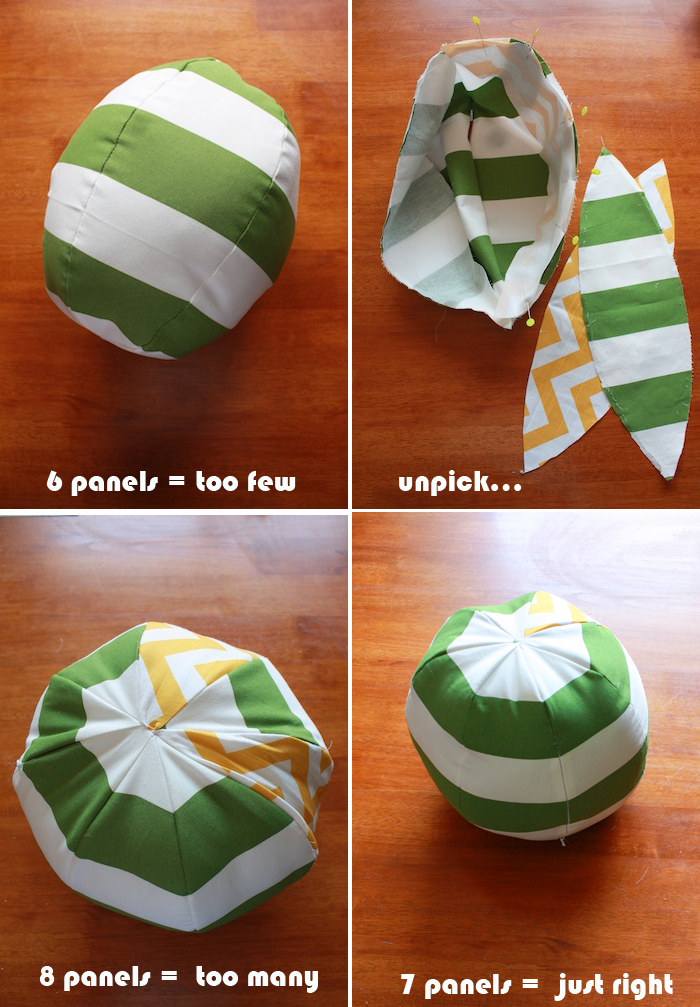
You are probably wondering about that cute yellow striped chevron piece. Where did that come from? Well, that was the solution for my error of cutting too few pieces for this ball. I only had enough of the green striped fabric for 6 panels, but I thought that was how many I would need with the pattern I had made. Nope. I needed 7!! Luckily, I had this adorable heavy cotton chevron print on hand from the Perfect Pleated Skirt I made a couple weeks ago, and I thought it would be a great addition. This was a happy accident, because the chevron is my favorite part of this pillow now!
I didn’t just make one error, I actually made two! When I finished stuffing the first time with 6 panels, the ball looked like a football. Cute, but not what I was going for. So, I unpicked and decided to add two panels because I figured it would need to be even numbers. Wrong again. With 8 panels, the ball started to flatten like a pumpkin, and I could pull one whole panel together and see that it would look just right with one removed. I unpicked again. Third time’s a charm, and 7 is the lucky number!
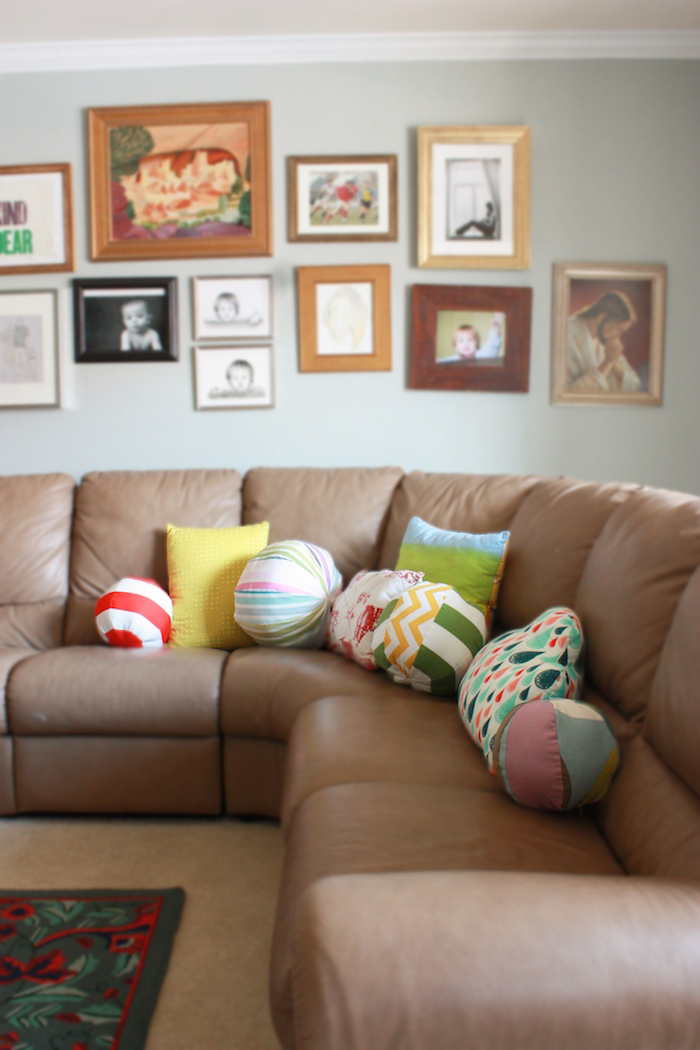
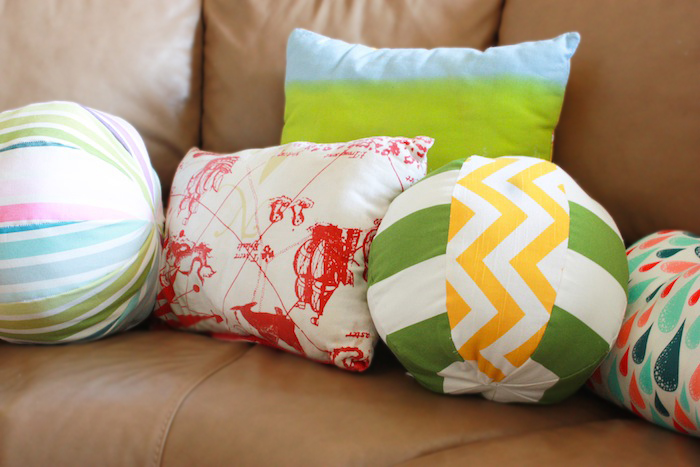
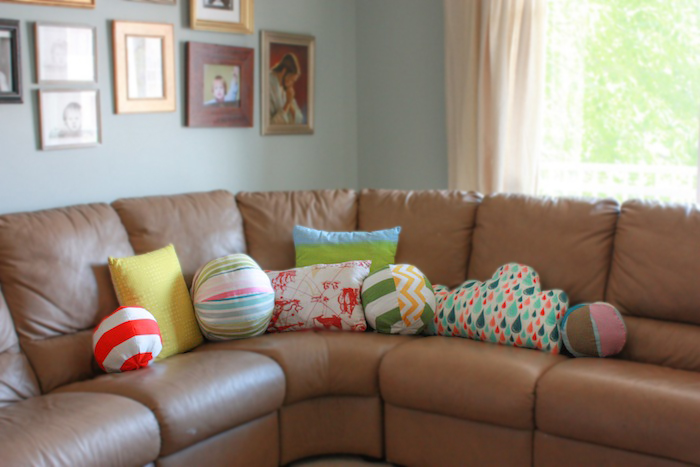
Once I got going, I couldn’t stop! Okay, I’ve only made four (so far…) but these fun pillows are kind of addicting! Don’t be fooled by the photos. Most of the time the pillows are strewn about on the living room floor. Especially since making these balls. They really are fun to catch and throw, and my three-year-old Milo thinks they are the most hilarious toys ever! We sit and throw them at each other and laugh so hard we cry. I fell in love with the playful look of these pillows, and am now enjoying actually playing with them! I hope you enjoy them, too!

