Simple DIY Compost Bin
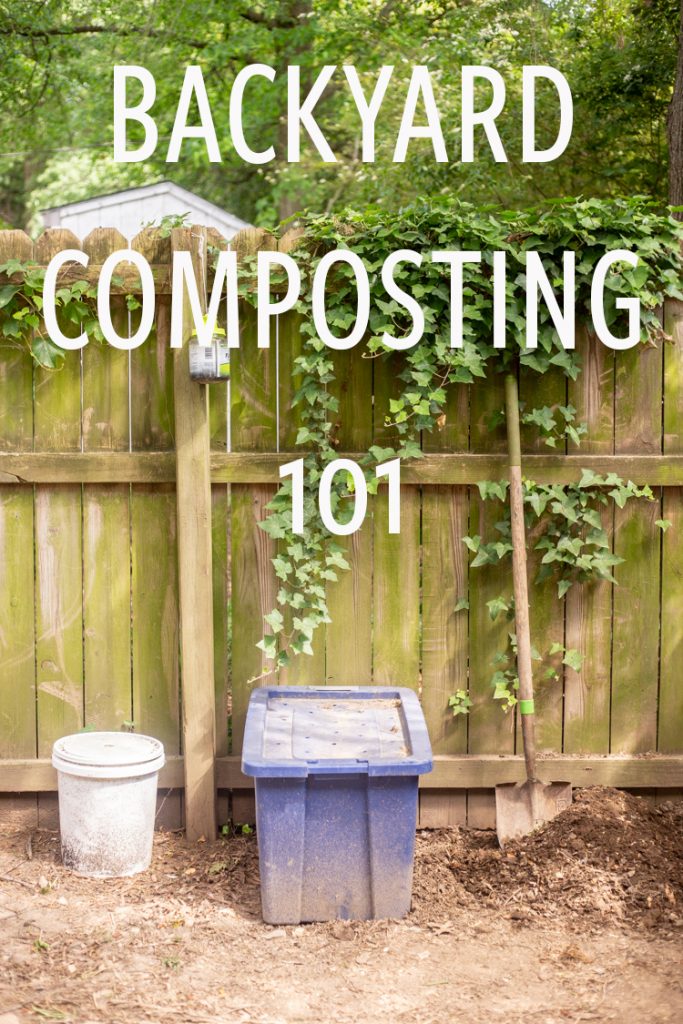
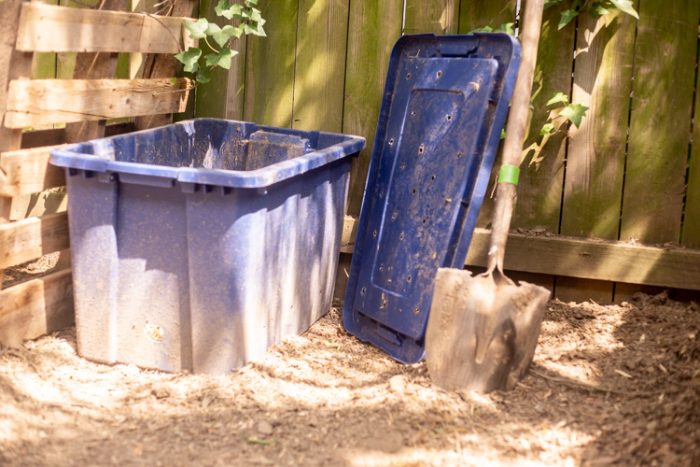
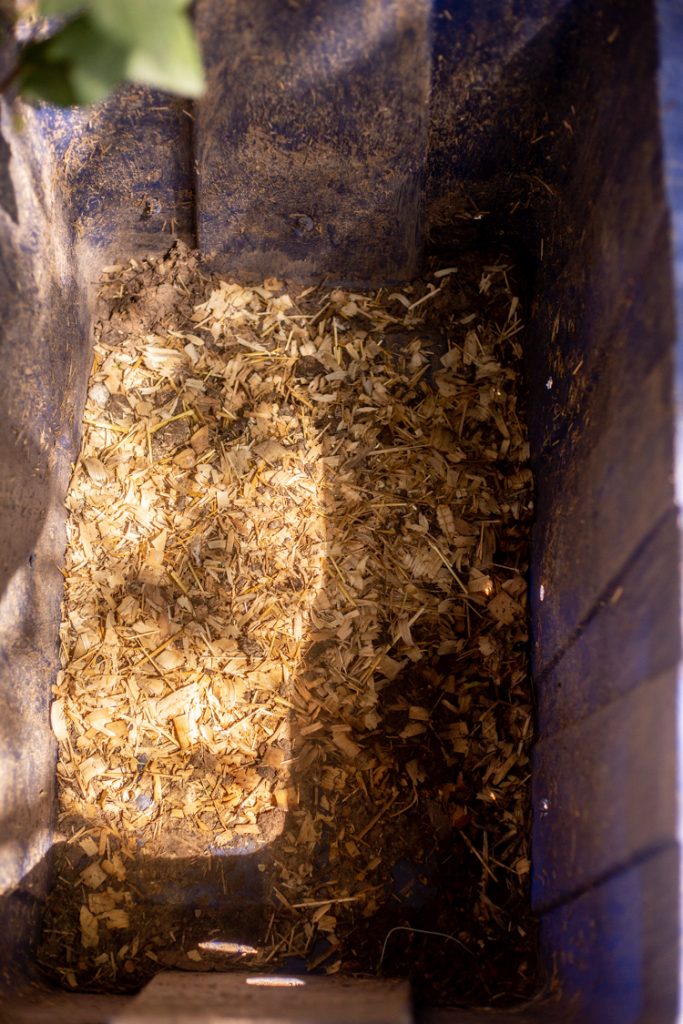
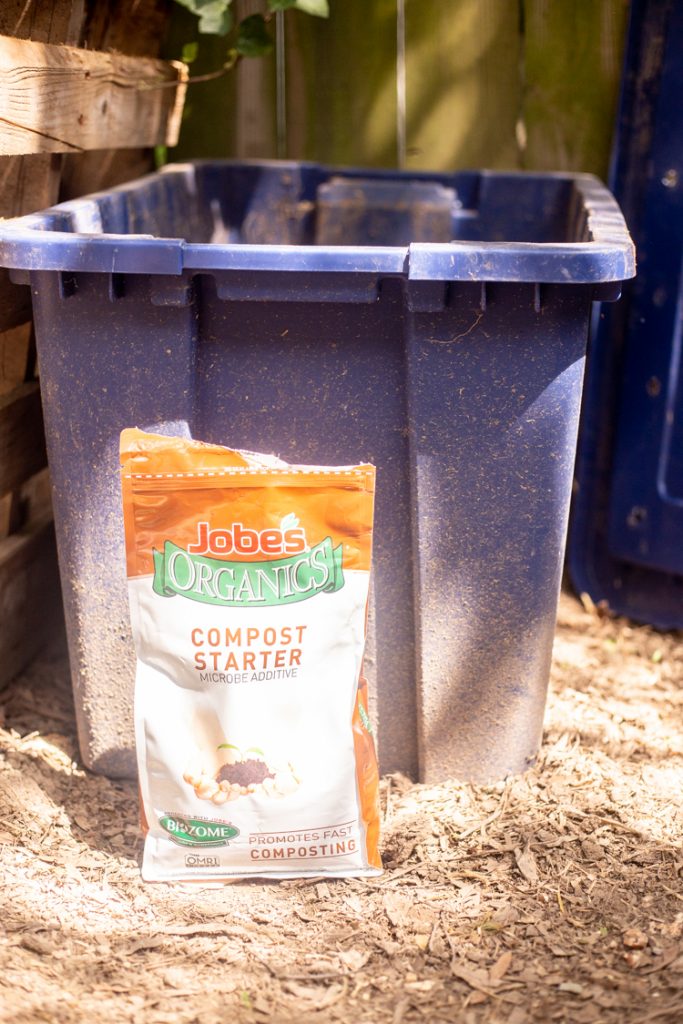
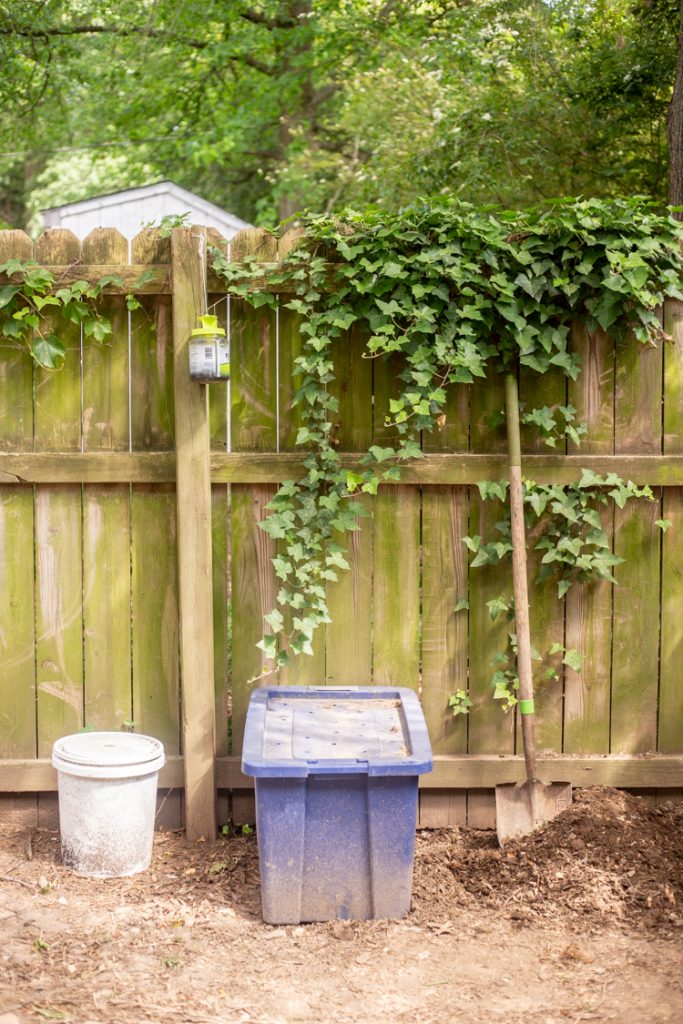
Last year I made this simple $10 DIY compost bin from the tutorial at Young House Love. We began collecting our kitchen scraps into a cereal bowl and taking it out to the storage-box-turned-compost-bin every couple days. Even with adding shredded leaves and bark, dirt, and turning regularly with a shovel, and searching endlessly on how to turn my waste into garden gold, I couldn’t quite make it work. After several months I ended up with a sludgey, fly-infested box of slime.
Basically, I loved the easy DIY compost bin in theory, but it didn’t quite work for me in practice.
Three-Step Backyard Composting
After some additional research and experimentation, I realized that my compost bin was perfect for just one part of a three-step backyard composting process. A DIY compost bin is a wonderful place for the compost to cook–decompose. In order for that process to really take off, however, I couldn’t continue to add new waste to the top. The waste needed some focused time to work together, with the heat and the air and then couple come out the other end better prepared for adding back into the garden.
Here is the simple three-step process that I discovered works wonders in backyard composting. I still use the DIY compost bin as the middle step of my system. I have added a first and third step as well. Let’s dig in.
Backyard Composting Step One: Collection of Scraps
Indoor Scrap Bin
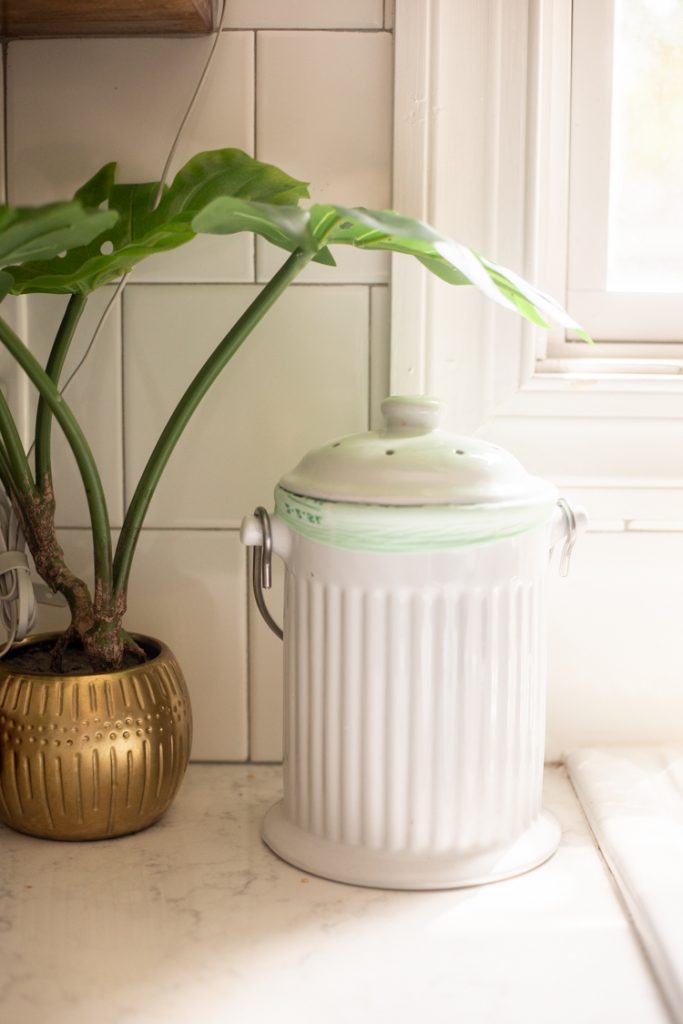
The composting process begins in the kitchen. After a few months of regularly saving scraps, we invested this cute countertop compost bin that both allows us to keep the organic smells down and only empty into the yard once every week or so.
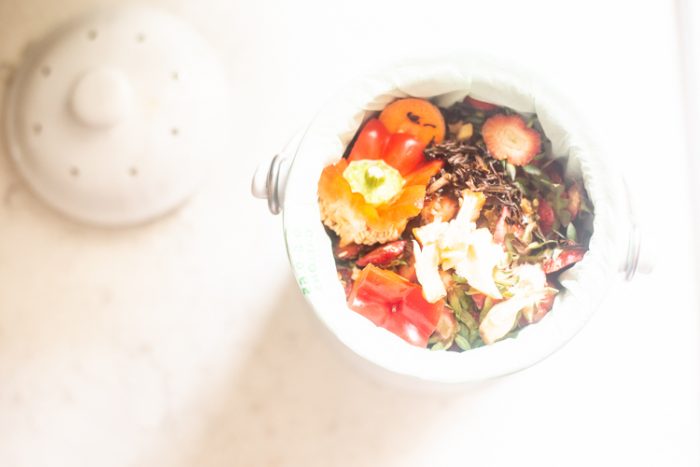
I line the countertop bin with 100% compostable bags, for ease of emptying.
If you’re new to backyard composting, take note of what is appropriate for the bin.
THINGS TO COMPOST
- All vegetable and fruit waste, even moldy pieces – cores, peels, pits, rinds, and skins
- Coffee grounds and filters
- Loose-leaf tea and tea bags
- Corn husks–chopped into pieces
- Egg shells, rinsed and crushed
- Expired spices
- Flowers from bouquets–chop up the stems
- Juicer pulp
- Shredded, ink-free paper and cardboard
- Healthy household plant clippings and leaves
Anything thick or woody, like kale stems or onion ends, will break down faster if you chop them up before putting them in the bin. I also crush my egg shells in the bag, so they breakdown more easily.
ITEMS TO NOT COMPOST
- Dairy products including butter, cheese, milk, sour cream, and yogurt
- Condiments, dressings, or sauces
- Cooked leftovers
- Fat, grease, or oils of any kind
- Grains of any kind, cooked or uncooked
- Meat or meat waste products, including fish and poultry, bones, fat, gristle, or skin
- Processed foods such as bread, candy, chips, crackers, or pasta
- Takeout and fast foods
Basically, if you have added anything to the plants, don’t compost them. The oils and fats don’t breakdown well, and will make your compost smelly and gross.
Outdoor Scrap Bin
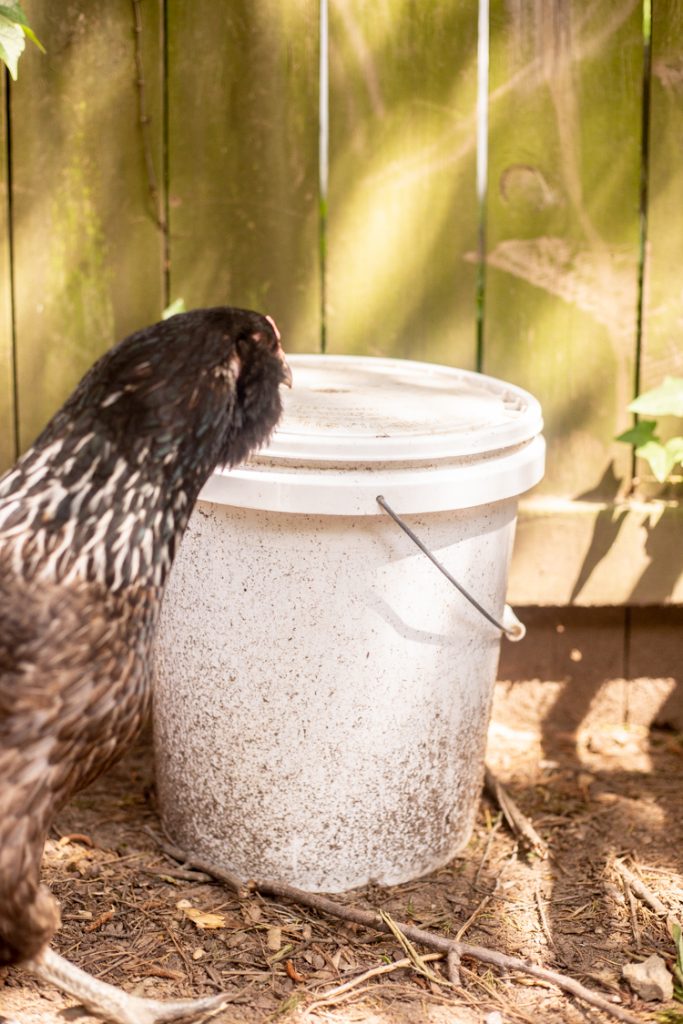
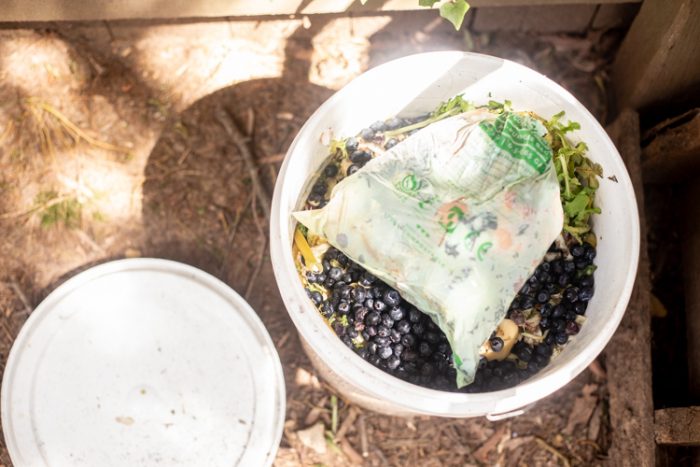
When I have filled the indoor scrap bin, I take the kitchen waste out to my OUTDOOR SCRAP BIN. This is the key step to my backyard composting system, that I haven’t seen before. Basically, this 5 gal bucket serves as a large scrap bin where I can collect a month’s worth of scraps until they are ready for the next step.
Trust me, it works way better to do step two when you aren’t trying to continually add new waste to the bin, so get a bucket to use as your holding area until you are ready to make what I call a “compost lasagna.”
Backyard Composting Step Two: Compost Layering and Decomposing
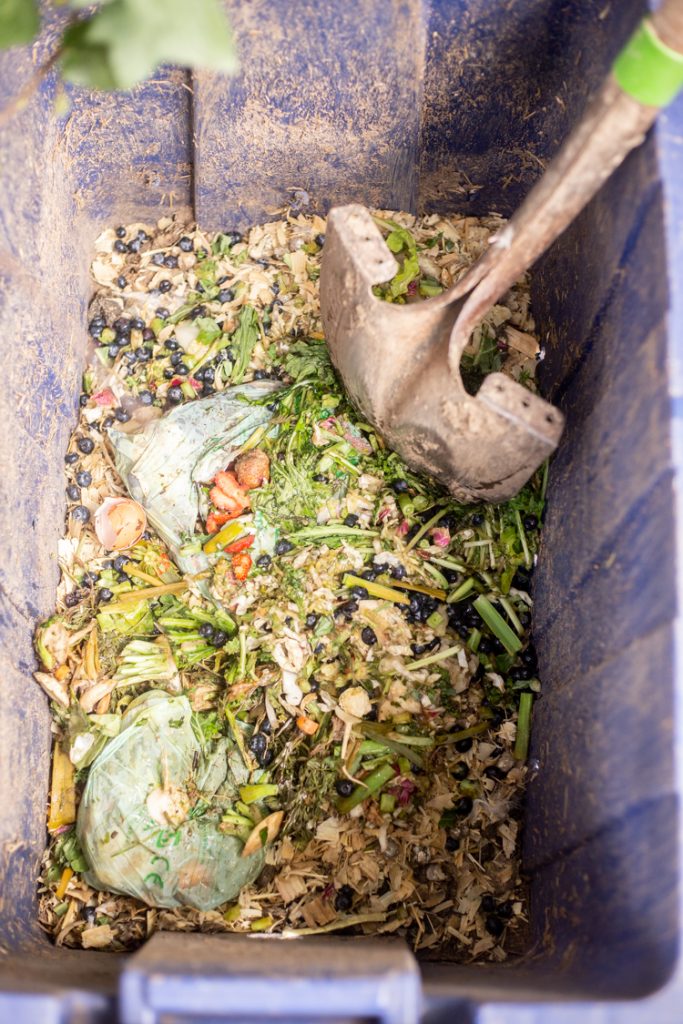
Once my 5 gal bucket of kitchen scraps is full (and at this point slimy and a little stinky!) I make a layered compost pile in the compost bin. In order to understand the layers, let me describe the two different types of compost materials, brown and green.
Brown Matter
- Dry leaves
- Hay
- Straw
- Paper and cardboard, shredded
- Saw dust
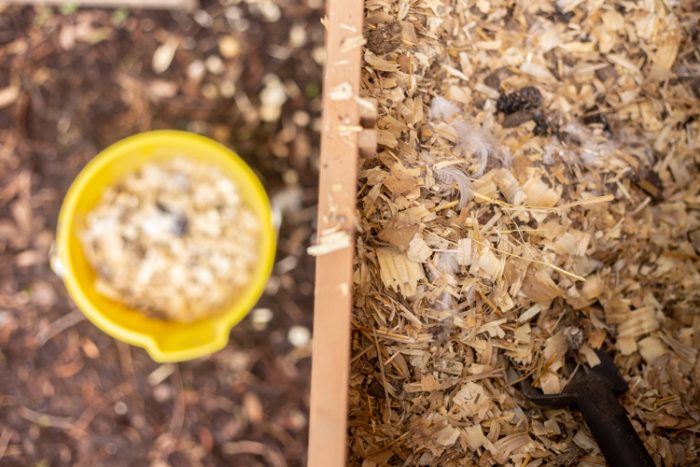
- Wood shavings (I use pine shavings from our chicken coop!)
- Small twigs
- Pine needles
- Dryer lint
- Shredded bark or mulch
Green Matter
- Food scraps
- Garden clippings
- Grass clippings
The compost bin needs layers of both brown and green matter in order to properly decompose. I also have found that this compost starter really helps everything start breaking down.
If you have a chicken coop, this is a perfect time to clean it, as those pine shavings and chicken poop make perfect brown matter for your bin.
How to make a “Compost Bin Lasagna”
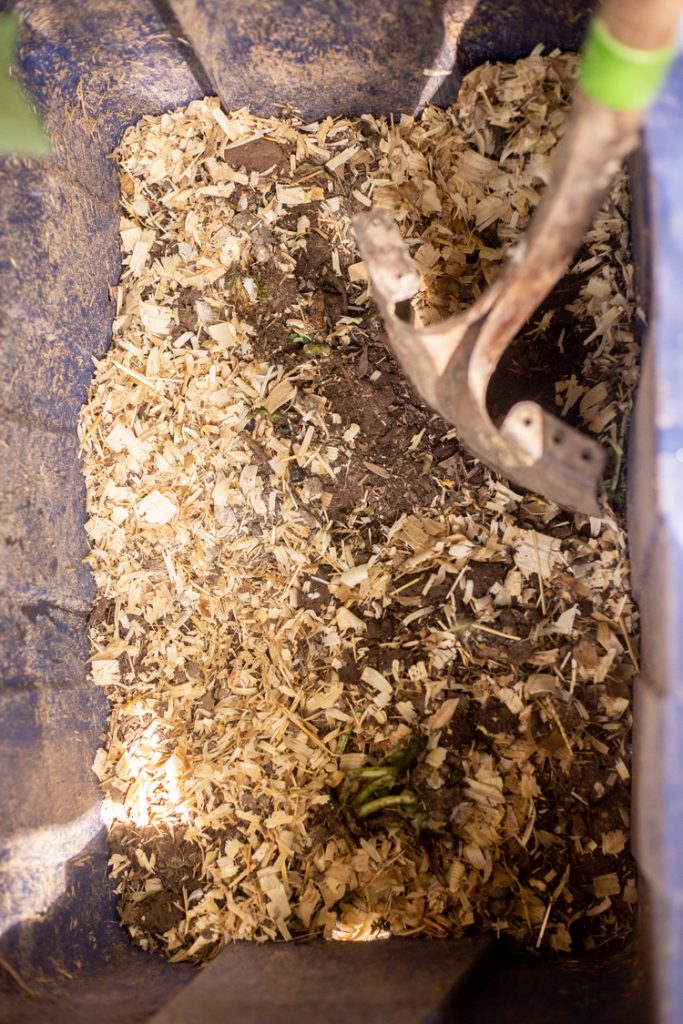
- Begin with a layer of brown matter, at least 1-2″ deep, just to keep the slime off the bottom.
- Add a 1″ layer of green matter from your outdoor scrap bin.
- Sprinkle with 1/2 cup of compost starter.
- Add another layer of brown matter, 3-4″ deep.
- Repeat with a 1″ layer of green matter.
- Sprinkle another 1/2 cup of compost starter.
- Repeat until you are out of green matter, finishing with a 3-4″ layer of brown matter on the top. This final layer helps bury the smell and isolates the green matter for decomposition.
Once your bin is layered, you can rinse out your scrap bucket and get it ready for another month or two worth of kitchen scraps. In the meantime, the bin can rest for a couple days, then open it up and turn the layers with a big shovel, mixing the brown and green matters together. That air helps with the process.
Don’t add any green matter to your DIY compost bin, but if the mixture seems slimy, add some brown matter. You want the mix to be slightly damp, but not slimy.
After 4-6 weeks of regular mixing and turning the compost in your bin, you are ready for step three.
Backyard Composting Step Three: Turning and Using
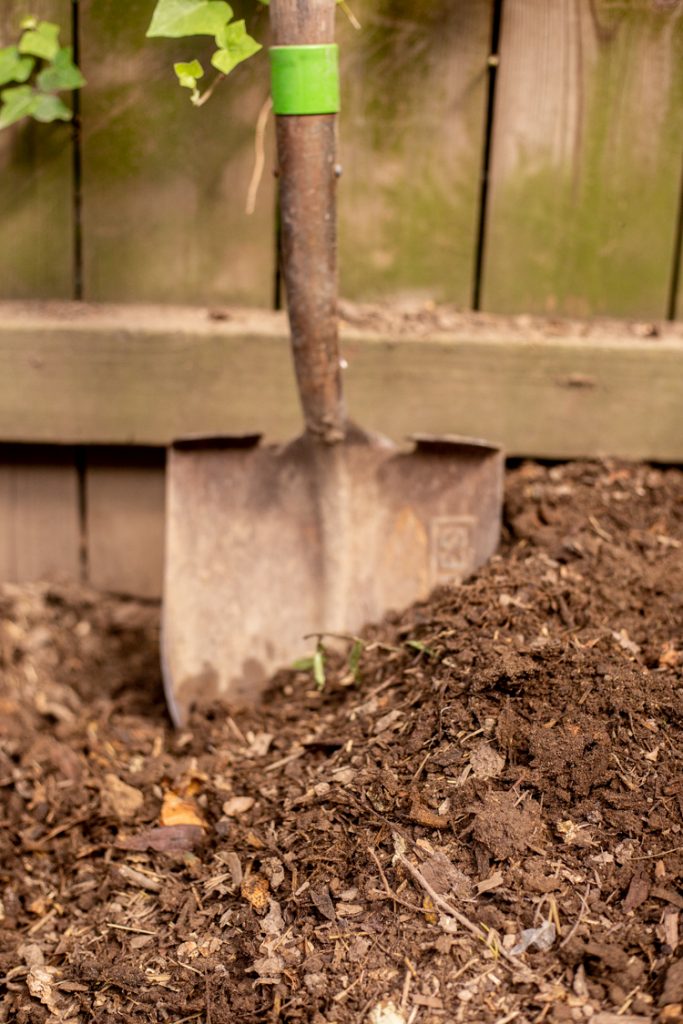
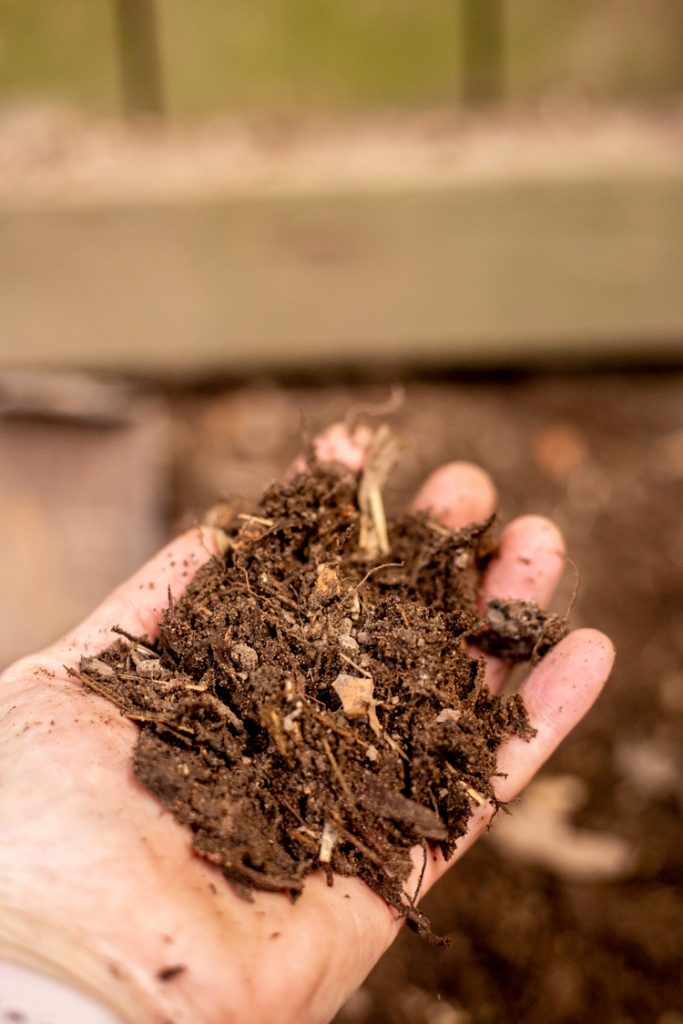
This final step is when everything looks like magic. That slimy, slightly stinky pile of waste starts to look like black gold. After regular turning and mixing, the layers start to mesh together, break down, and become a healthy world of helpful microorganisms for your garden.
I can tell my bin is ready for step three when most of the individual scraps are indistinguishable. If I can still see a banana peel and an onion half, then it needs to continue to breakdown. Egg shells that aren’t crushed will not break down, but will become brittle, and just need crushing when you dump your bin.
This is when I turn the whole bin over into the corner of my yard that I have dedicated to the compost. Here it sits in a pile and I can continue to turn it (with the help of my backyard chickens) until I am ready to use it. This also frees up the DIY compost bin to be used for another compost lasagna.
You can do it!
I hope this three-step backyard composting process has given you a clear introduction to what is involved. I have been so happy to have a system in place to turn our kitchen waste into garden gold, and now our garden is producing veggies for our kitchen! It is a beautiful circle of life.
If you don’t have a vegetable garden, composting is still a great way to keep your food waste out of the landfill, and the finished compost is amazing spread on the lawn, or in regular garden beds and planters.
Good luck and happy composting!

