 Earlier this week I shared some tips for choosing the right paint, and shared the process of picking out the perfect green for Plum’s dresser. Today I am continuing the partnership with Sherwin-Williams to complete the story by sharing the DIY with a couple tricks for a great paint refinish. This project turned out just as planned, adding some depth to the design in the room, and tying in the green in the framed scarf behind the crib. Let’s take a closer look.
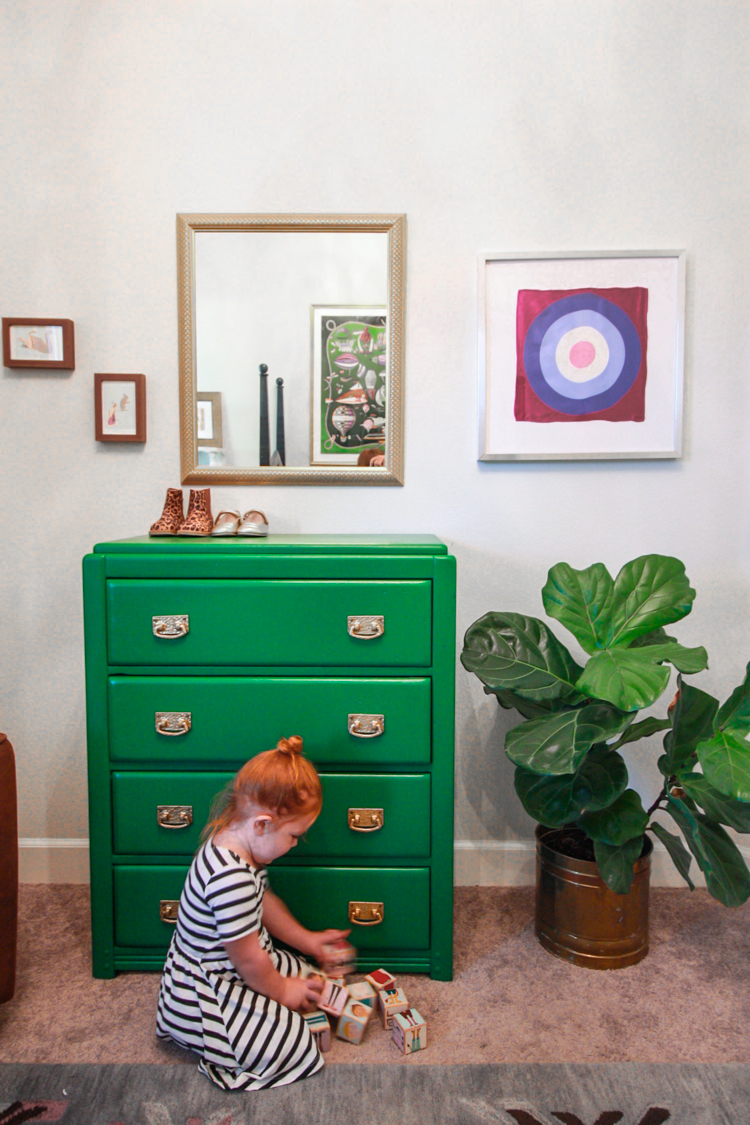
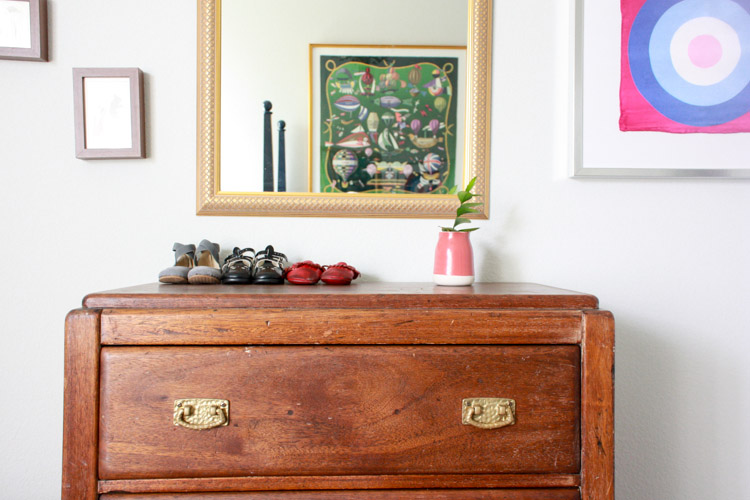
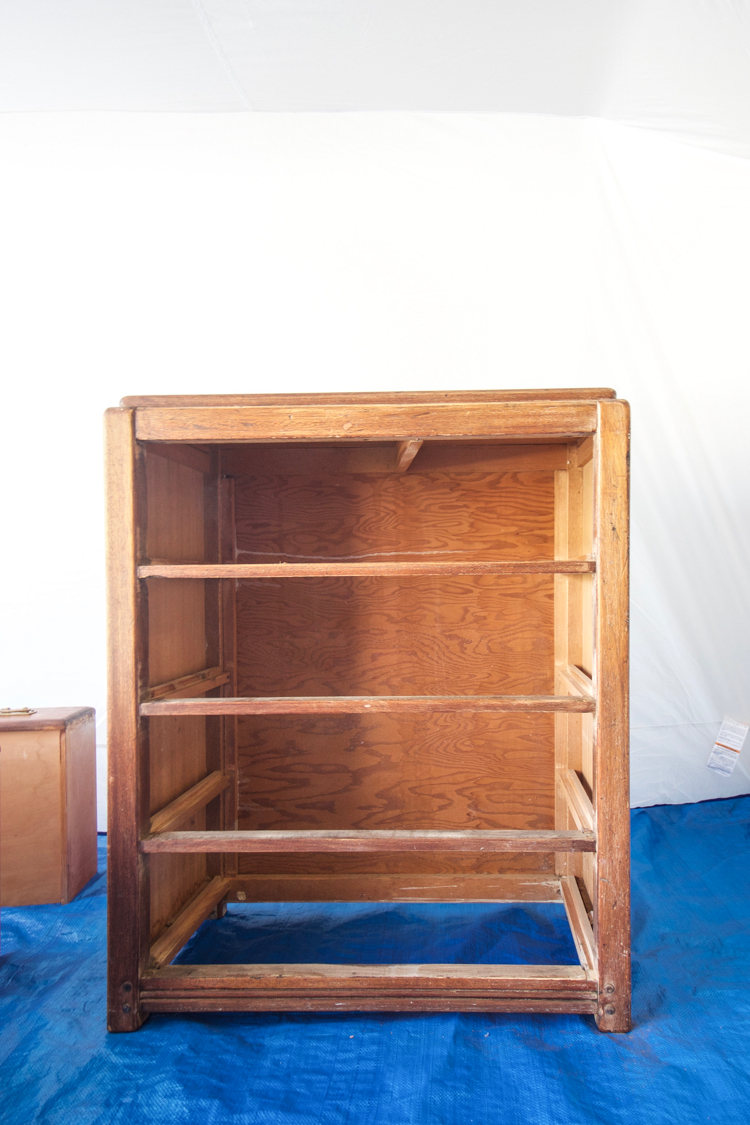
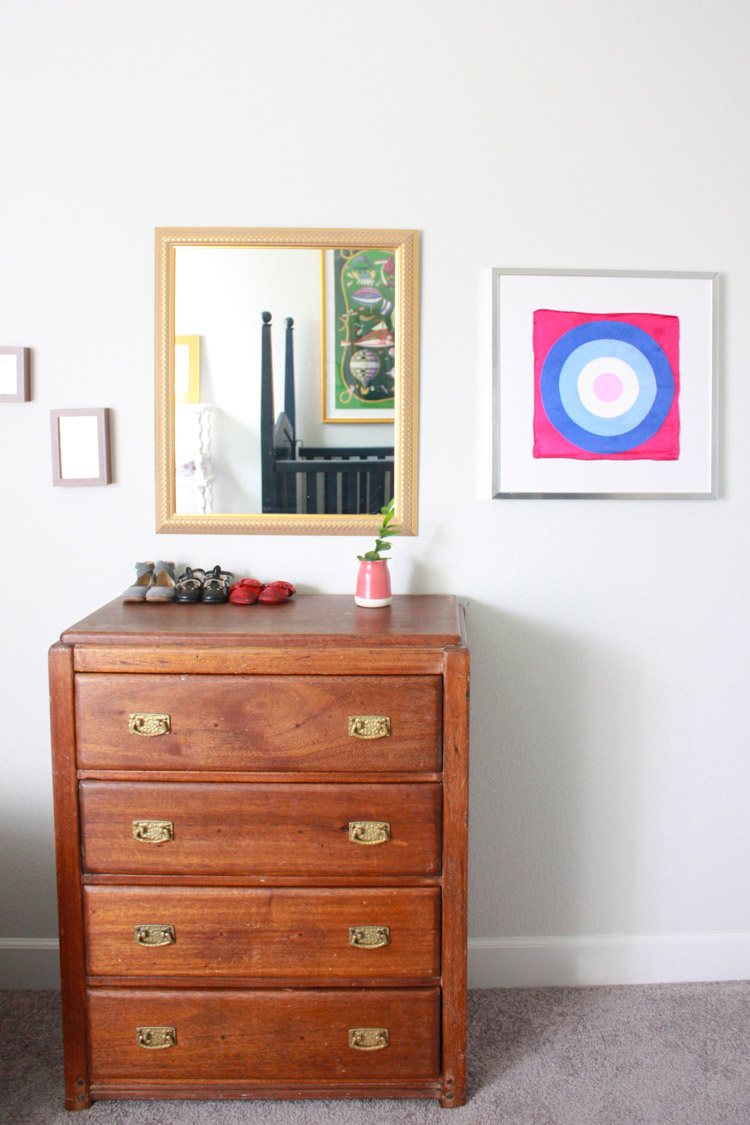 This dresser was given to us by my mom when we were first married. We didn’t have very much money or space, and our parents were generous to pass along things the were no longer using. I think my mom had found it at a thrift store herself, and at one point had re-stained the wood and changed the hardware to these cool hammered brass pulls. I loved the shape, size, and even the color of the warm wood, but when I was considering what projects might be fun for Plum’s room, I could immediately picture this dresser painted a solid, satin green.
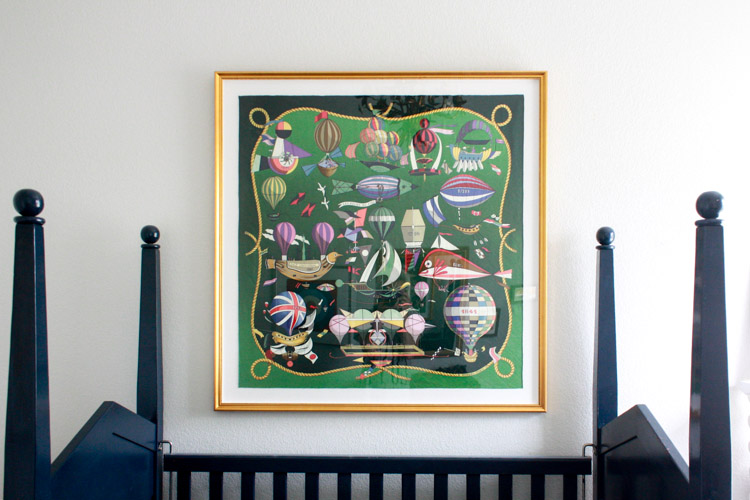 This beautiful framed scarf hangs opposite the dresser, and is reflected in the mirror every time I stand grabbing clothing or socks from the drawers. It was really fun to choose hue of green directly from the scarf, using the ColorSnap app, and have the greens now mirror each other so perfectly. Sometime soon this crib will be replaced by a big girl bed, and I’ll paint the walls pale pink. It will be fun to see how the dresser and art still play off of each other in the room as it evolves.
Painting the dresser was a simple project, and was made even easier by using a couple simple tricks. Here they are:
 1. Take Your Time: I set up a painting station in the garage, knowing that it would take me several days (between taking care of the kids, enjoying the end of summer, and layering a few coats of paint)
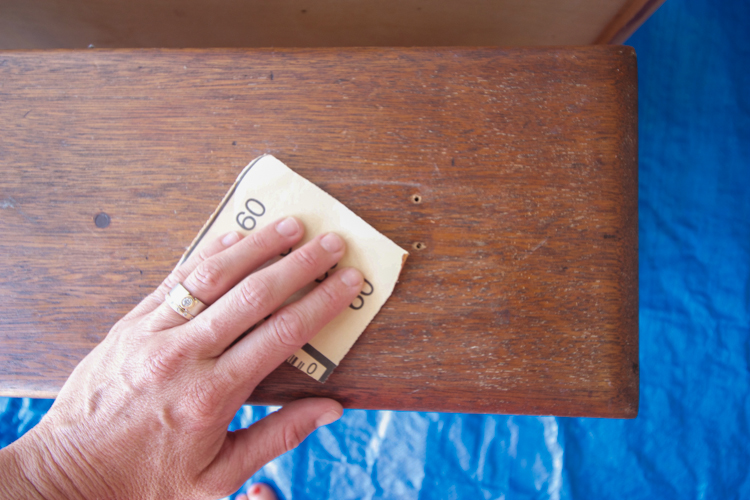 2. Do the Prep Work: I have traditionally not been great at prep work for projects, but I really wanted this dresser to be useful and durable for long years of kid-room use. Luckily, because it was so old, there wasn’t a thick shellac to remove, so some gentle sanding to rough up the surfaces was sufficient.
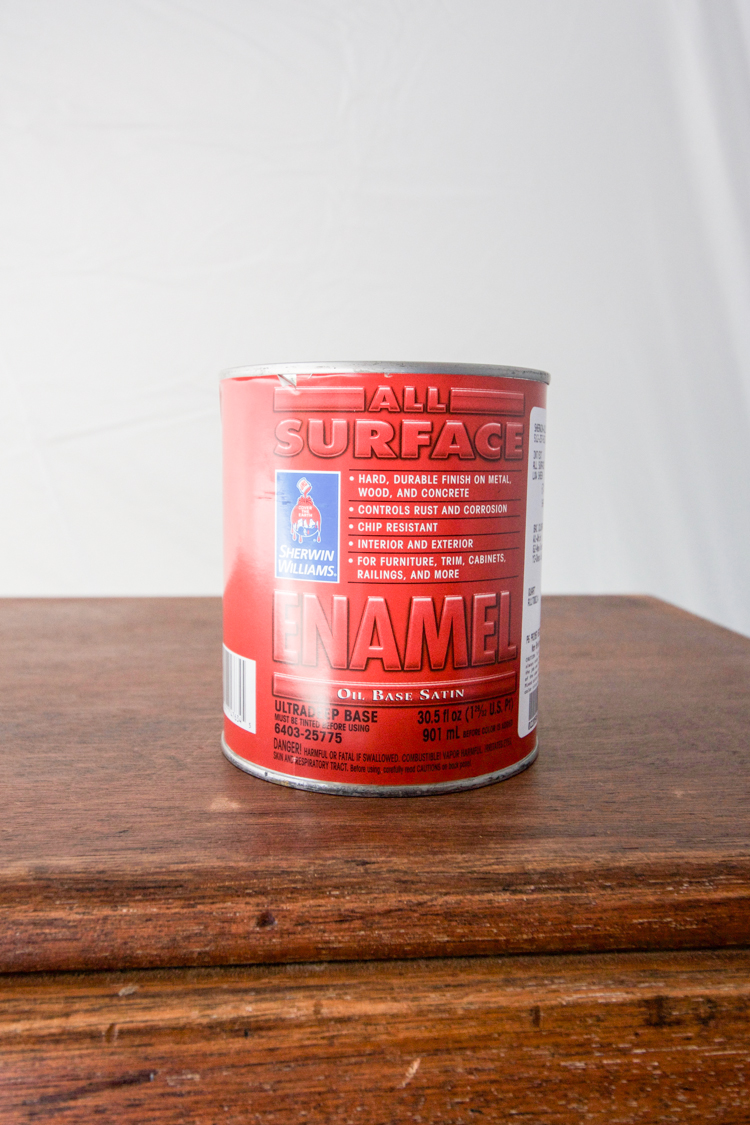 3. Use the Correct Paint: It was so nice to get a clear recommendation from Matt at my local Sherwin-Williams store about which paint would work best for the use and application of my project. The paint type was narrowed down to ProClassic and All Surface Enamel, and when he saw the color I chose, he went with the Enamel because it does better with dark colors. Because it is an oil-based paint, it goes evenly and self-levels as it dries.
 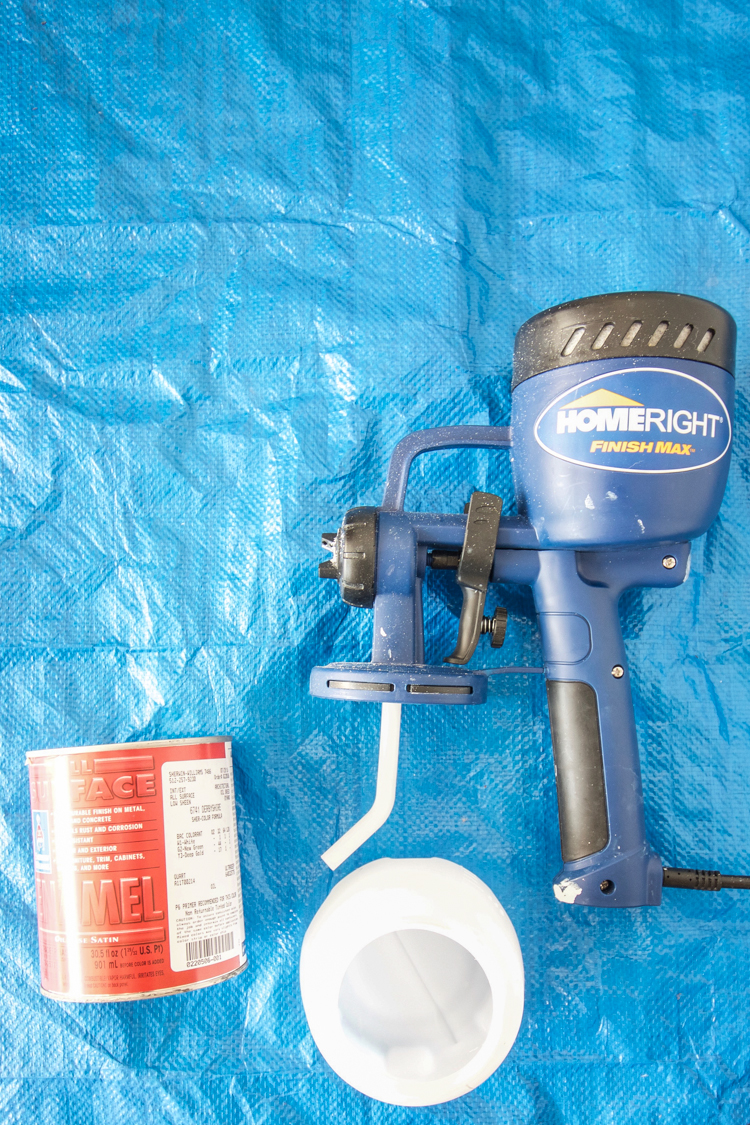 4. Use the Right Tools: I got a Finish Max paint sprayer in the spring and have been loving using it for projects where I want a nice, even coat without all of the brushwork. That said, a small black foam roller or oil-based paintbrush–both specifically made for working with oil-based paints–would both have worked well for this project.
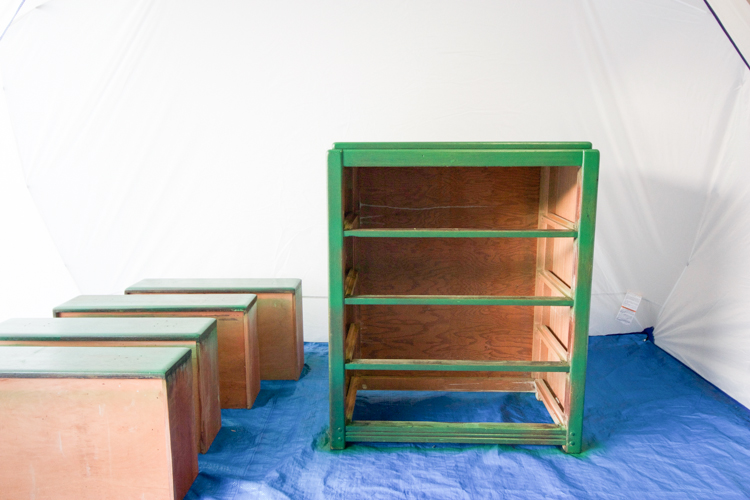
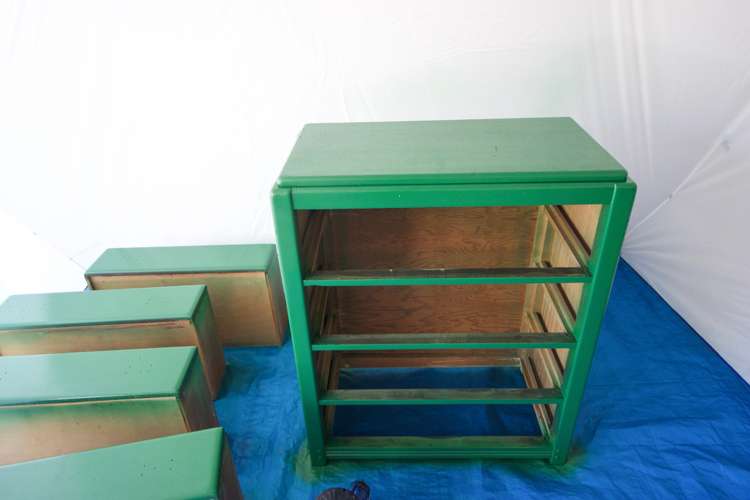 5. Do Multiple Thin Coats: It took me years of paint projects to realize the benefit of layering thin coats rather than glopping on one thick coat. The layers dry in between, creating strength along the way. The subsequent coats fill in the spaces and after a few, everything is strong, even, smooth, and gorgeous.
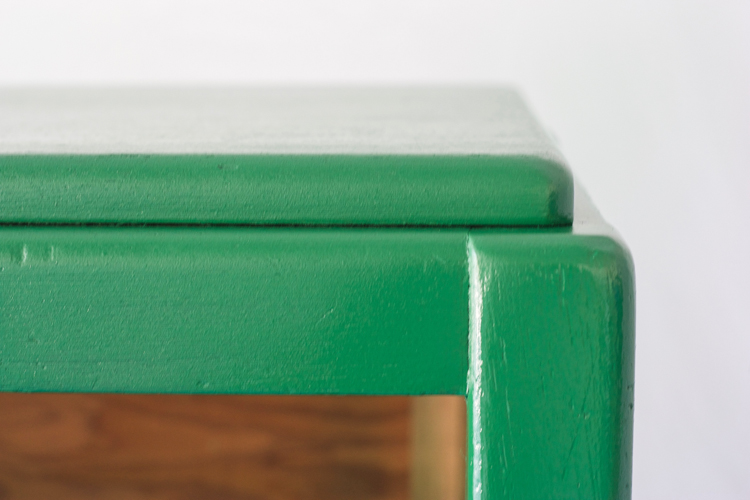
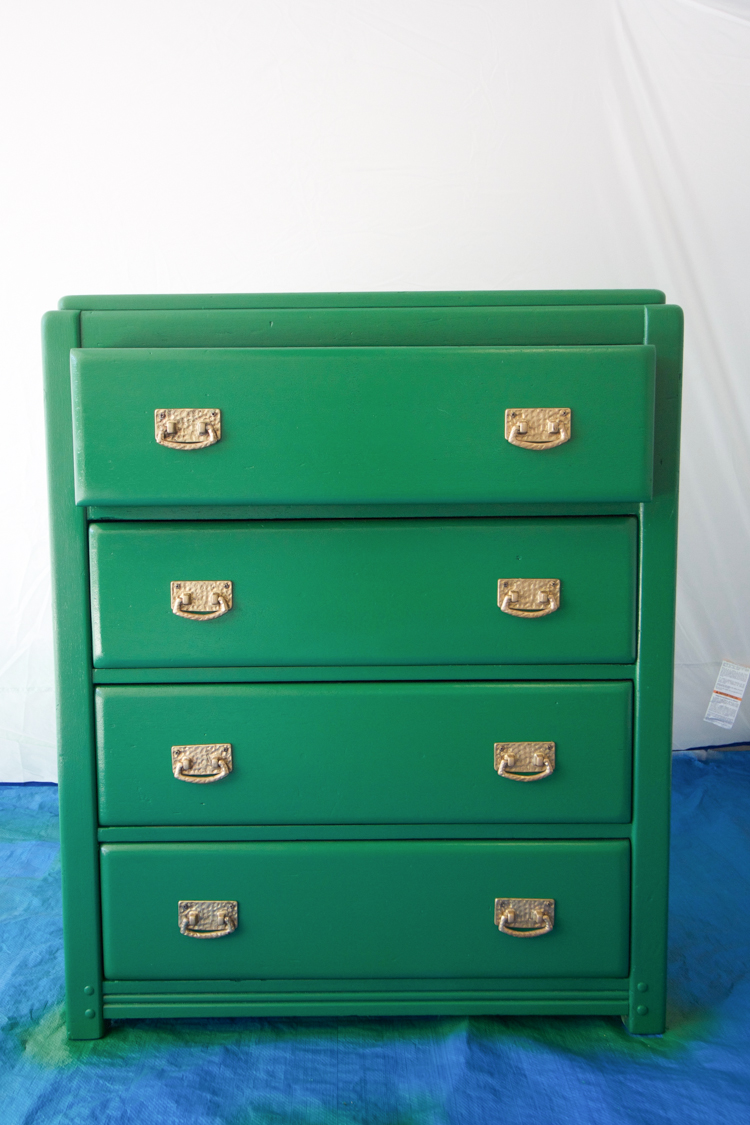 Once the coats were all dry I replaced the hardware and admired the final product! The brass really does shine beautifully on the deep green, and I love the character that the color gives this old piece. I’ve been using mostly whites and woods in my decorating lately (along with the rest of the internet), so it felt fun to get back to some color!
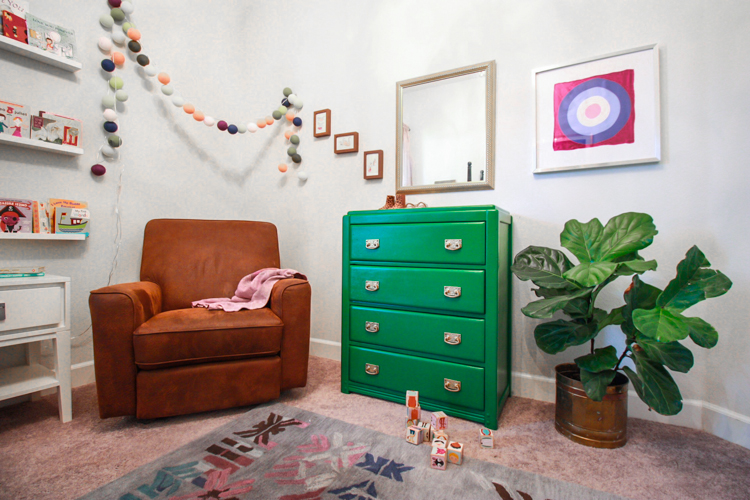
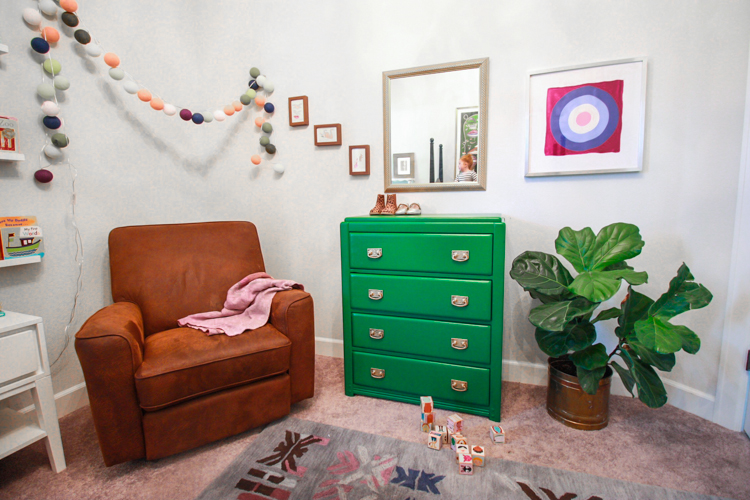
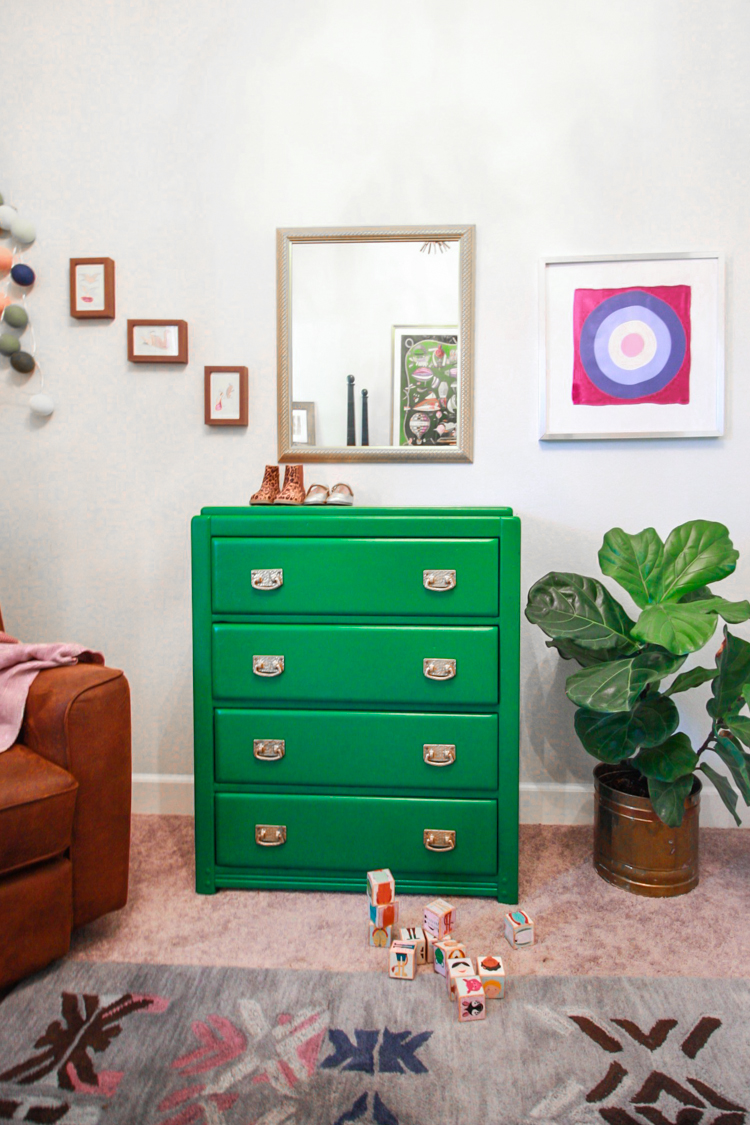 Back in the nursery the dresser looks right at home. The green nestles in with the plant and the art, and the earth tones from the carpet and the leather chair and everything feels happy, bright, and natural, just as I hoped it would. I also love that as I rearrange, redecorate, and move things around the house (as I tend to do) there are lots of other places in our house this dresser would also fit well.
I love finishing up a simple DIY and would love to hear what you all have on your lists! Remember the Sherwin-Williams 35% off paints and stains Love For Color sale starts TODAY at your local store. (The giveaway winner was Stacy. Congratulations!)
Created in partnership with Sherwin-Williams, all opinions my own. Thank you for supporting the brands that support this blog!

