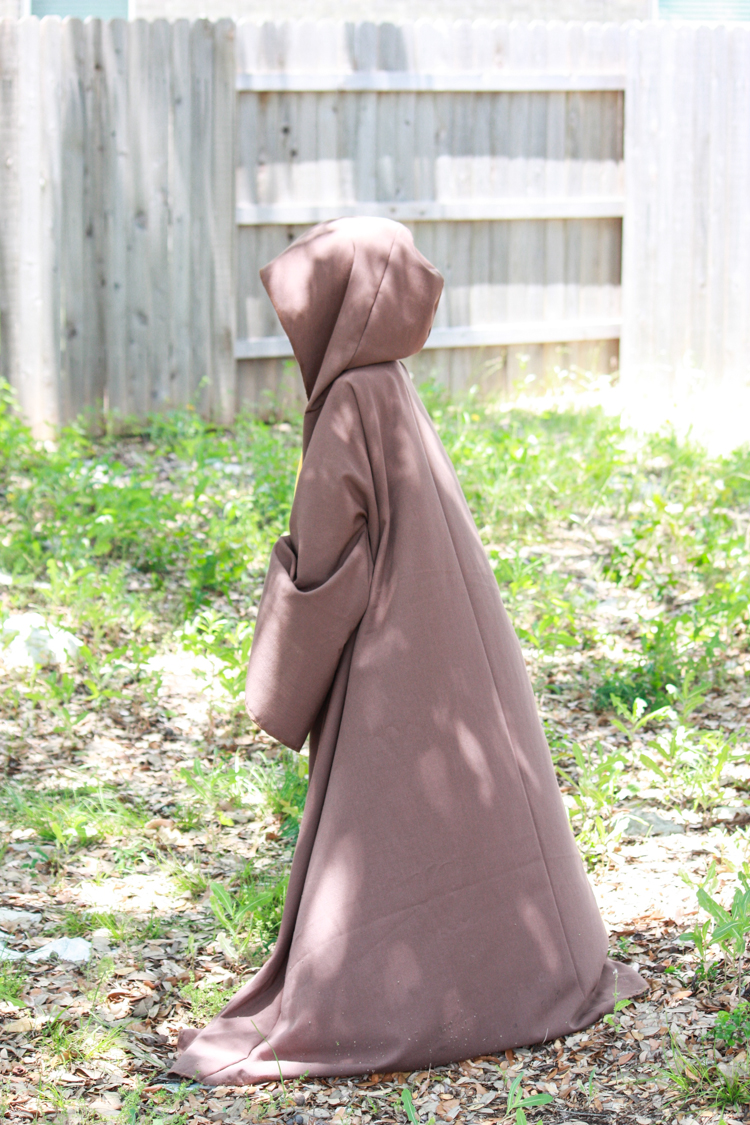
Jedi Robe Costumes
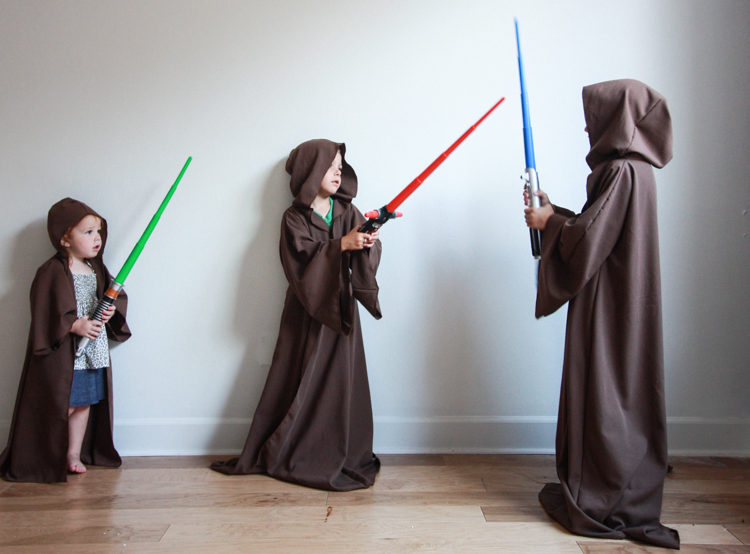
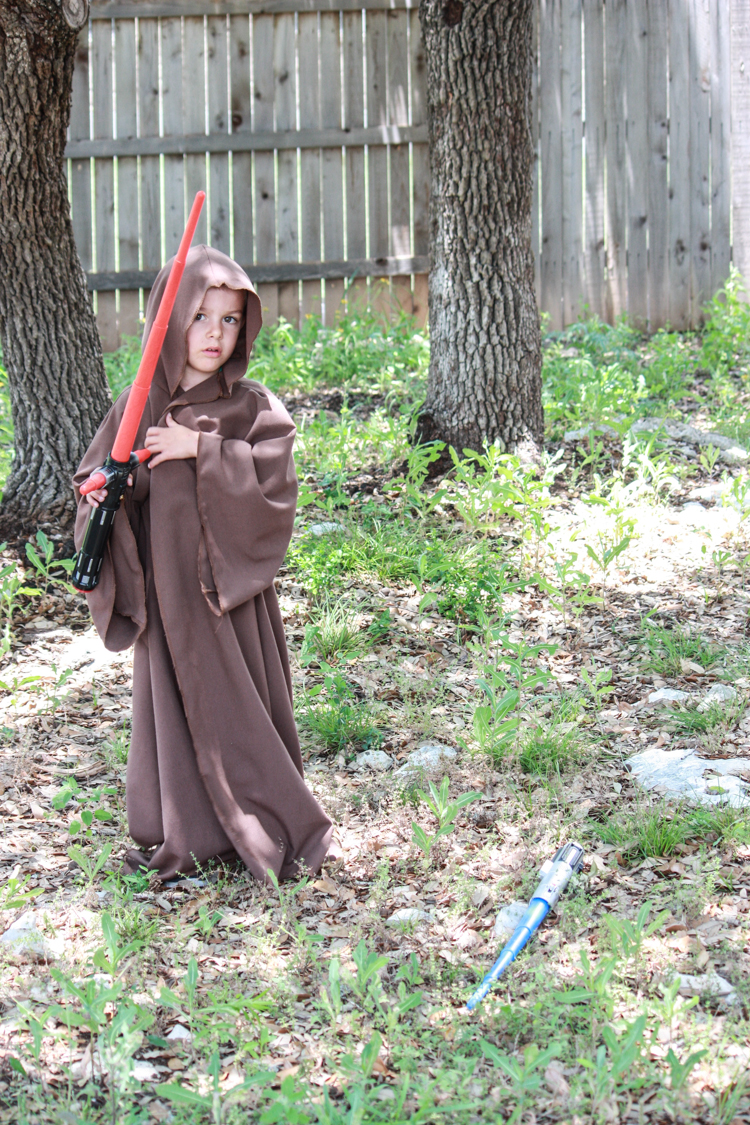
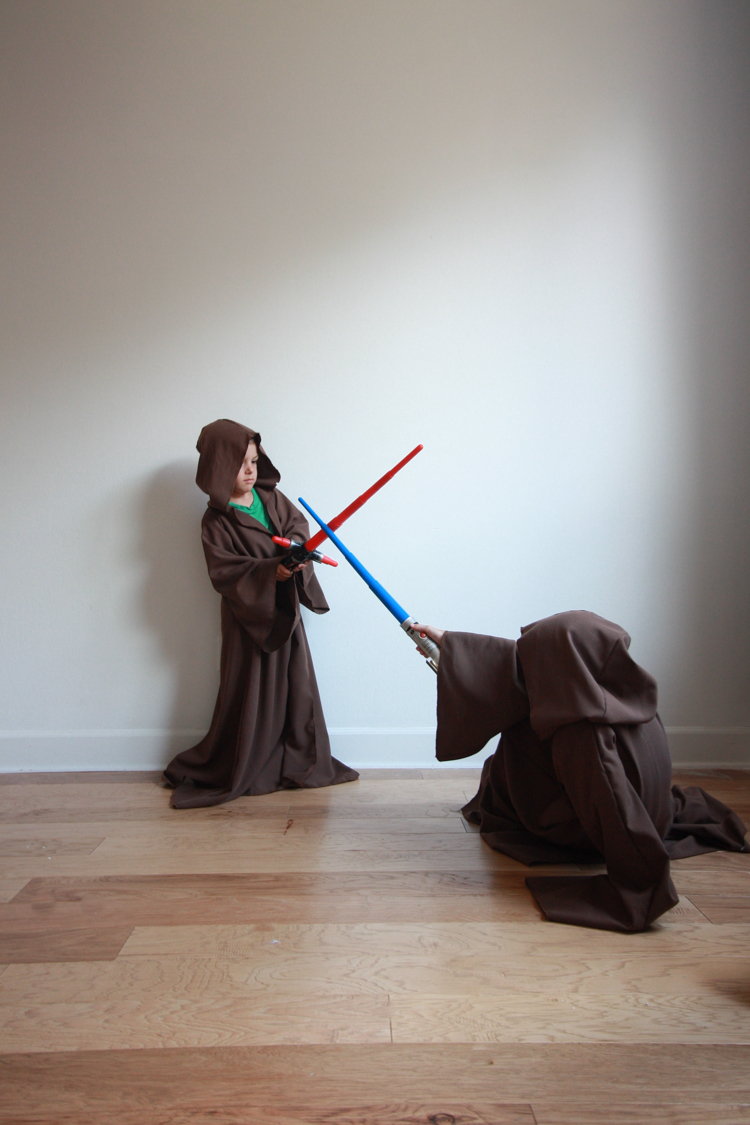
We were at a play date last week at a neighbor’s house when Milo came running down in a jedi robe. It was simply sewn out of a beautiful brown linen fabric, and after some quick examination I was determined to add DIY Jedi Robe to my to-sew list for the kids.
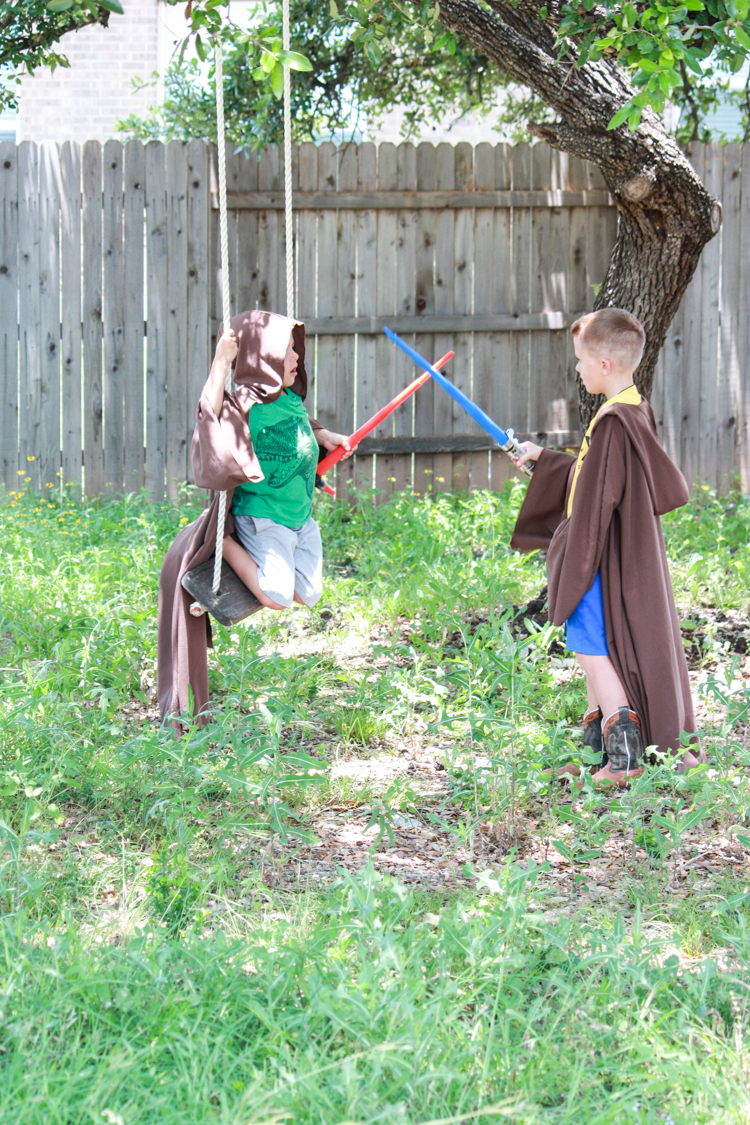
Just a day later, when we were out fabric shopping for a summer dress, the boys grabbed a bolt of brown linen and the project moved up the list to next-in-line. Of course we are big Star Wars fans, and I knew it would be fun to have a little Obi Wan Kenobi, Anakin Skywalker, and Luke Skywalker cruising around the house.
DIY Jedi Robe Instructions
This DIY Jedi Robe doesn’t use a pattern, but instead only requires a few basic measurements and a little bit of eyeballing. Also, instead of wasting time hemming all of the edges, I simply serged them with my Baby Lock Diana, which was another way to simplify the project. Sometimes “done” is better than “perfect,” and these kids are way happier with unhemmed robes than none at all!
Materials
Are you ready to make your own DIY Jedi Robe? Here’s what you’ll need:
2-3 yards of brown linen or linen blend
sewing machine or serger
scissors
measuring tape
Easy Jedi Robe Instructions
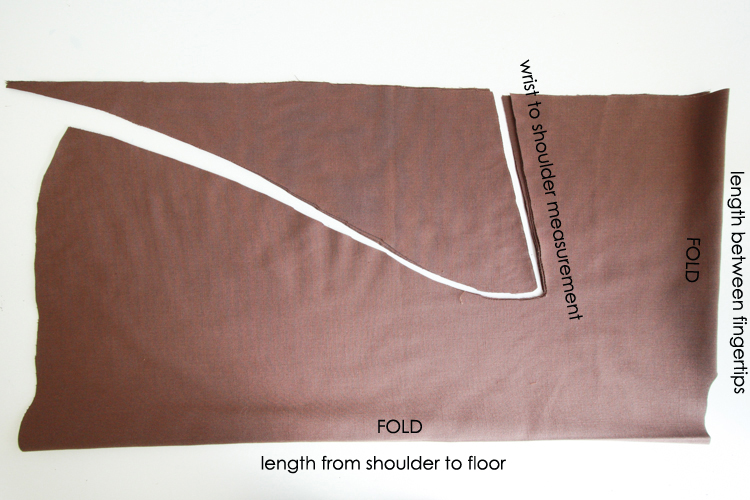
1. Measure from the child’s shoulder to the floor. Multiply this number by 2. This will be the total length of the fabric you need. Then fold in half at the shoulders. (Example: 40″ = 80″ of fabric folded in half, so 40″ from the fold to the raw edges)
2. With the child’s arms outstretched, measure fingertip to fingertip across the shoulders. This will be the width of the fabric. Then measure from the finger to the shoulder. This will be the sleeve length.
3. With the shoulder fold on top, fold the fabric in half widthwise, with the center fold as the robe center front and back.
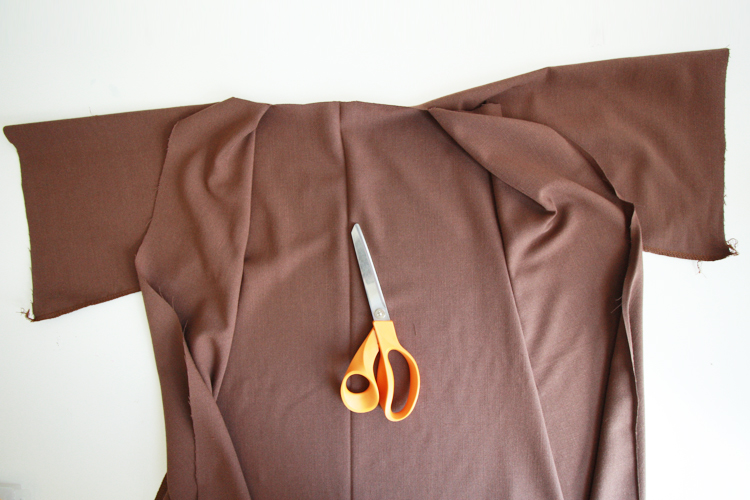
4. Measure down about 1/3-1/4 of the length and cut inward towards the center fold. Turn and cut at an angle straight out to the edge of the fabric at the raw end, making a triangle.
5. Measure about 3″ in from the edge on the center fold and cut a small neck opening about 1/2″ deep.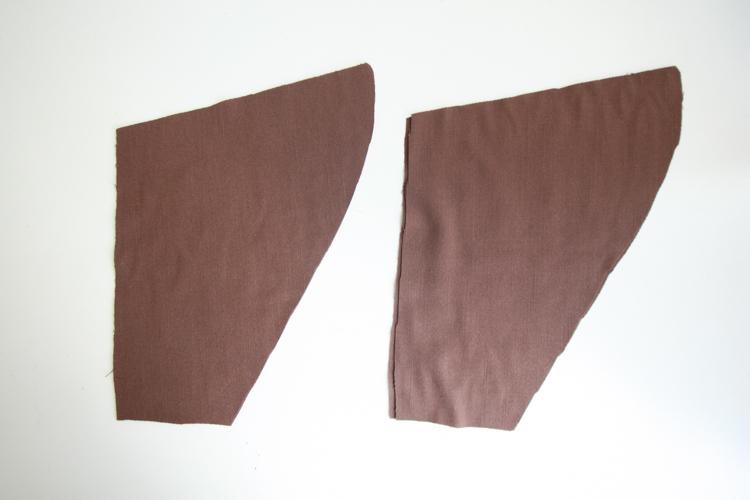
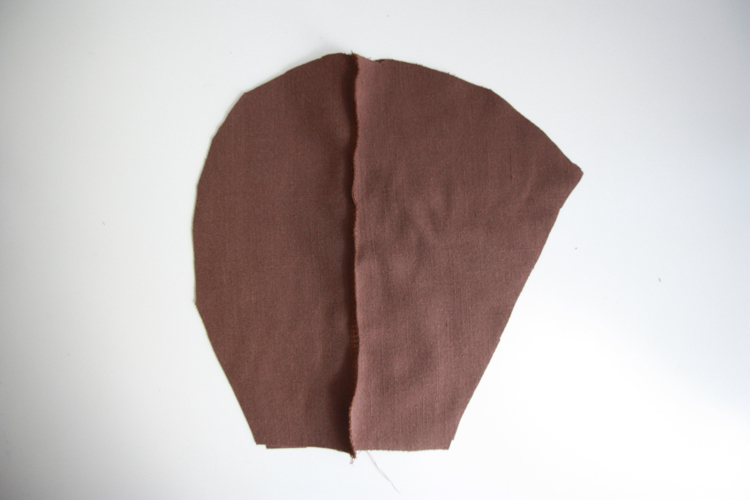
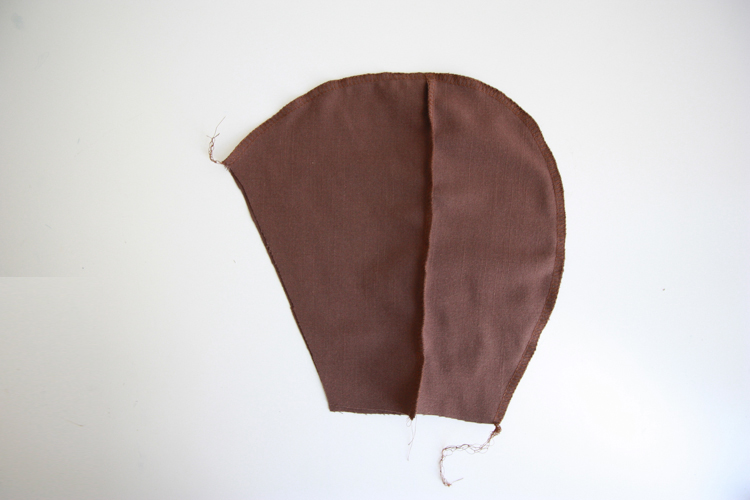
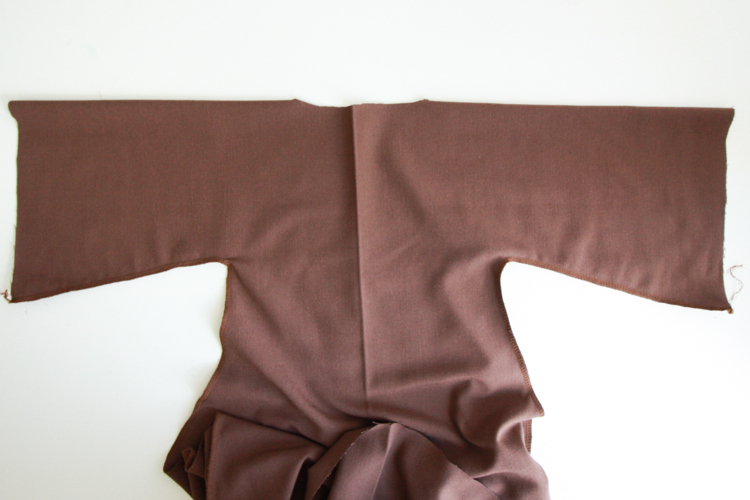
10.Cut up the front of the robe along the center line.
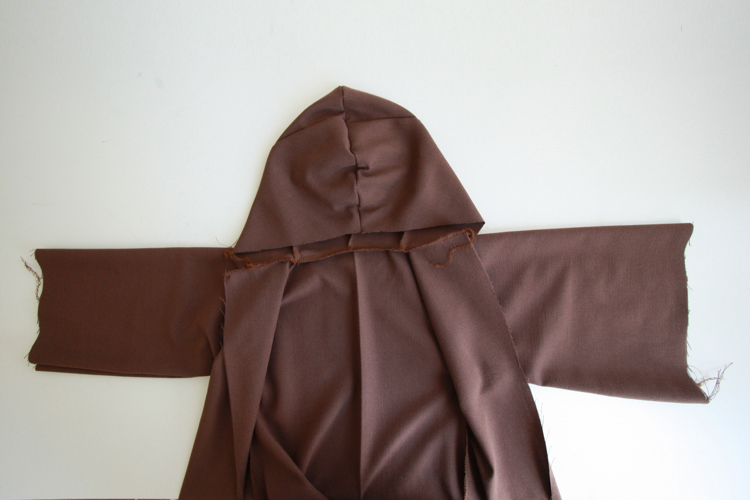
11. With right sides together, align the hood center with the center back of the robe and stitch along the neckline to secure.
12. Serge along all of the edges with a serger. Alternatively, turn the edges under 1/4″ and use a straight stitch to hem.
Conclusion
You’re done! Wasn’t that easy? I made all three of these robes in about an hour (minus the quick trip we had to take back to the fabric store for another couple yards of linen). I have a feeling the boys will each live in his Jedi Robe, and I’ll need to sneak them away for washing like I do with some of their other favorite clothing items.
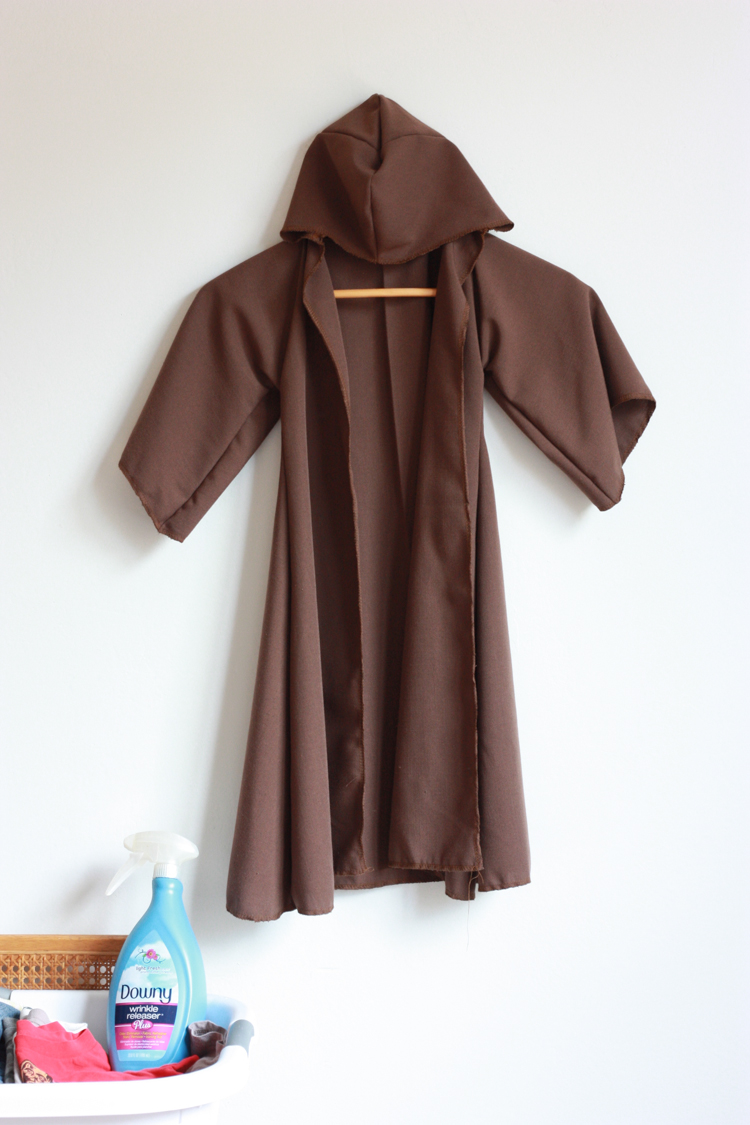
I’m already prepared to pull the crumpled masses of fabric from the bottom of the baskets, give them a quick spray with Downy Wrinkle Releaser Plus, smooth them out, and send them back on their way to play.

